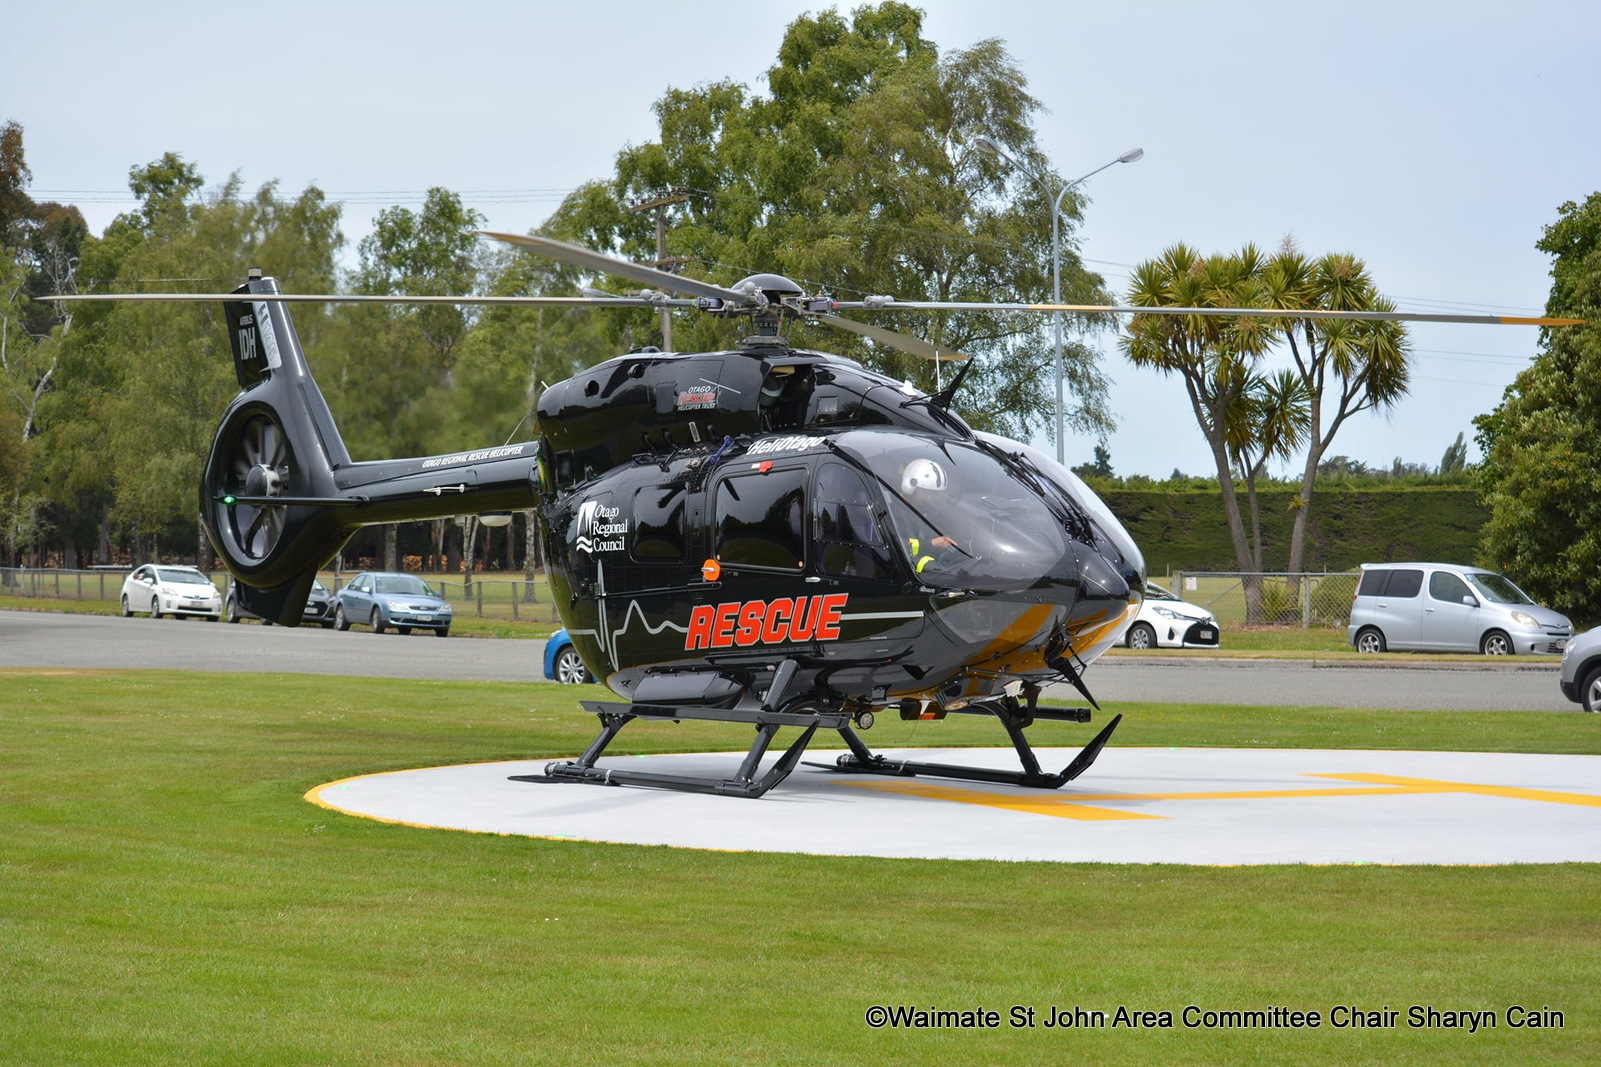
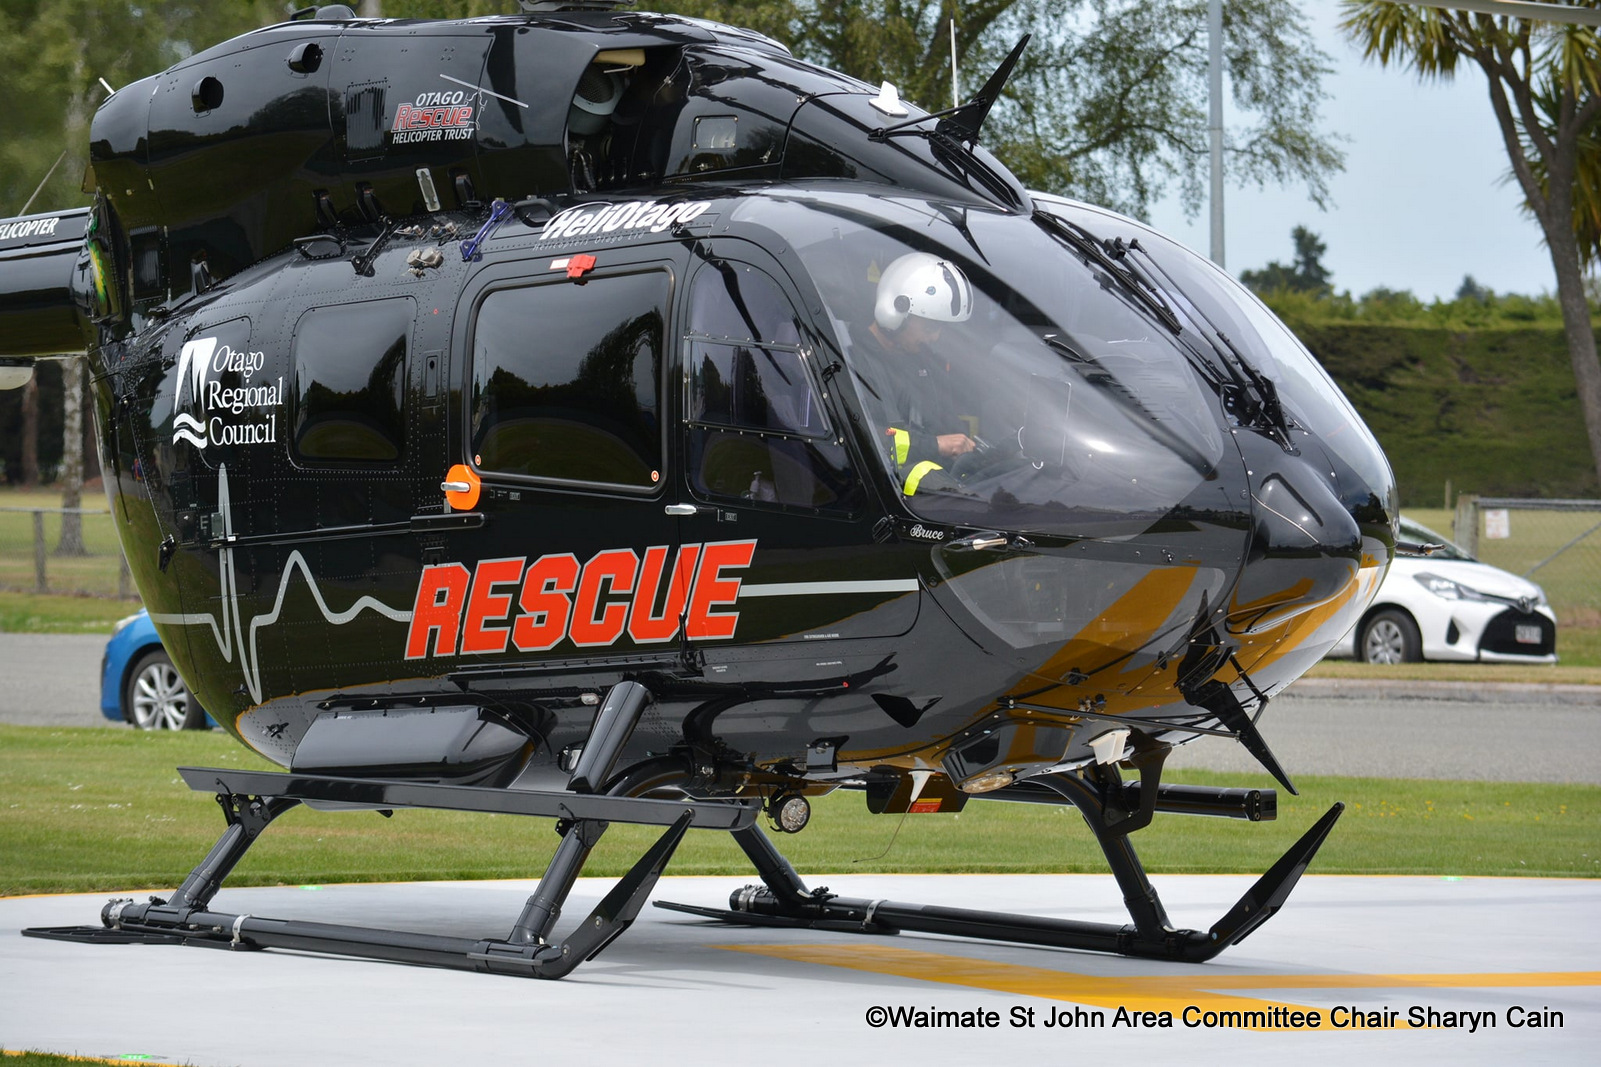
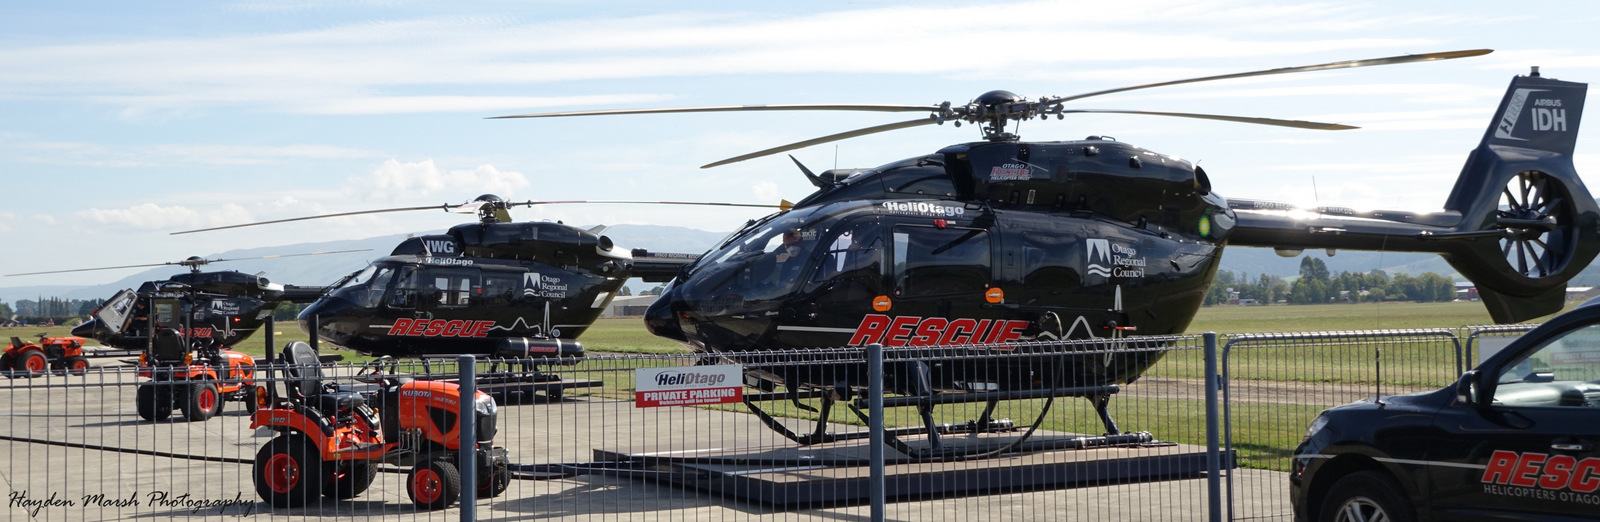
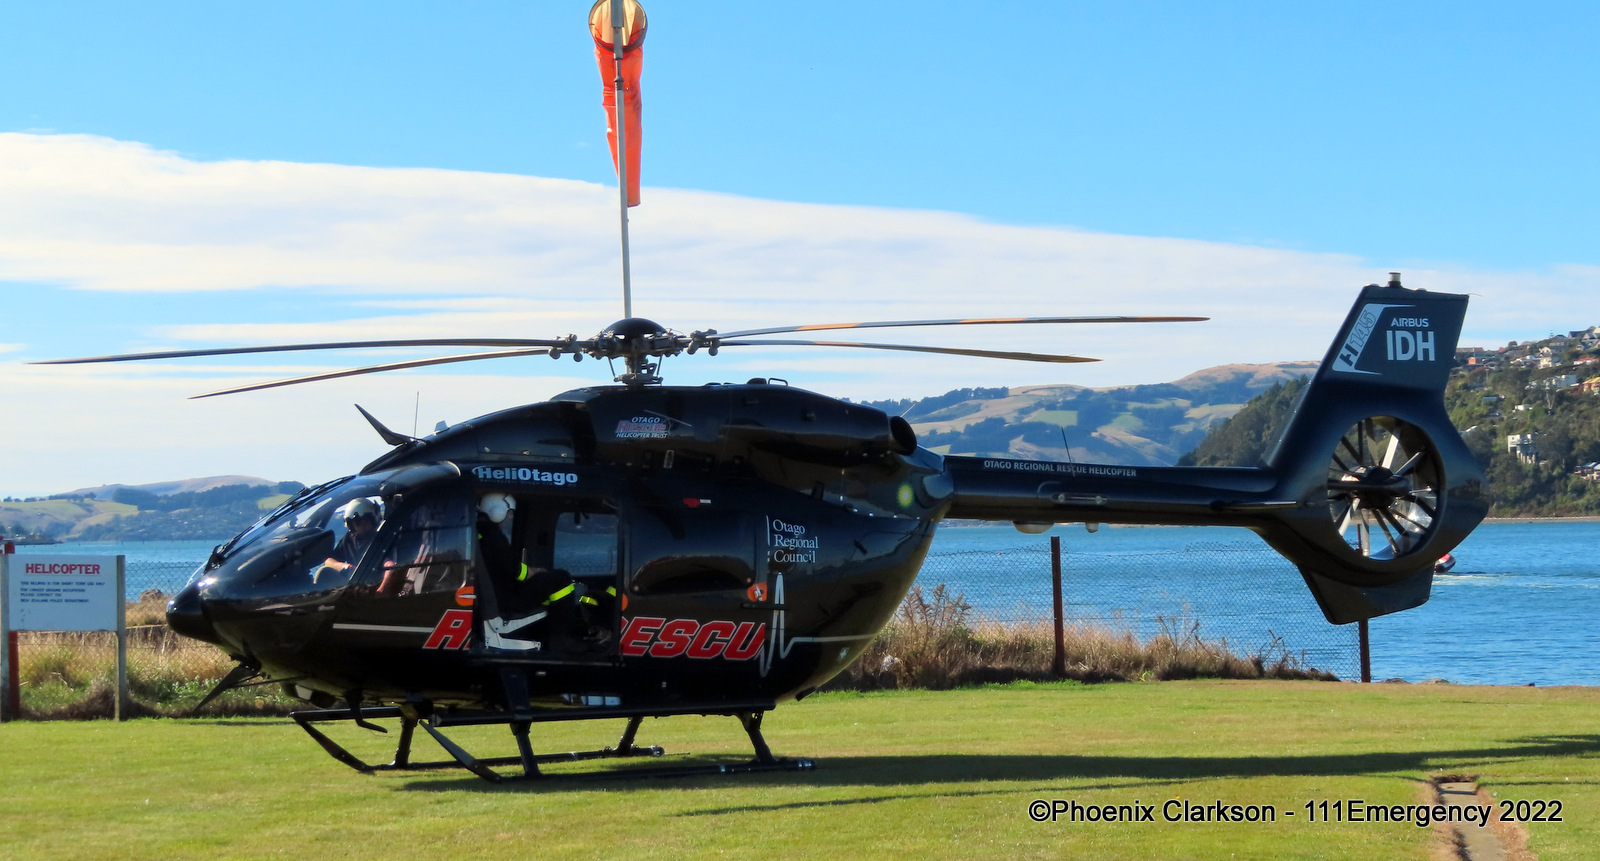
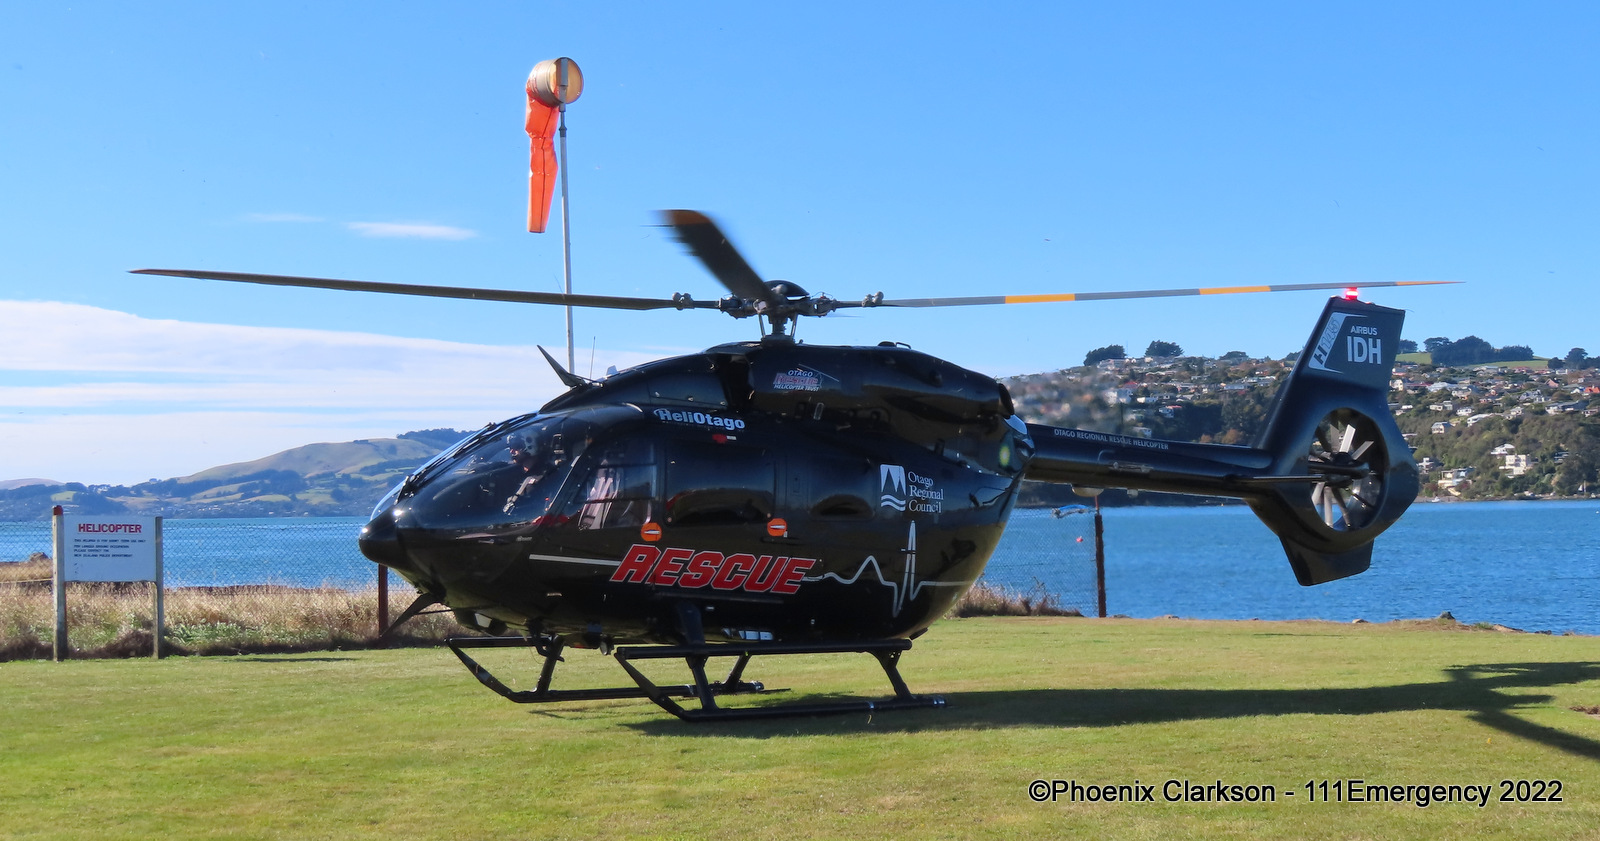
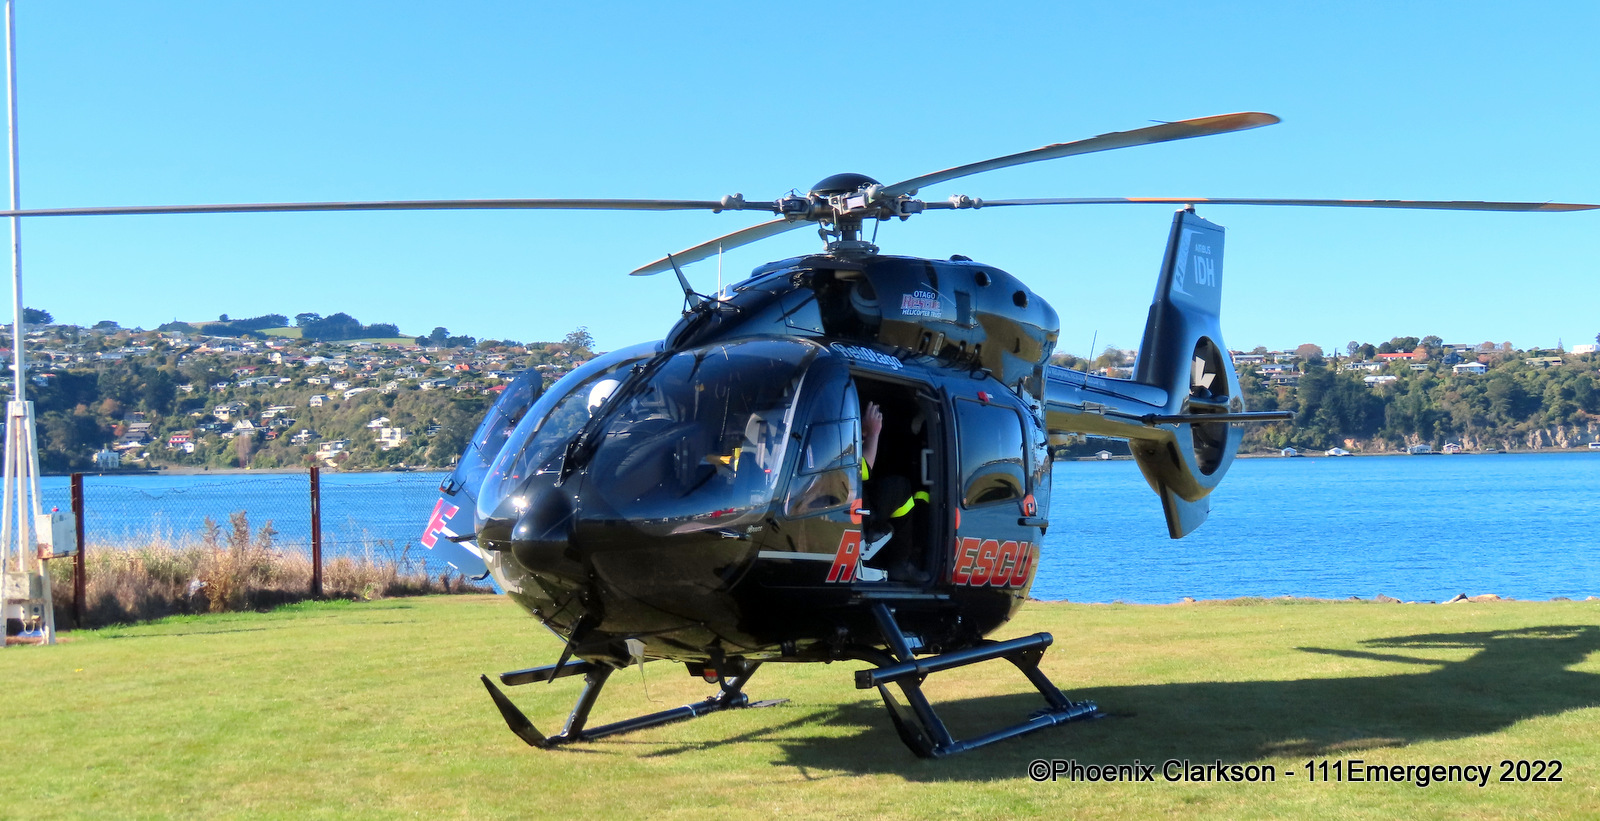
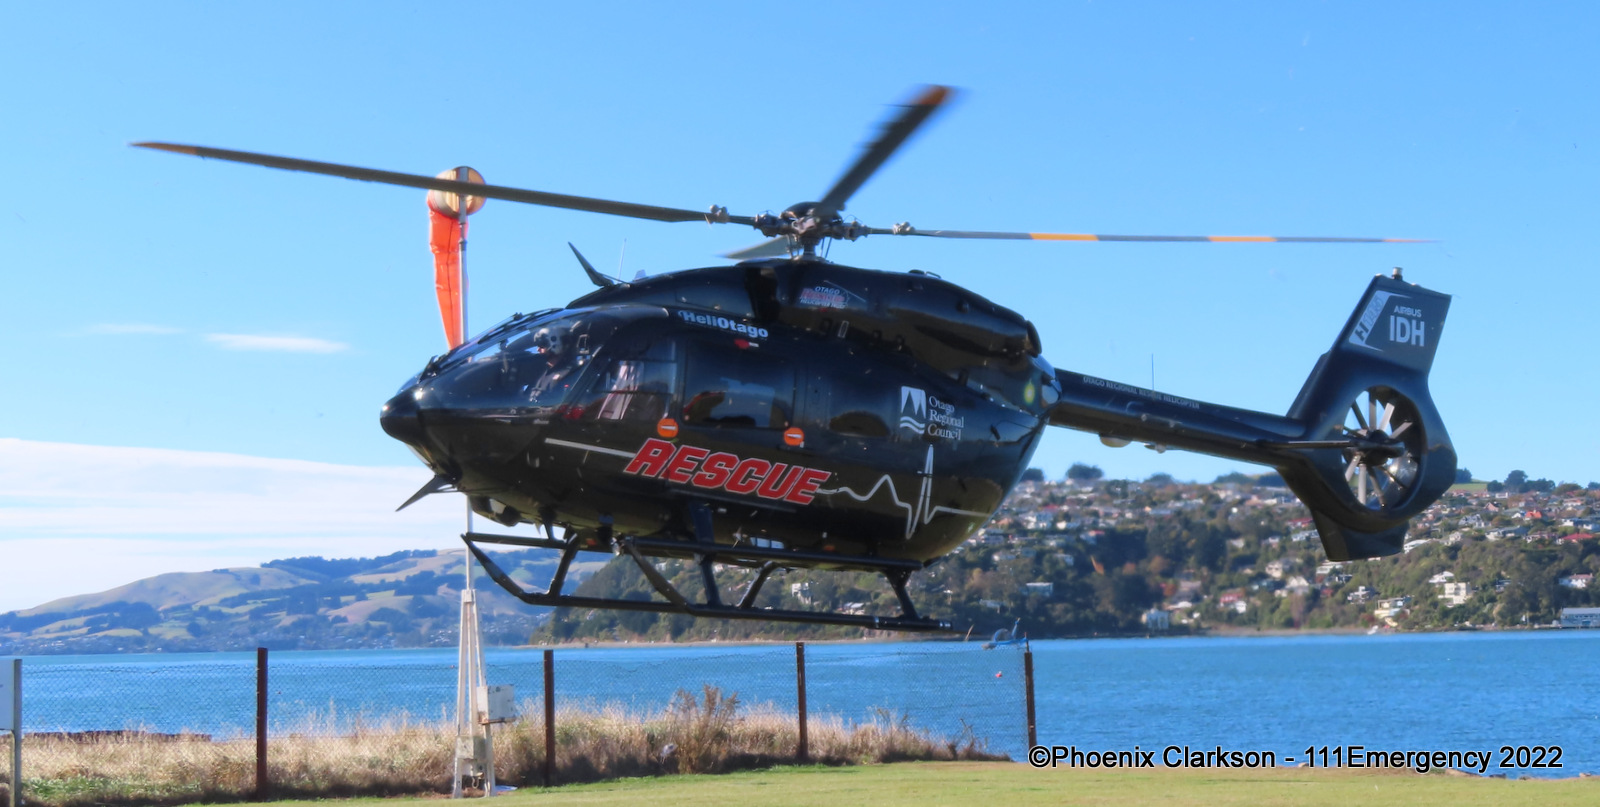
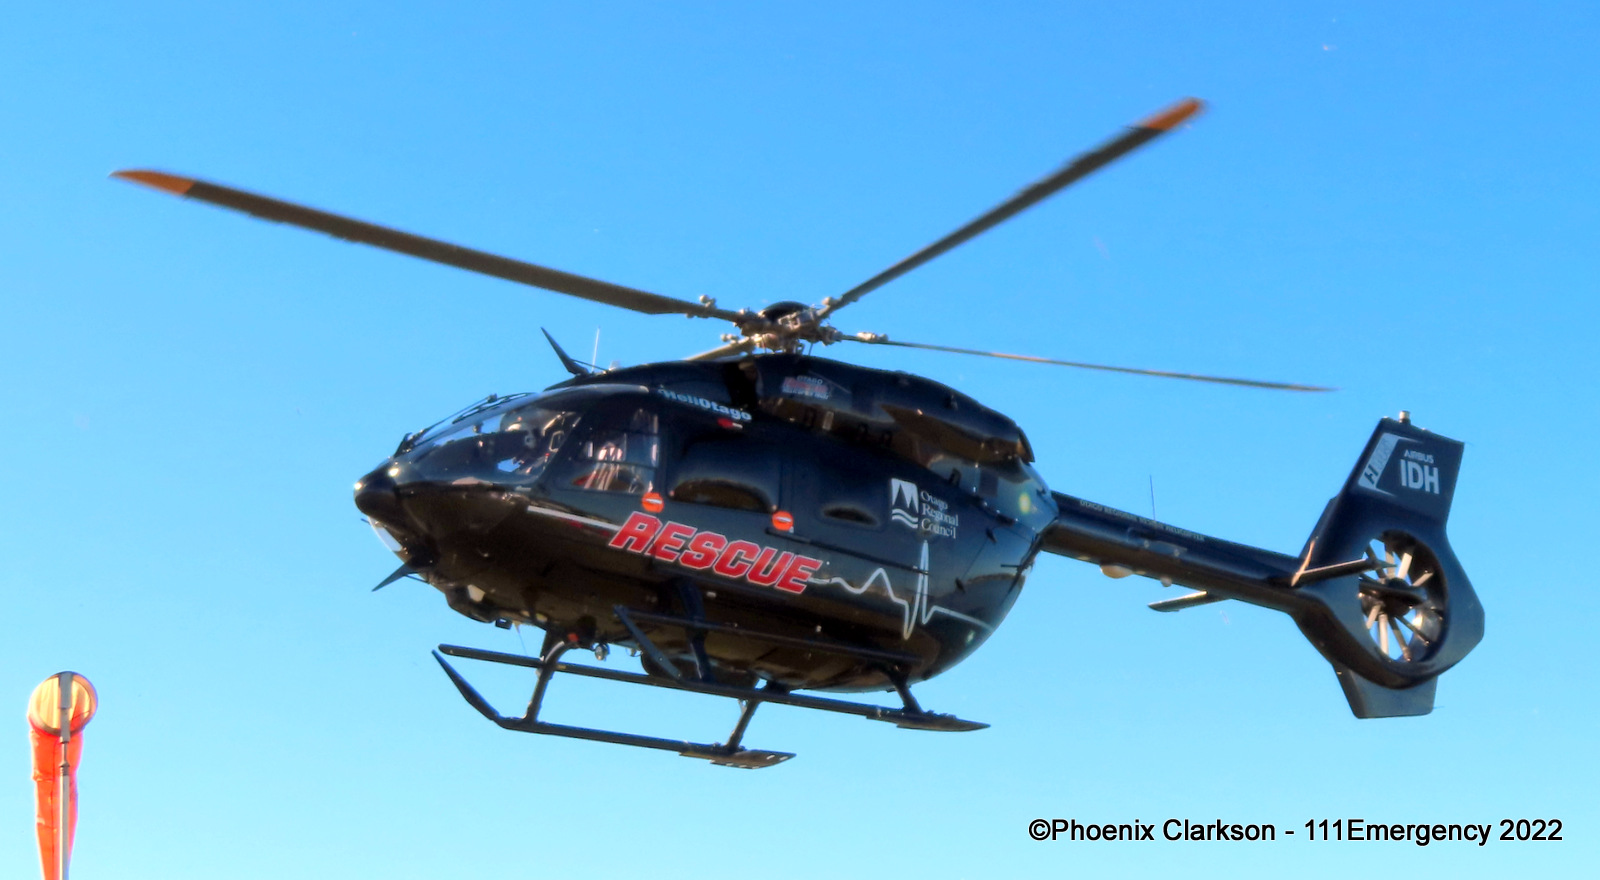
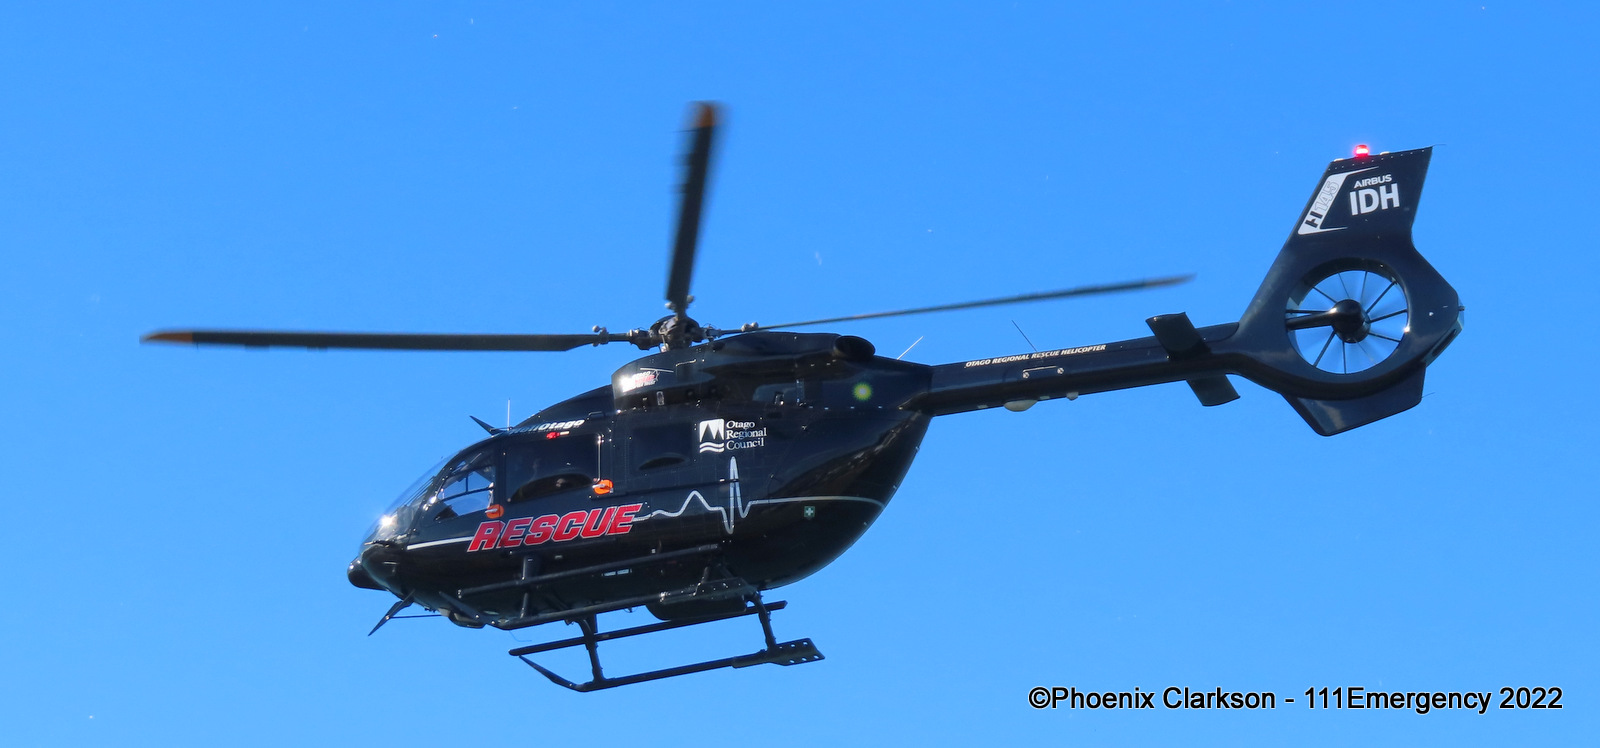
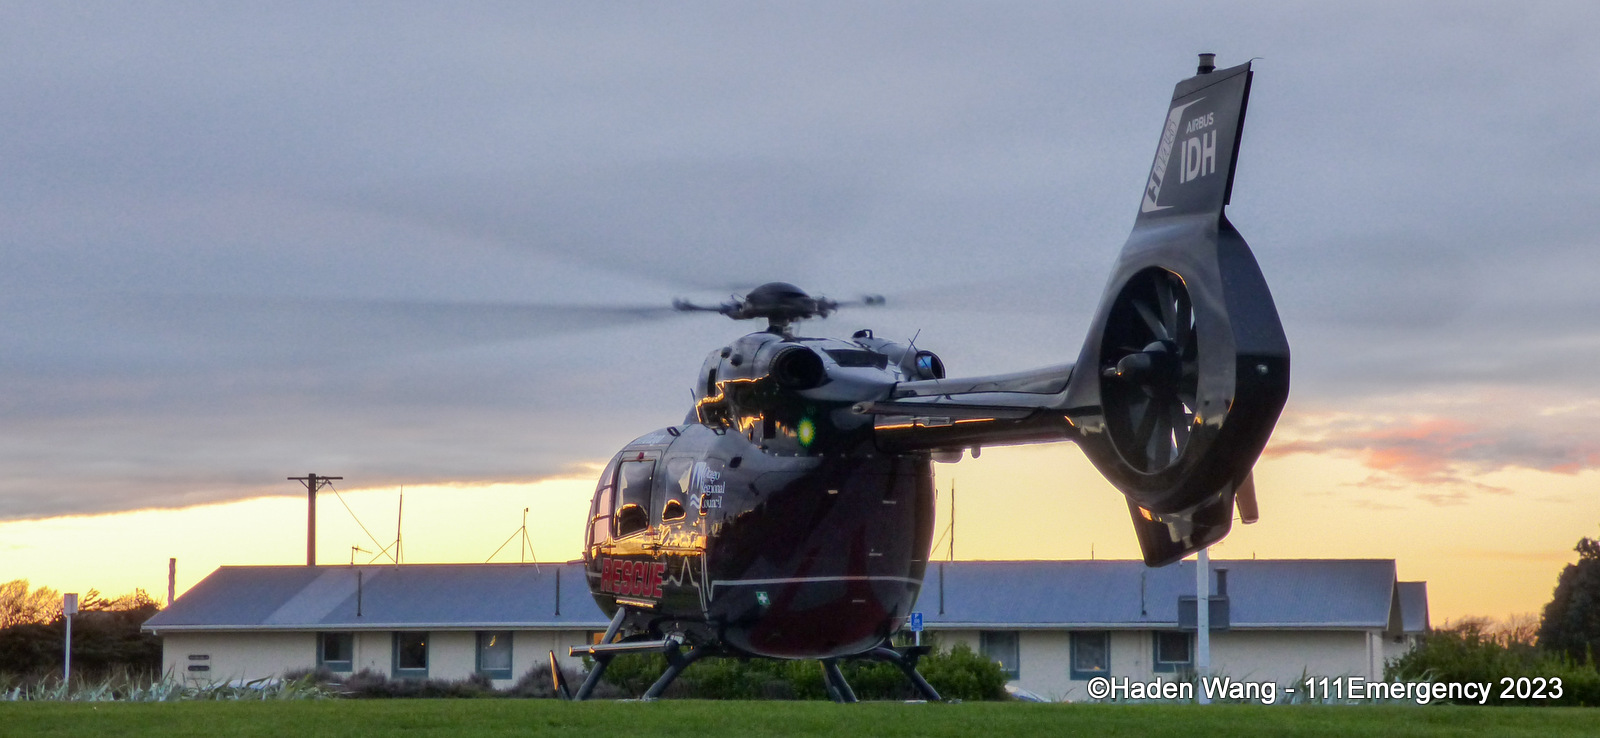
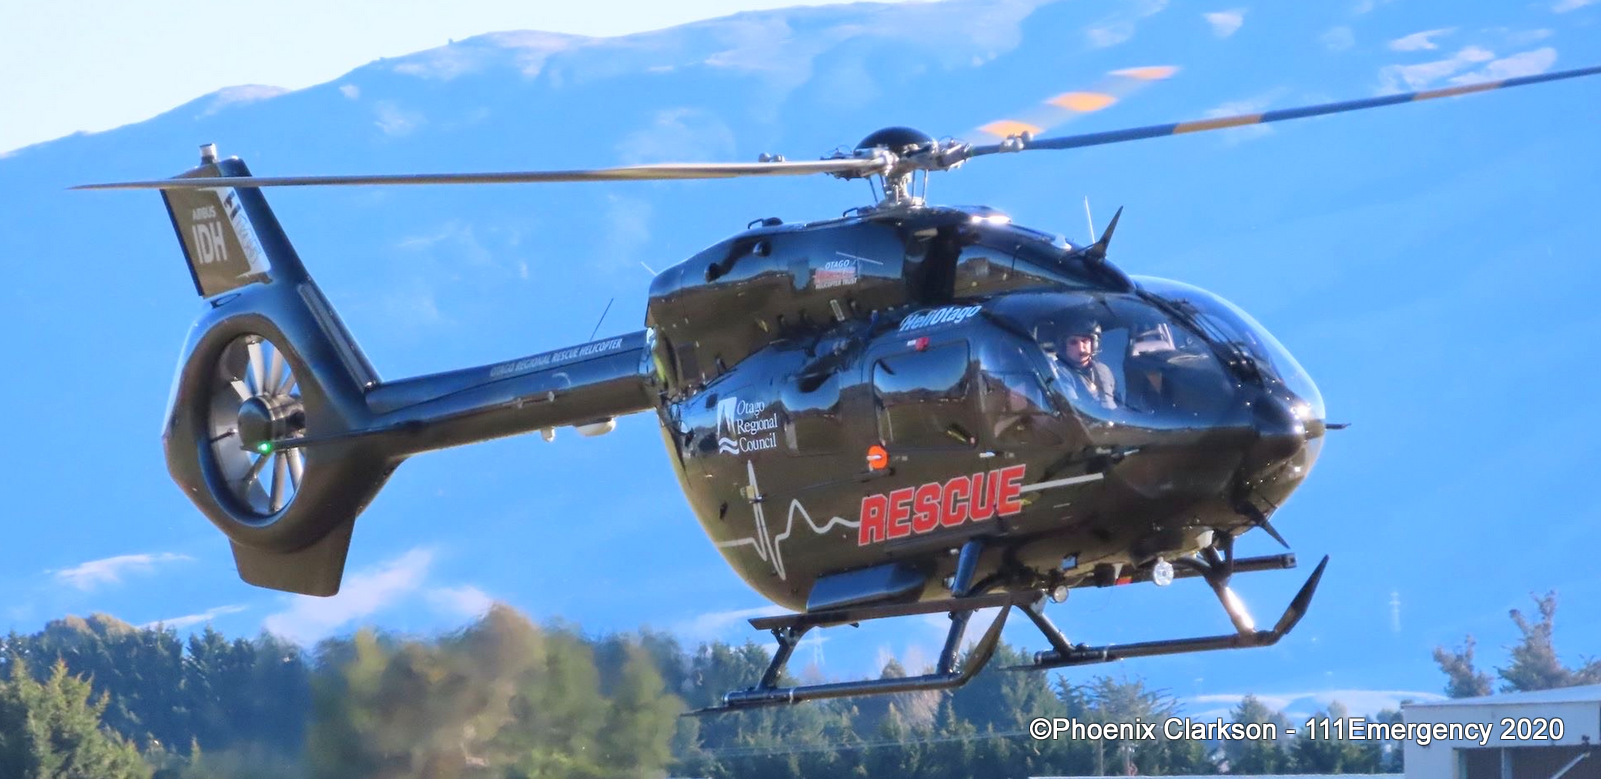
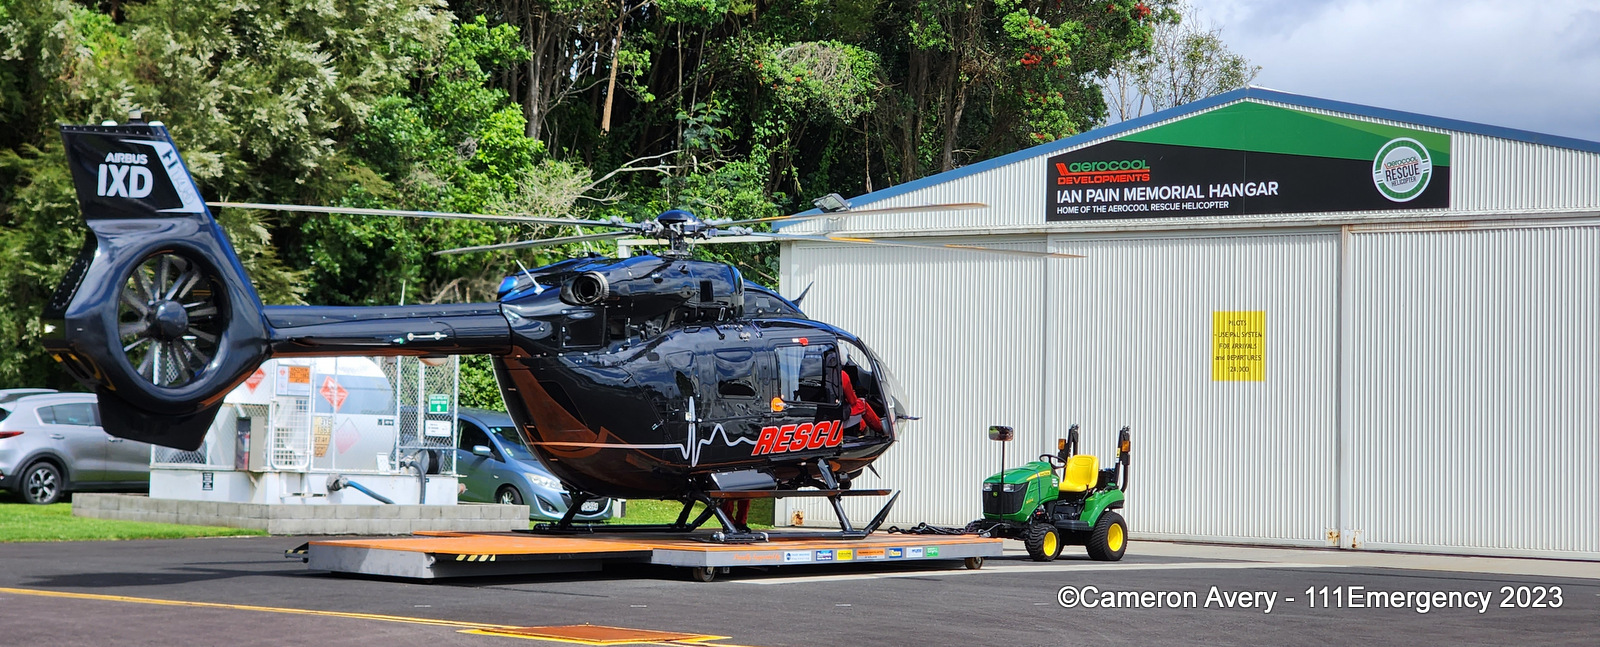
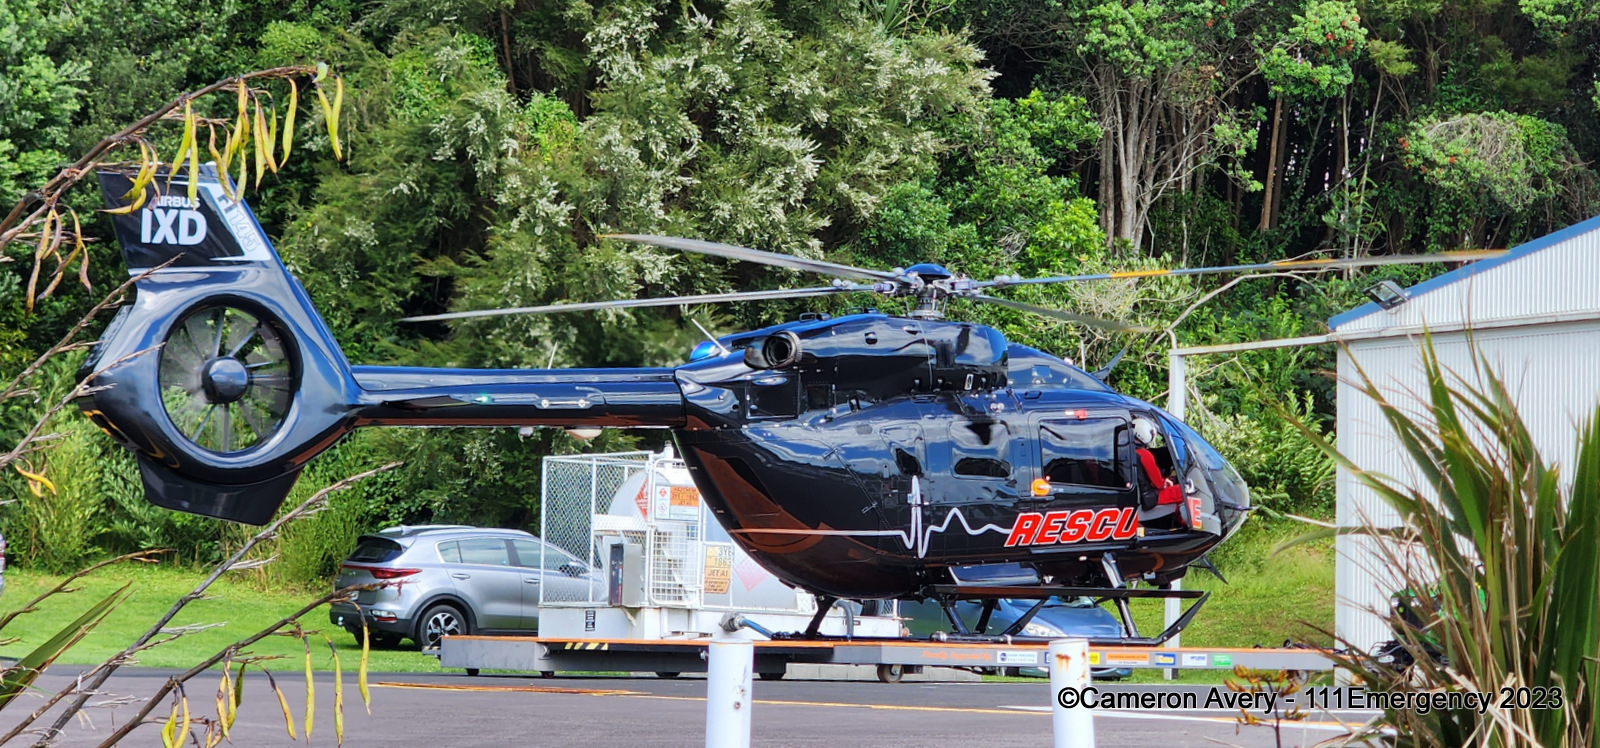
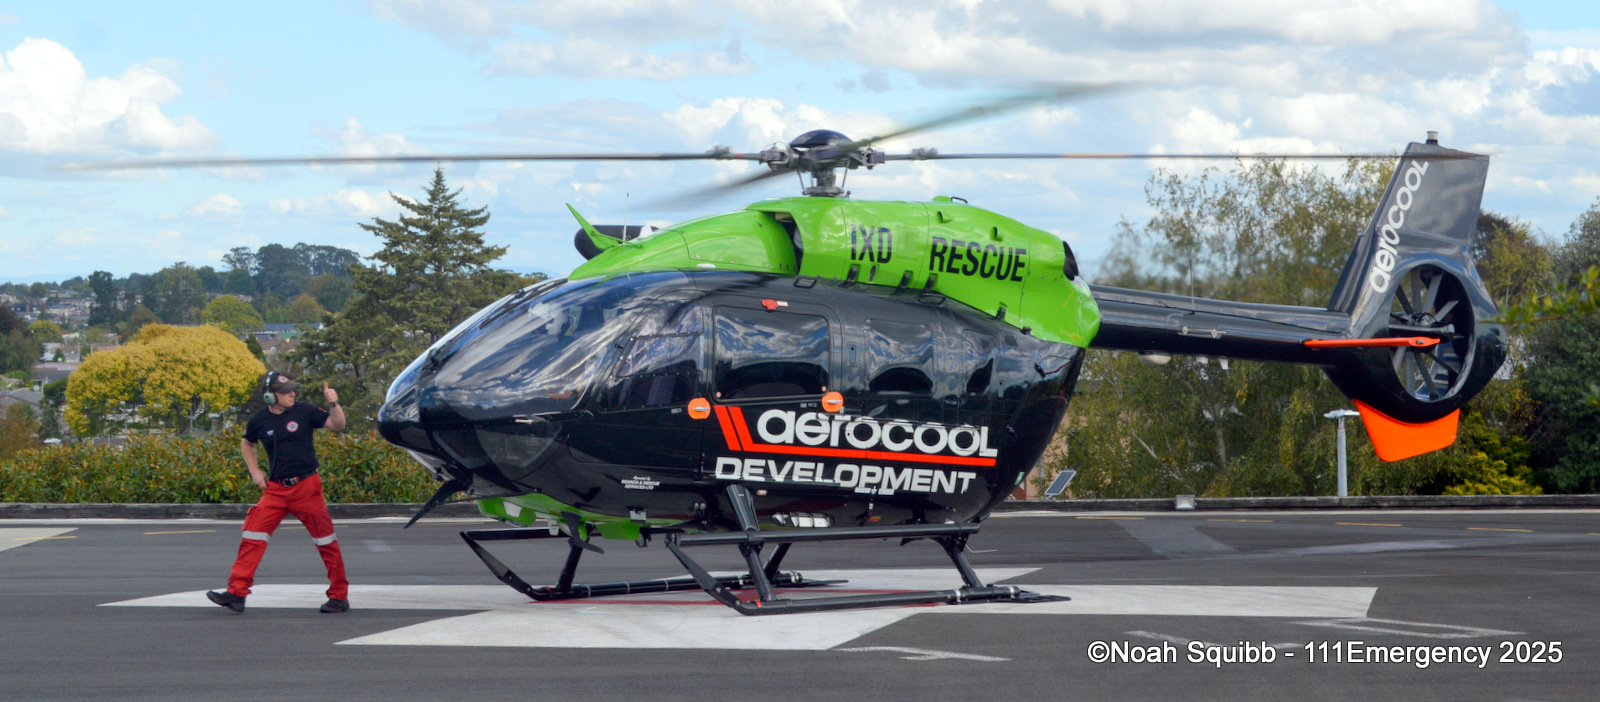
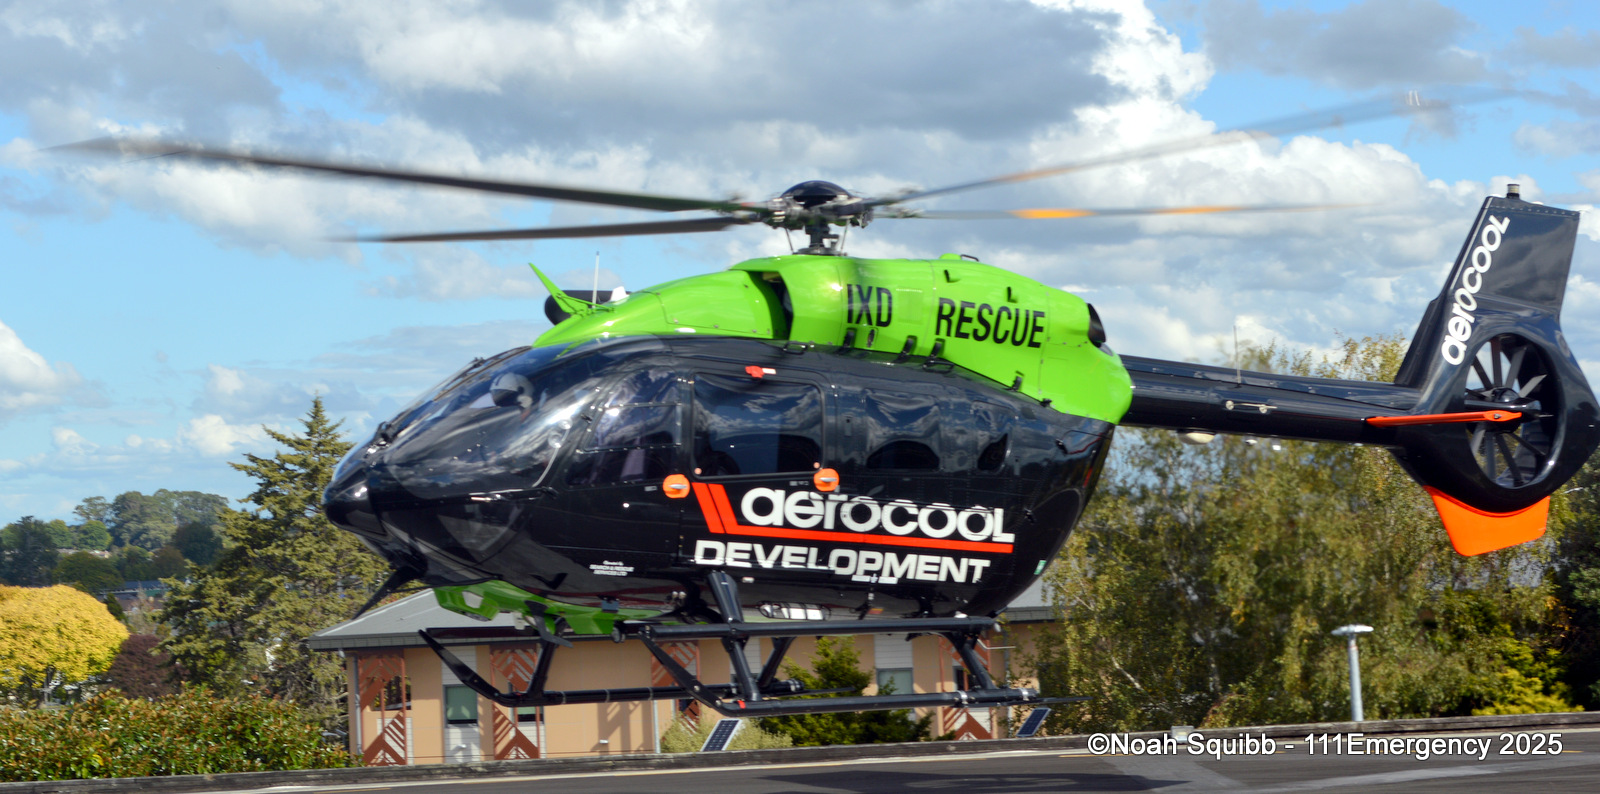
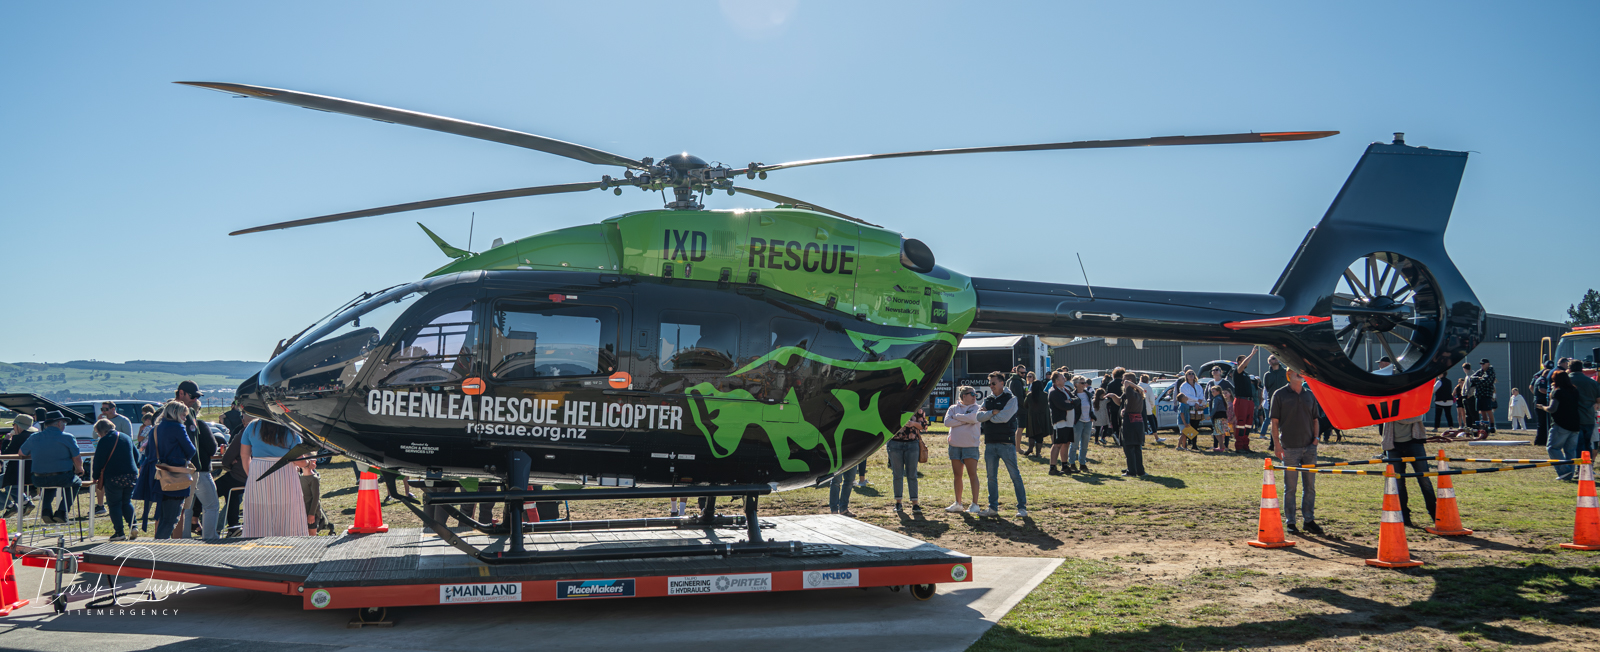
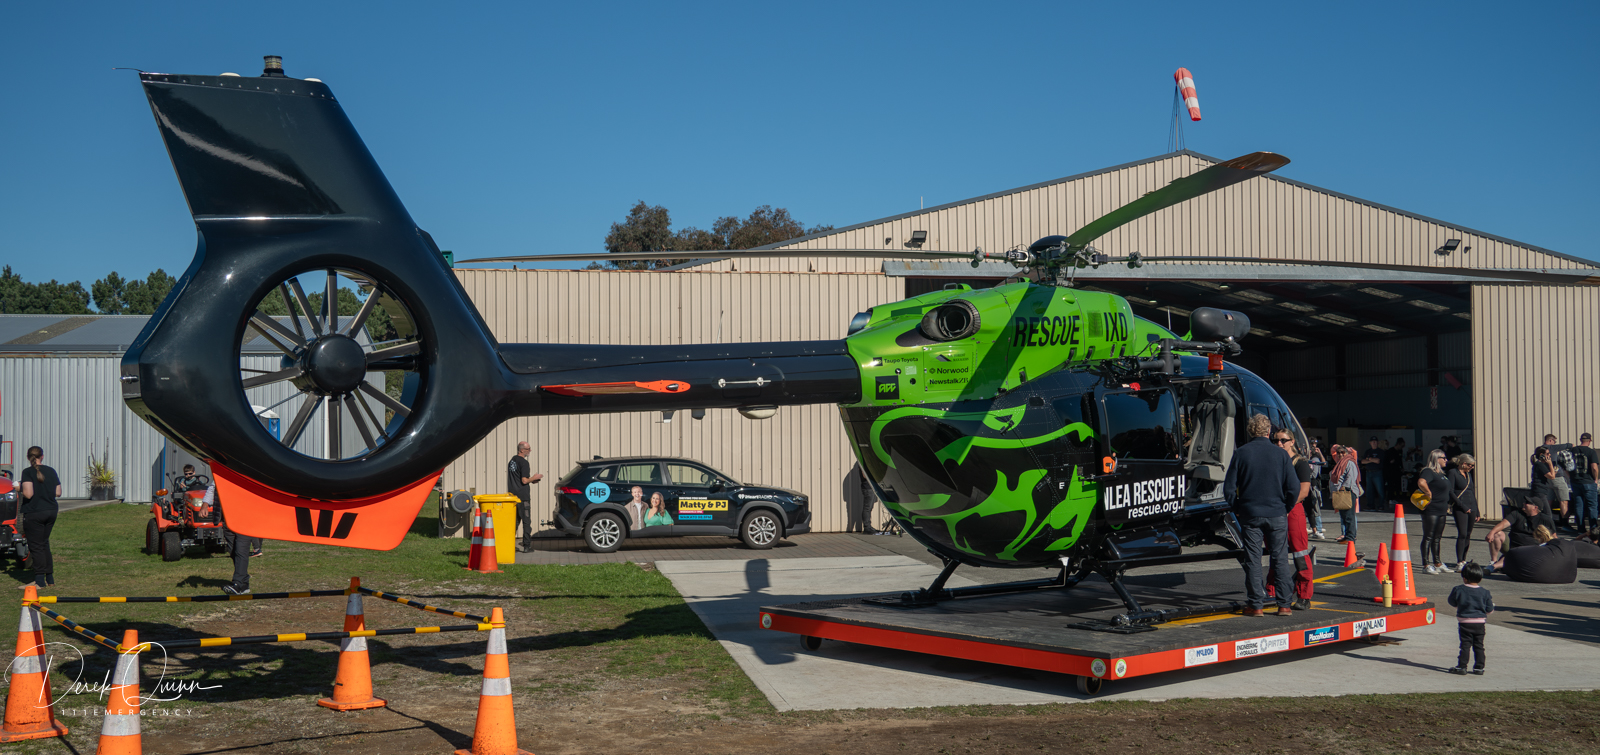
ZK-IXD
Formerly ZK-IDH
TAURANGA
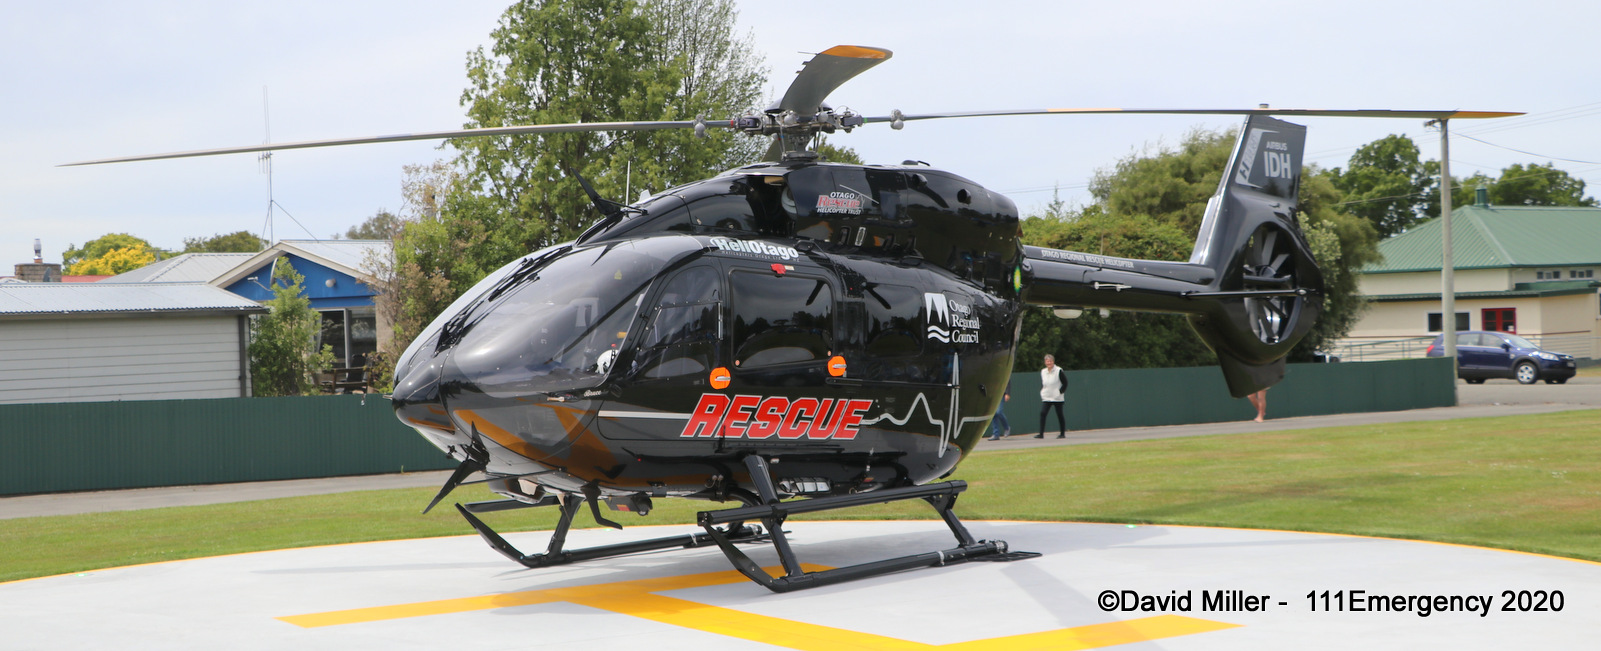
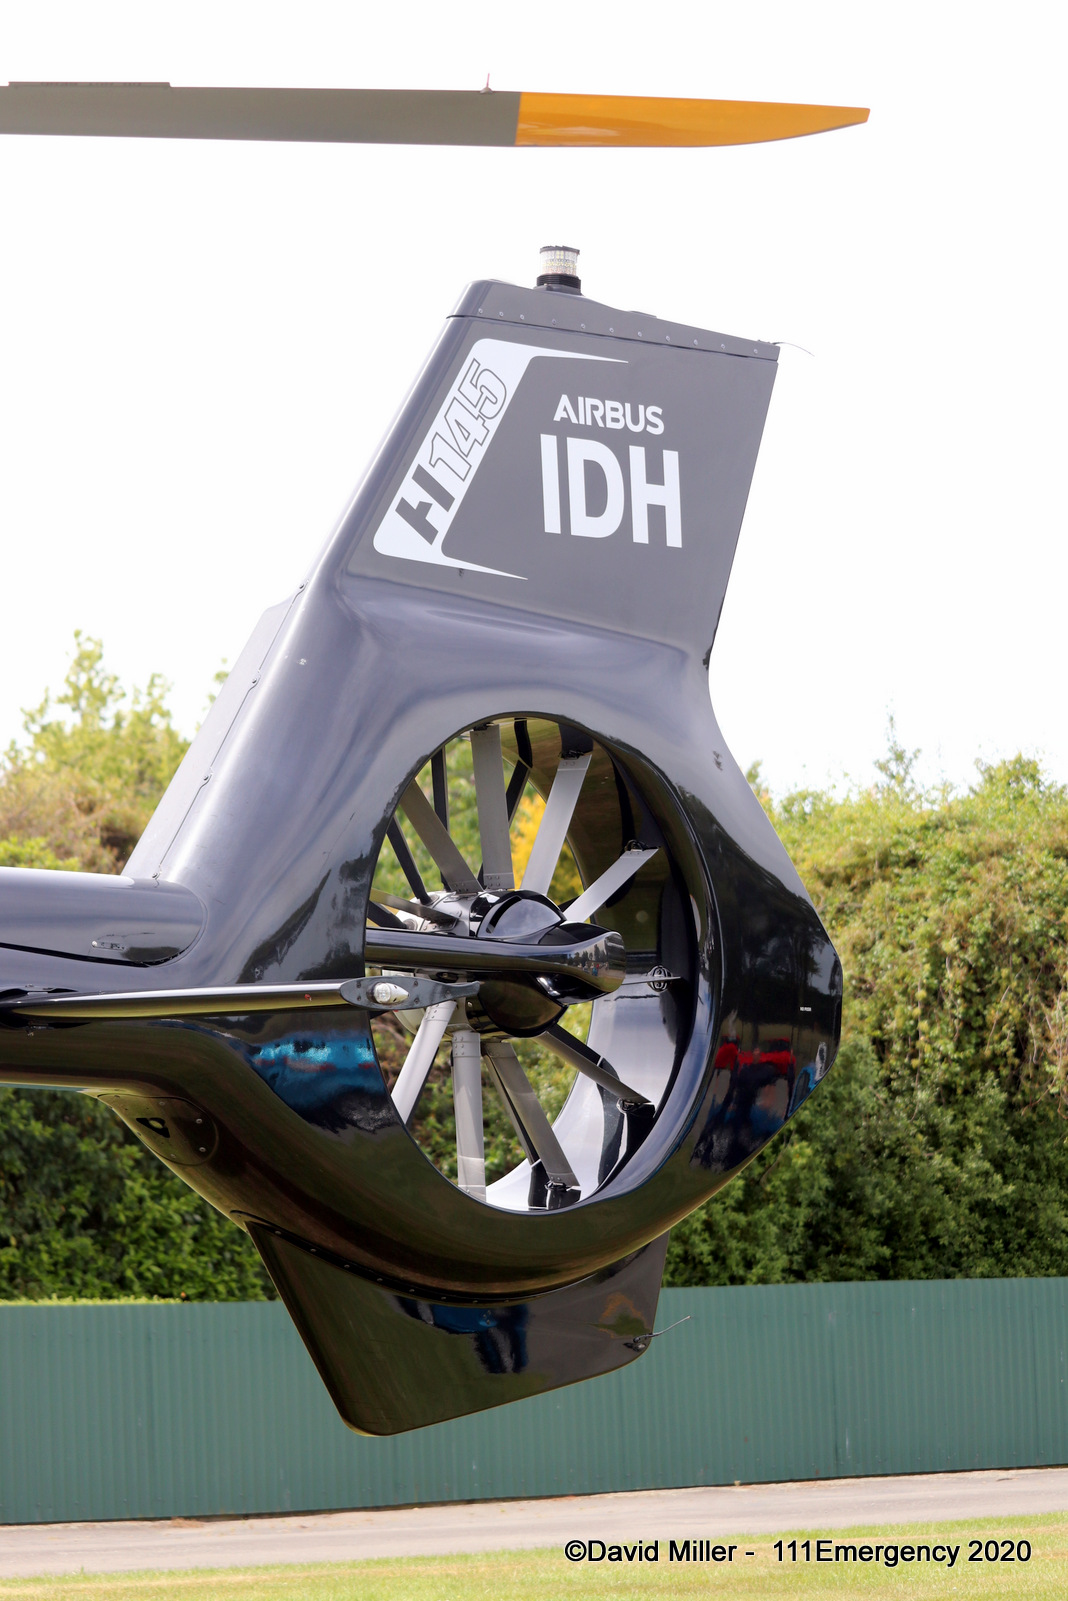
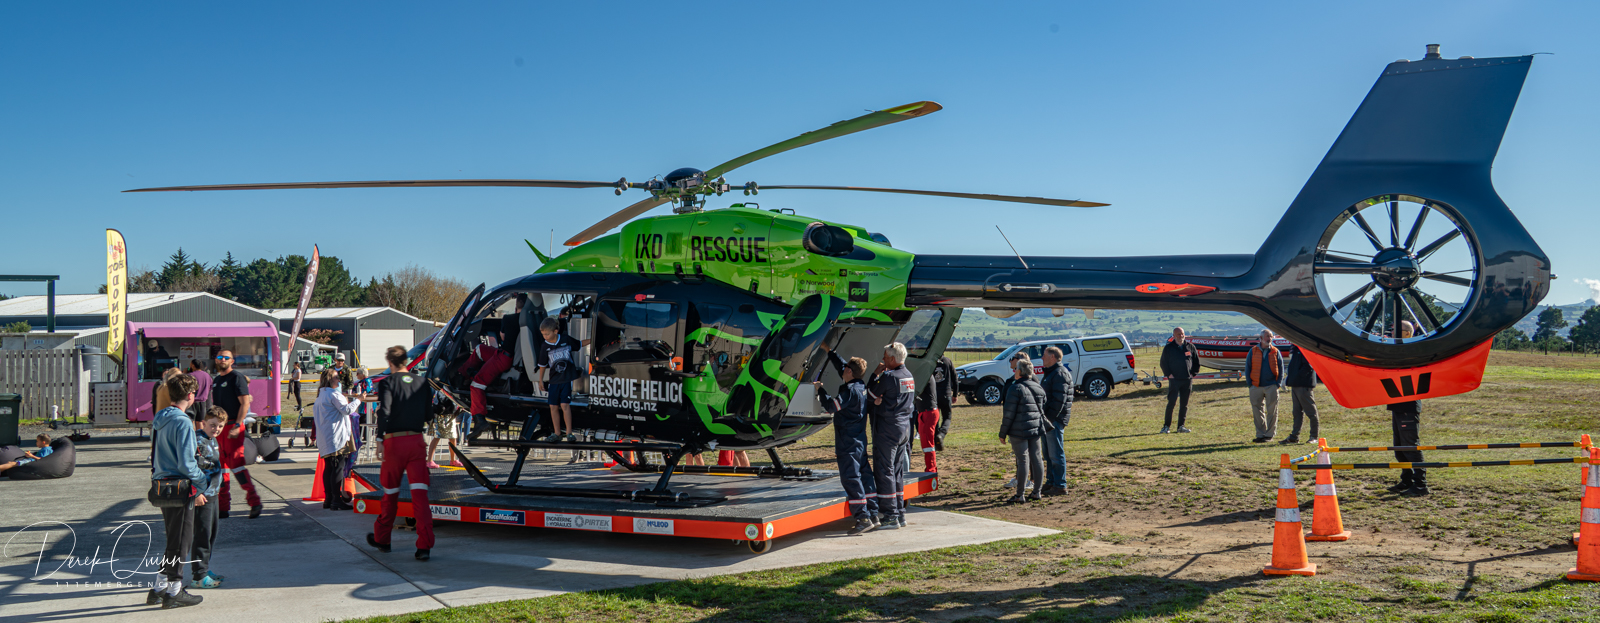
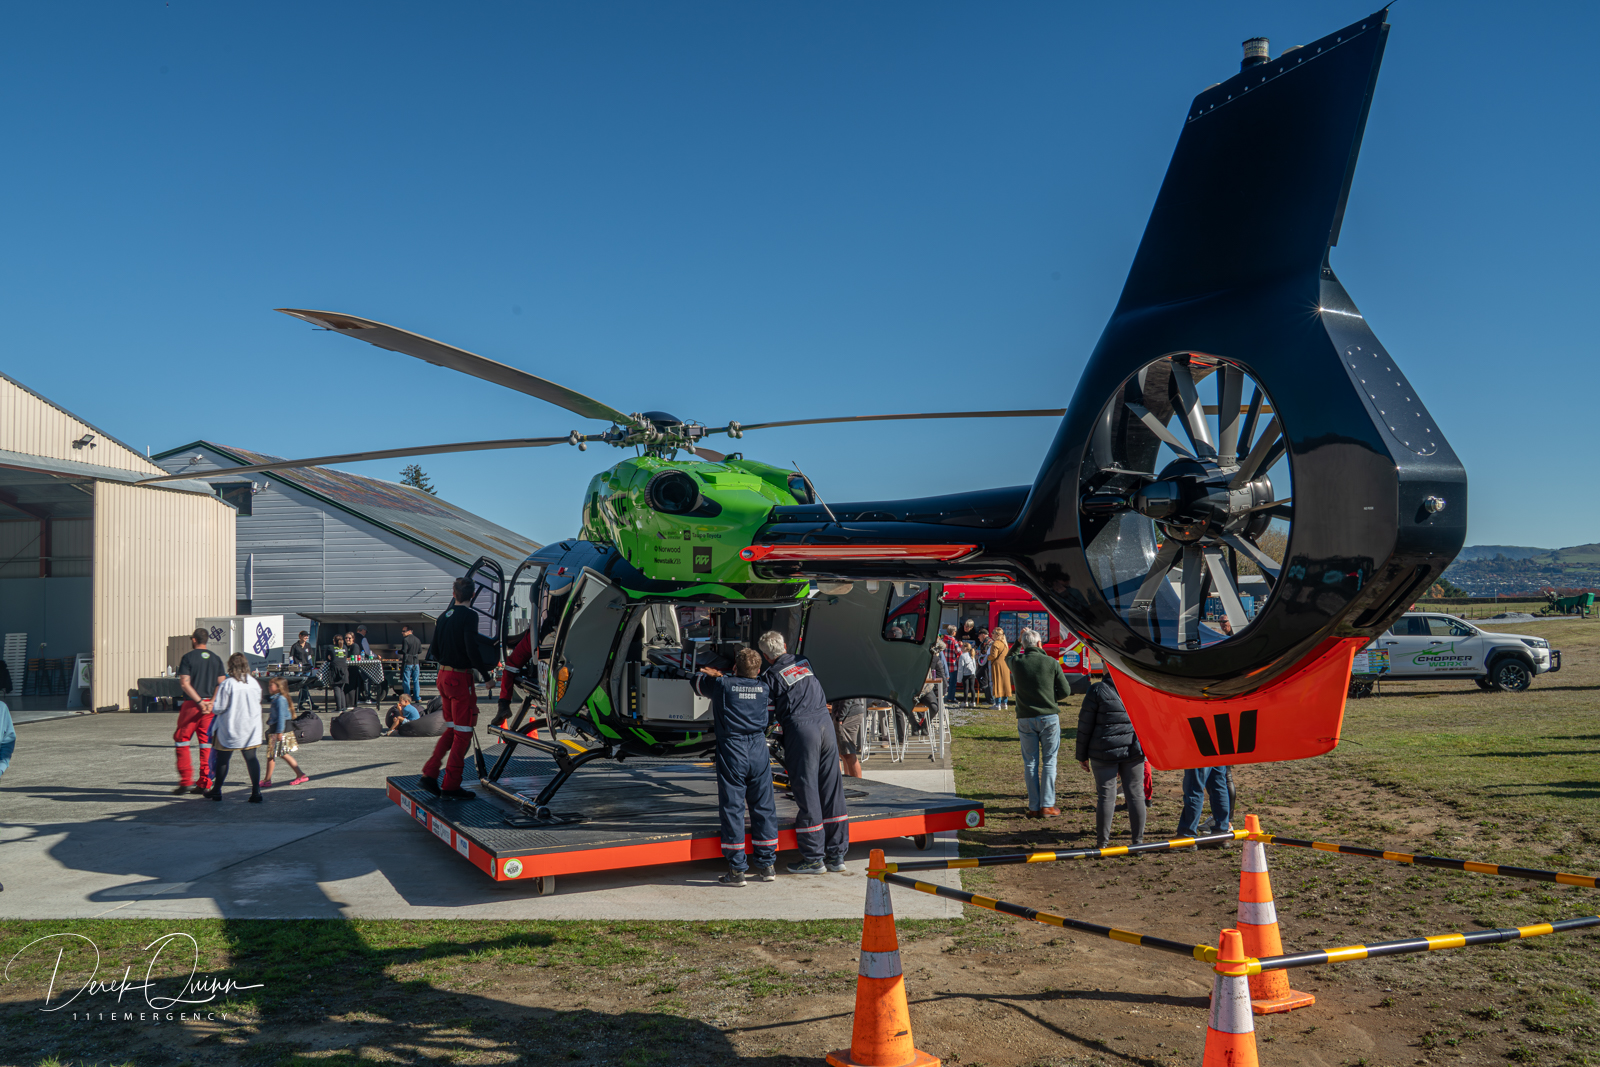
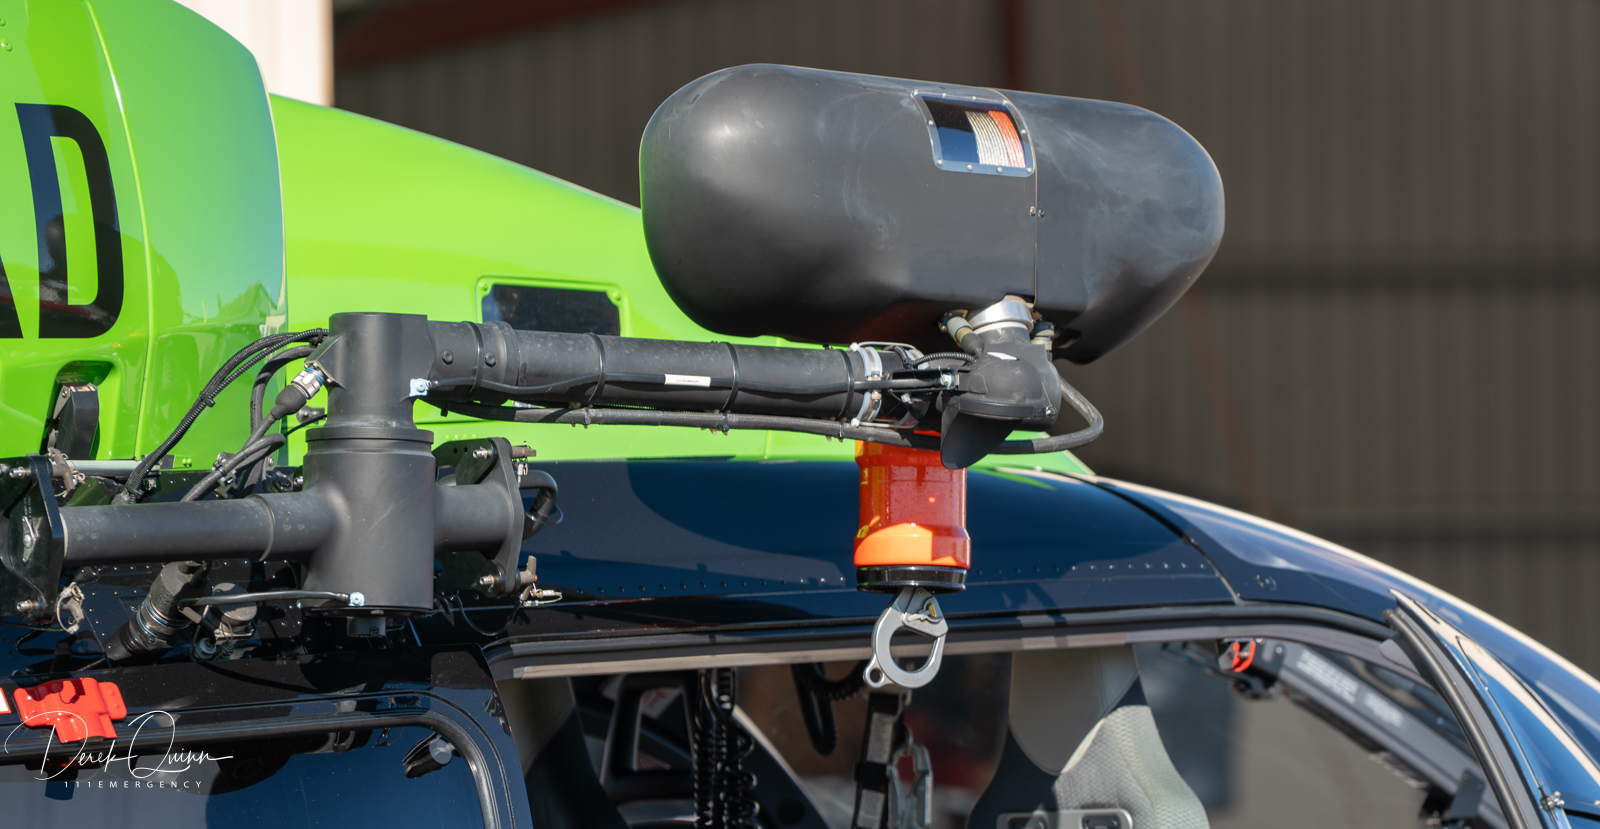
Airbus H145 D3
 |
 |
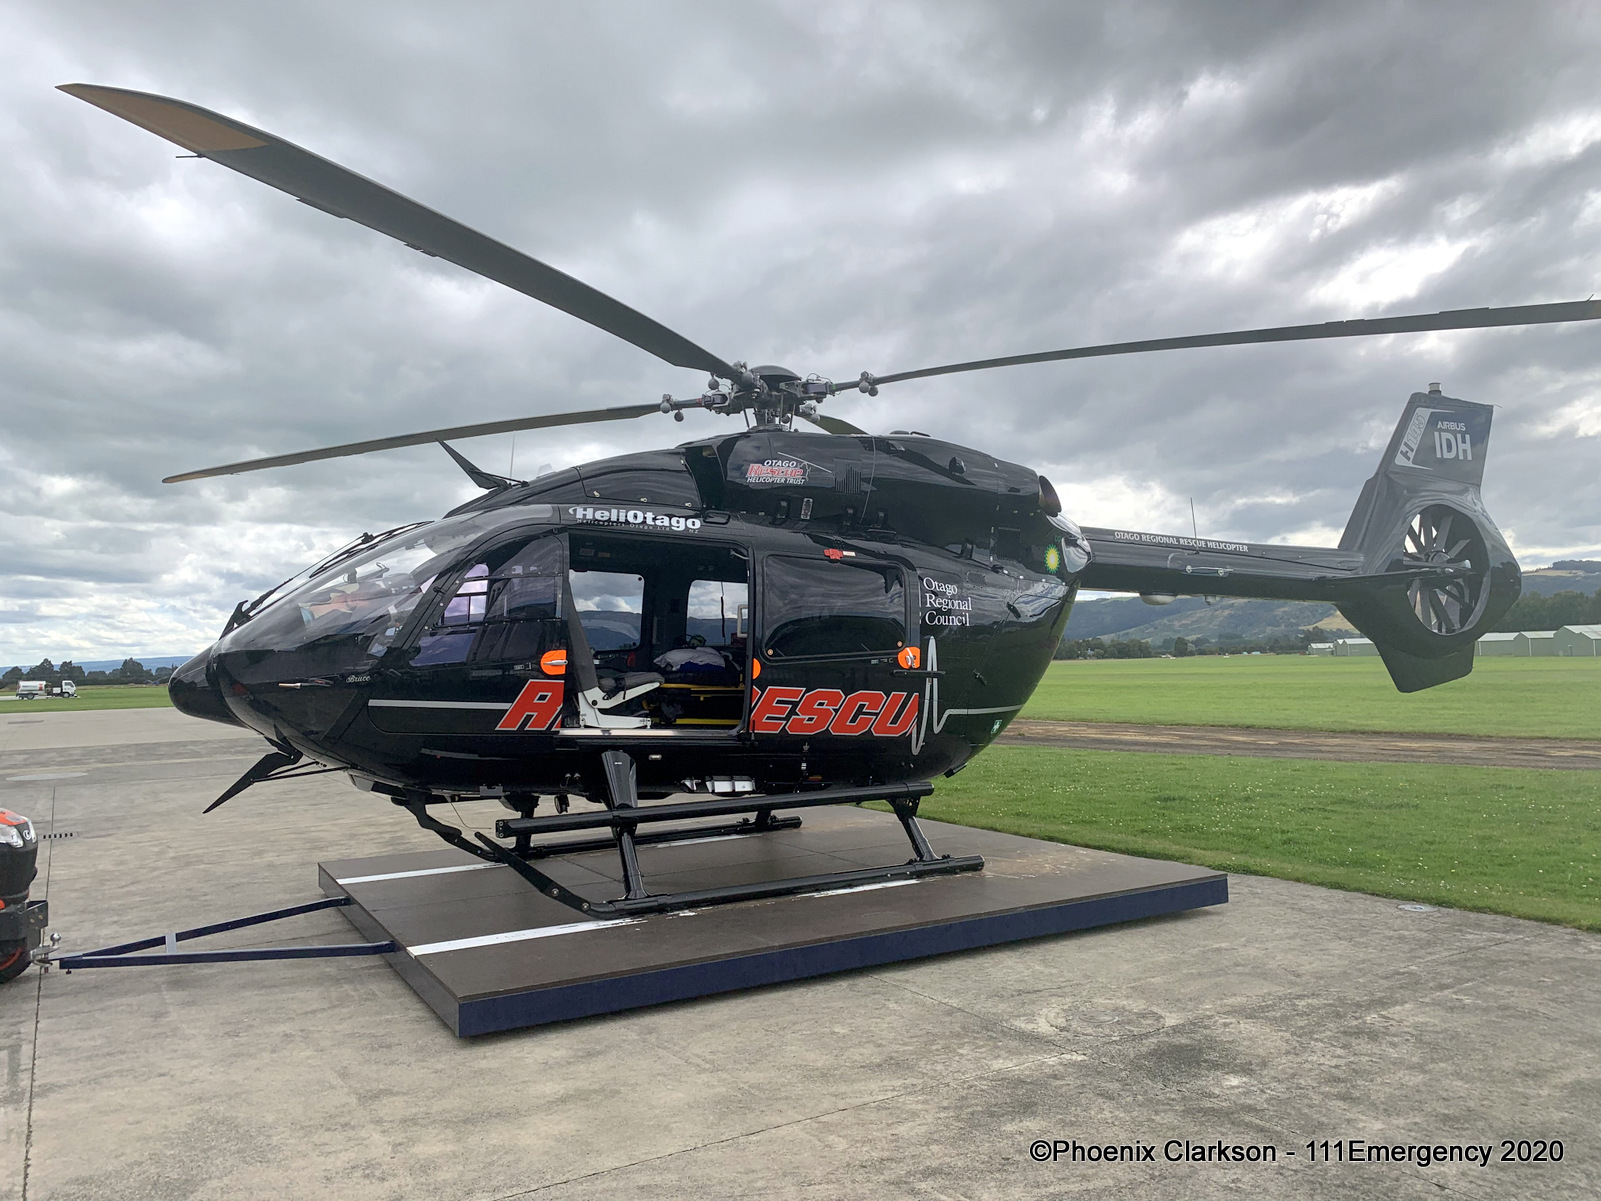 |
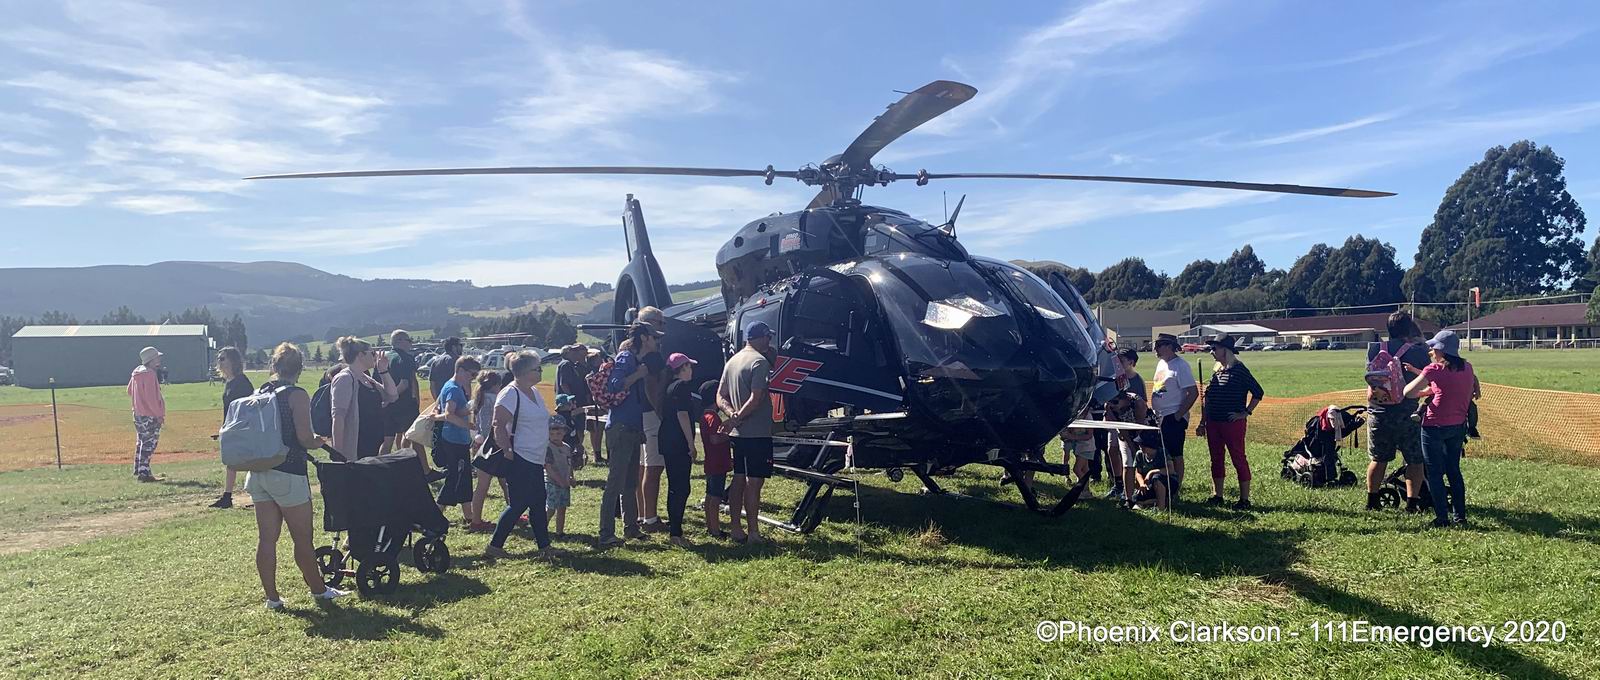
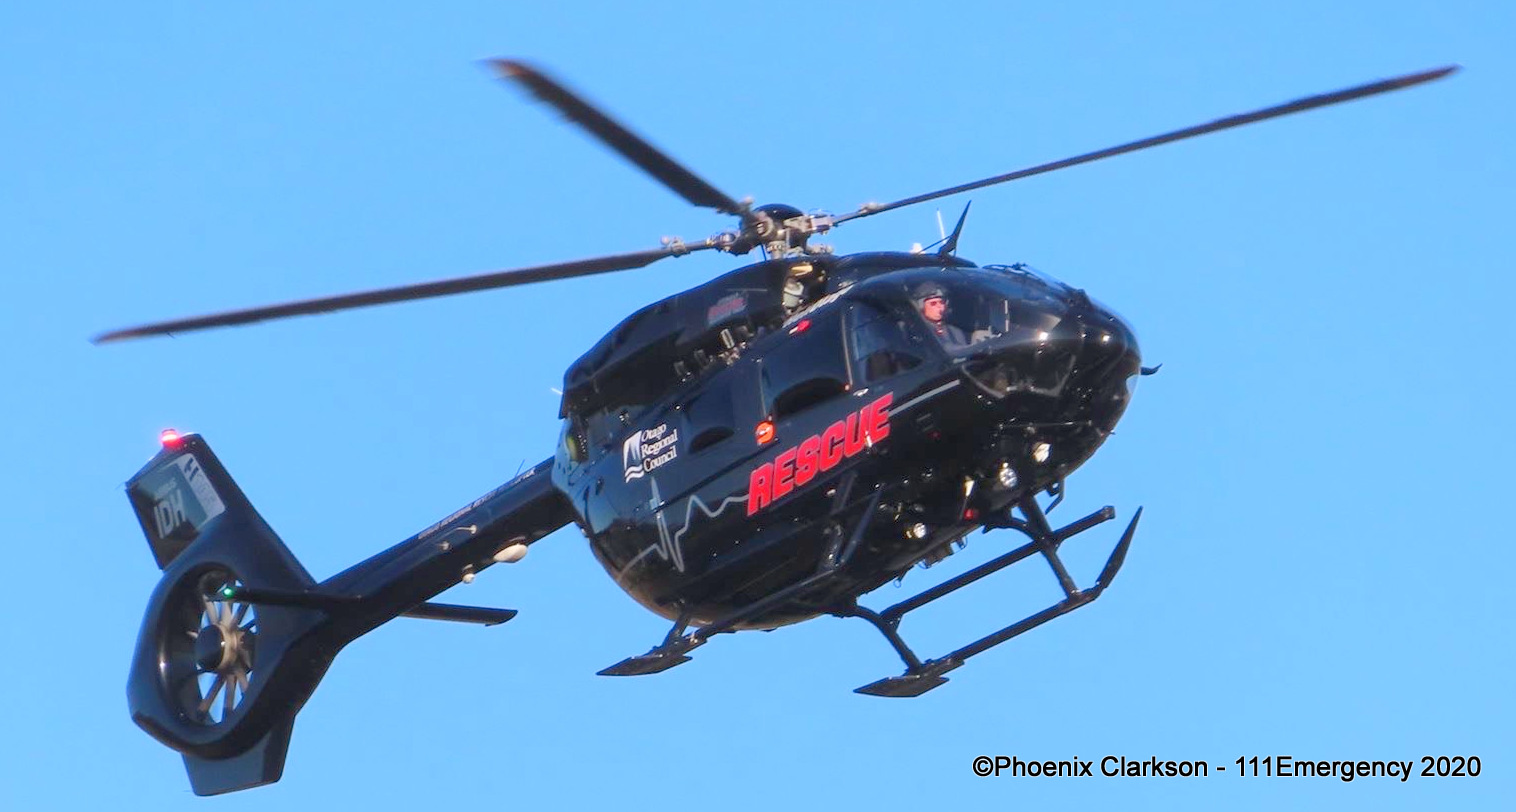
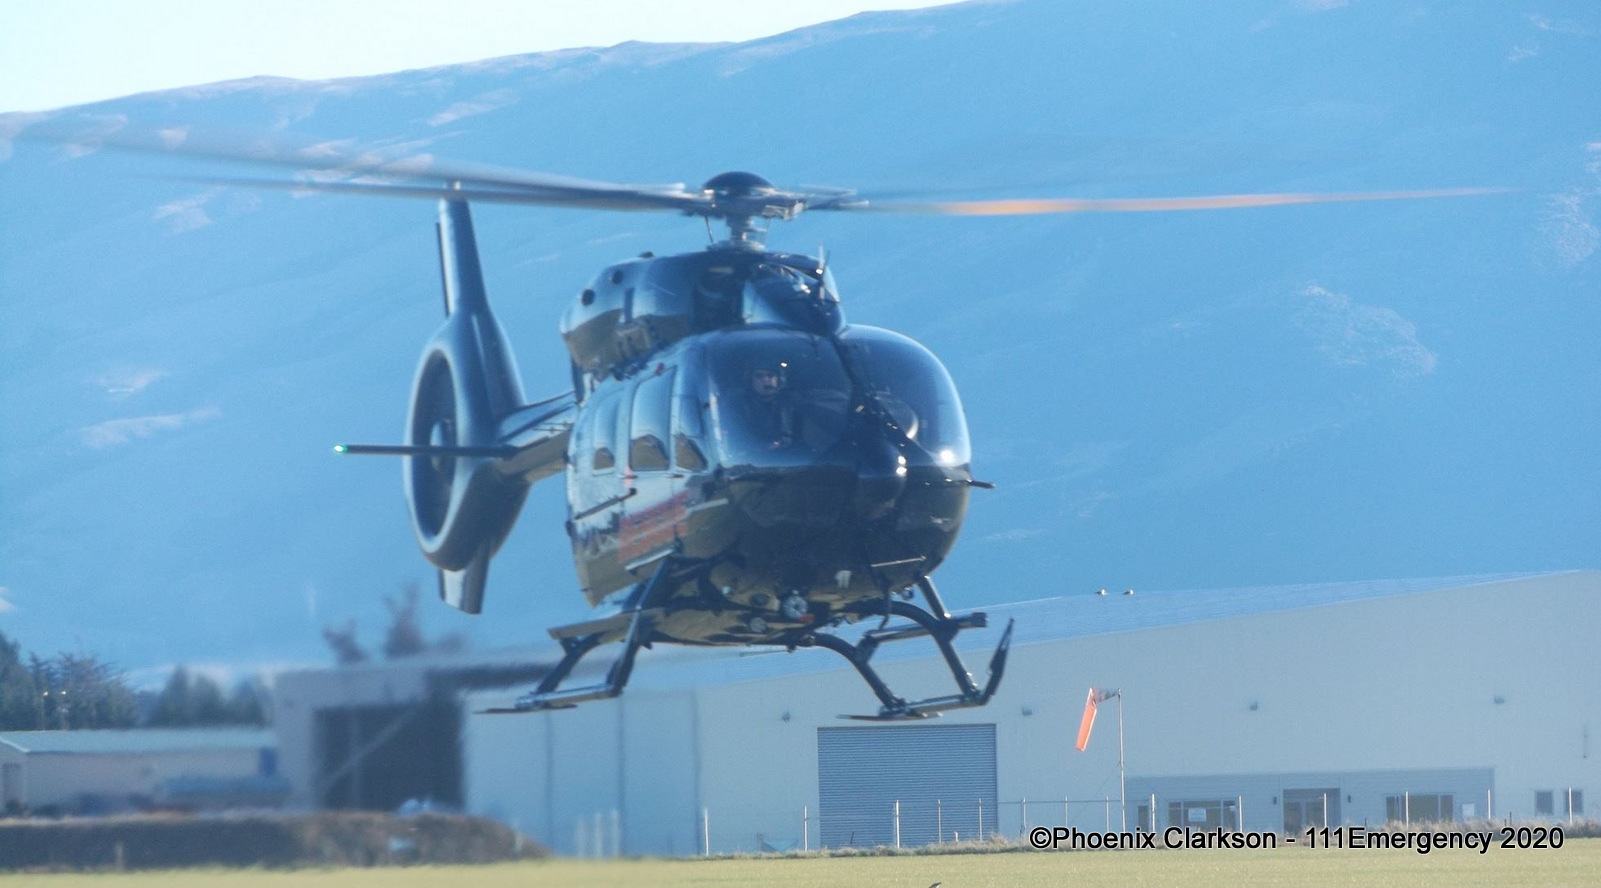
| Photo by Phoenix Clarkson | Photo by Phoenix Clarkson | Photo by Phoenix Clarkson |
 |
 |
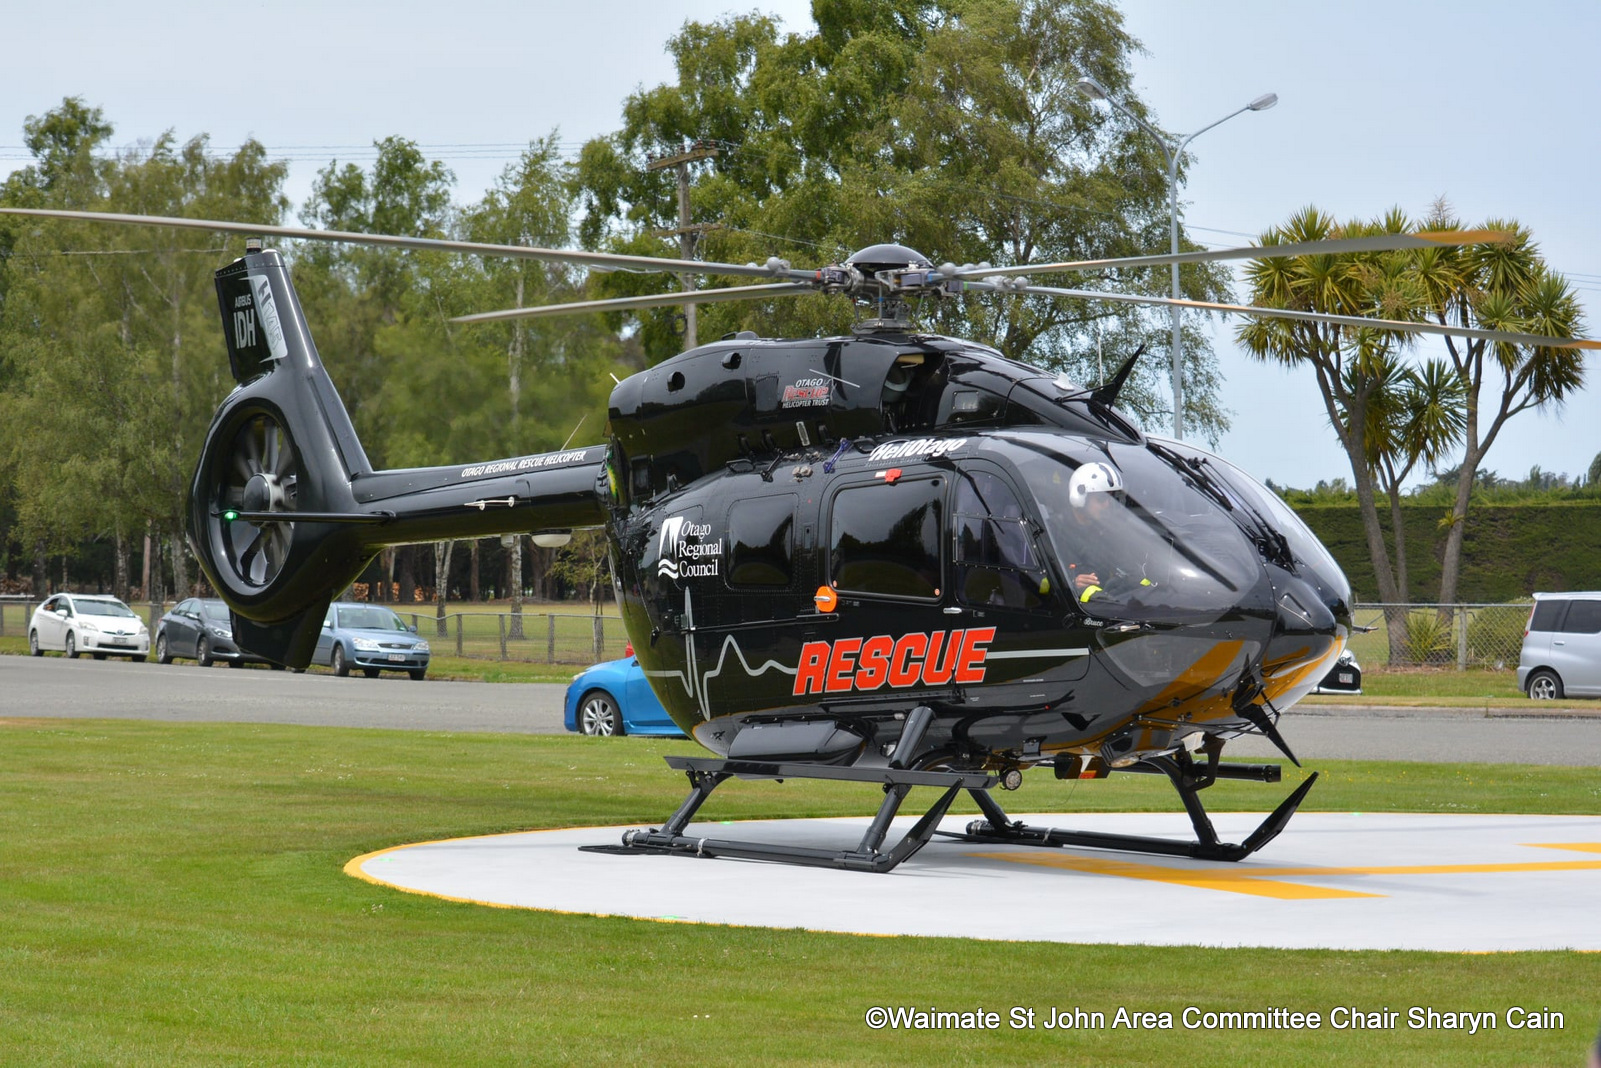 |
| Photo by Phoenix Clarkson | Photo by Phoenix Clarkson | Photo by Sharyn Cain |
 |
 |
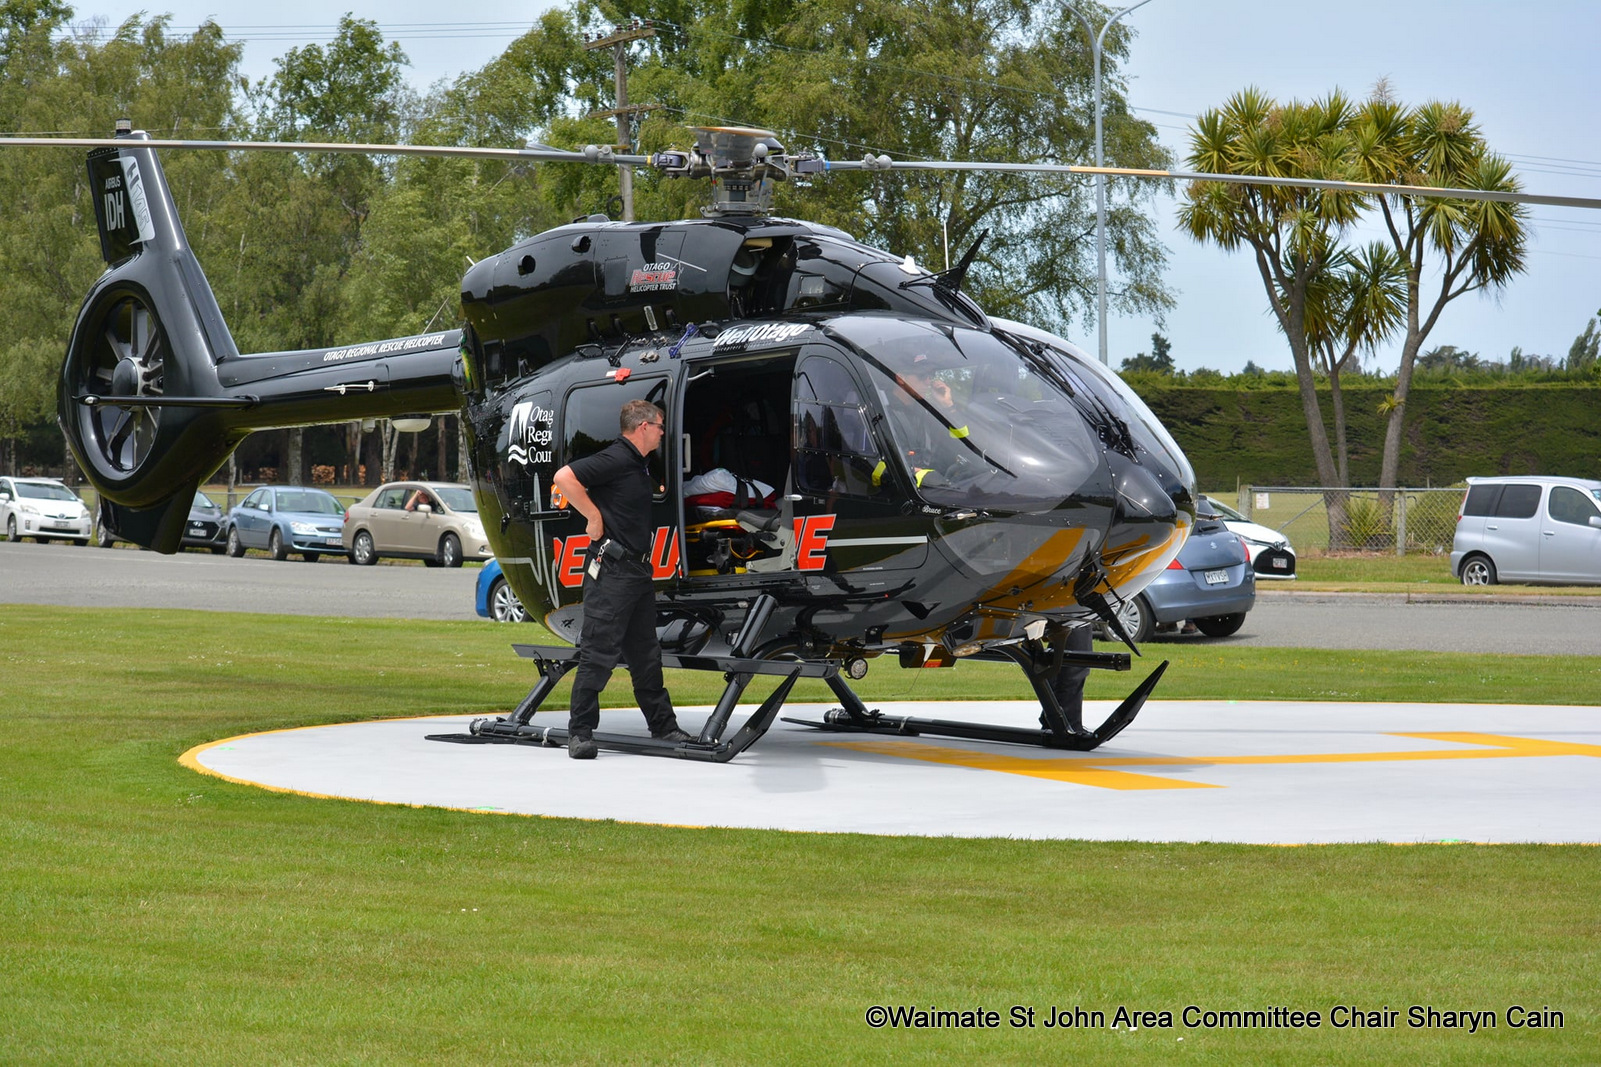 |
| Photo by Sharyn Cain | Photo by Sharyn Cain | Photo by Sharyn Cain |
 |
 |
 |
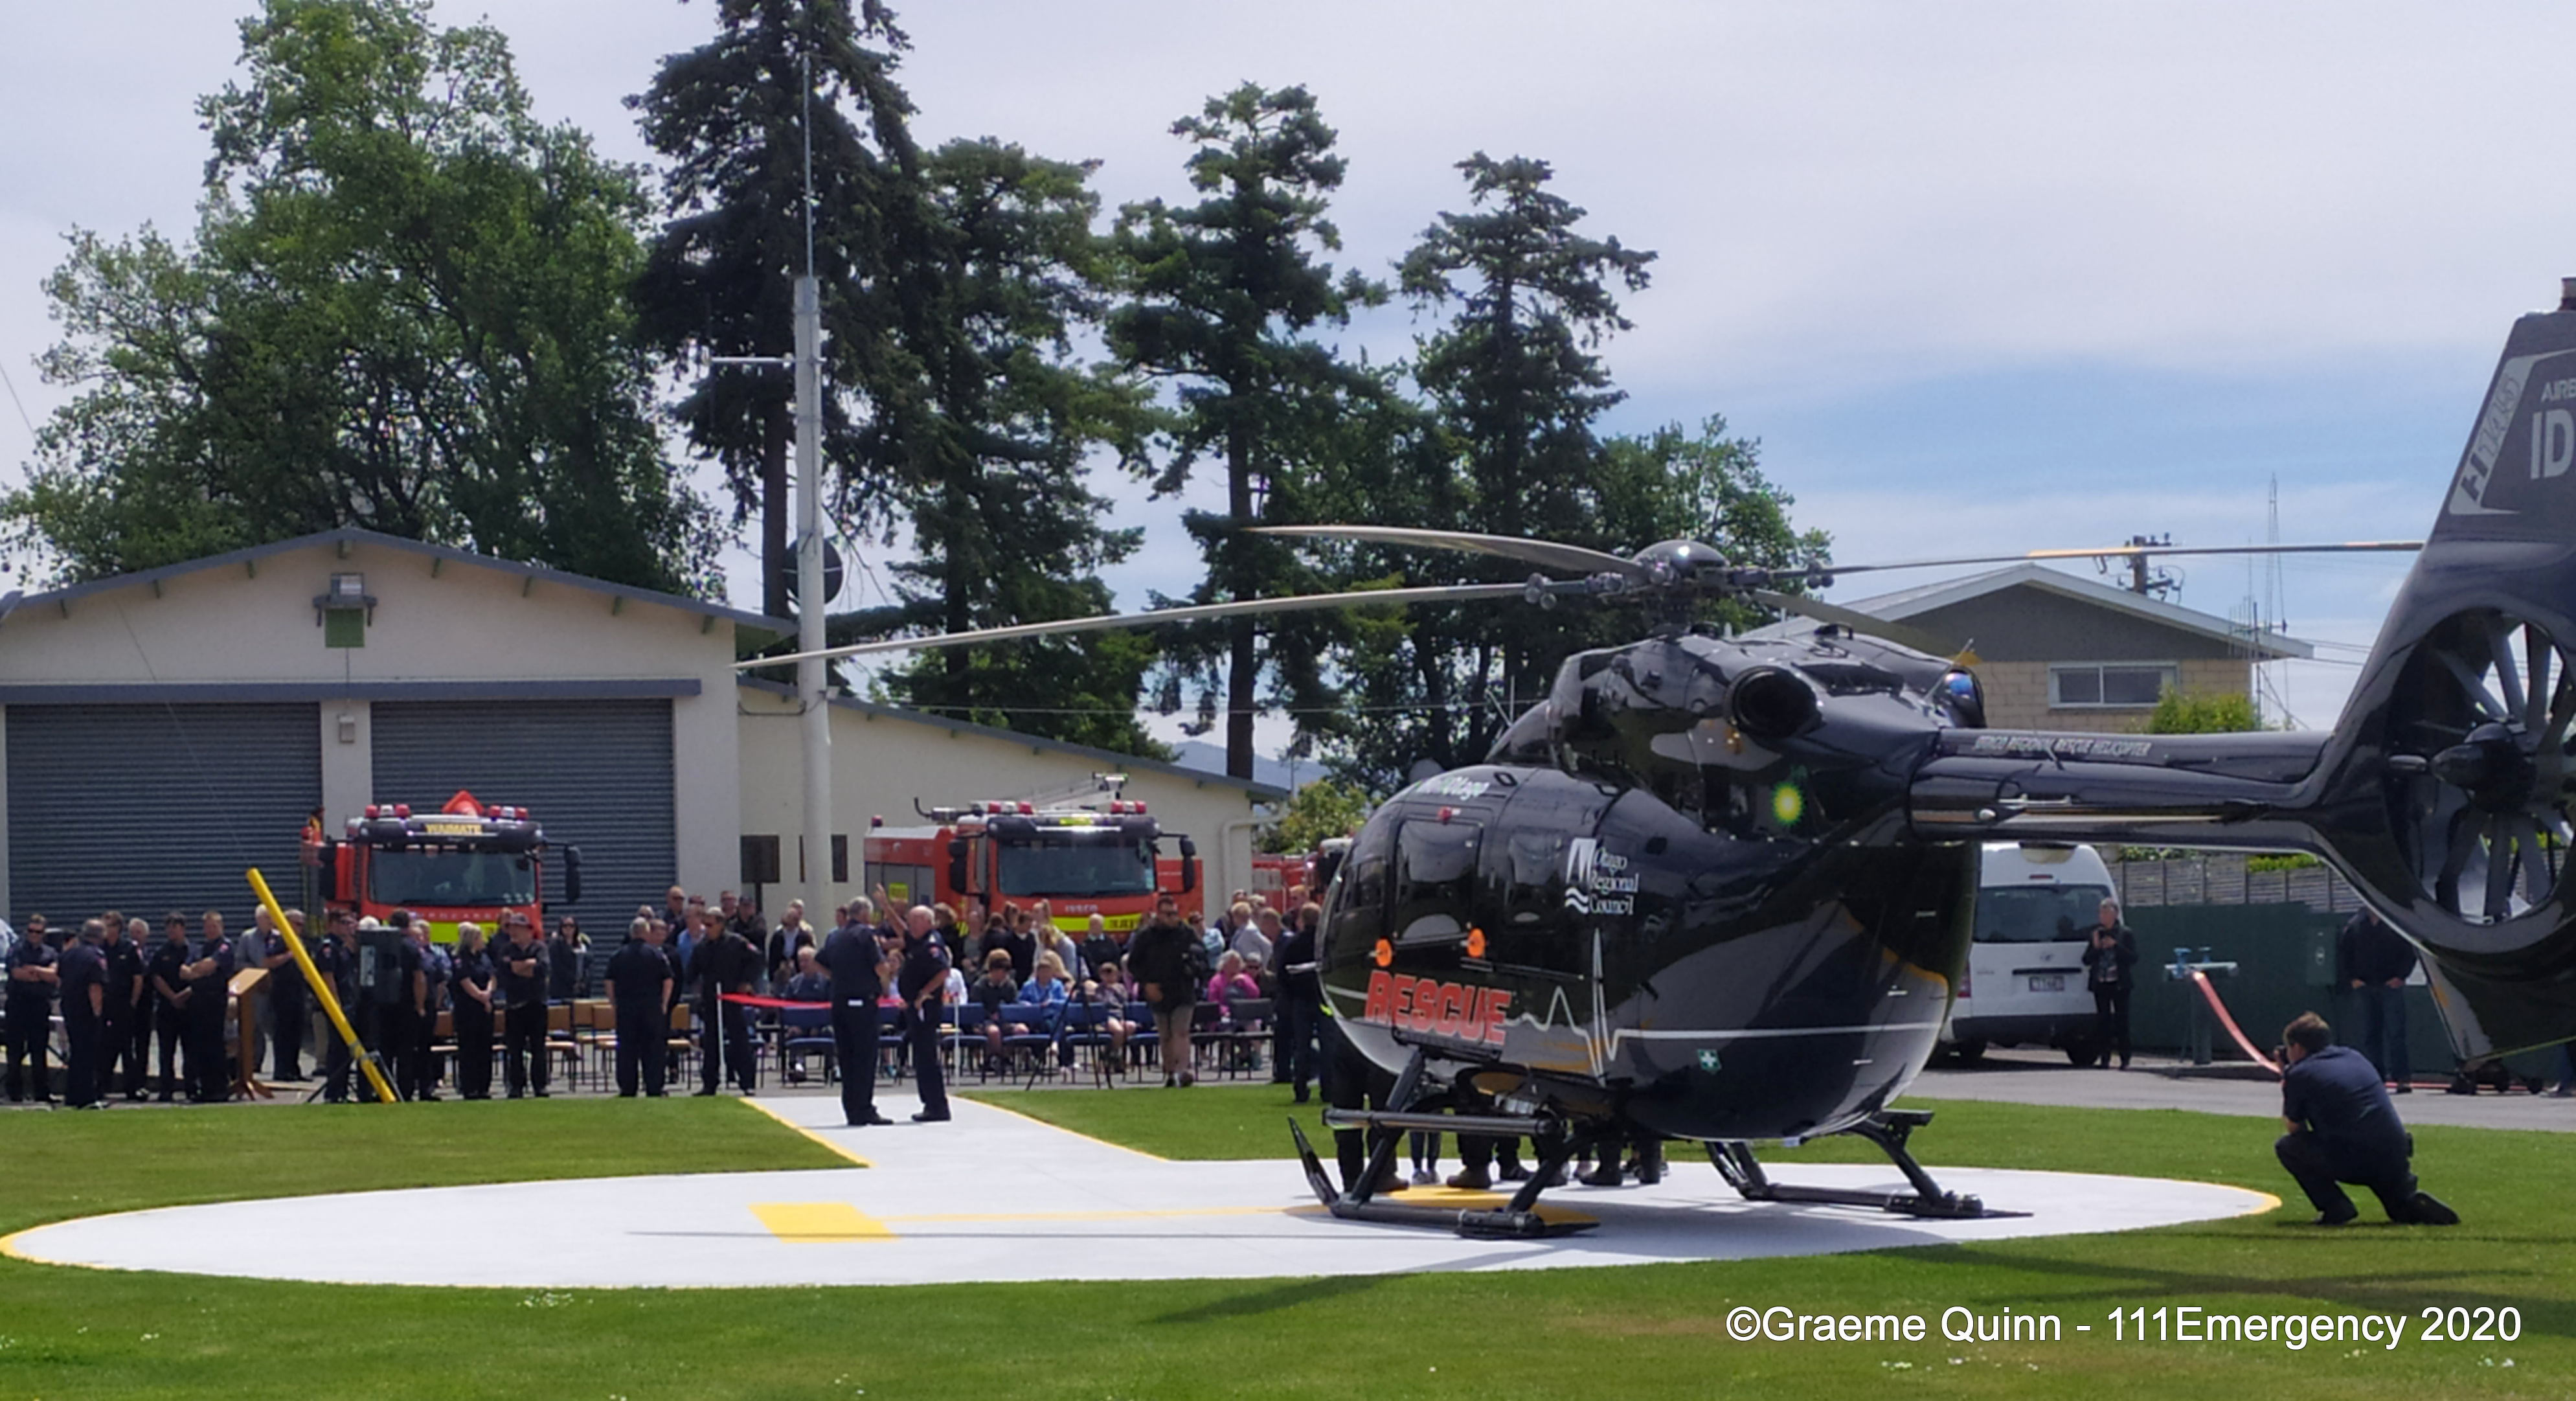
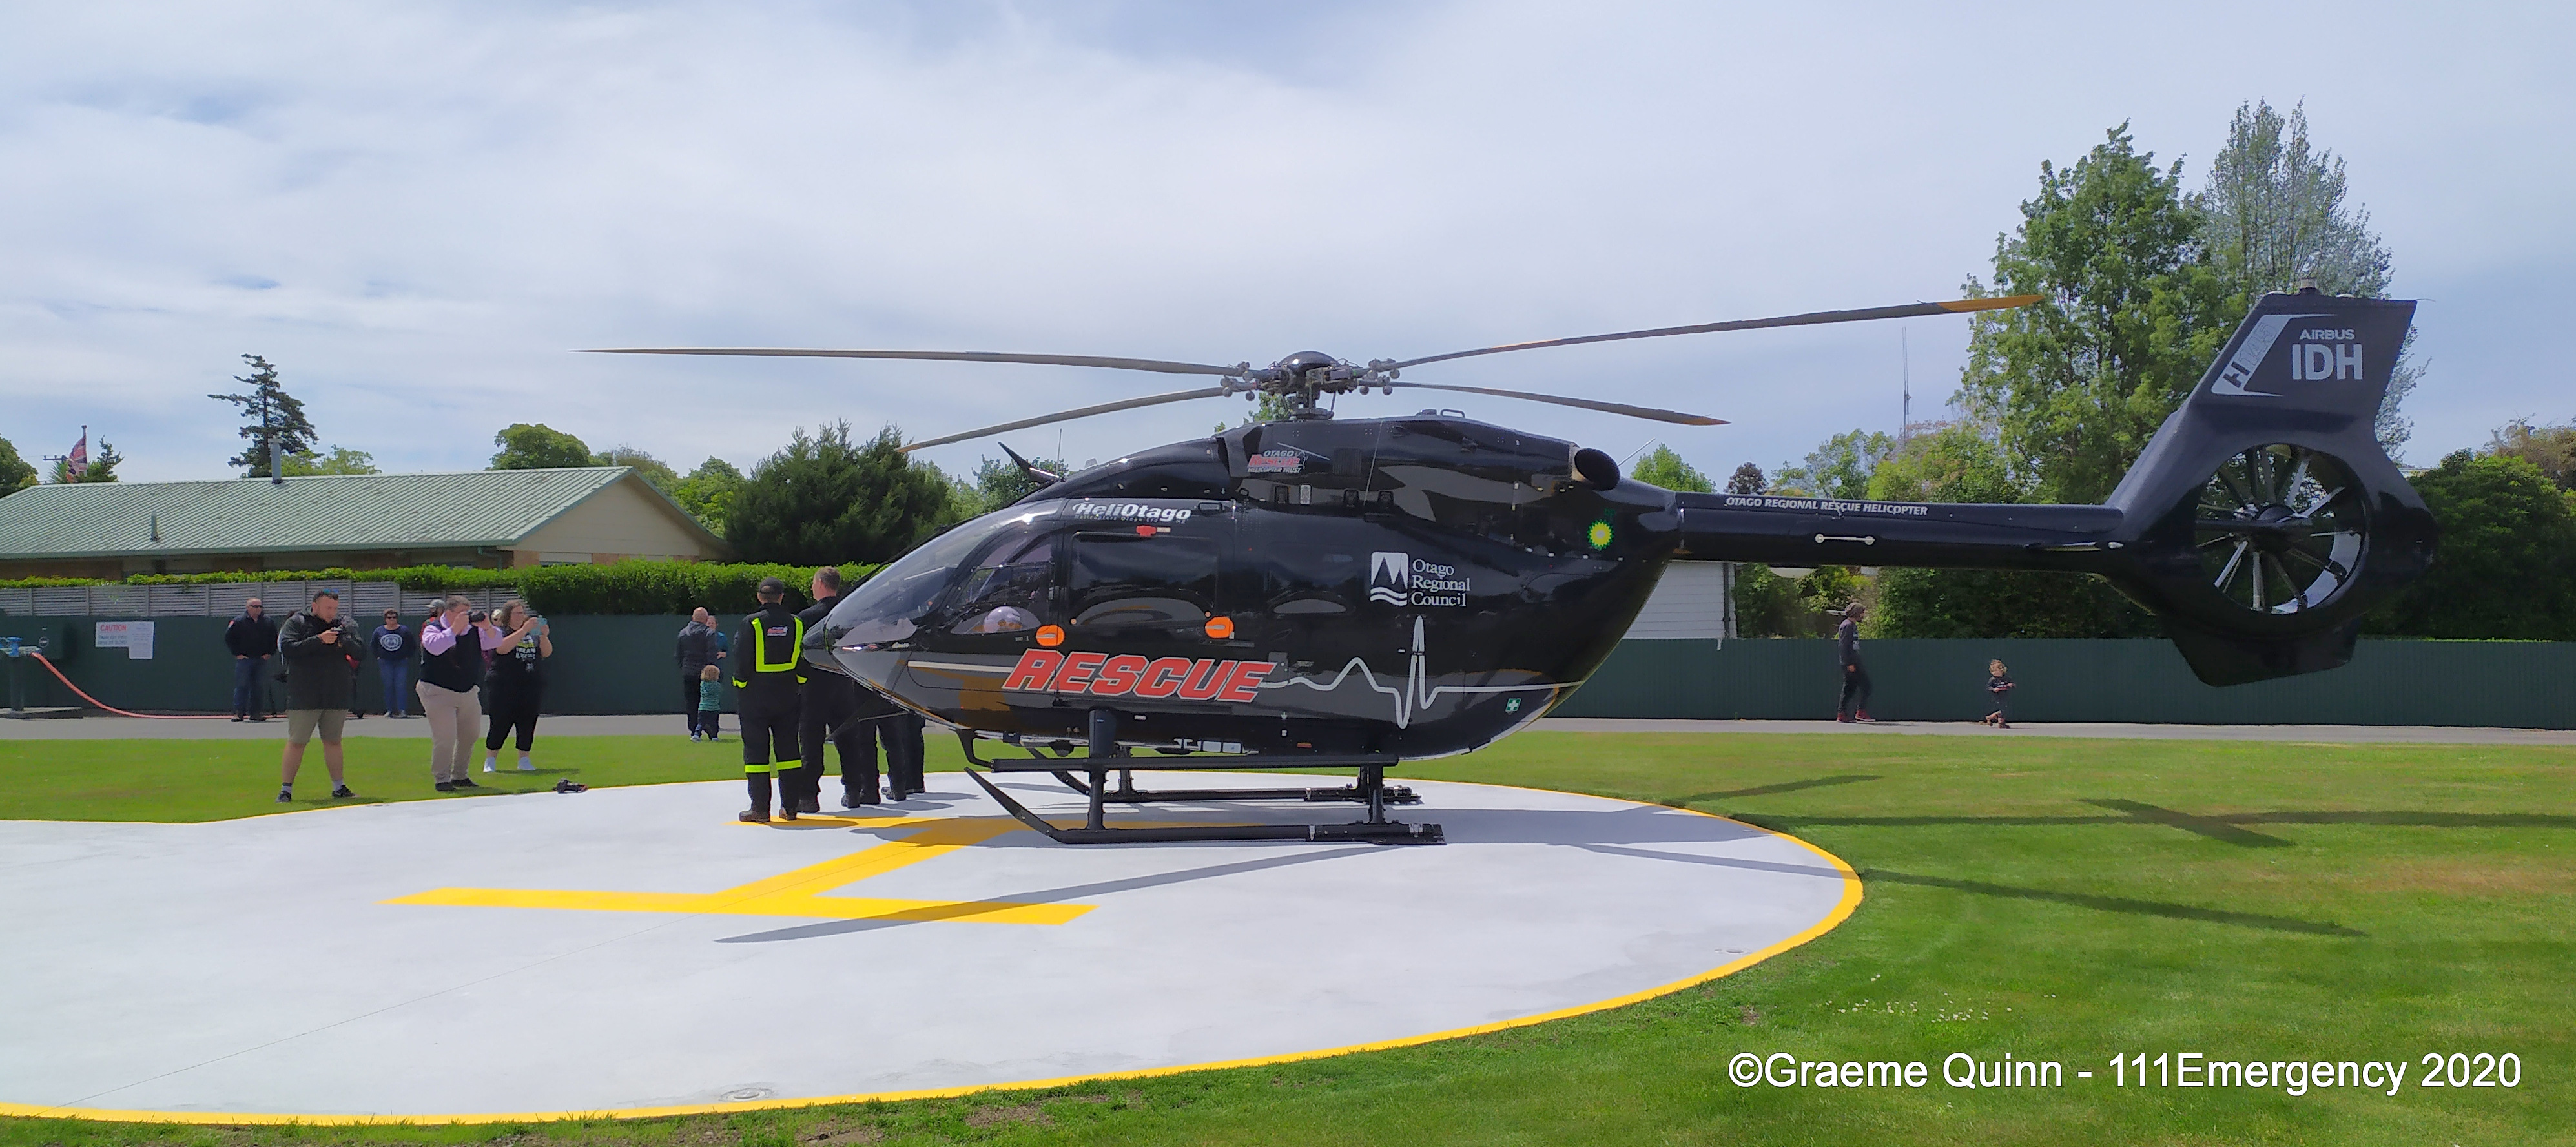
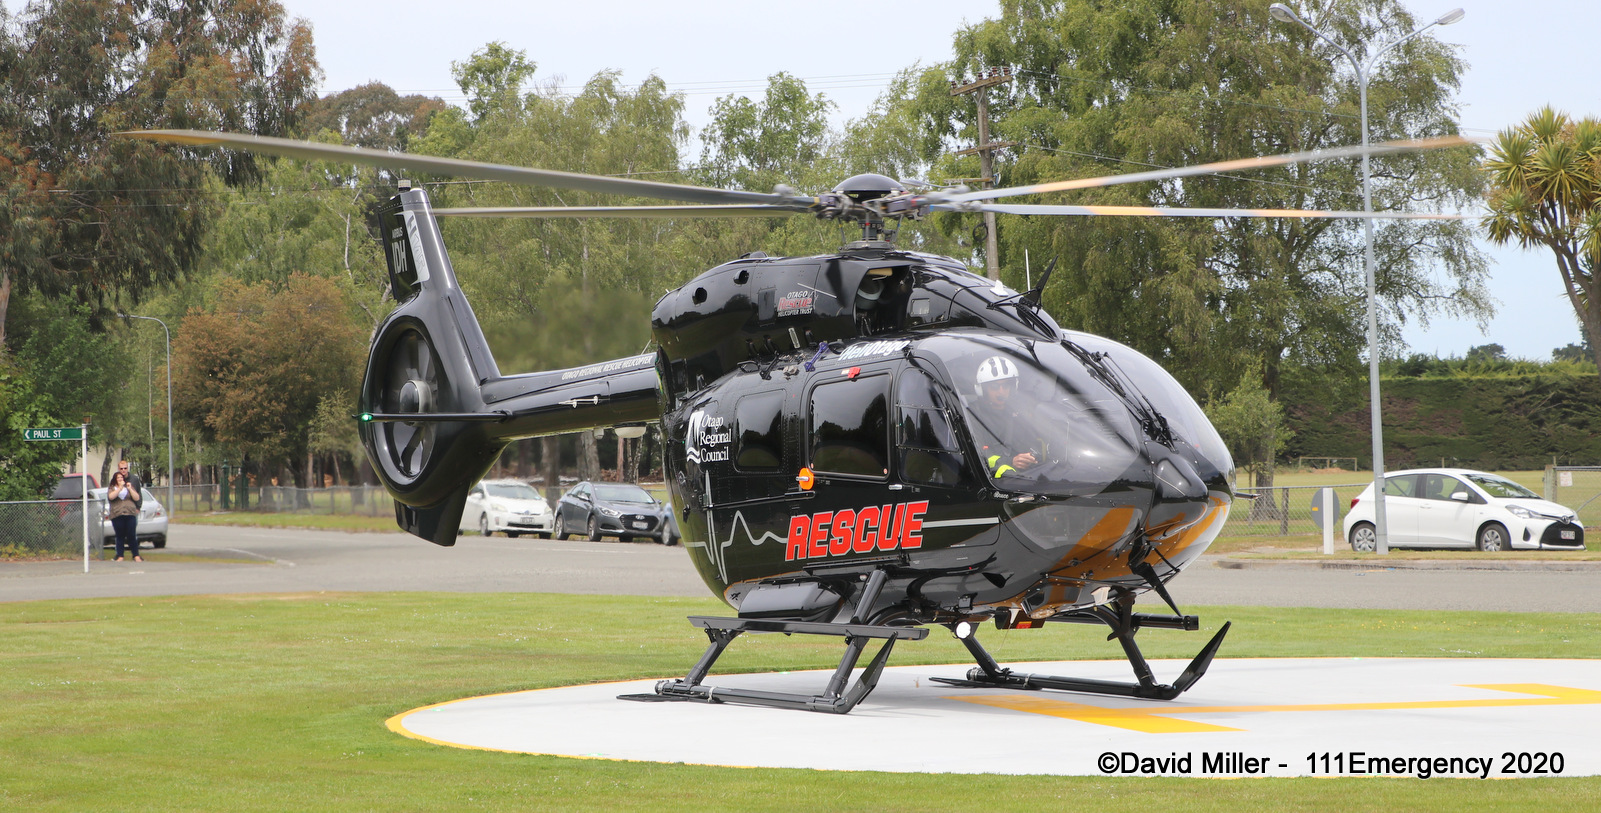
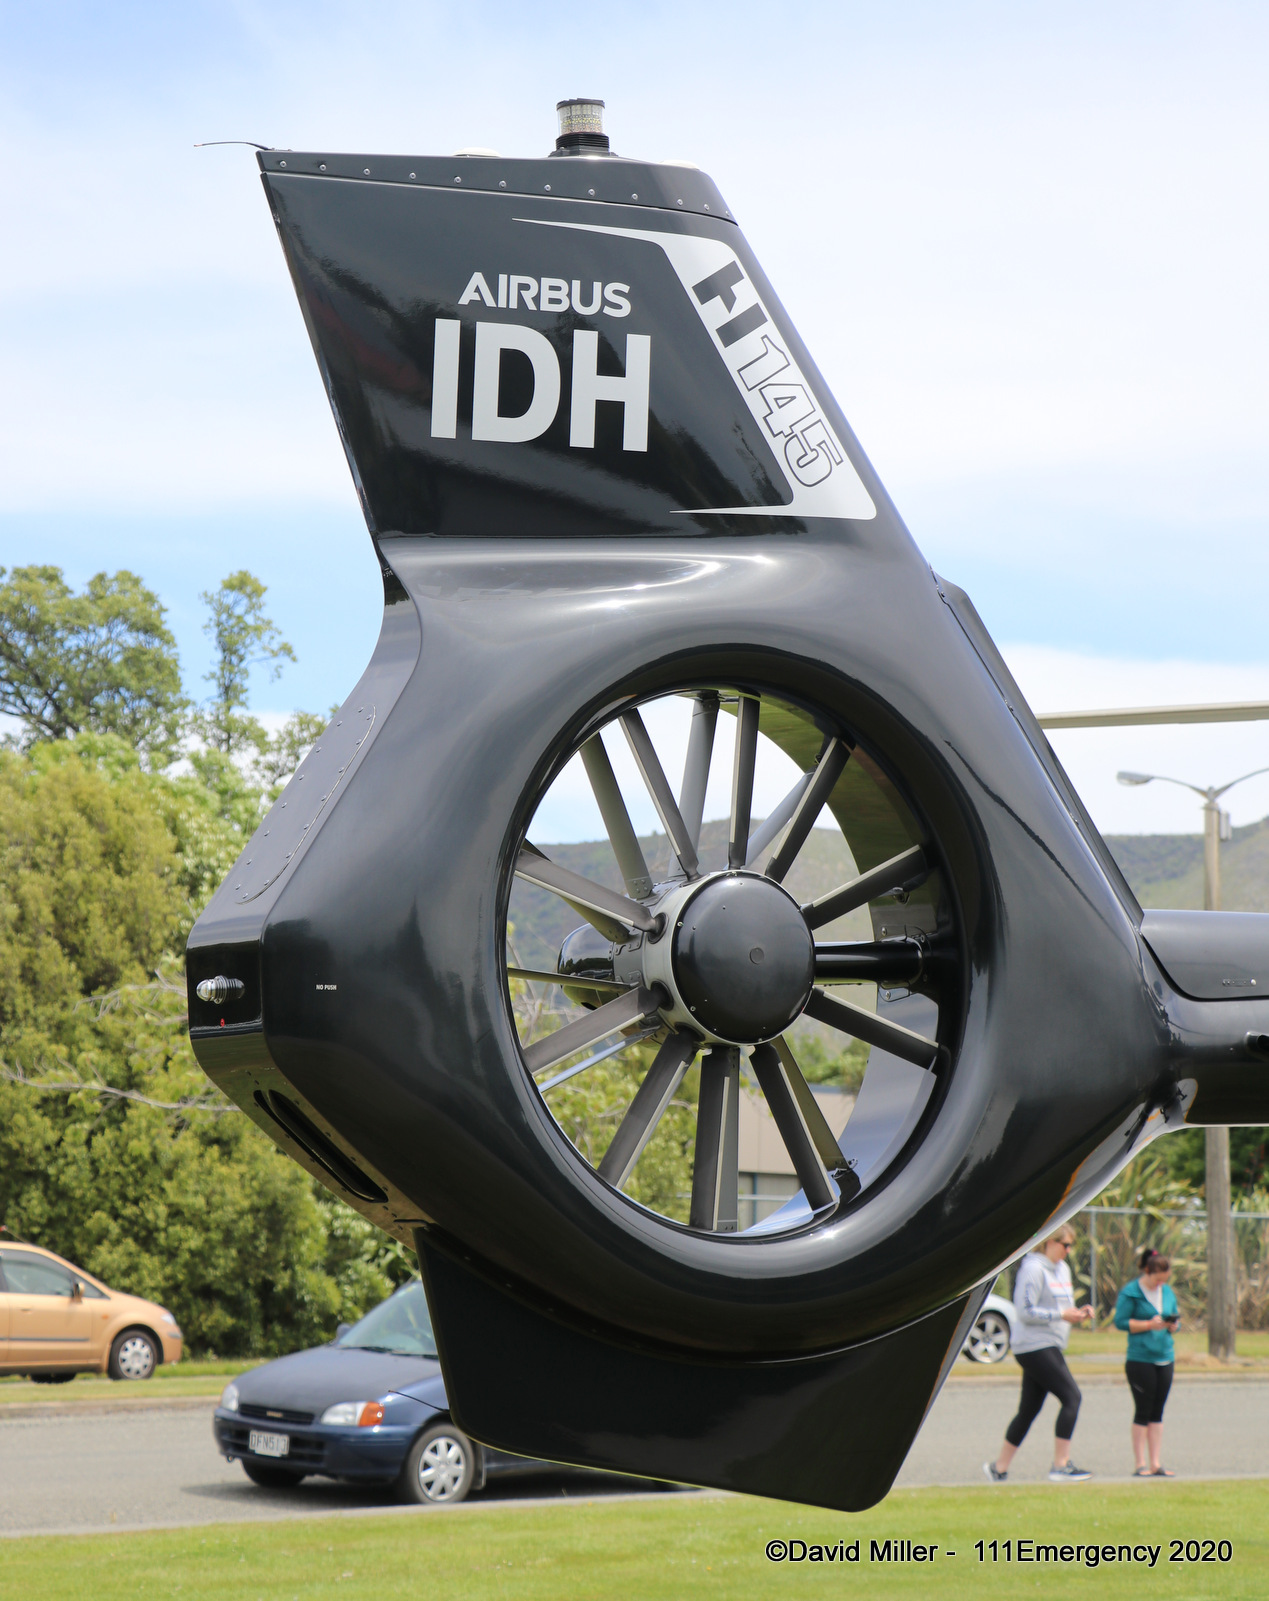
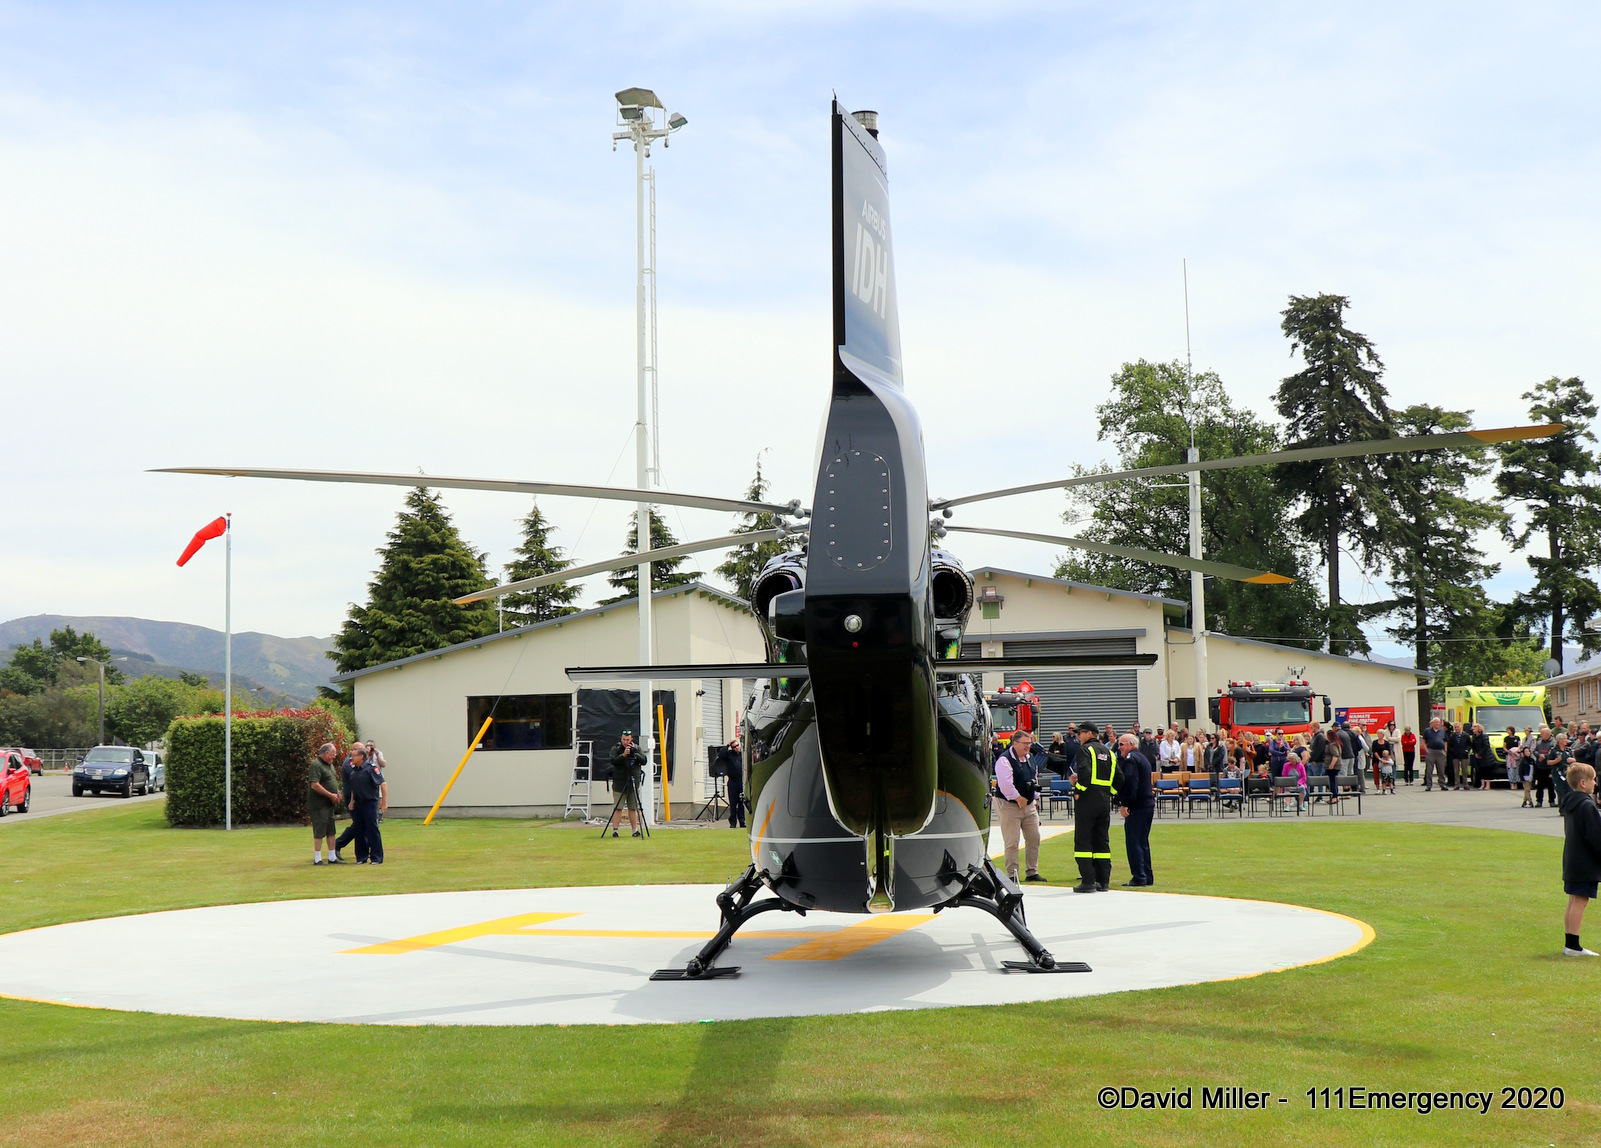
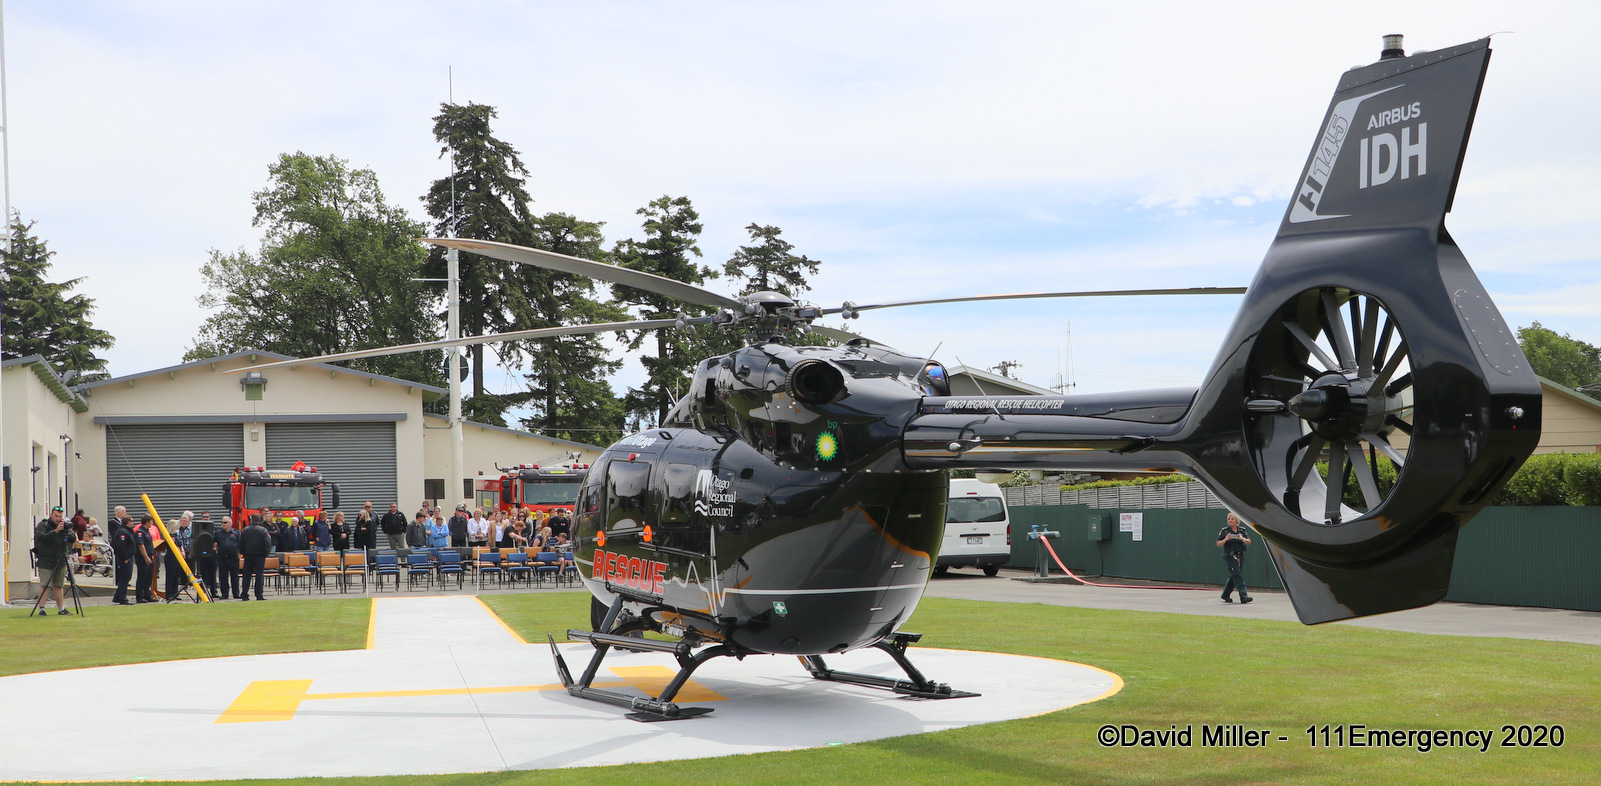
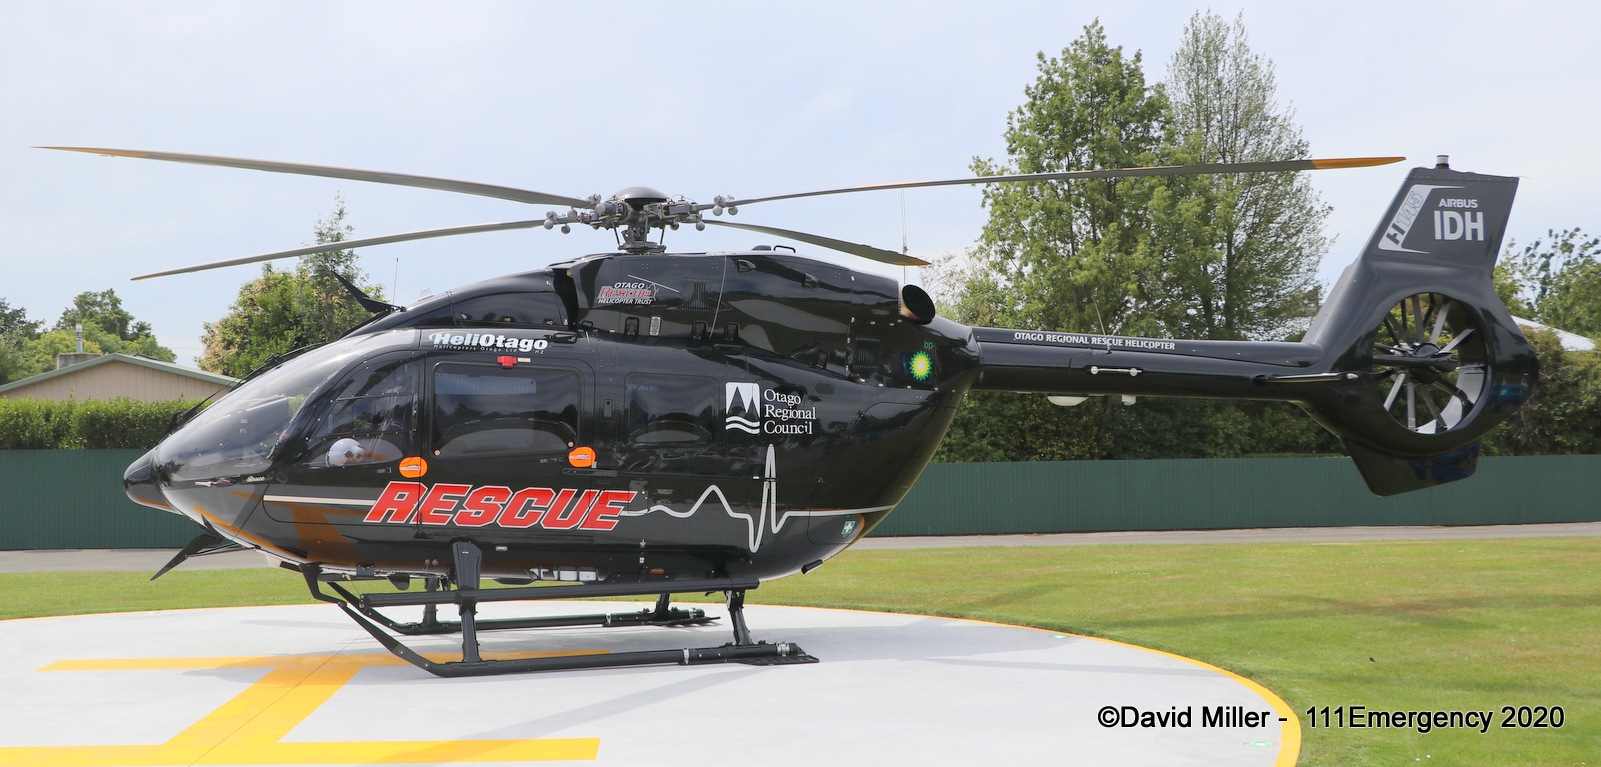
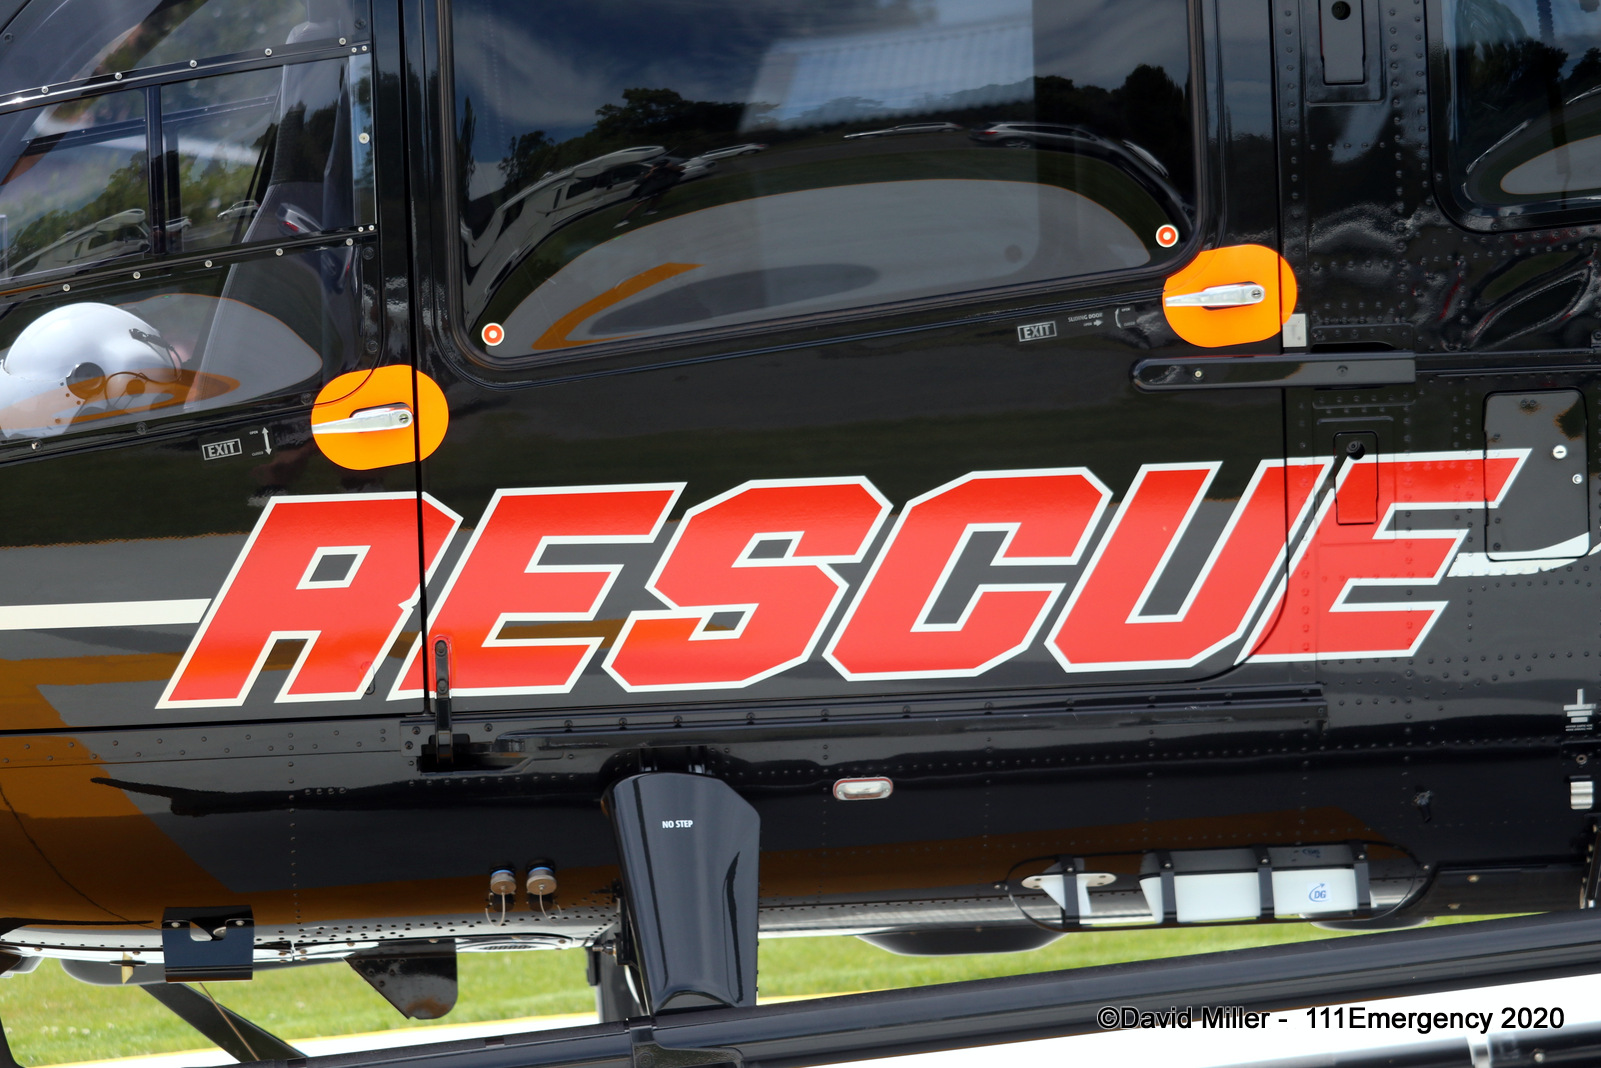
| Photo by Graeme Quinn | Photo by Graeme Quinn | Photo by David Miller |
 |
 |
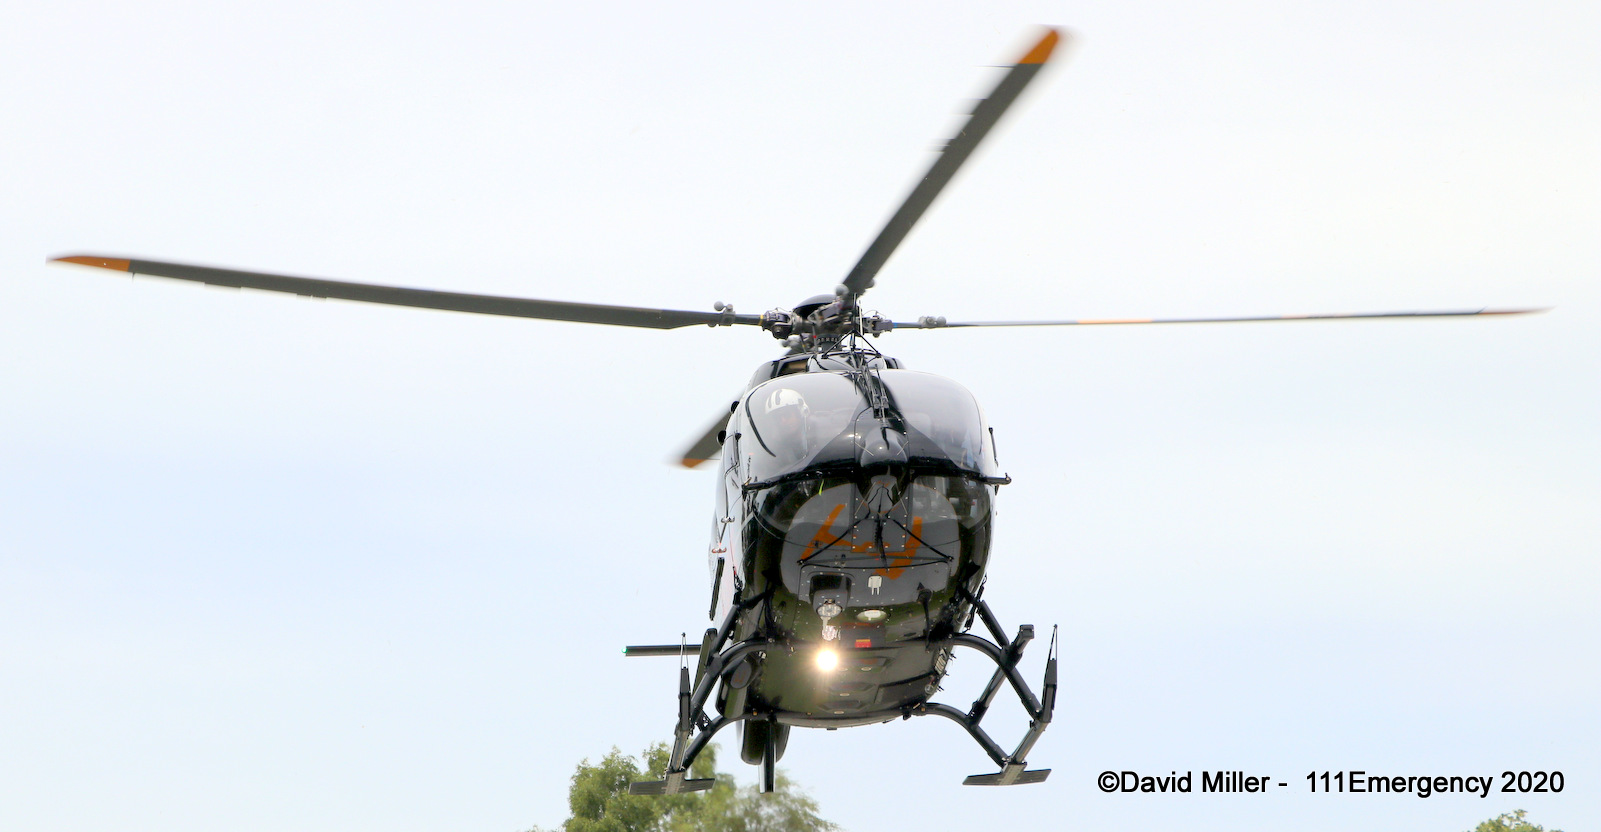 |
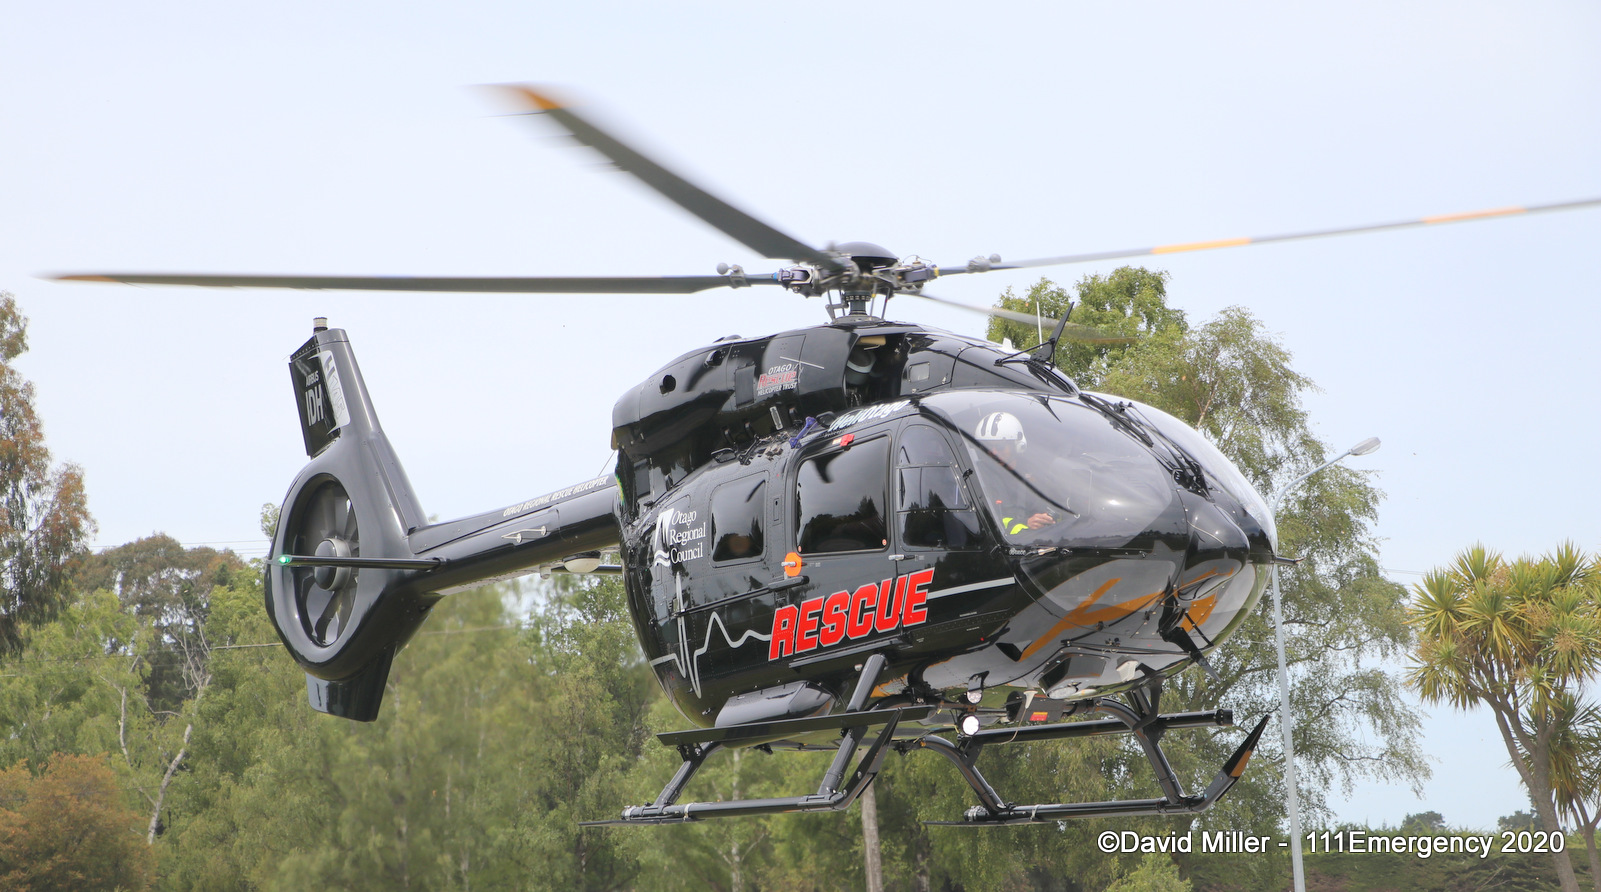
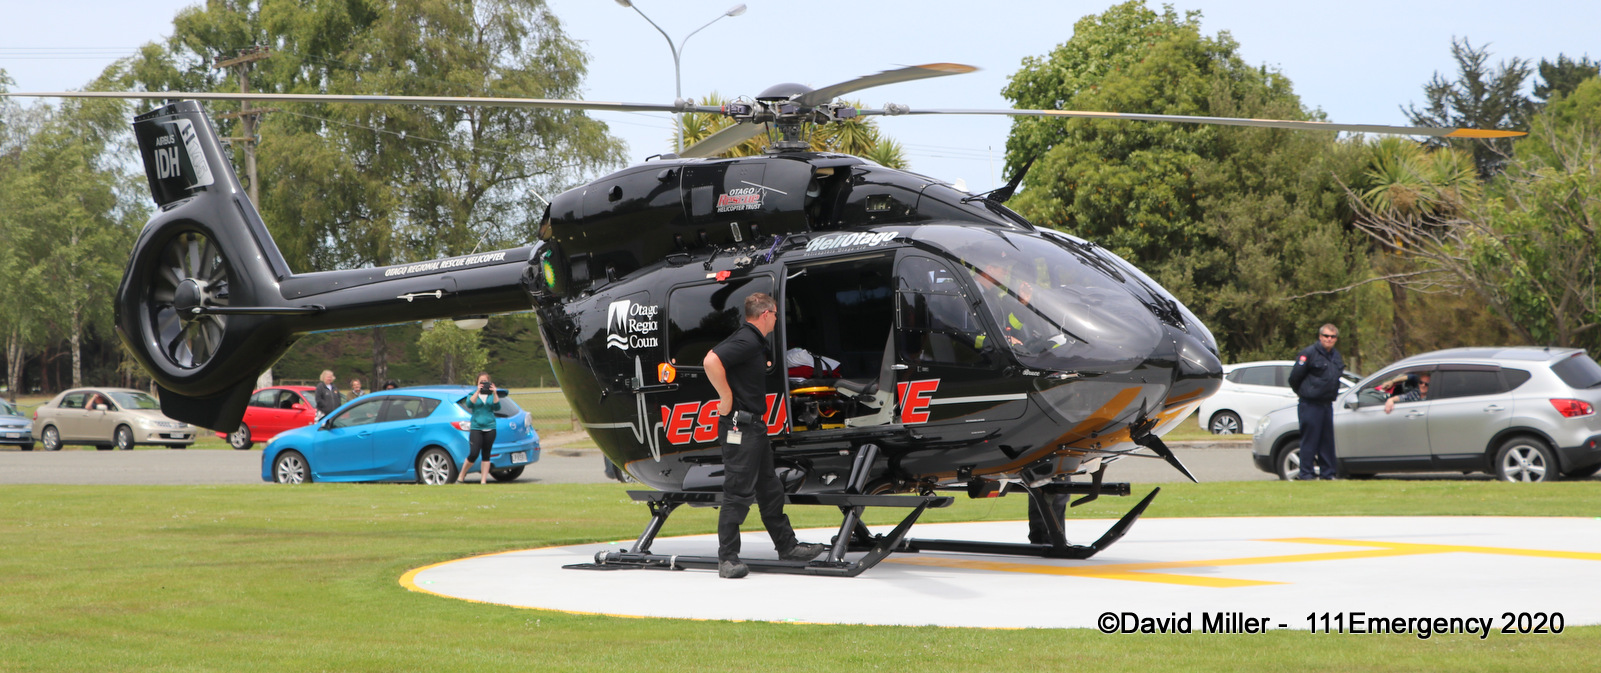
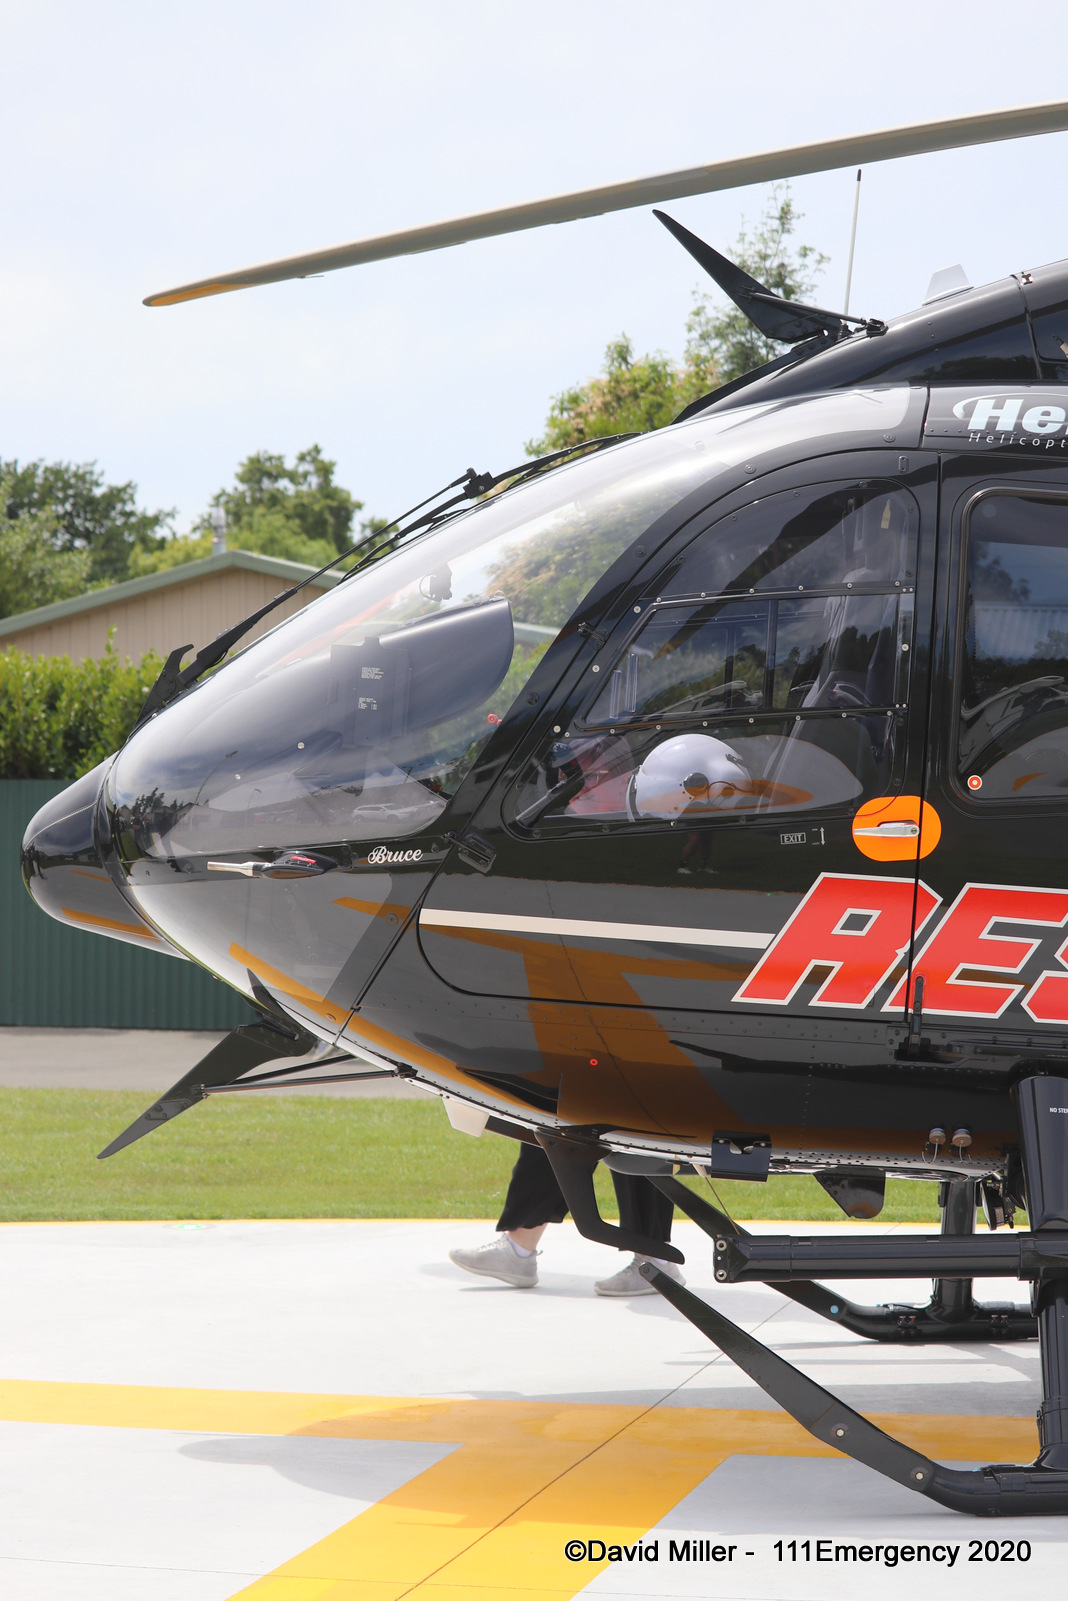
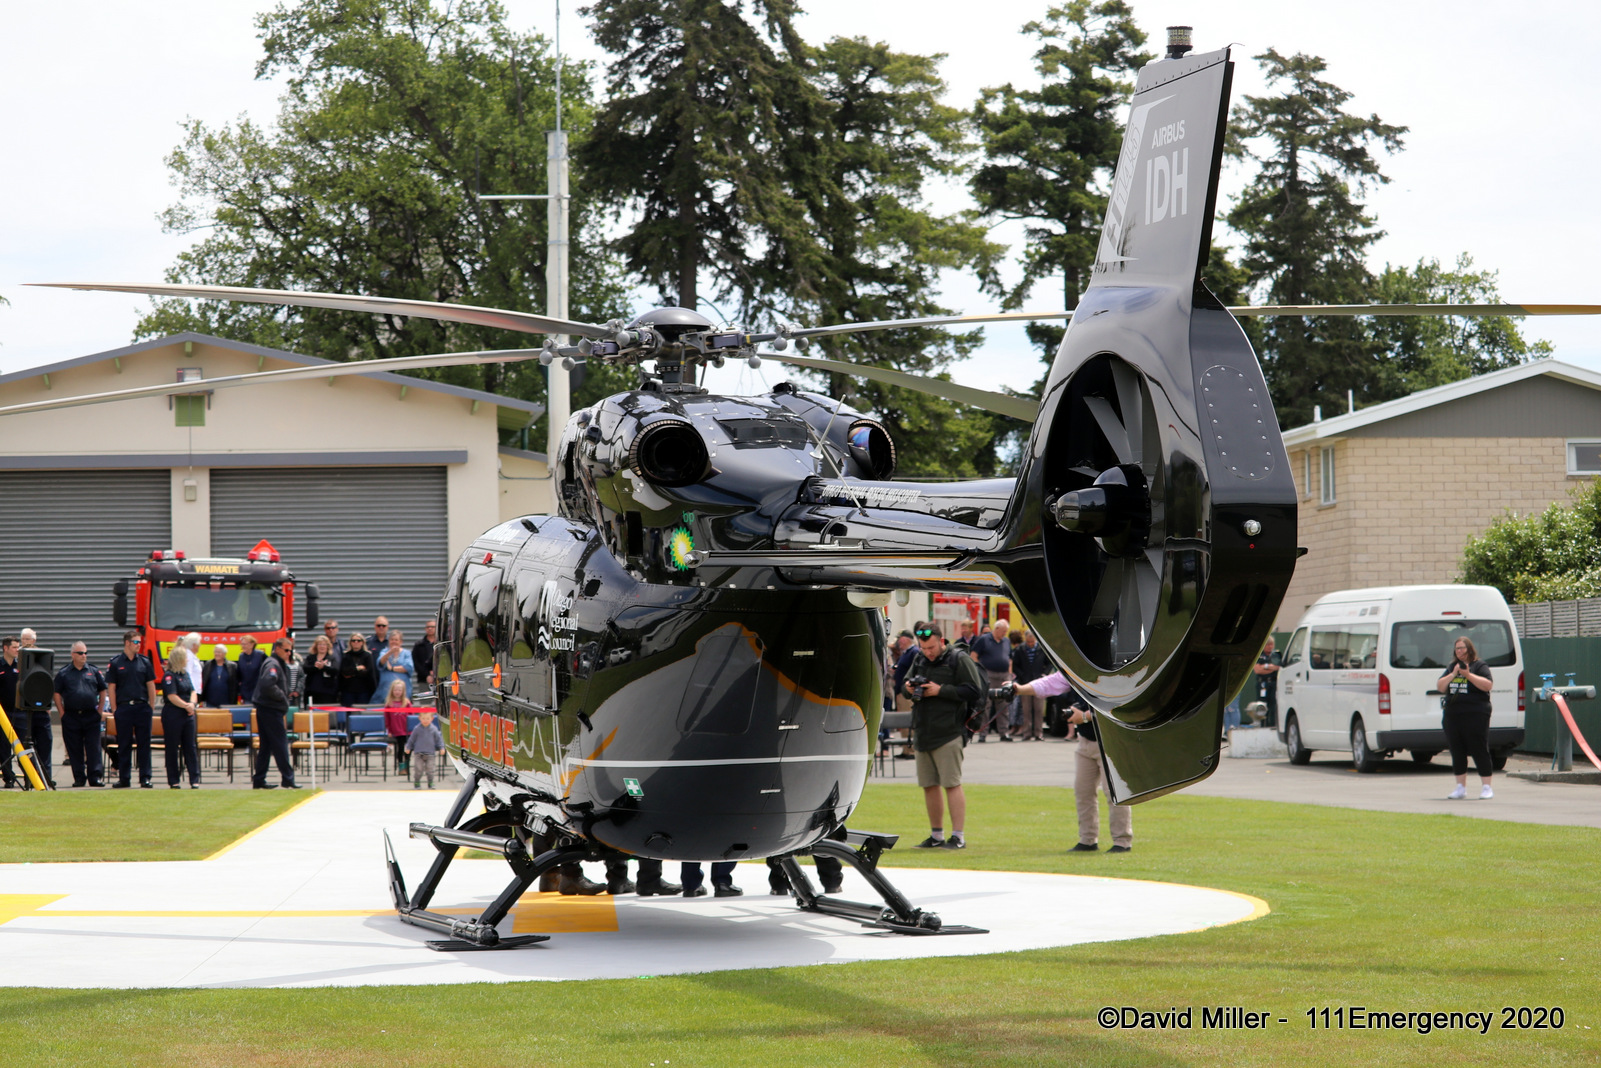
| Photo by David Miller | Photo by David Miller | Photo by David Miller |
 |
 |
 |
| Photo by David Miller | Photo by David Miller | Photo by David Miller |
 |
 |
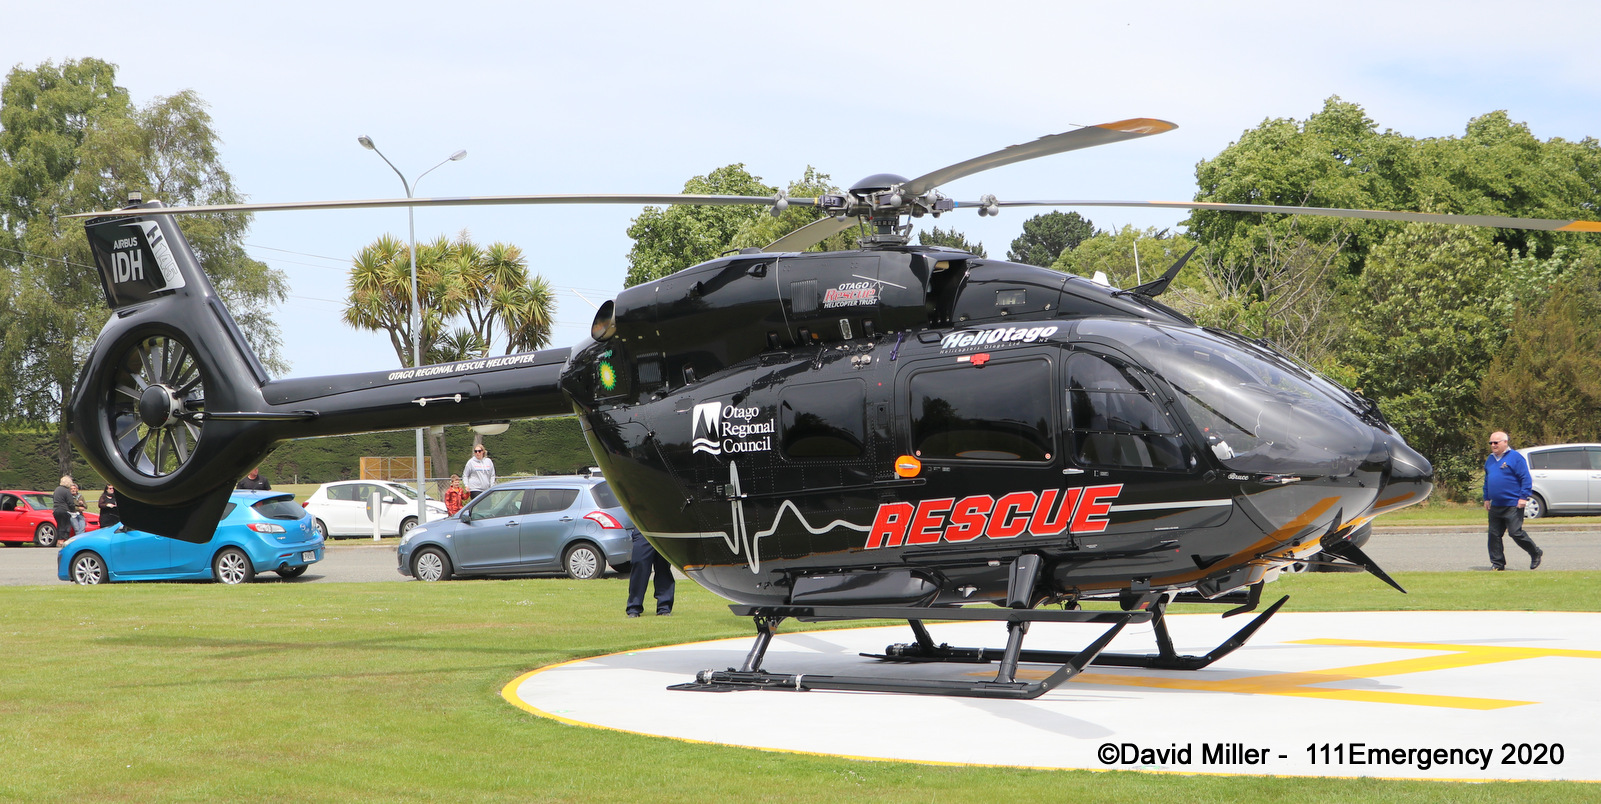 |
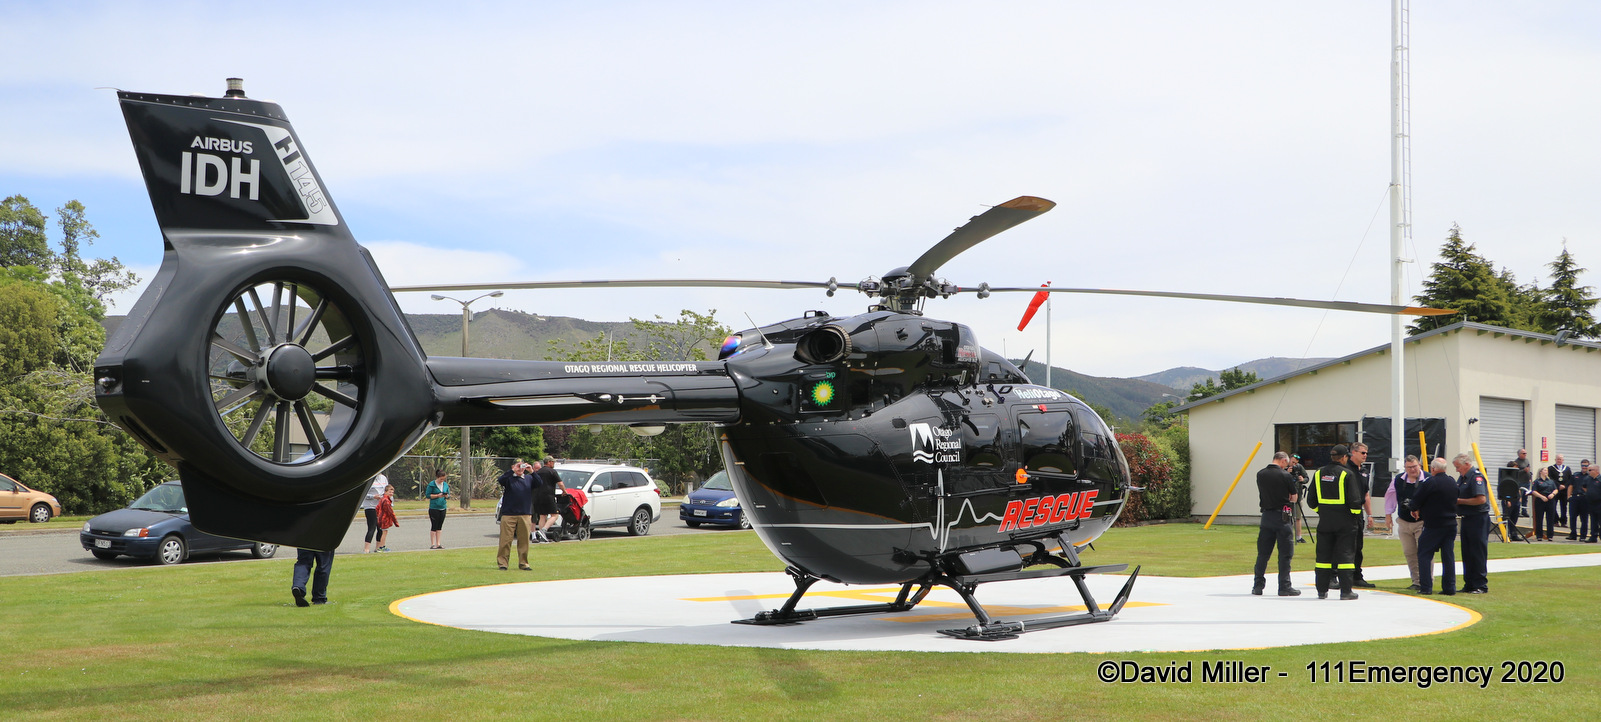
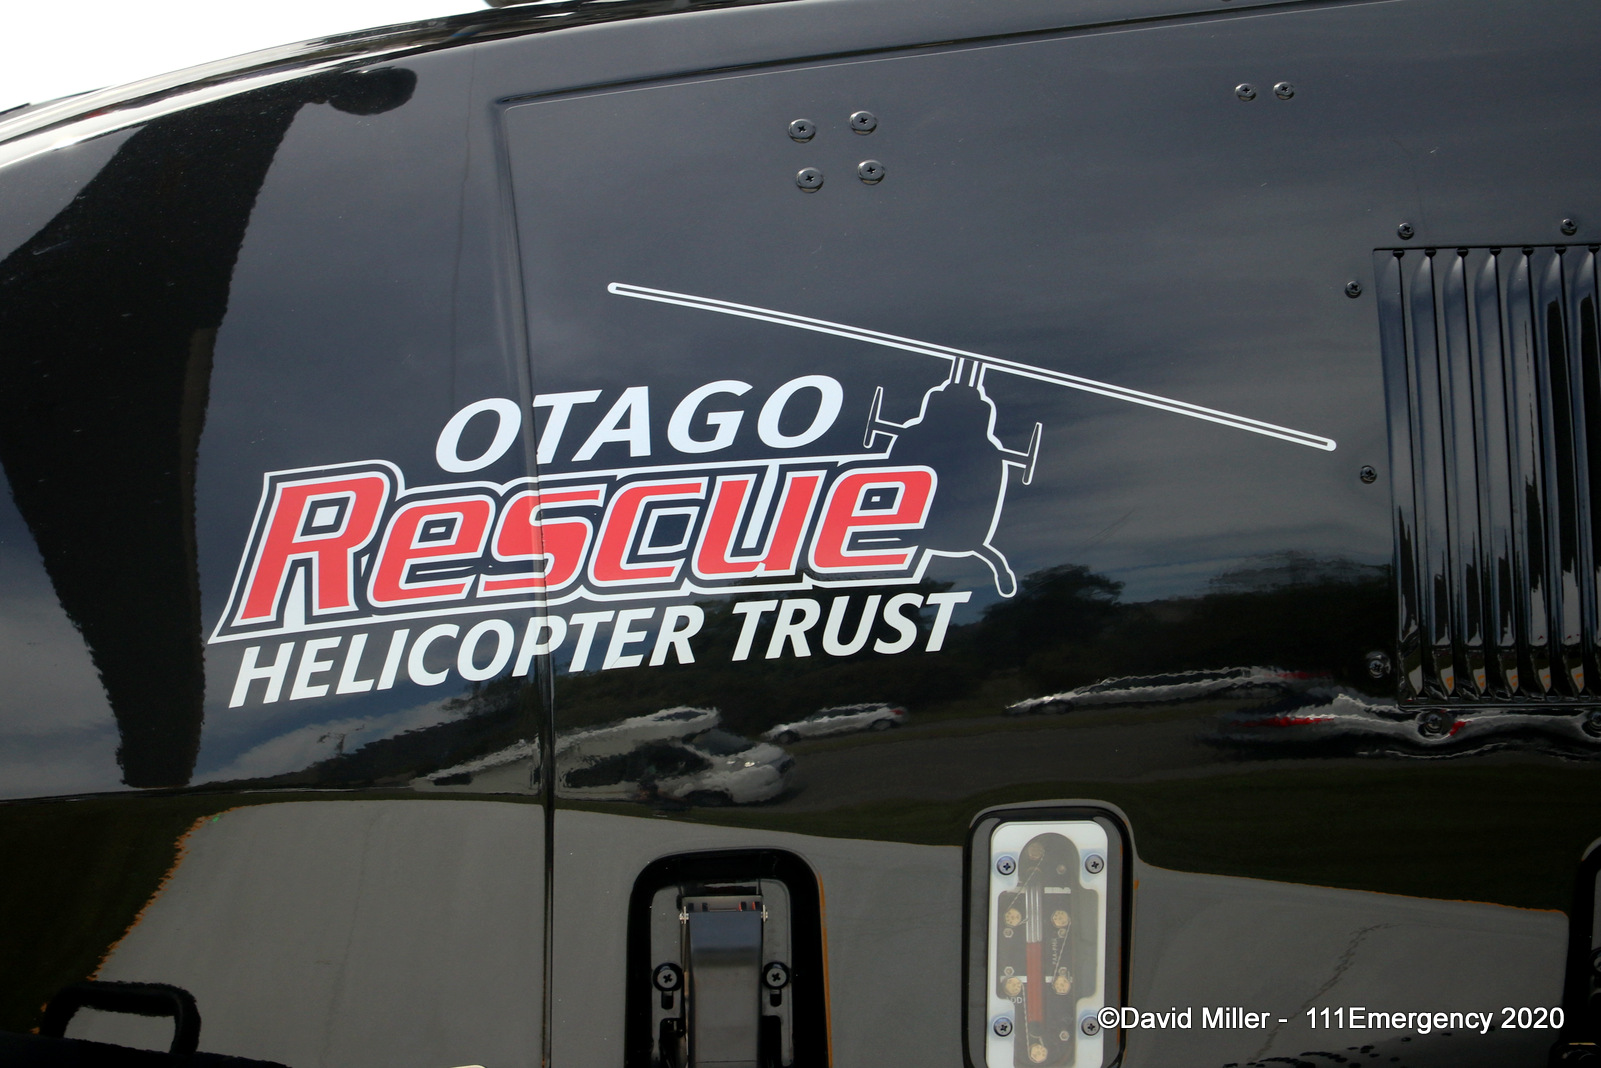
| Photo by David Miller | Photo by David Miller | Photo by David Miller |
 |
 |
 |
| Photo by David Miller | Photo by David Miller | Photo by David Miller |
 |
 |
 |
| Photo by David Miller | Photo by David Miller | Photo by David Miller |
 |
 |
 |
| Photo by David Miller | Photo by David Miller | Photo by David Miller |
 |
 |
 |
| Photo by David Miller | Photo by David Miller | Photo by David Miller |
 |
 |
 |
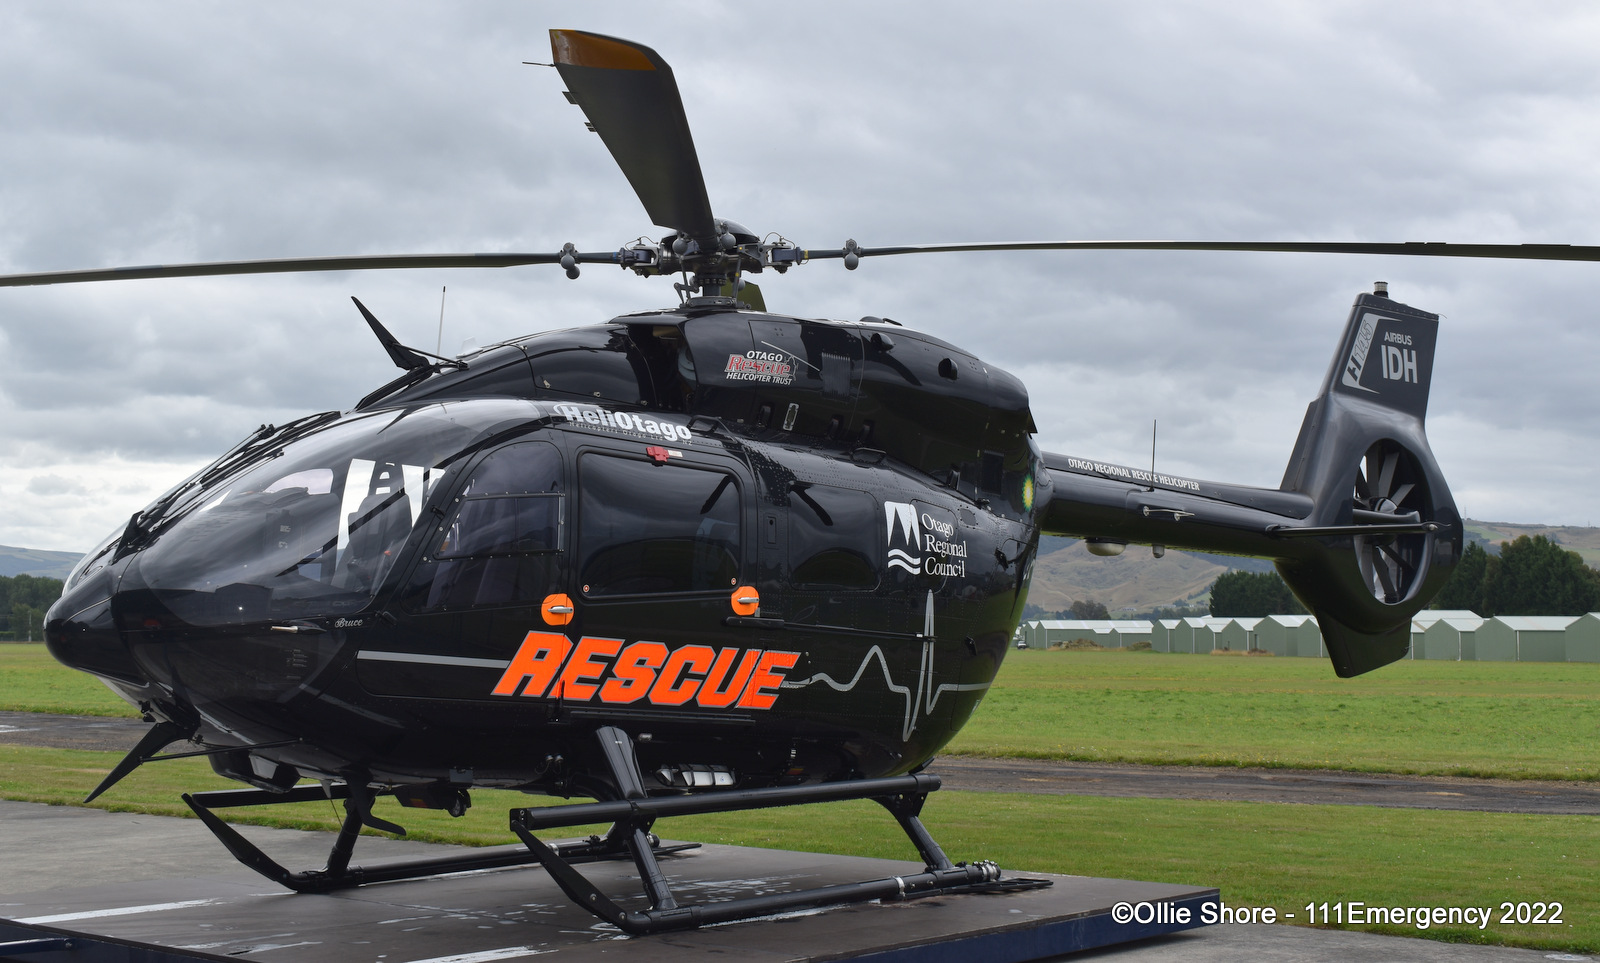
| Photo by Ollie Shore | Photo by Ollie Shore | Photo by Ollie Shore |
 |
 |
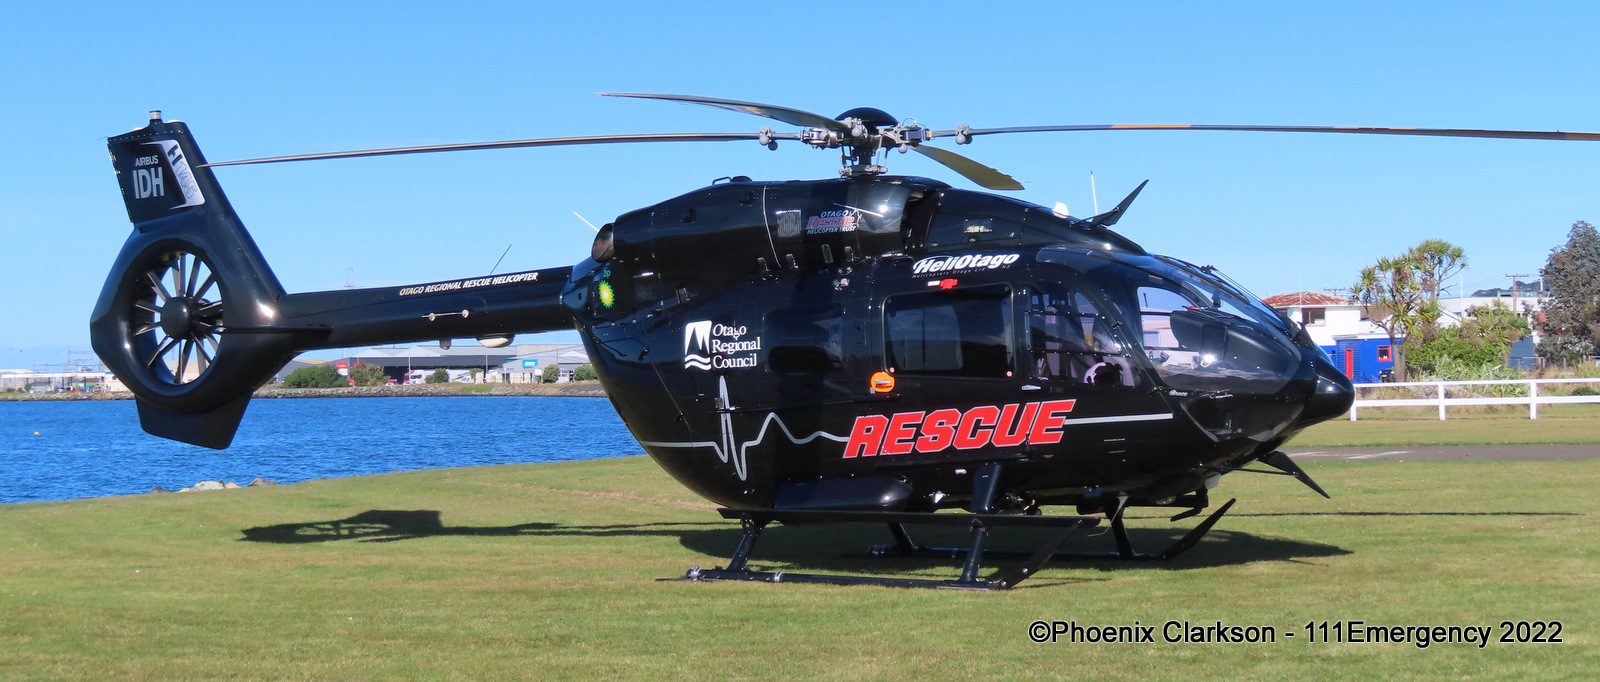 |
| Photo by Hayden Marsh | Photo by Phoenix Clarkson | Photo by Phoenix Clarkson |
 |
 |
 |
| Photo by Phoenix Clarkson | Photo by Phoenix Clarkson | Photo by Phoenix Clarkson |
 |
 |
 |
| Photo by Phoenix Clarkson | Photo by Phoenix Clarkson | Photo by Phoenix Clarkson |
 |
 |
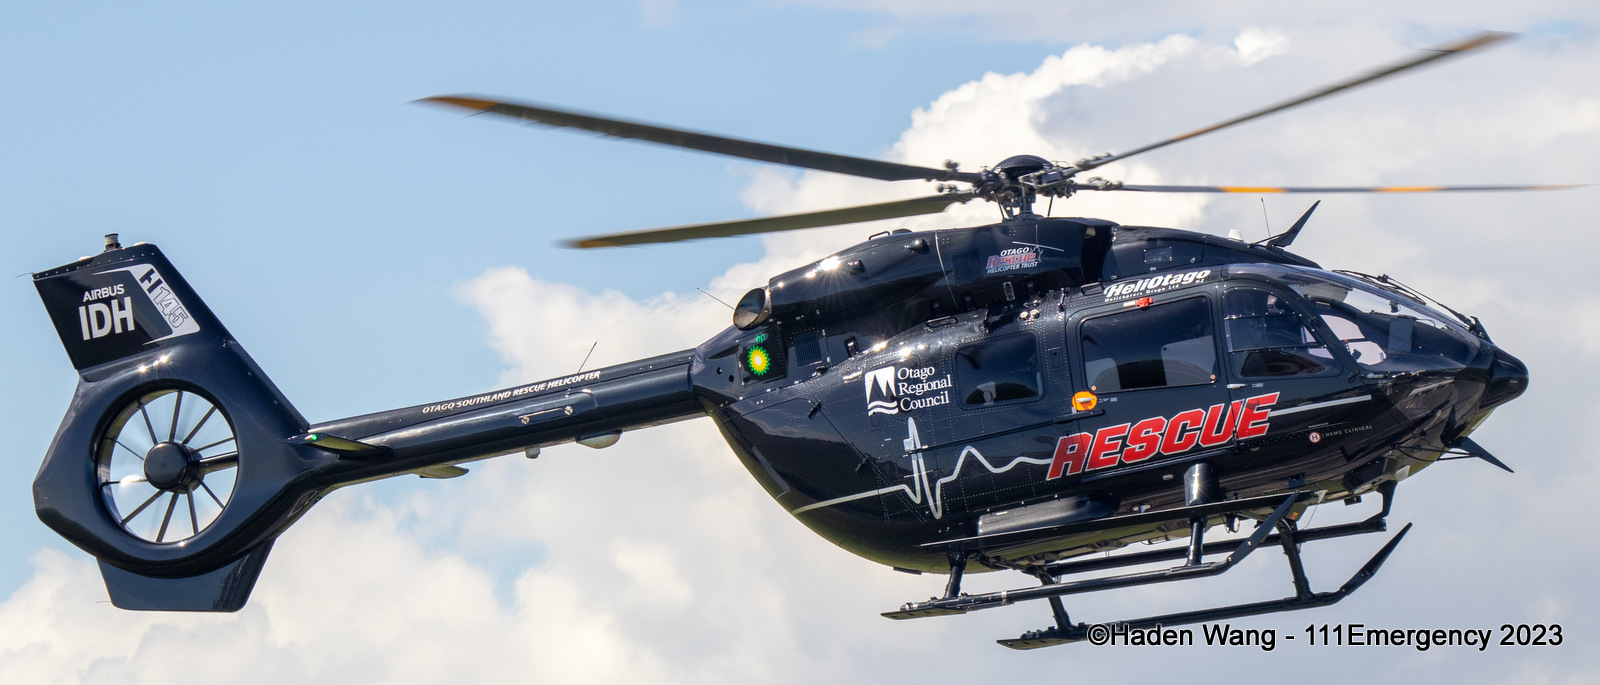 |
| Photo by Haden Wang | Photo by Haden Wang | Photo by Haden Wang |
 |
 |
 |
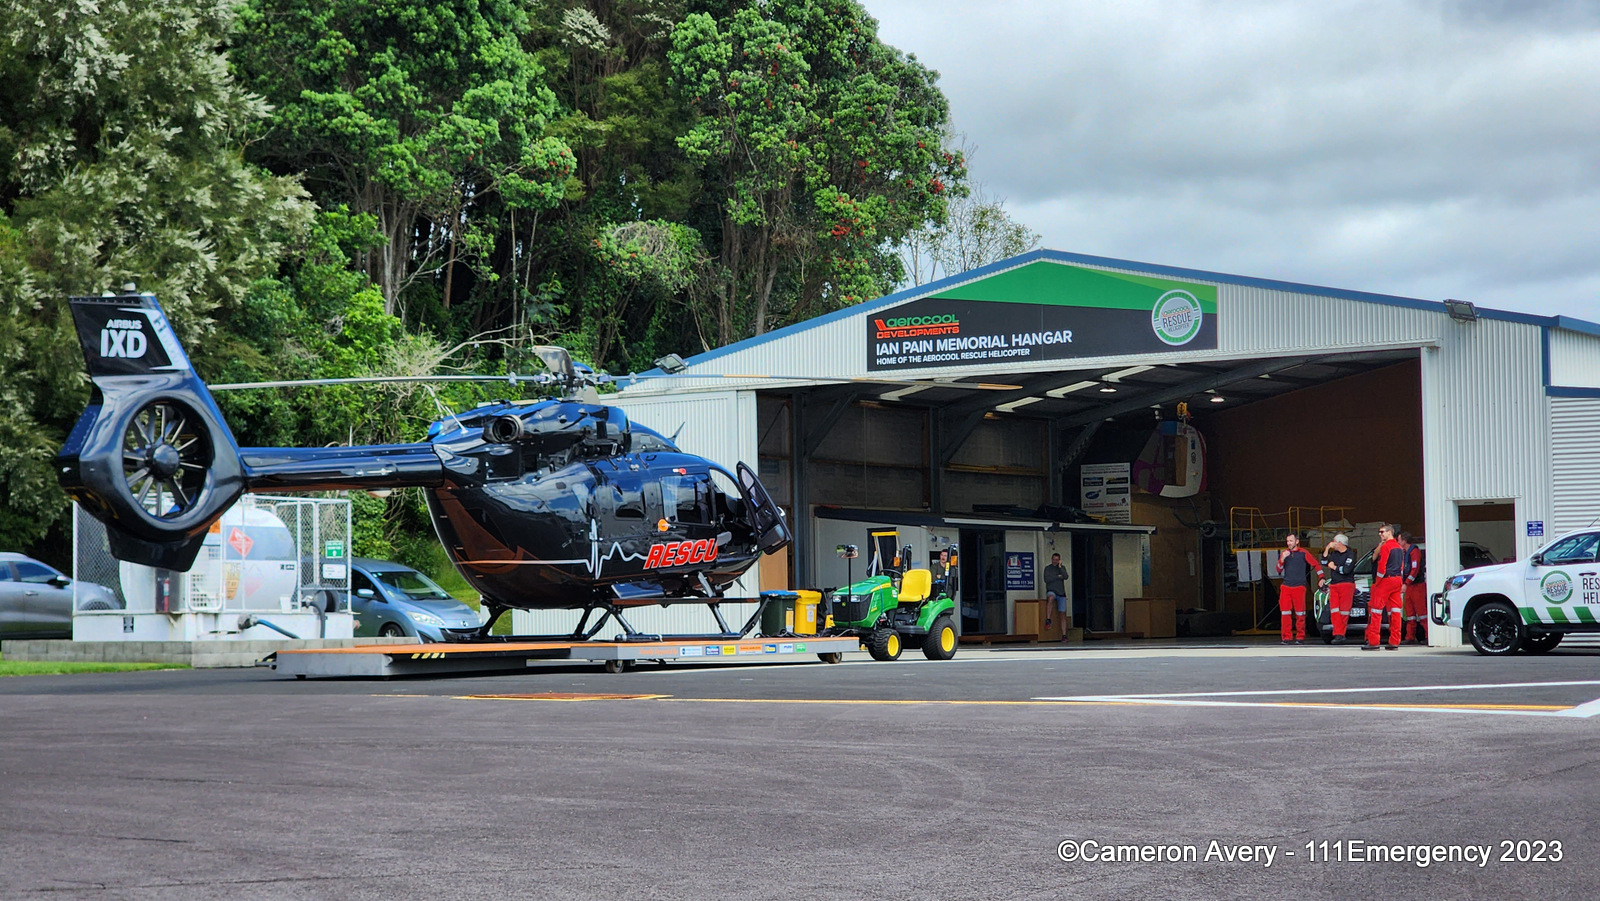
| Photo by Phoenix Clarkson | Photo by Hayden Marsh | Photo by Cameron Avery |
 |
 |
 |
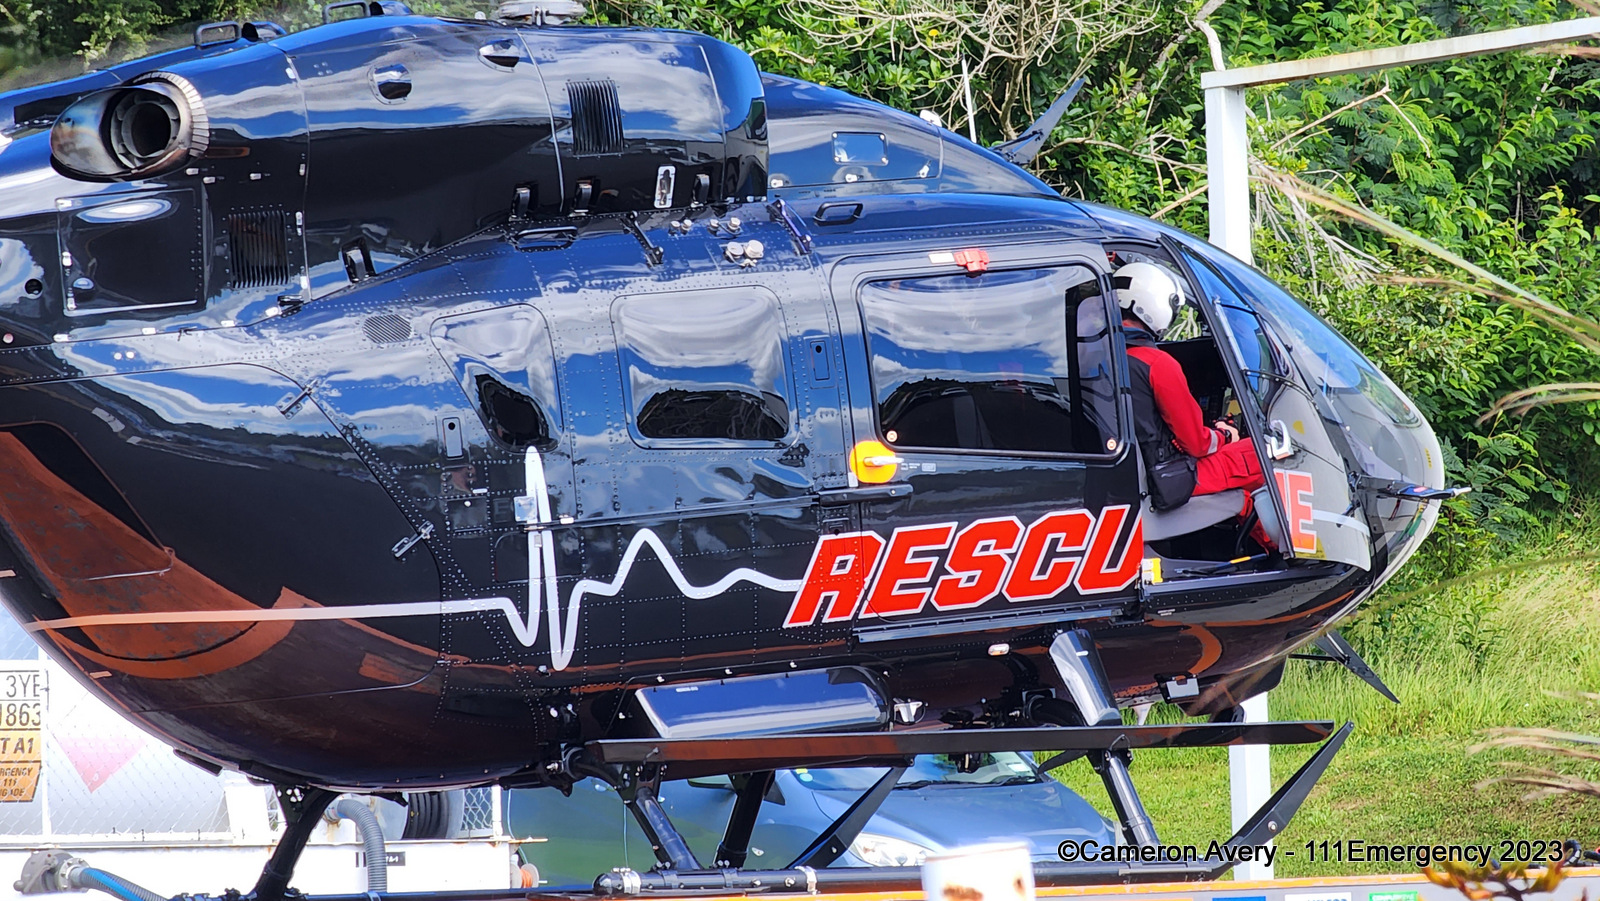
| Photo by Cameron Avery | Photo by Cameron Avery | Photo by Cameron Avery |
 |
 |
 |
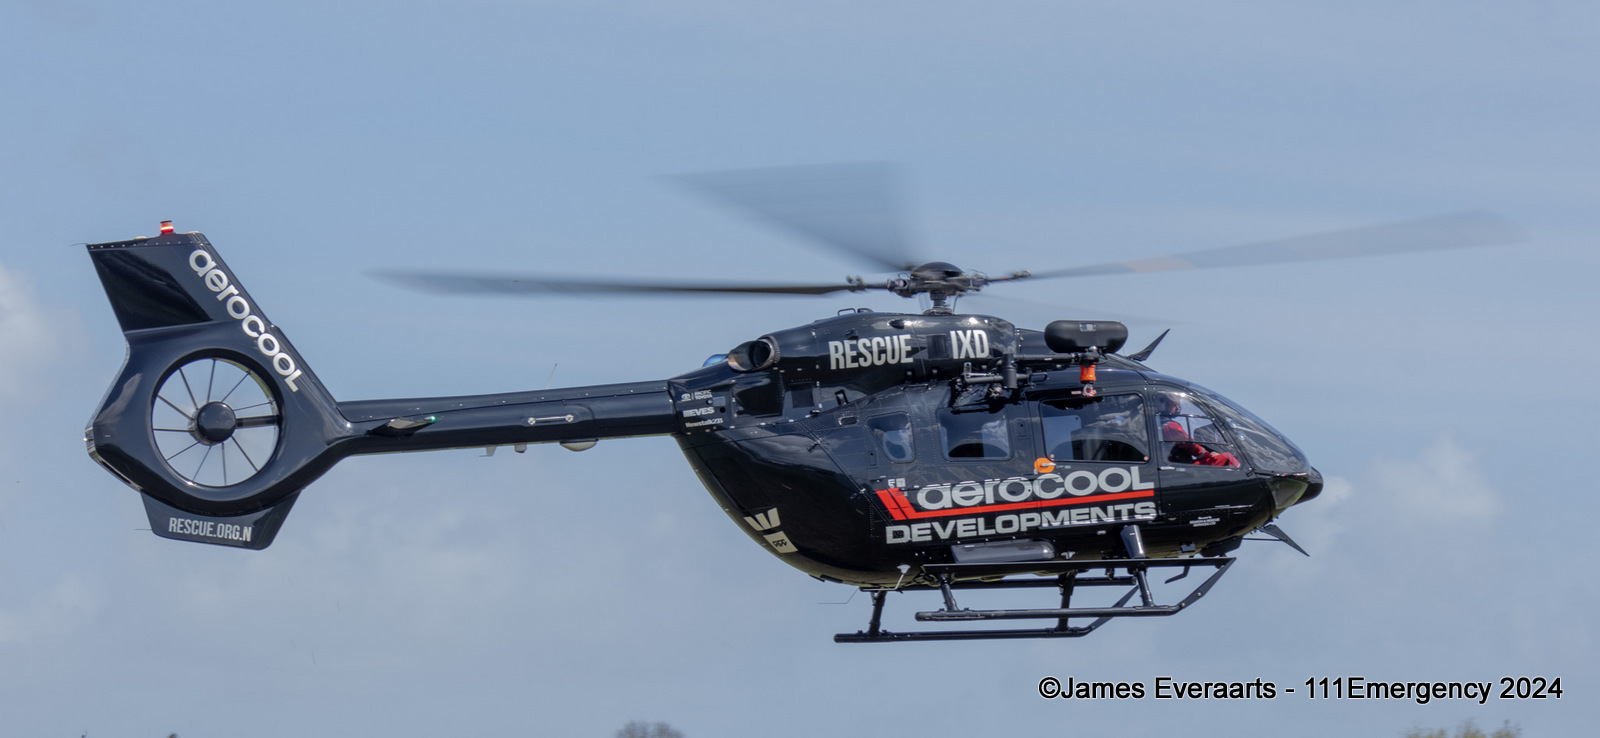
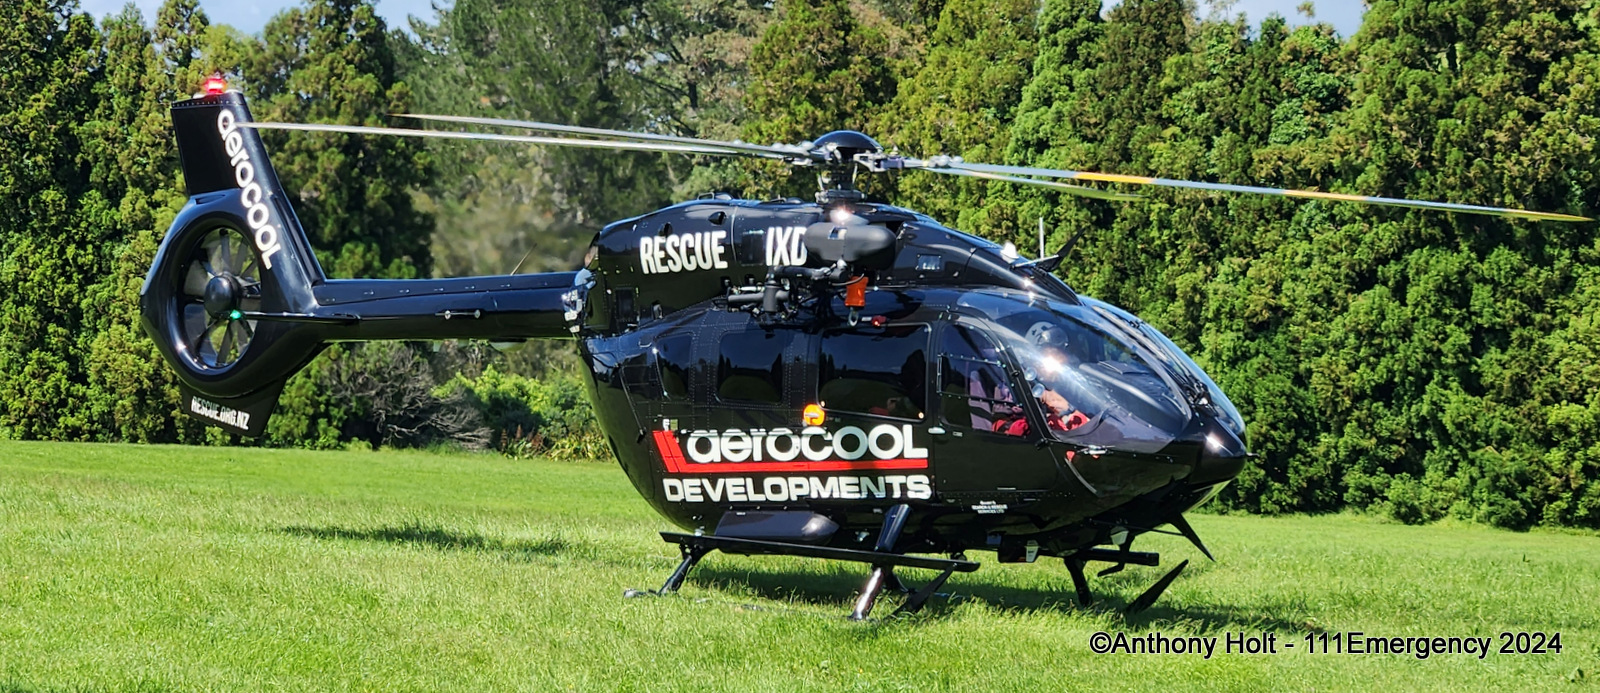
| Photo by James Everaarts | Photo by Anthony Holt | Photo by Cameron Avery |
 |
 |
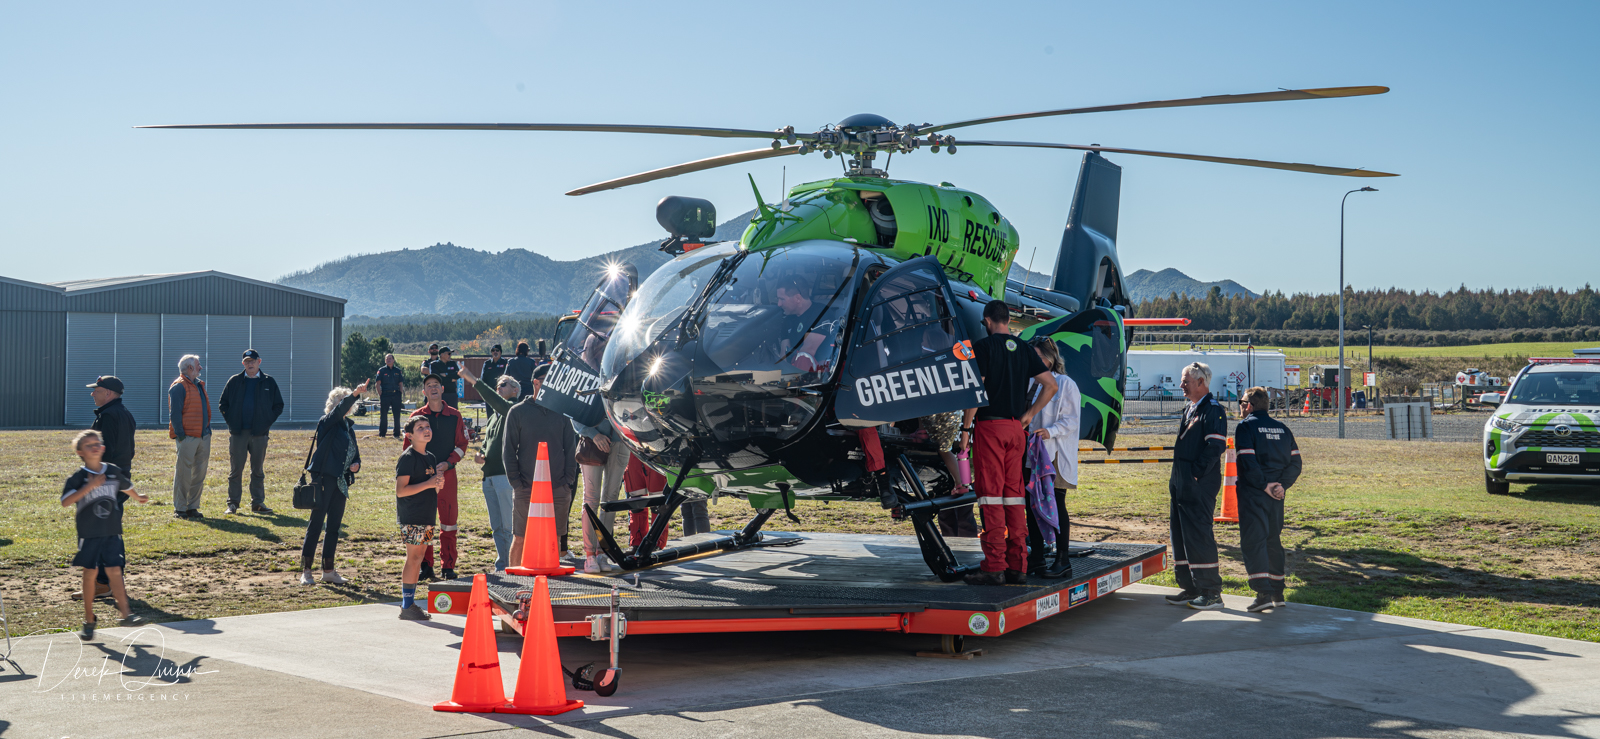 |
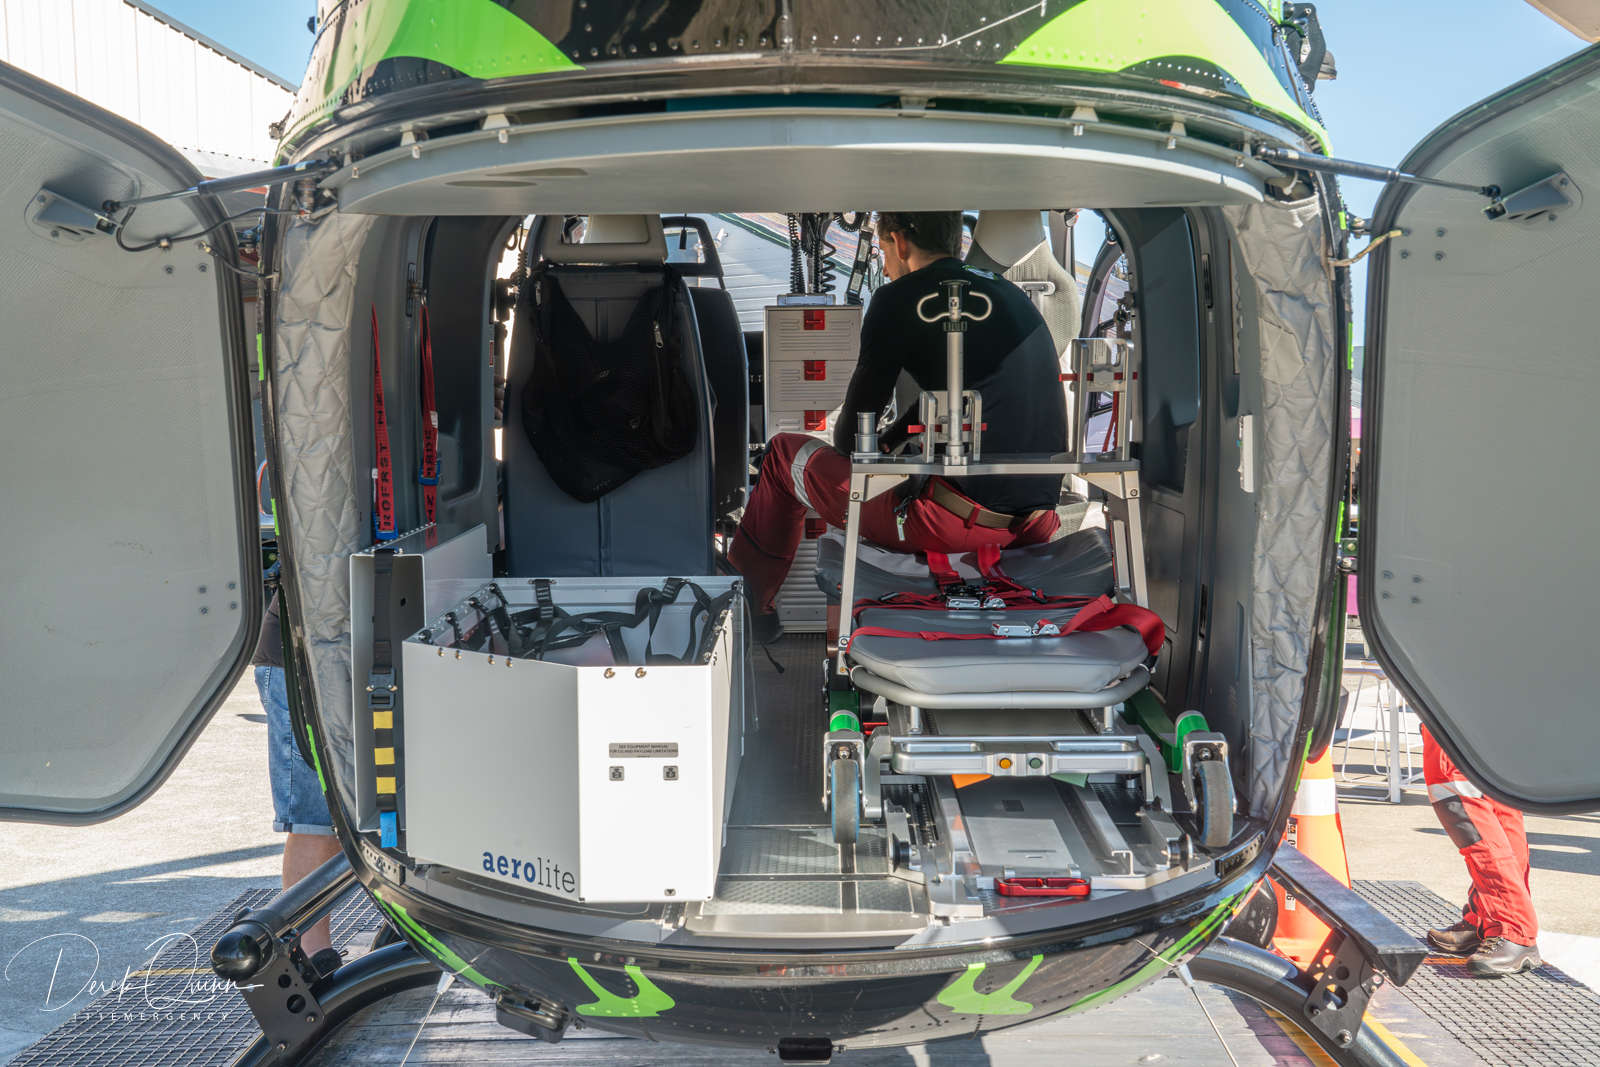
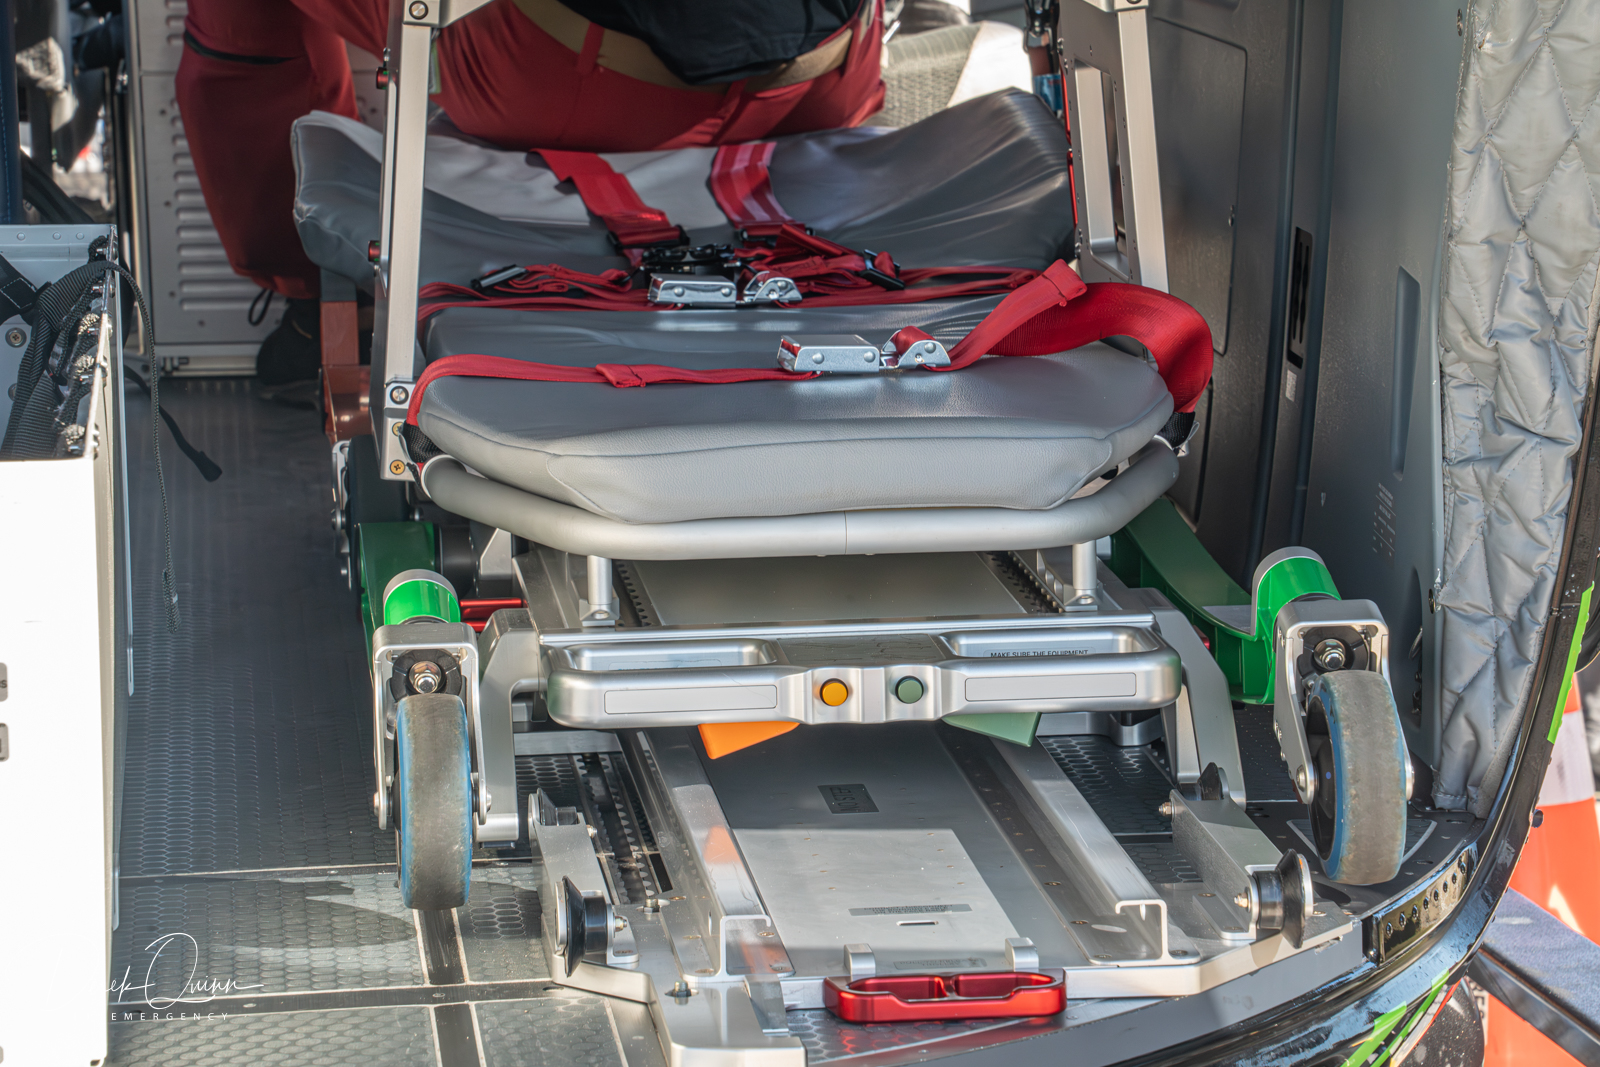
| Photo by Noah Squibb | Photo by Noah Squibb | Photo by Derek Quinn |
 |
 |
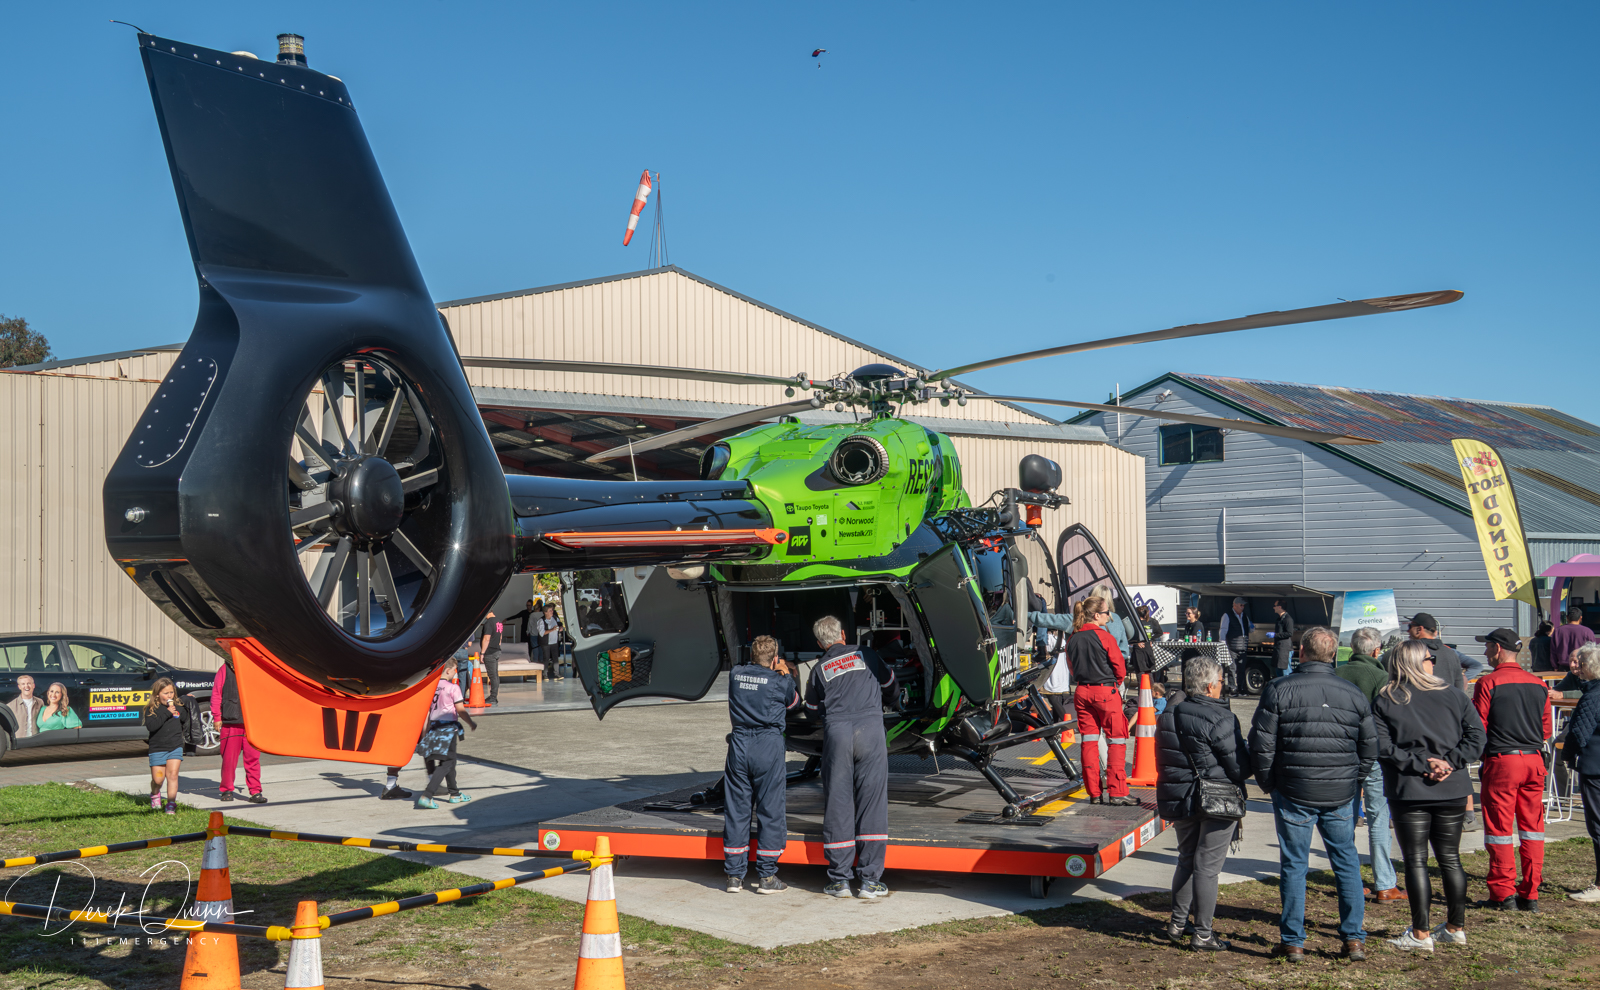 |
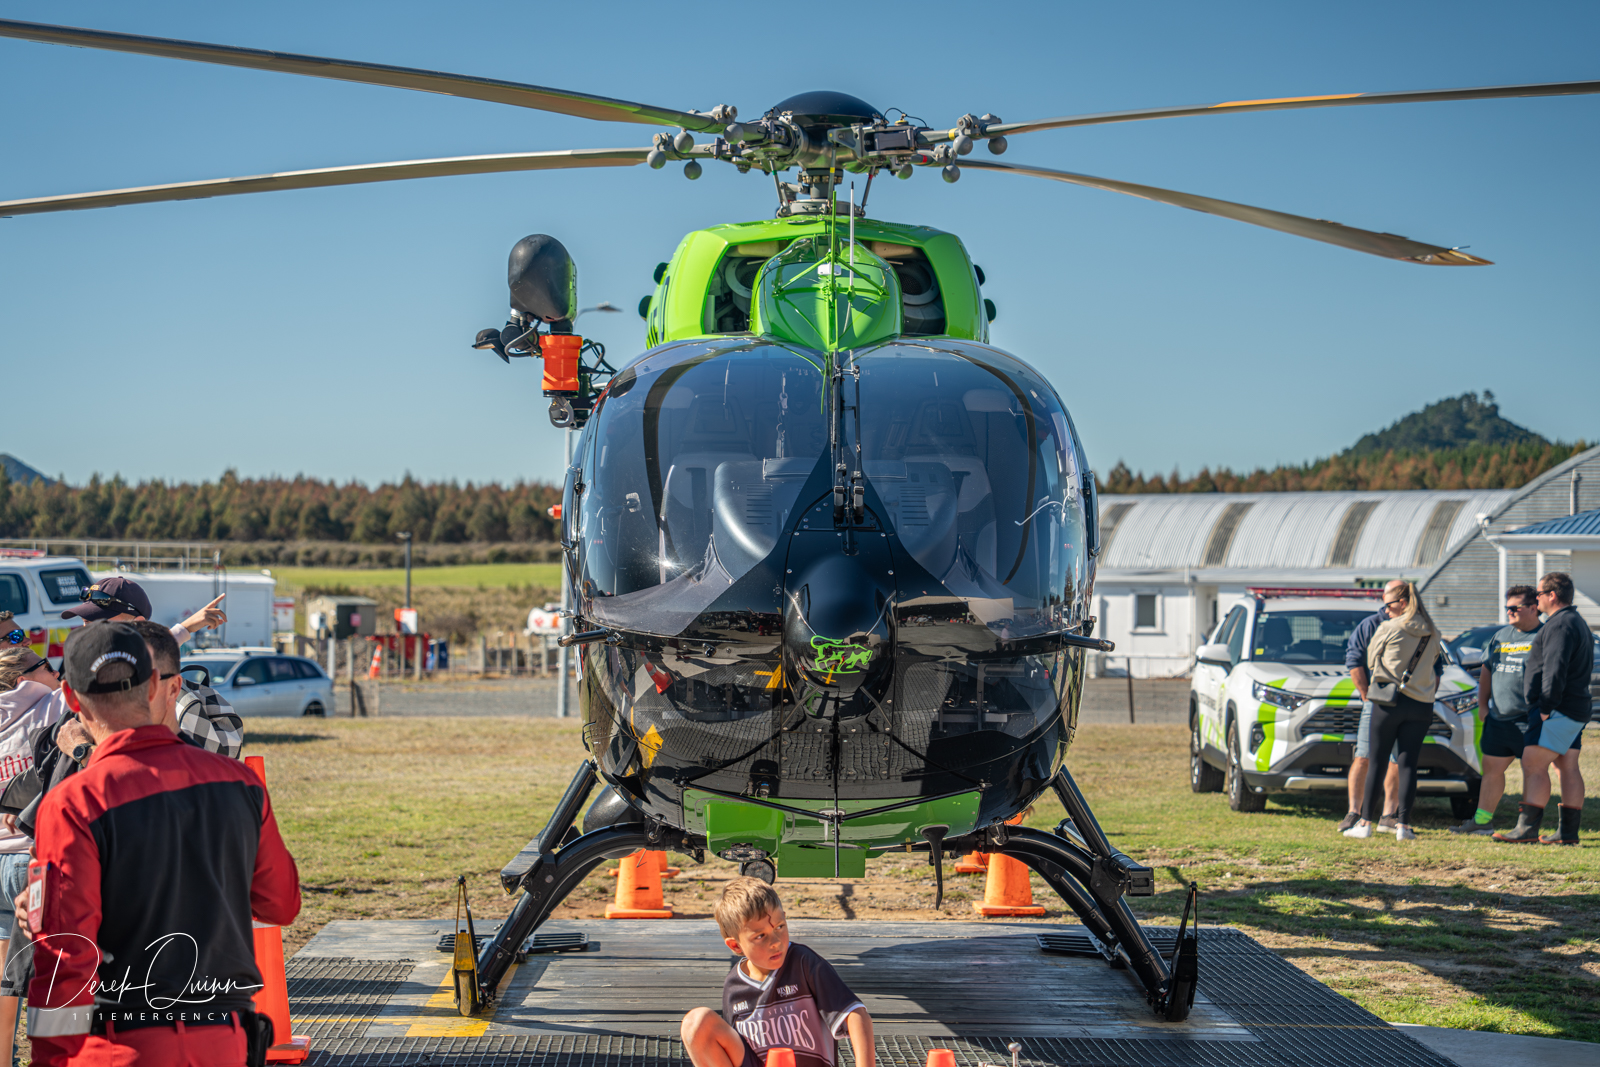
| Photo by Derek Quinn | Photo by Derek Quinn | Photo by Derek Quinn |
 |
 |
 |
| Photo by Derek Quinn | Photo by Derek Quinn | Photo by Derek Quinn |
 |
 |
 |
| Photo by Derek Quinn | Photo by Derek Quinn | Photo by Derek Quinn |
 |
||
| Photo by Derek Quinn | ||
| TAUPO RESCUE HELICOPTER OPEN DAYS | ||
 |
|
|
|
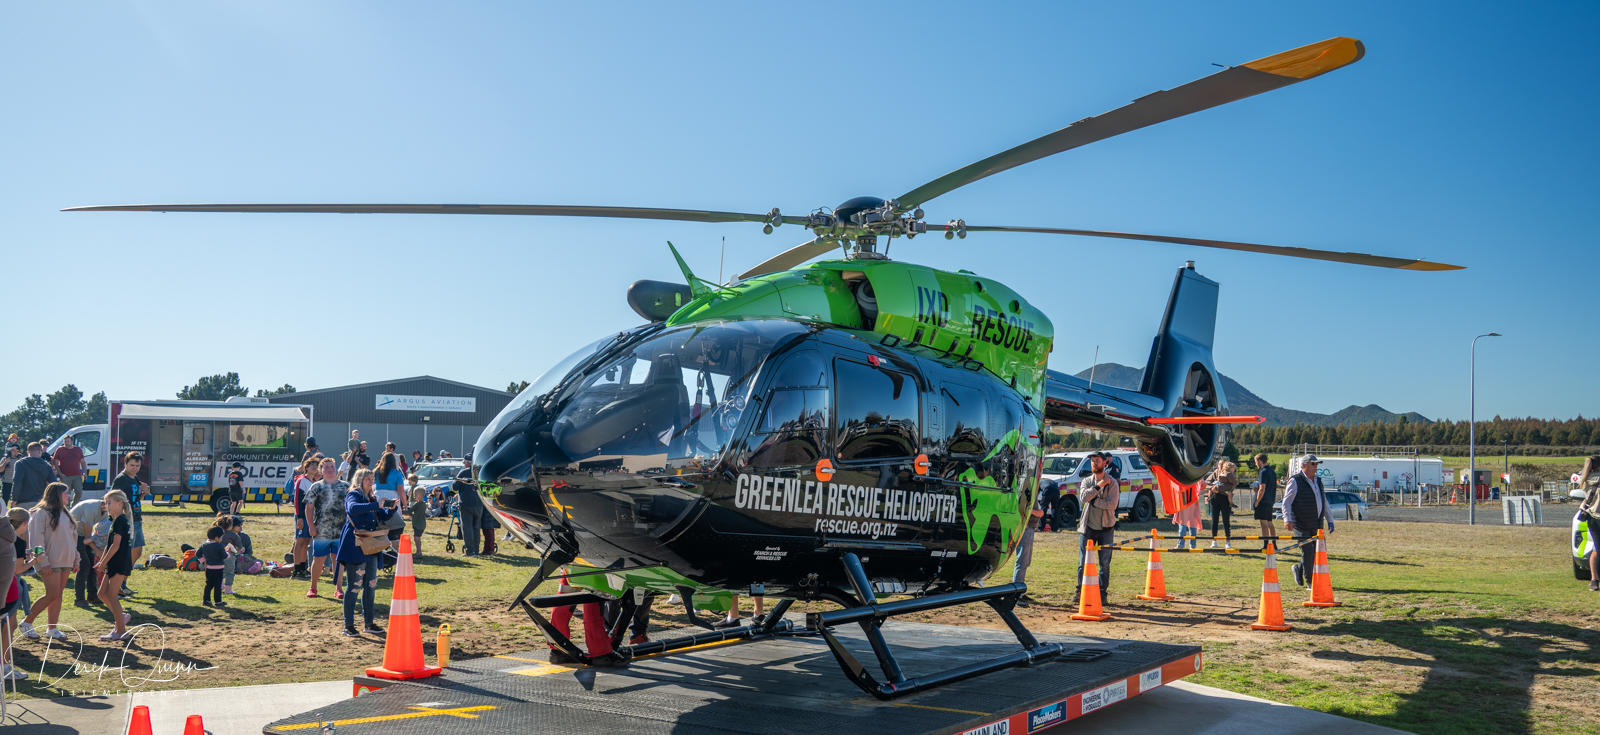
Greenlea Open Day
3 Nov 2019 Photo by Derek Quinn More pics of Greenlea Open Day 2019 |
Greenlea Open Day
12 May 2025 Photo by Derek Quinn More pics of Greenlea Open Day 2025 |
|
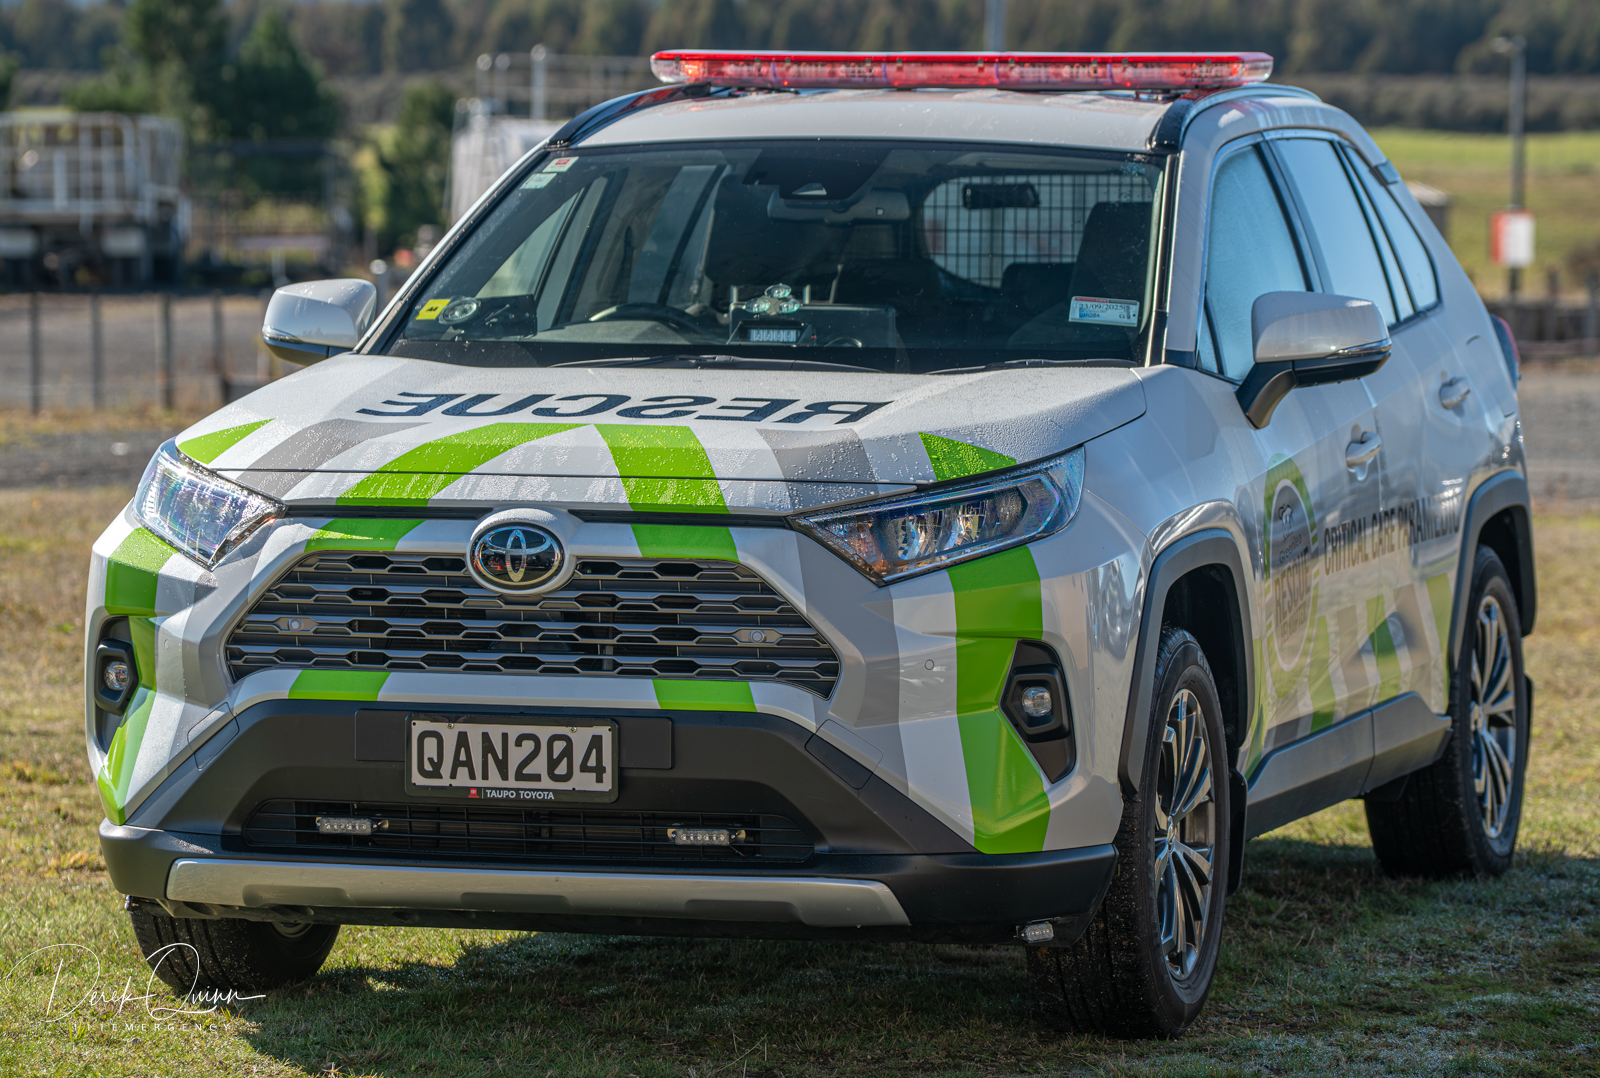
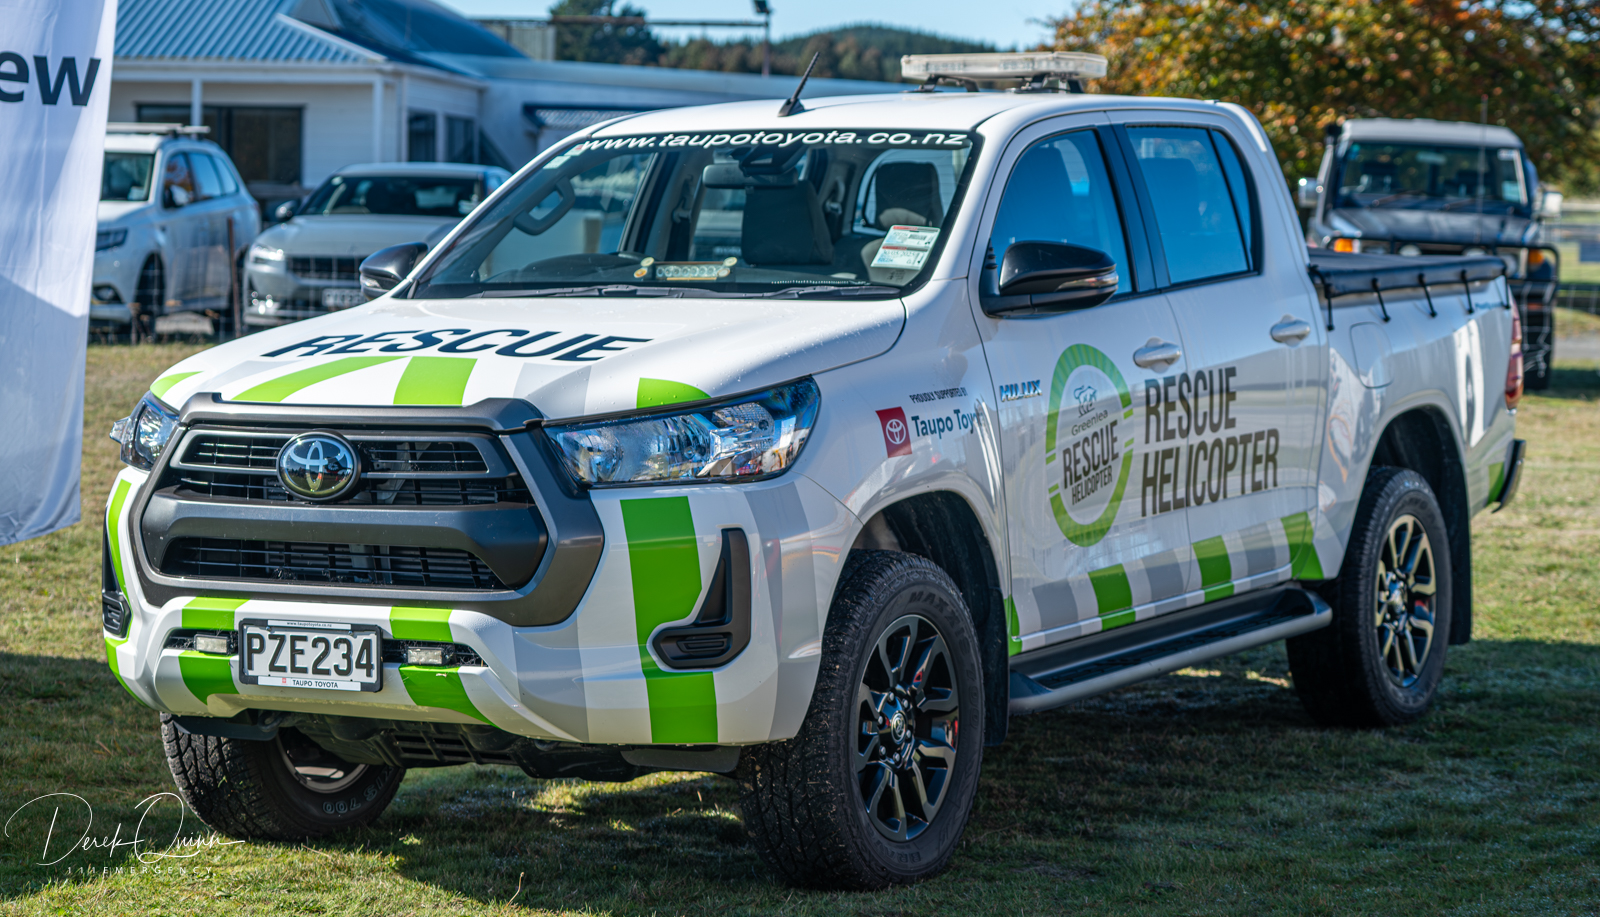
| SUPPORT VEHICLES | ||
 |
 |
|
|
Critical Care Paramedic Car 2023 Toyota RAV4 QAN 204 |
2023 Toyota Hilux PZE 234 |
|
Click here to go back to Rescue Helicopters page

© All photos / videos remain the property of the original photographer. Do not use them elsewhere without their written permission.