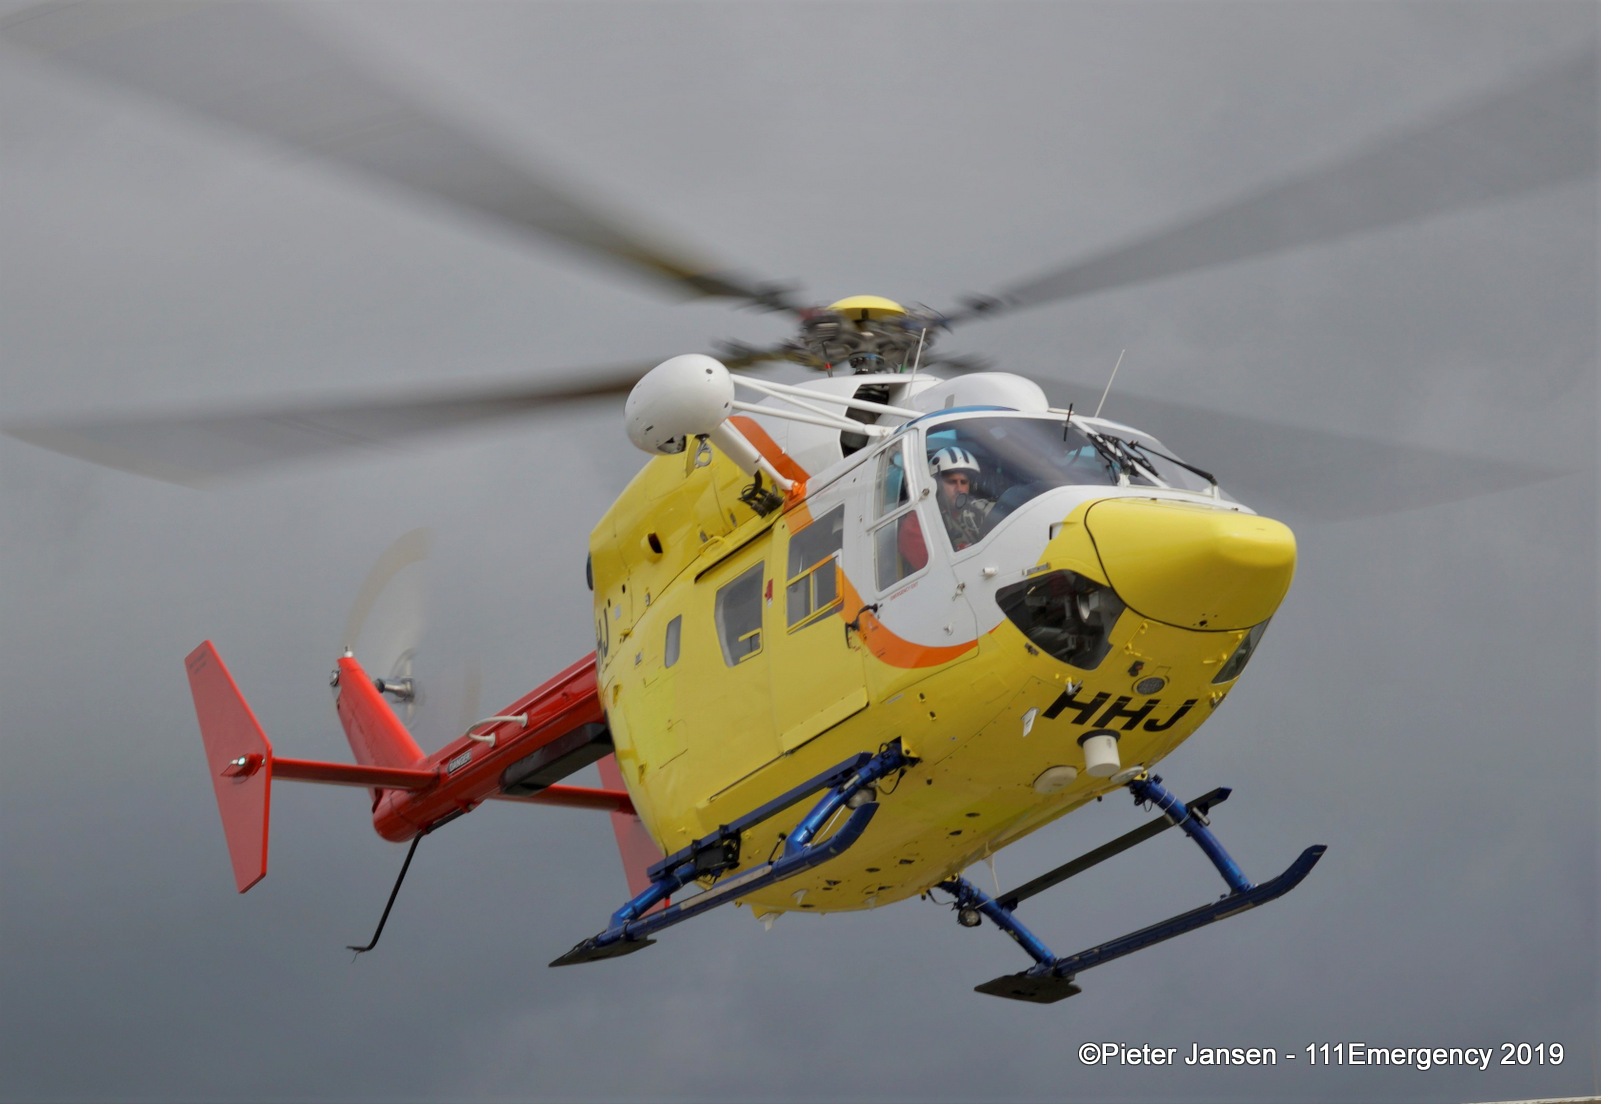
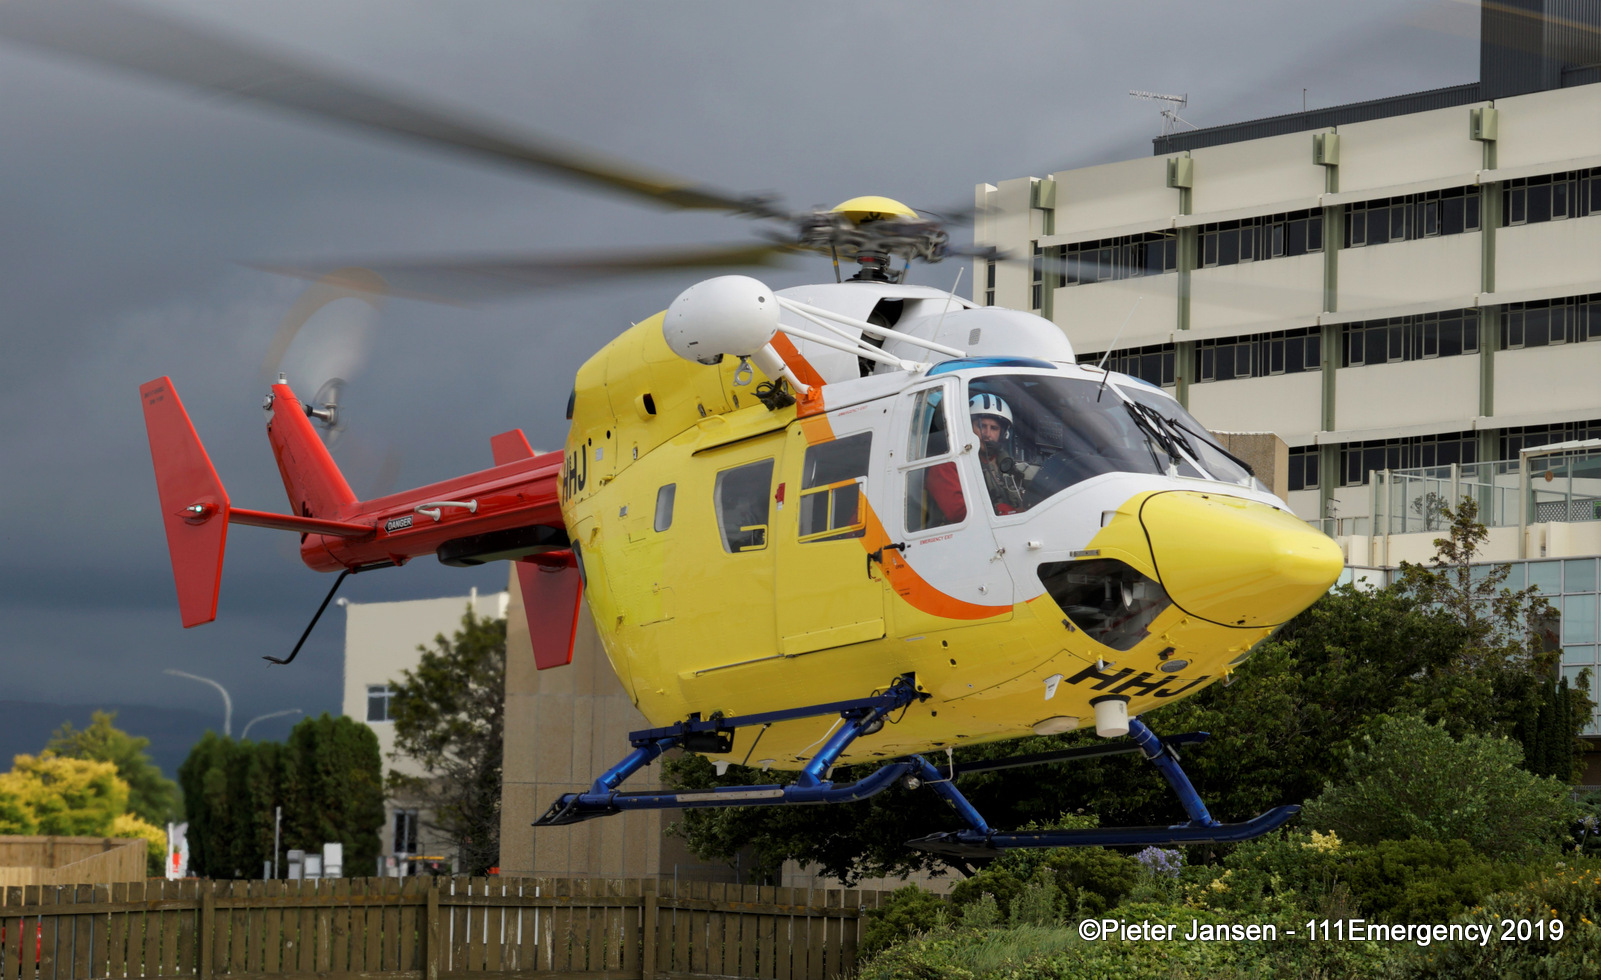
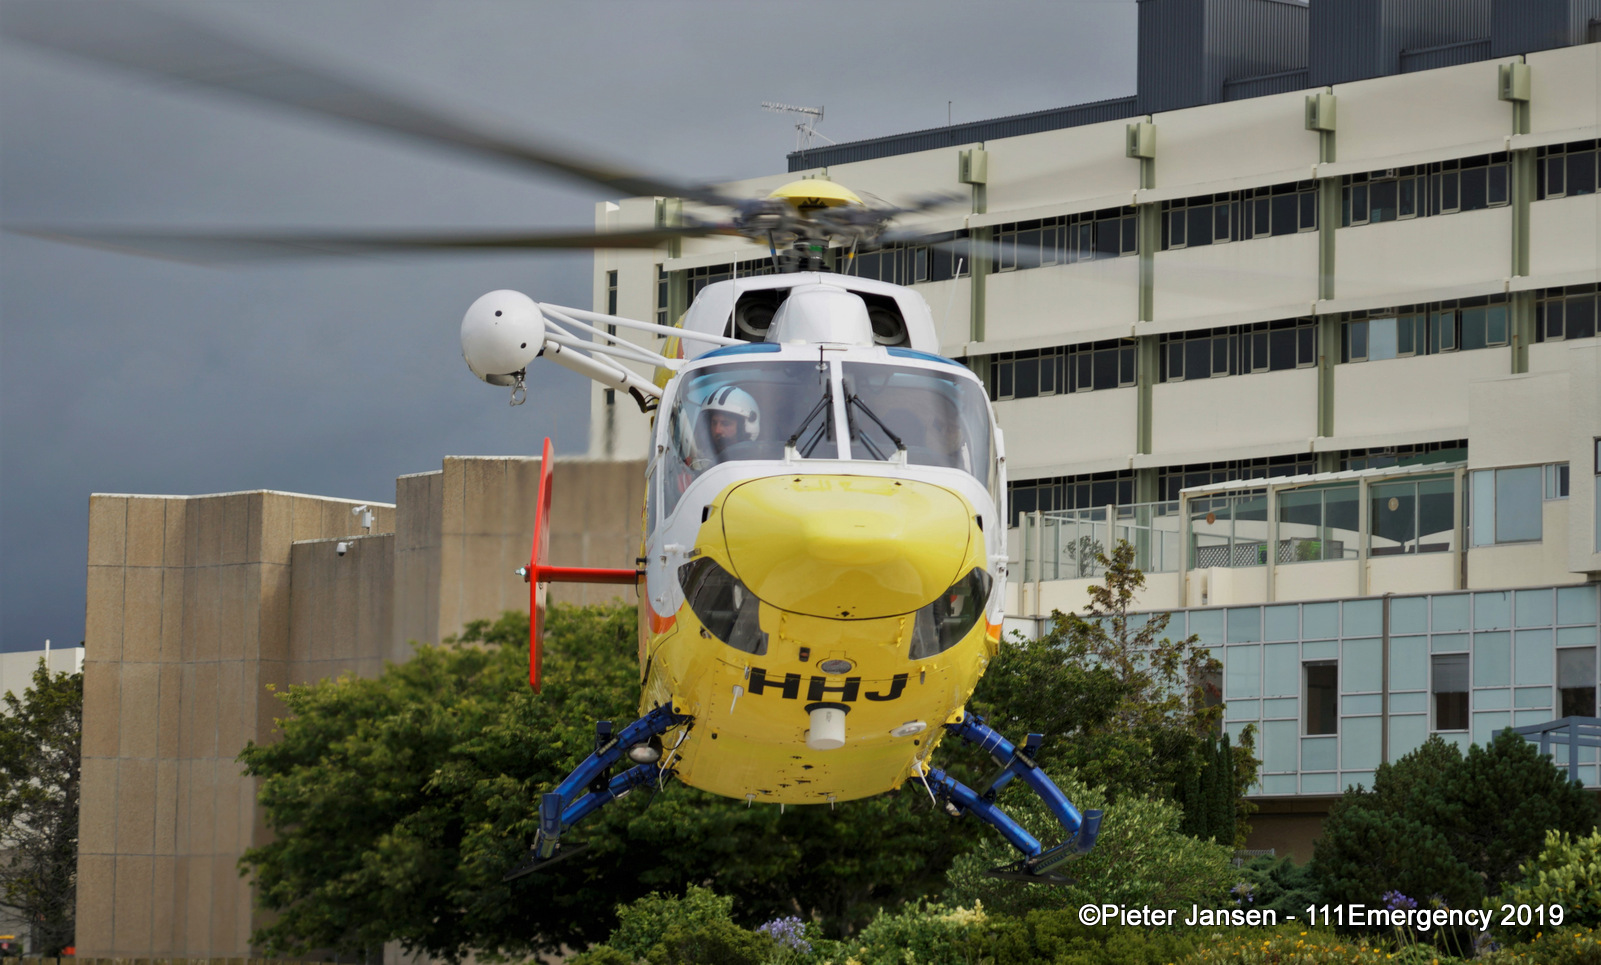
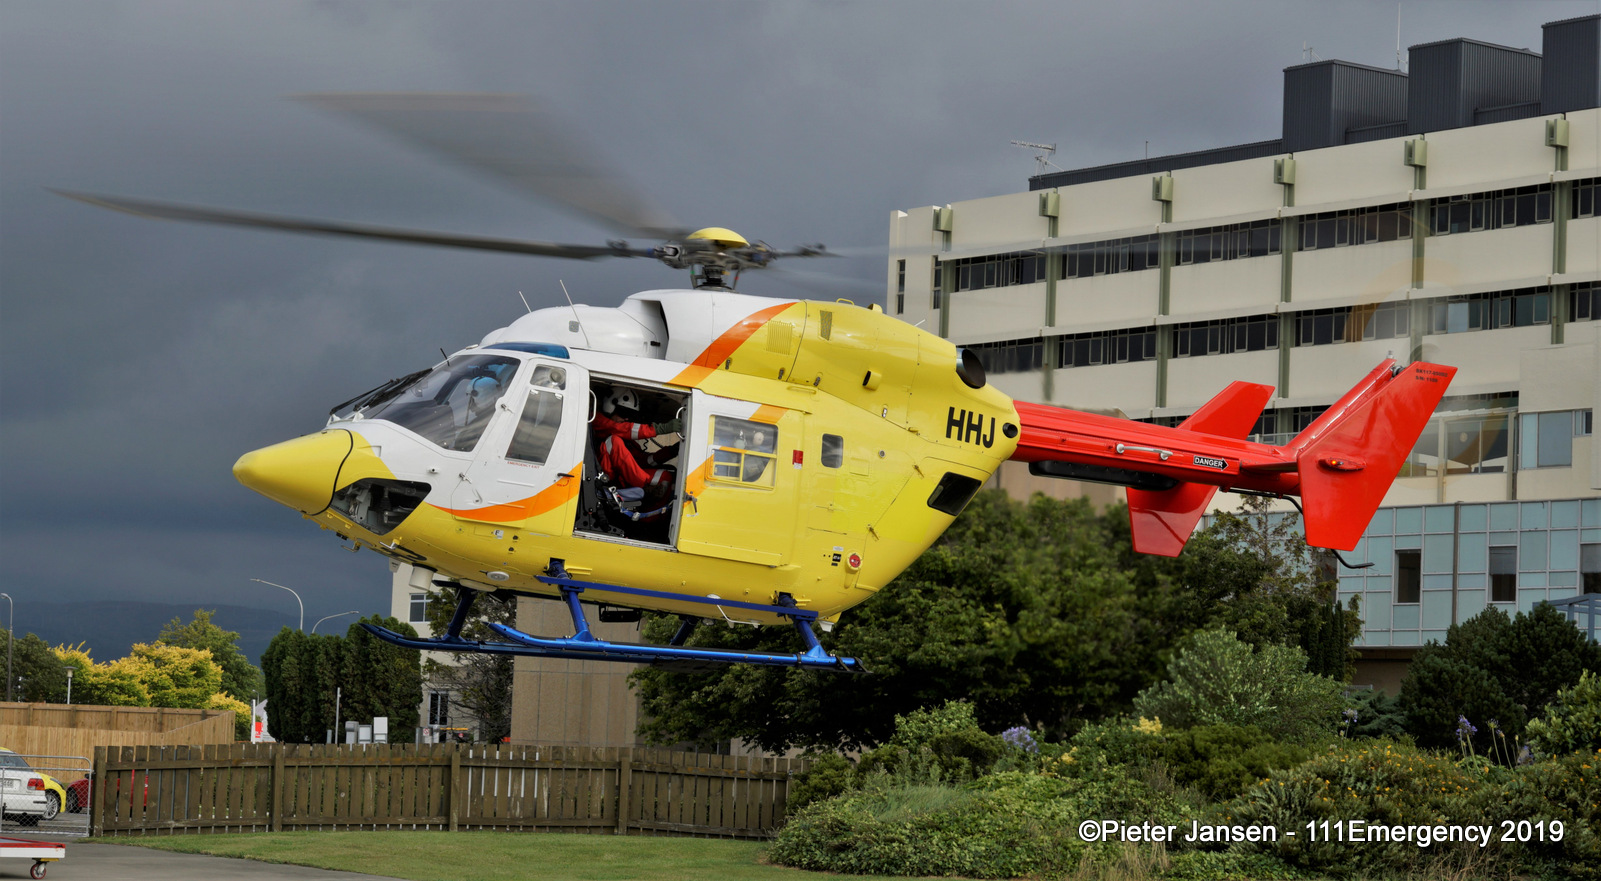
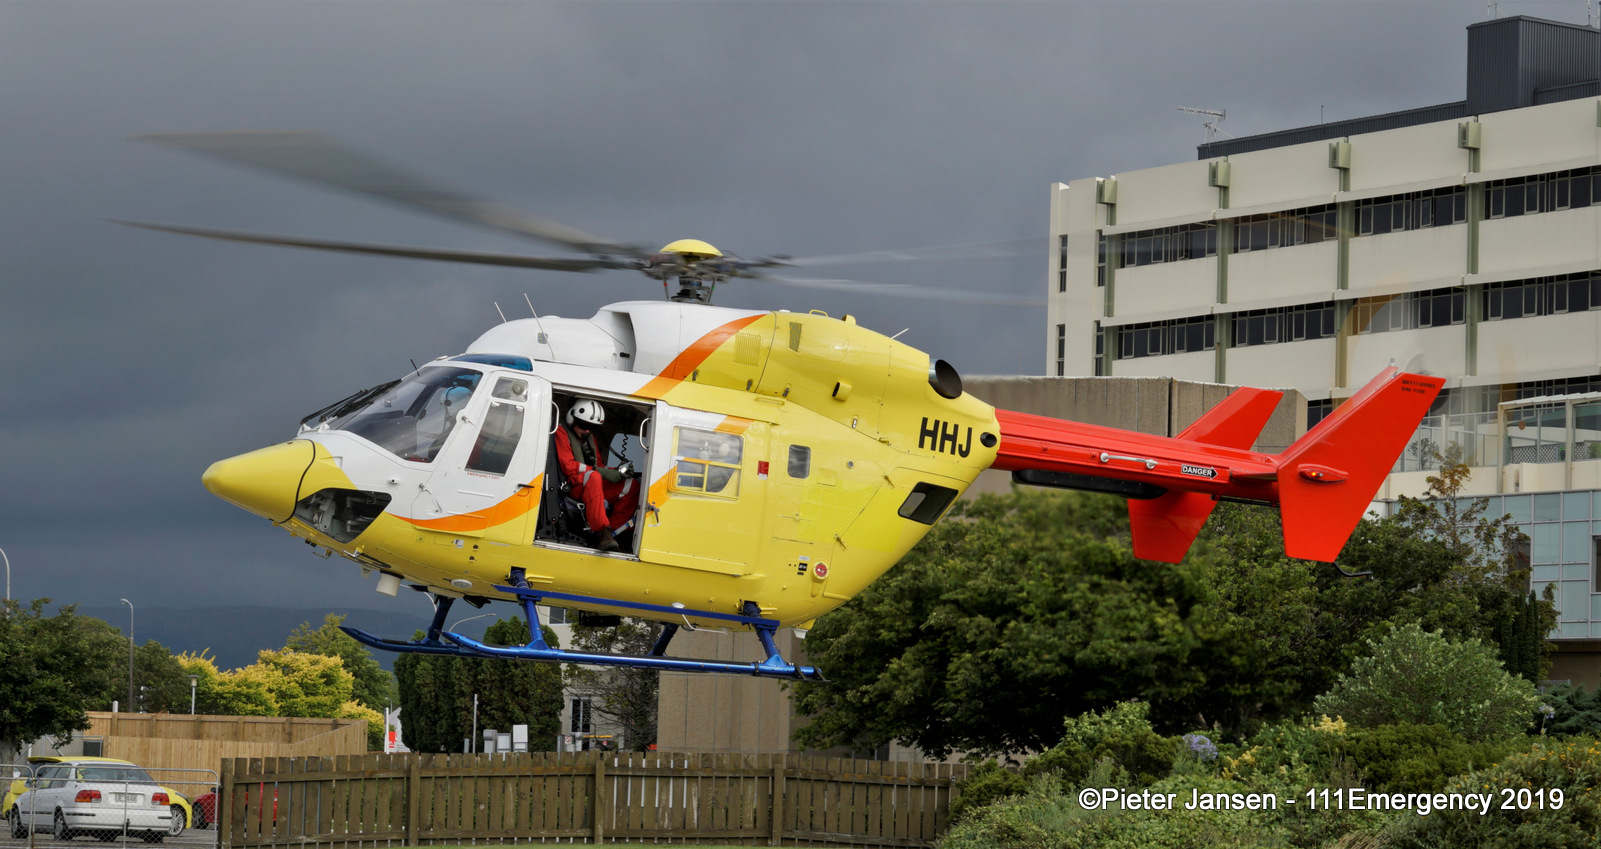
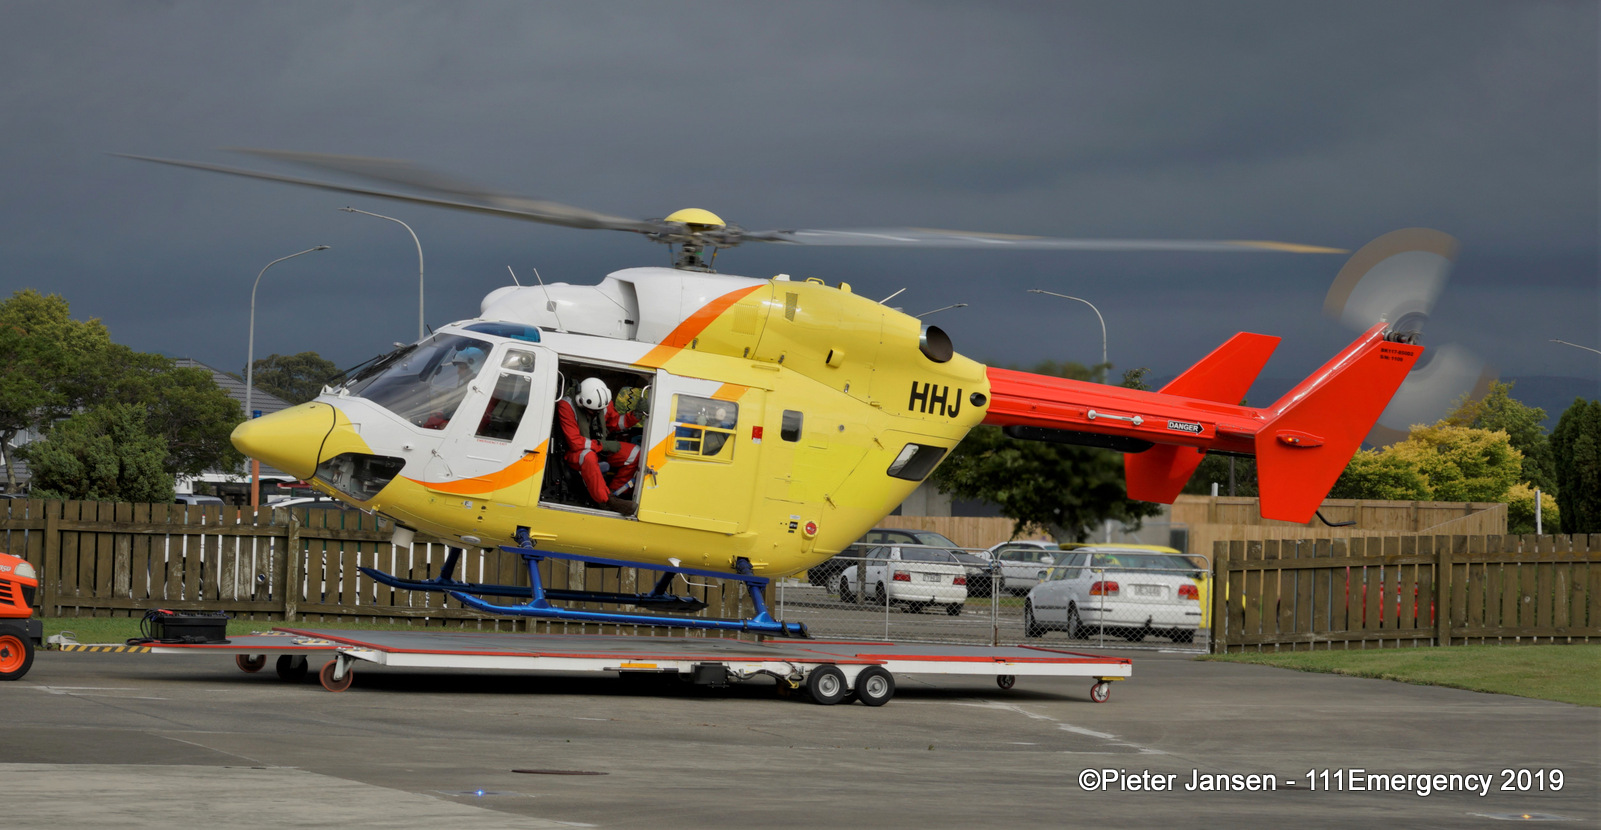
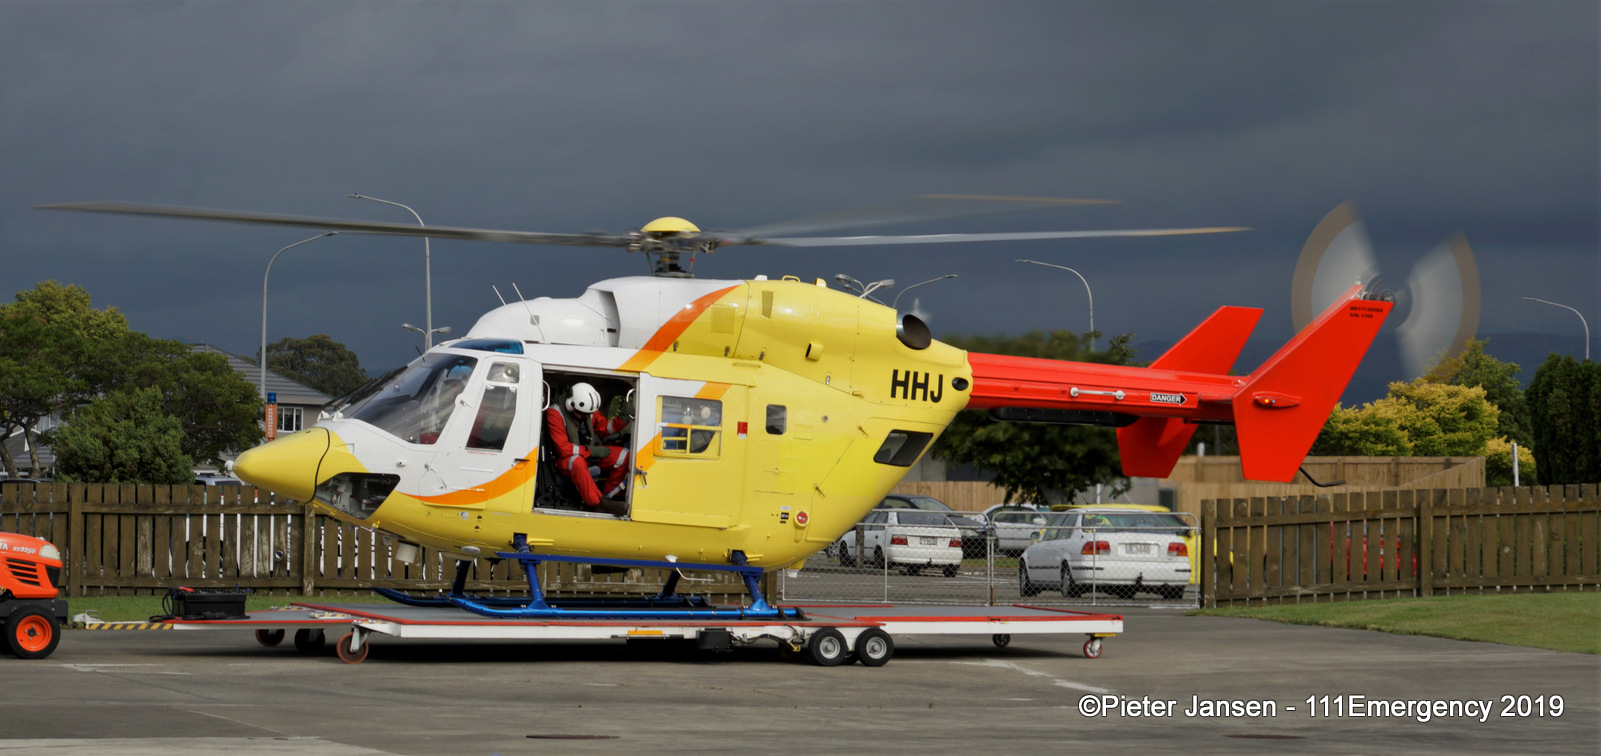
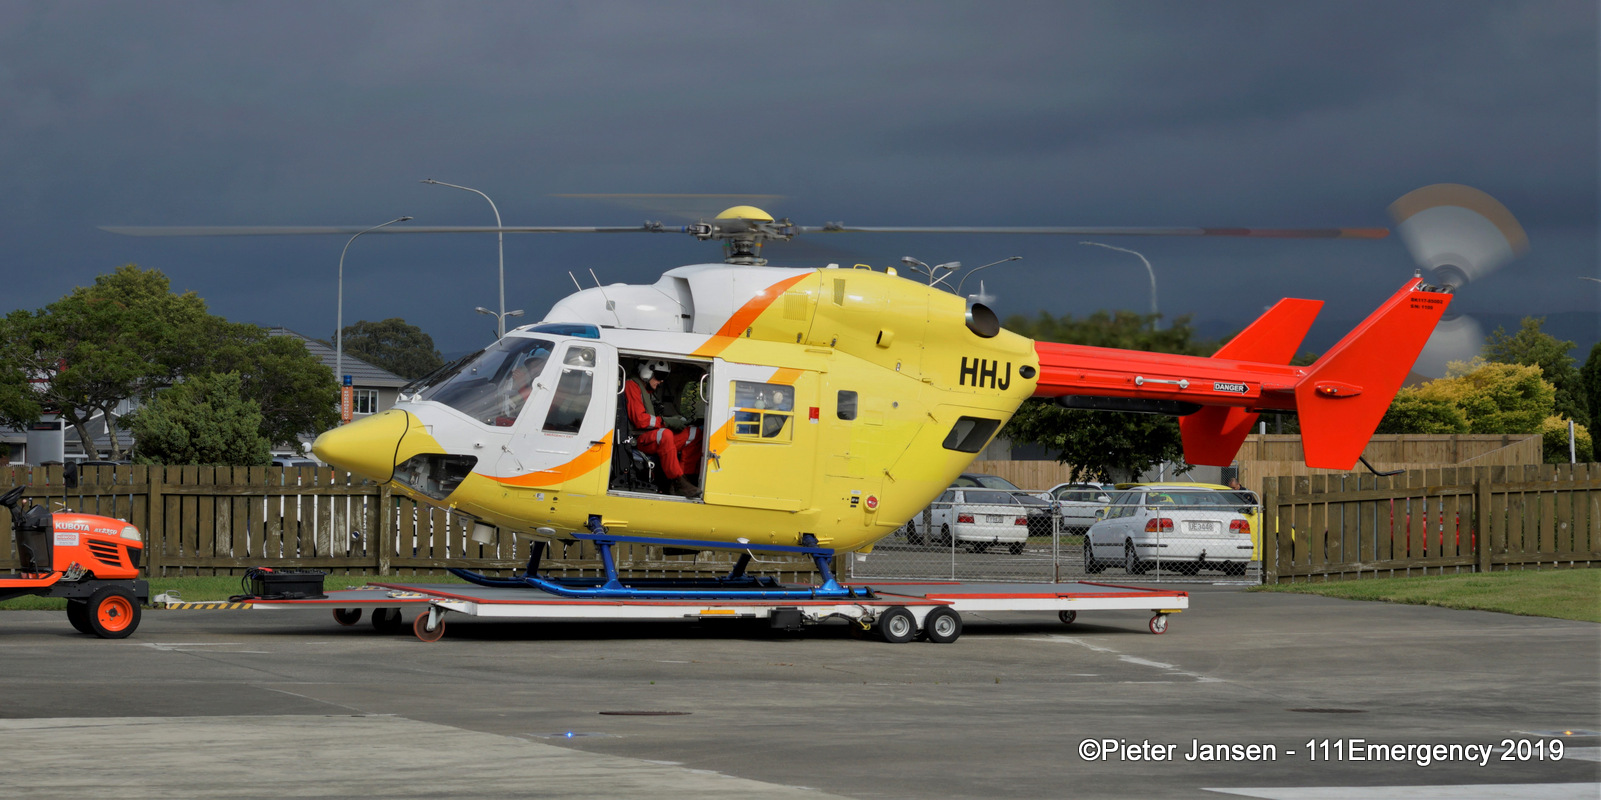
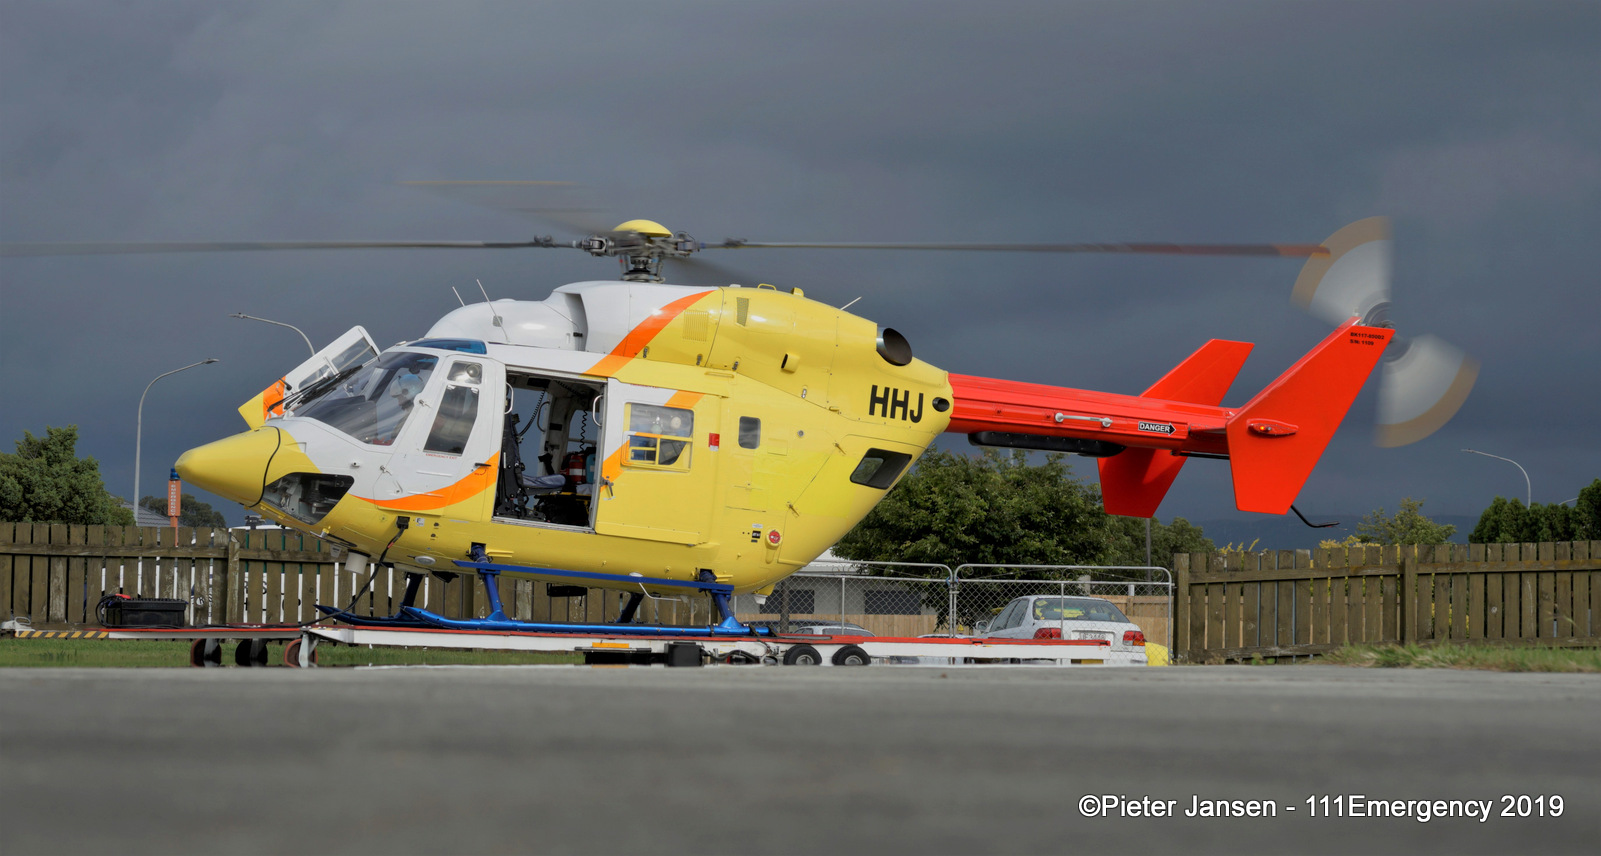
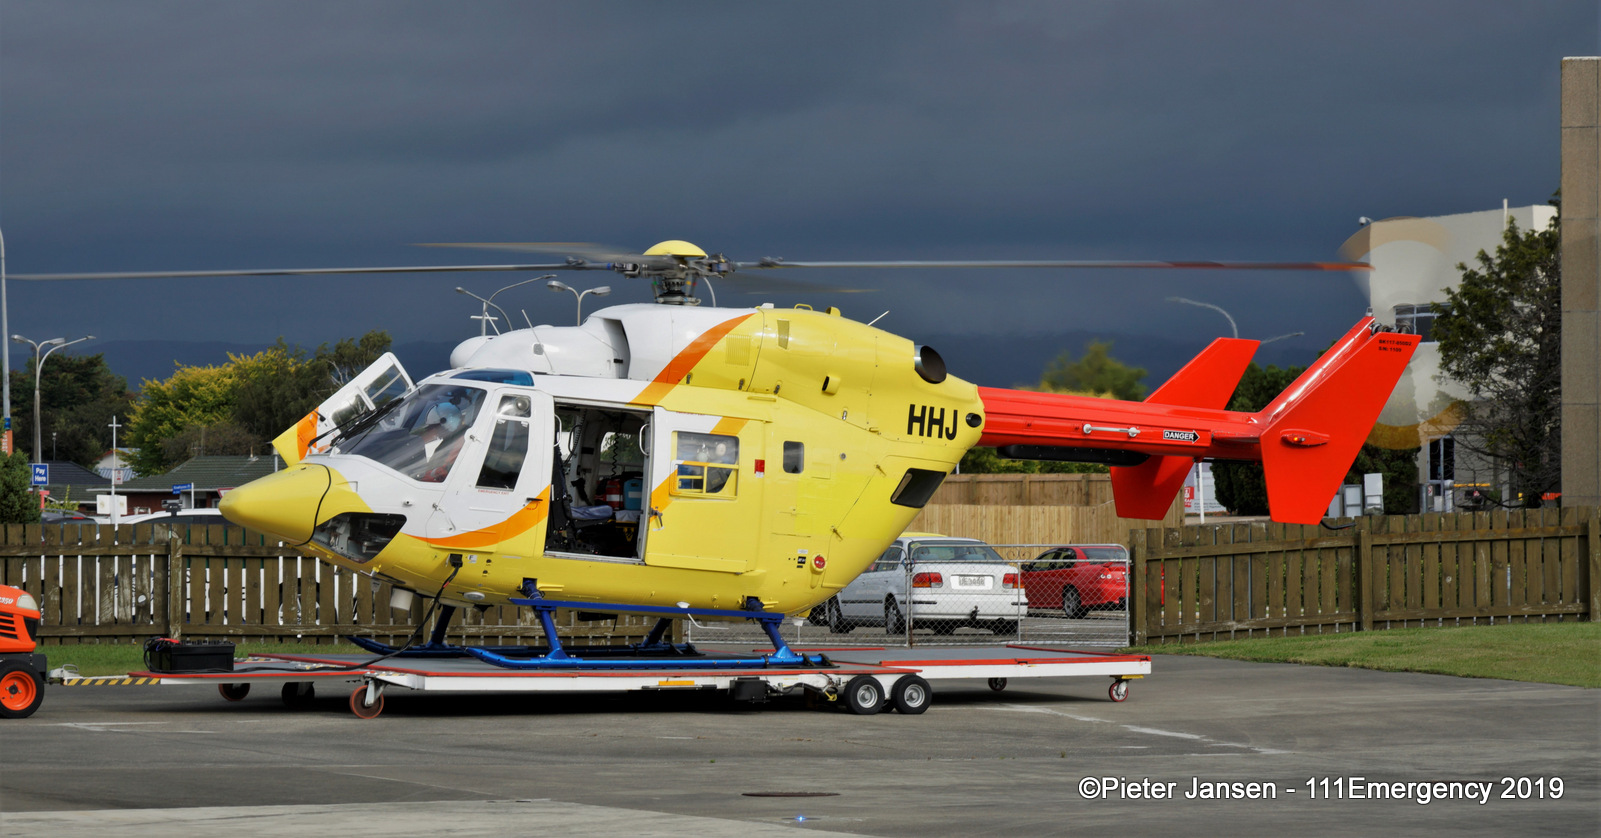
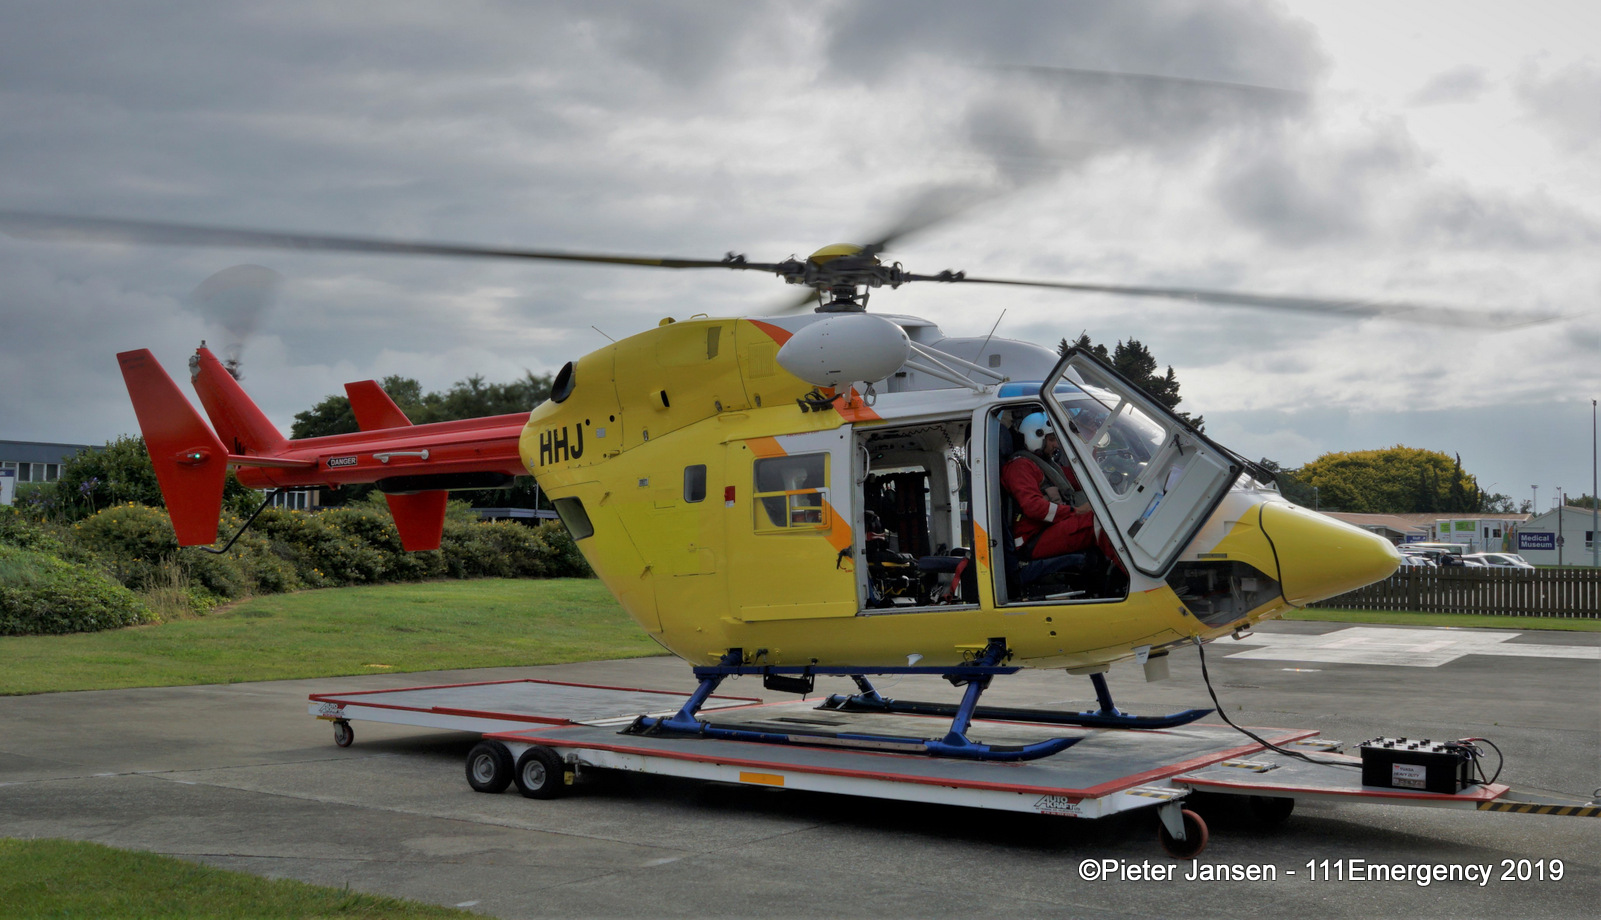
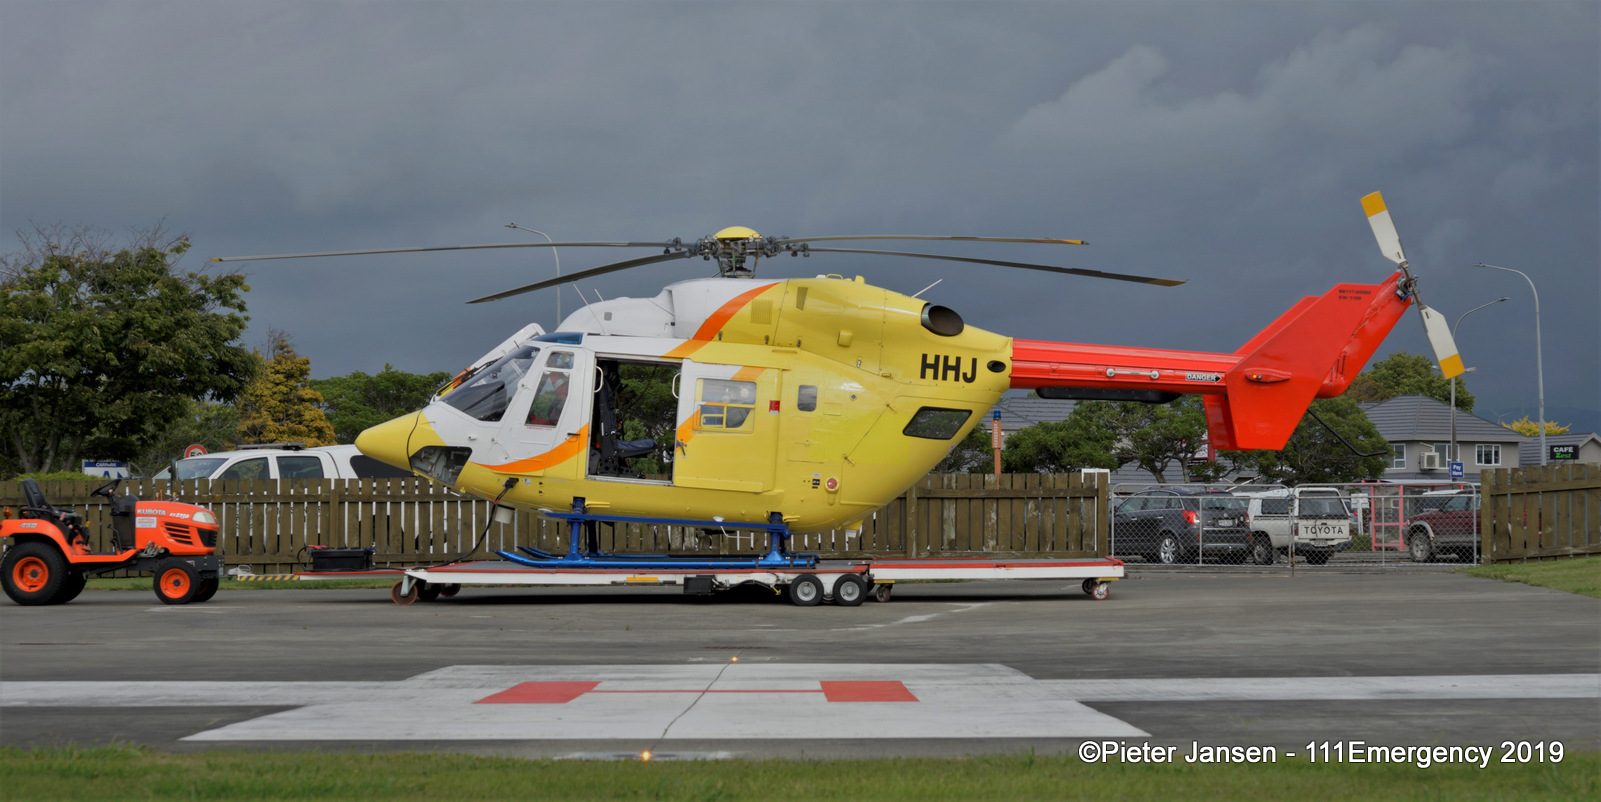
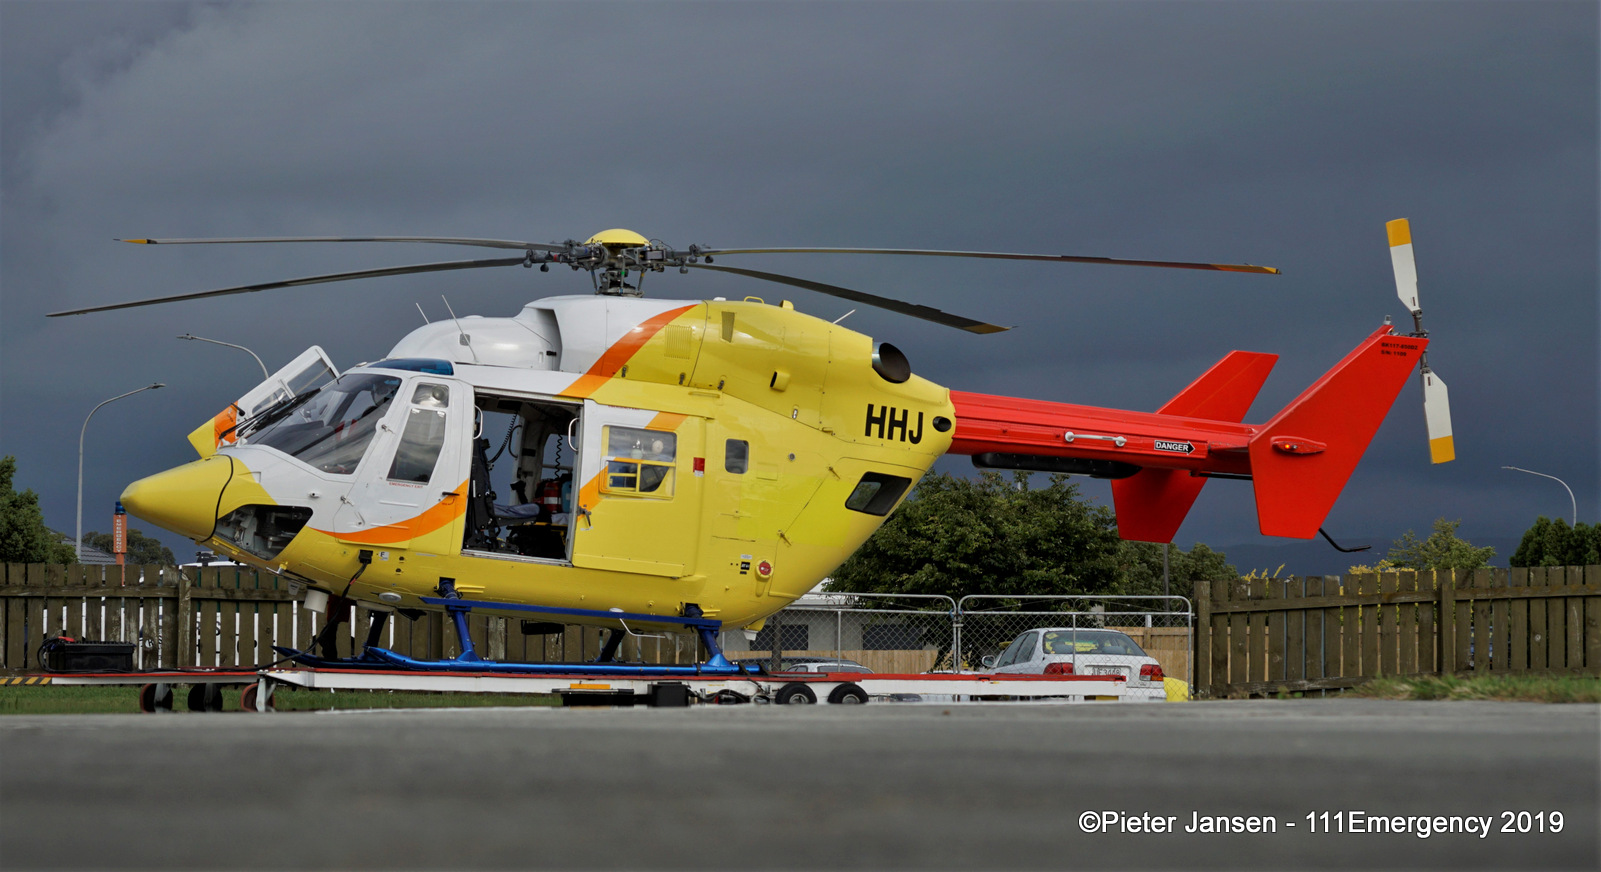
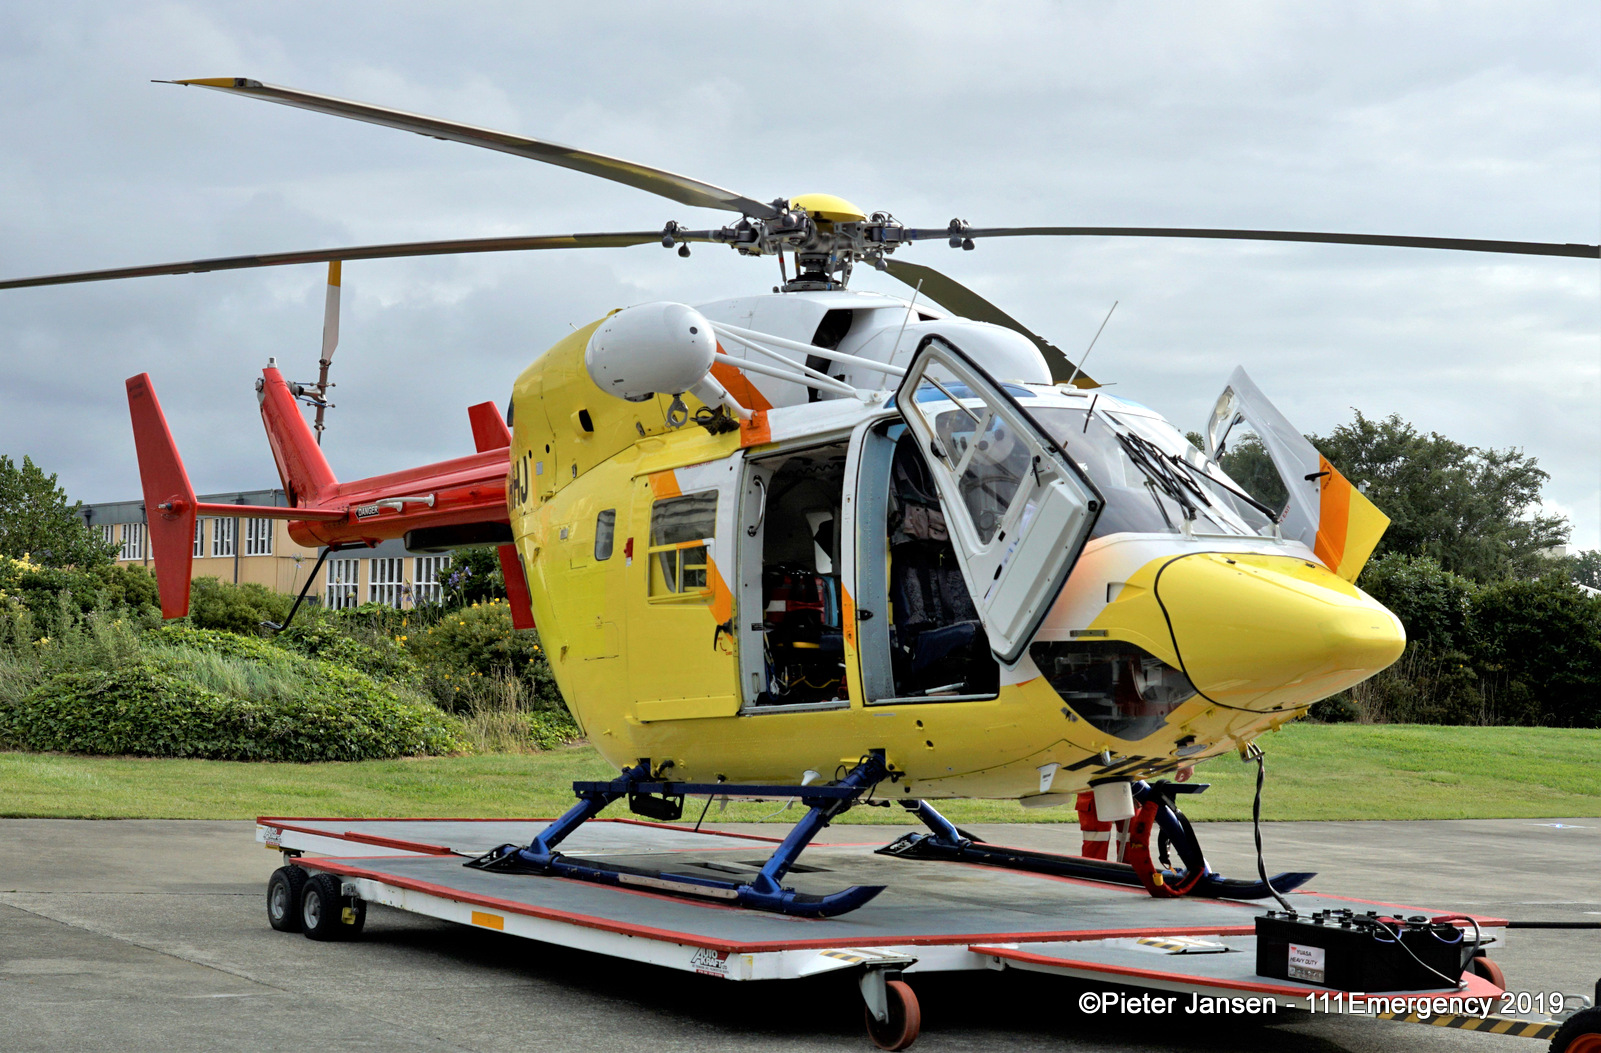
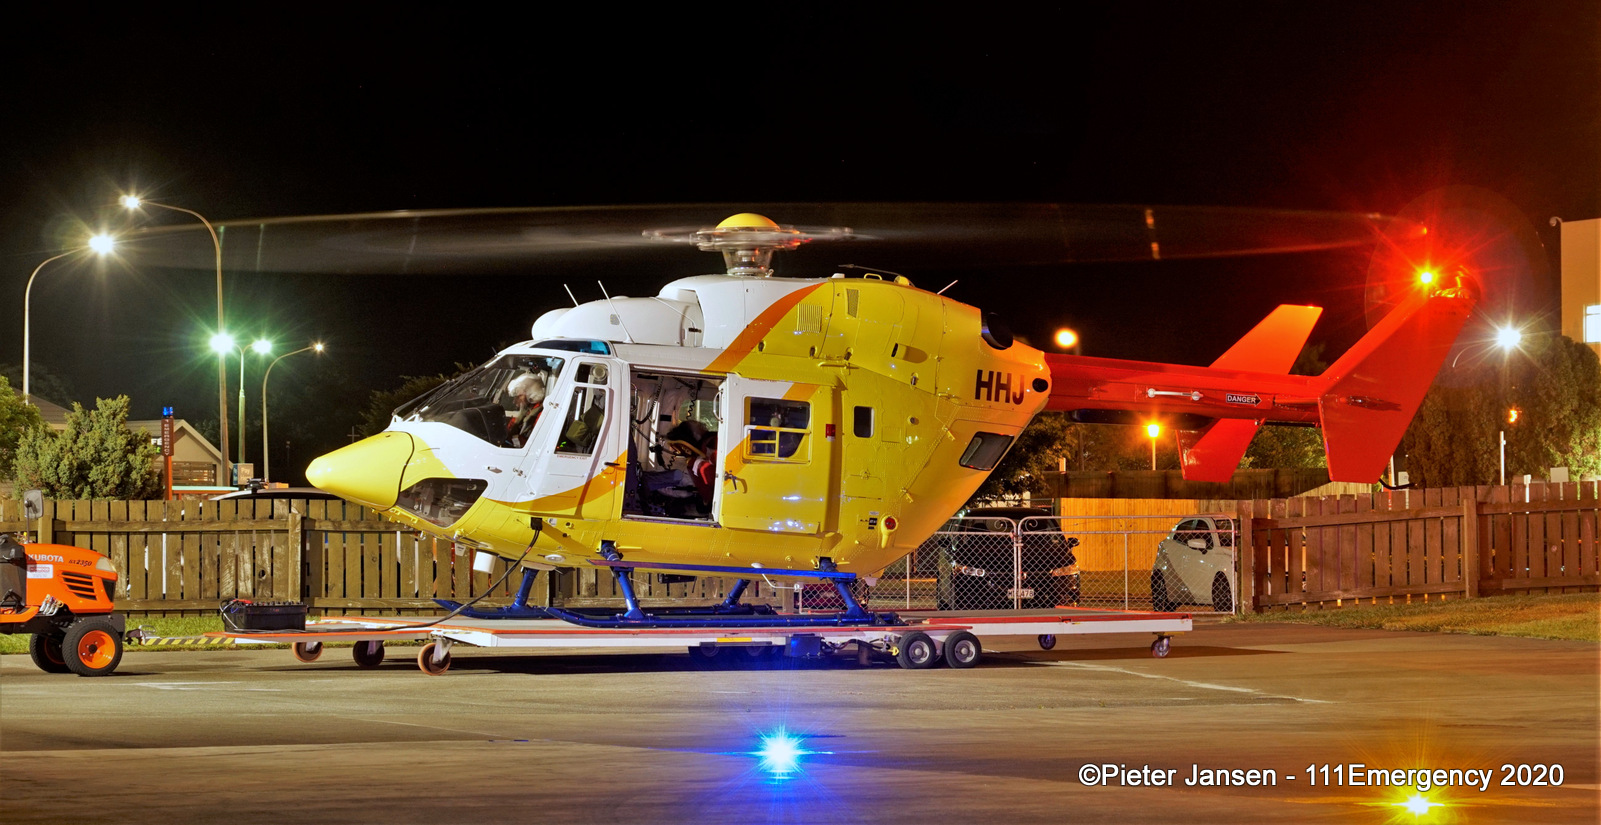
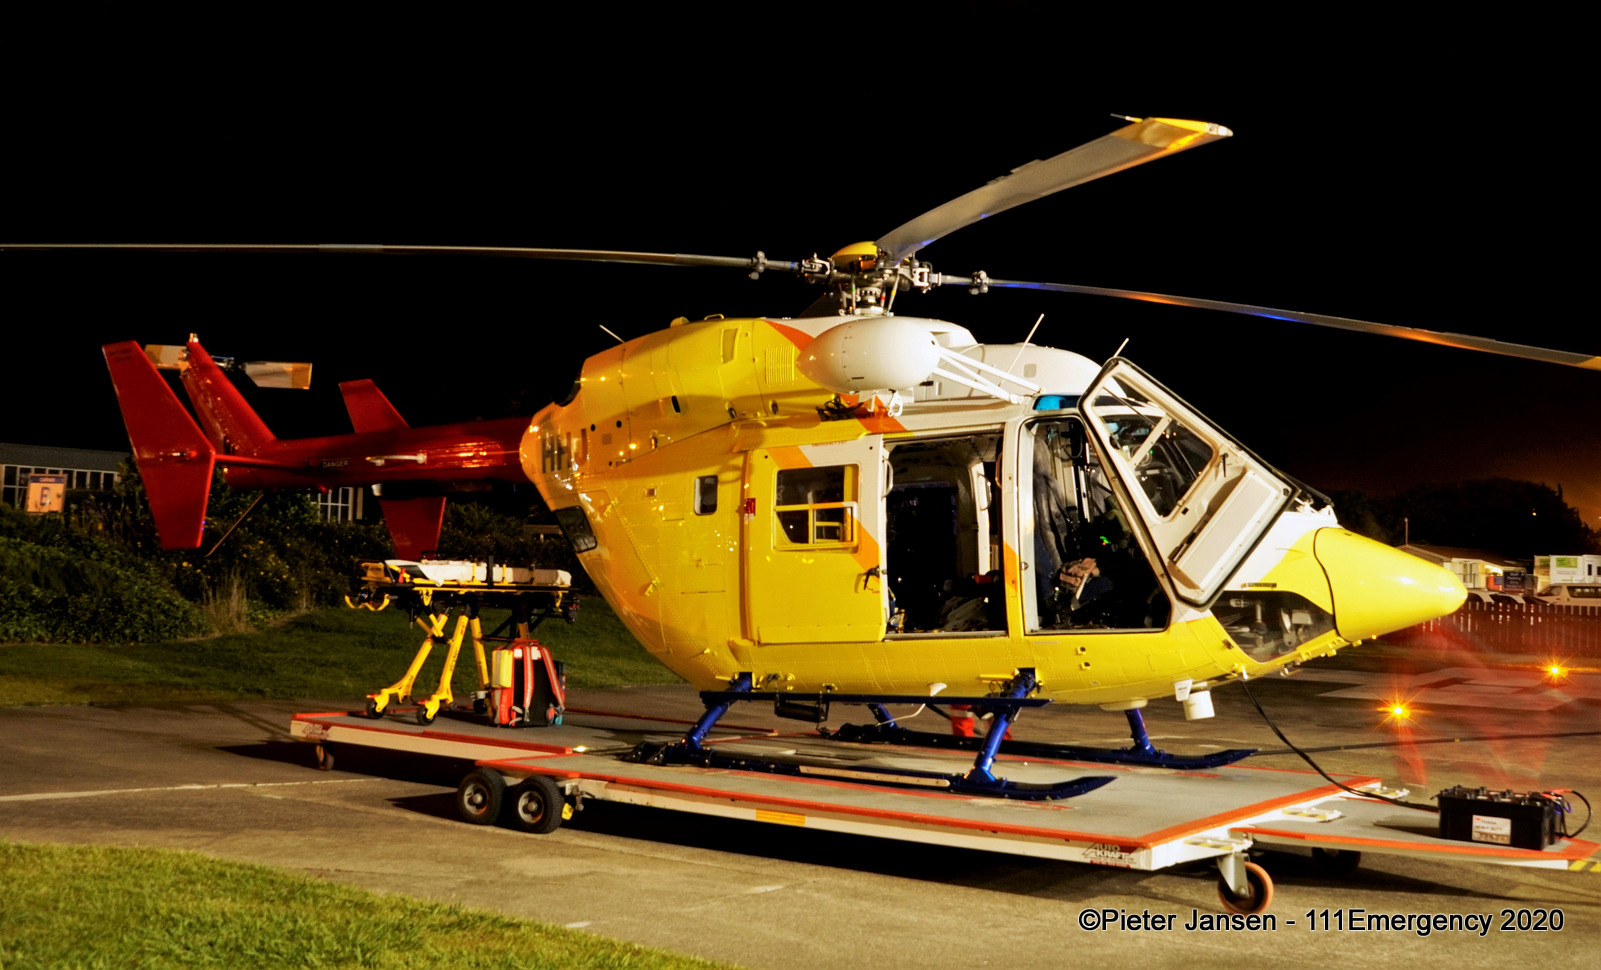
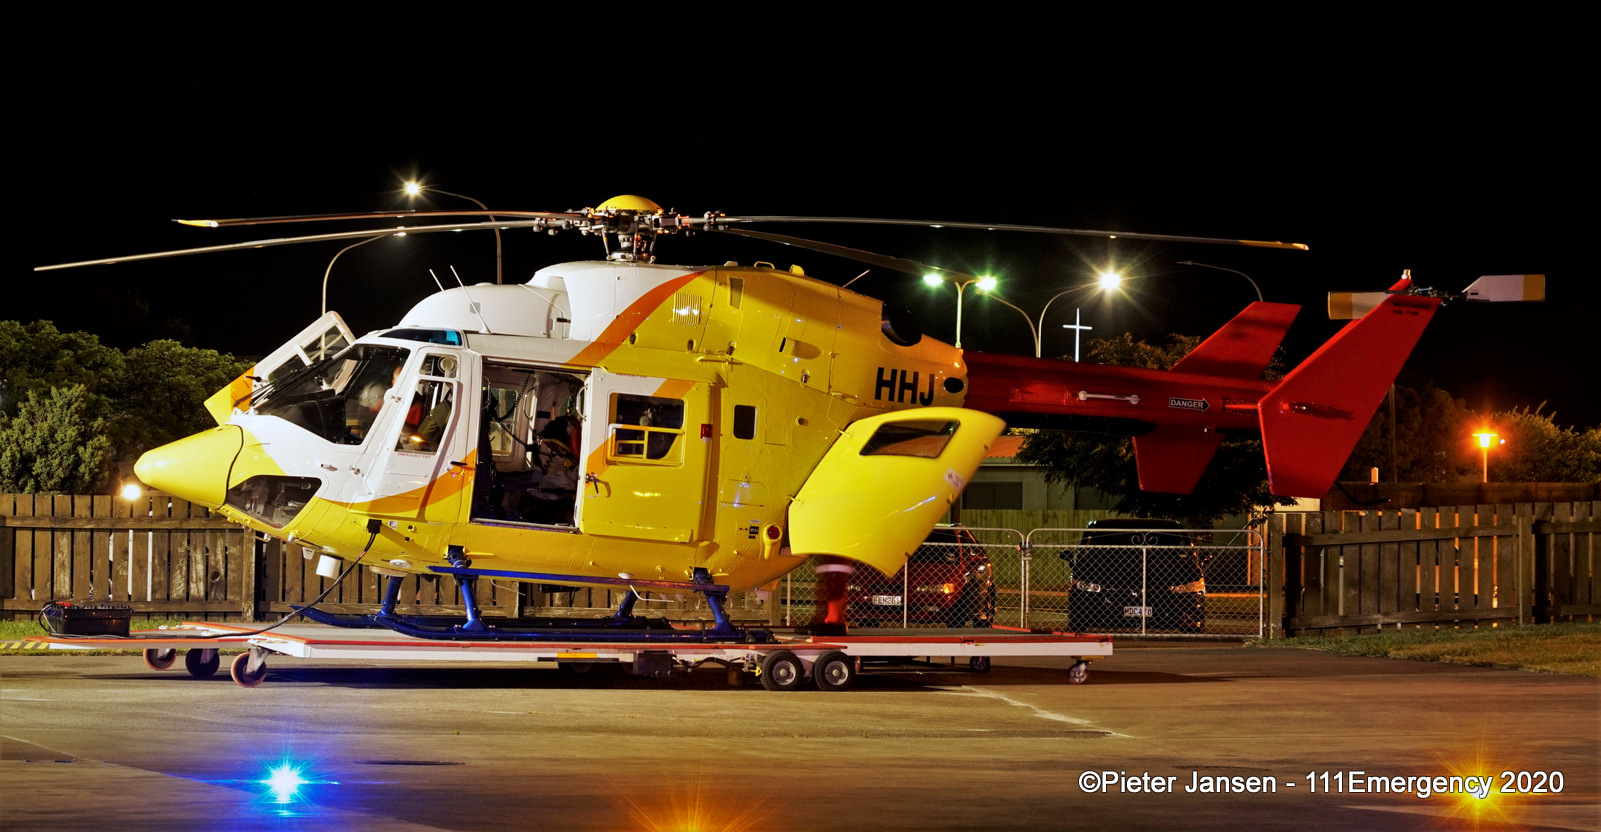
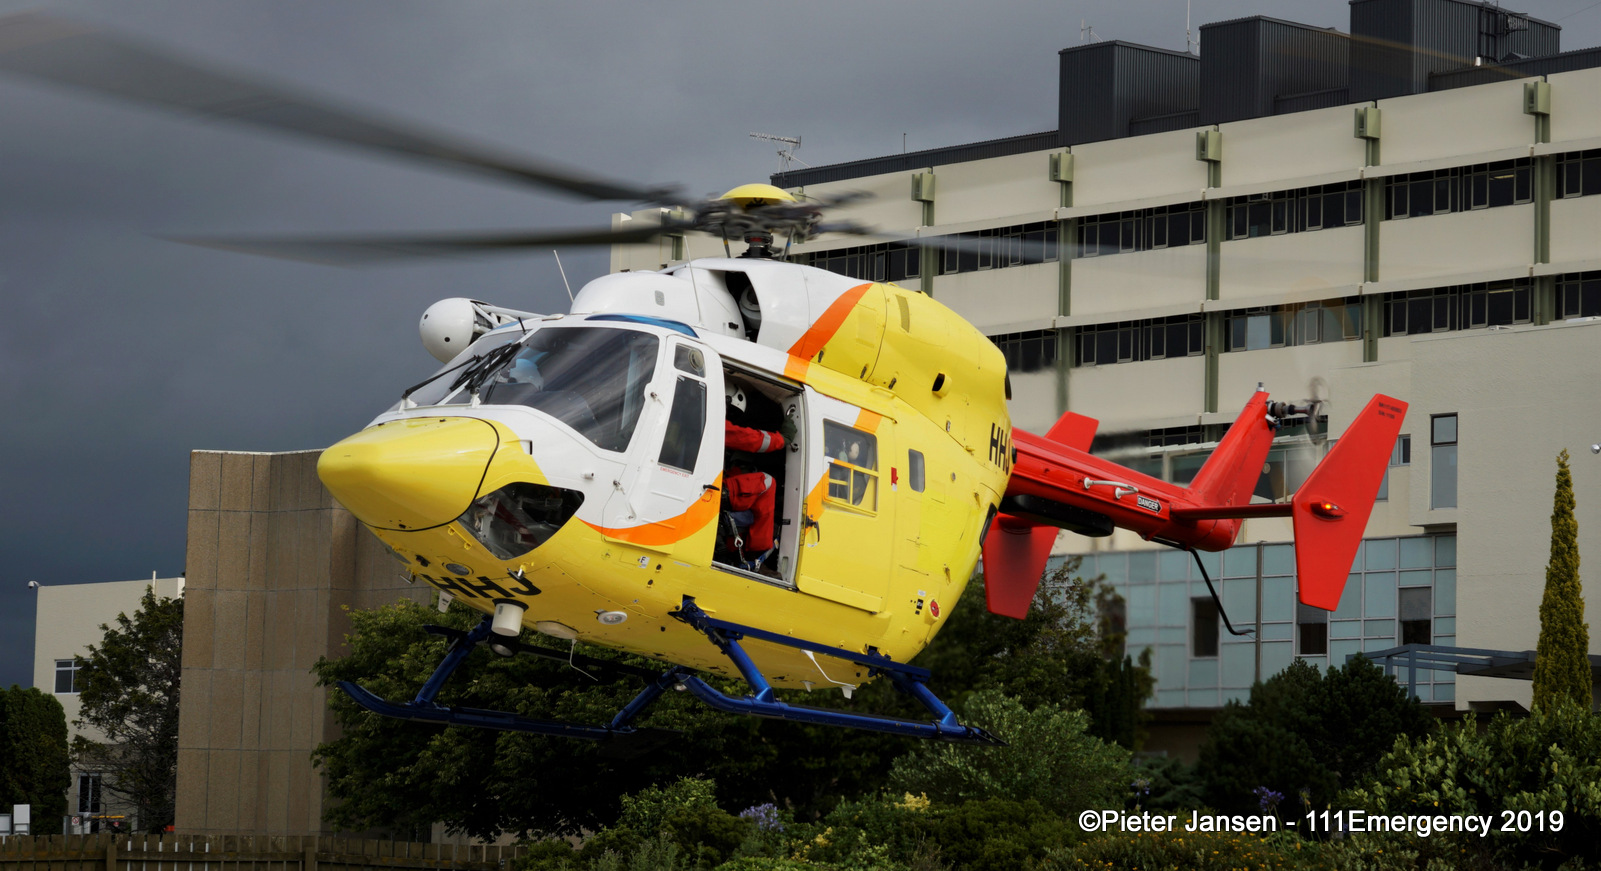
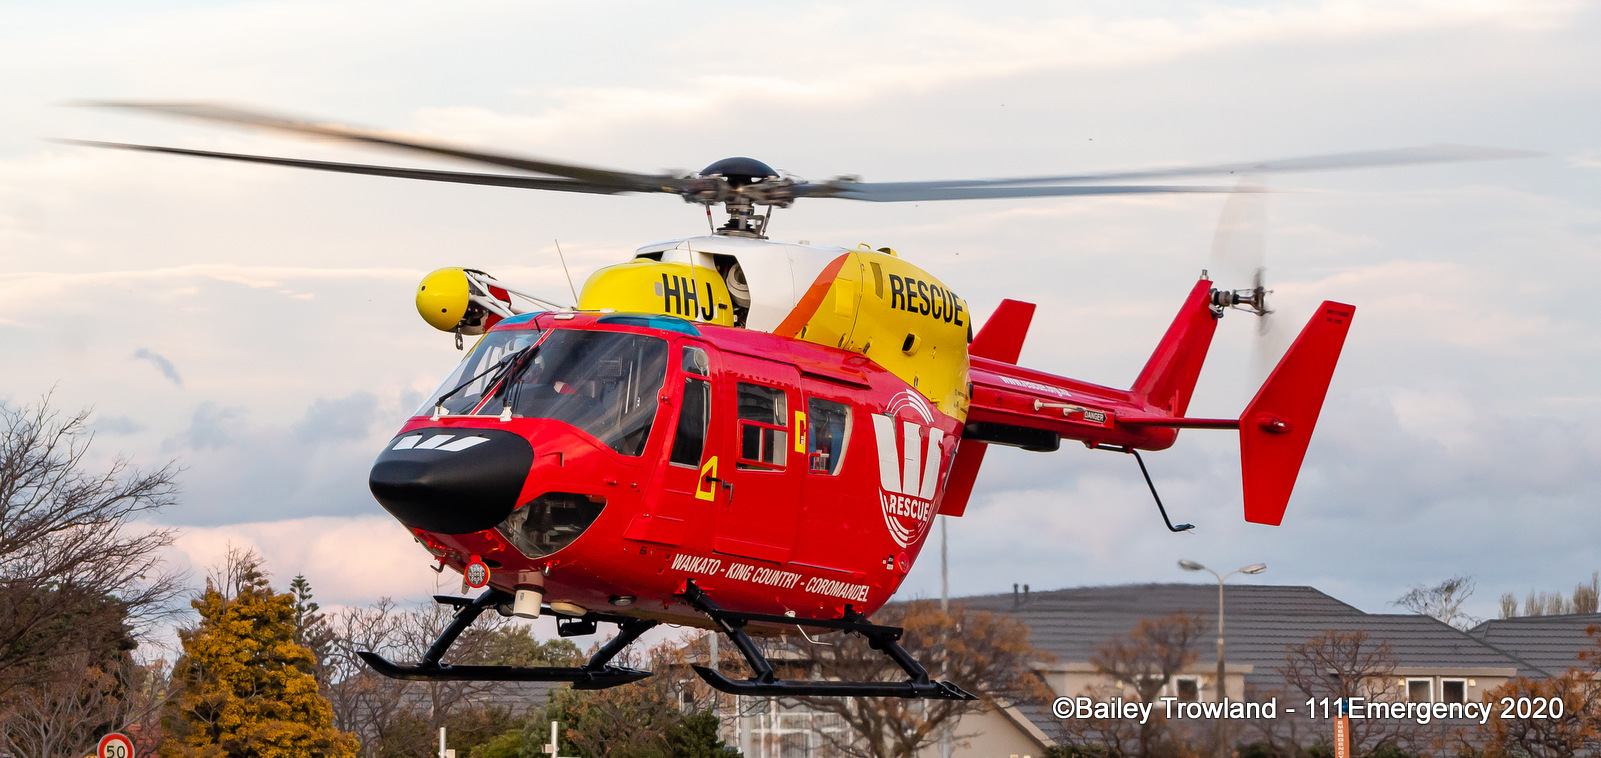
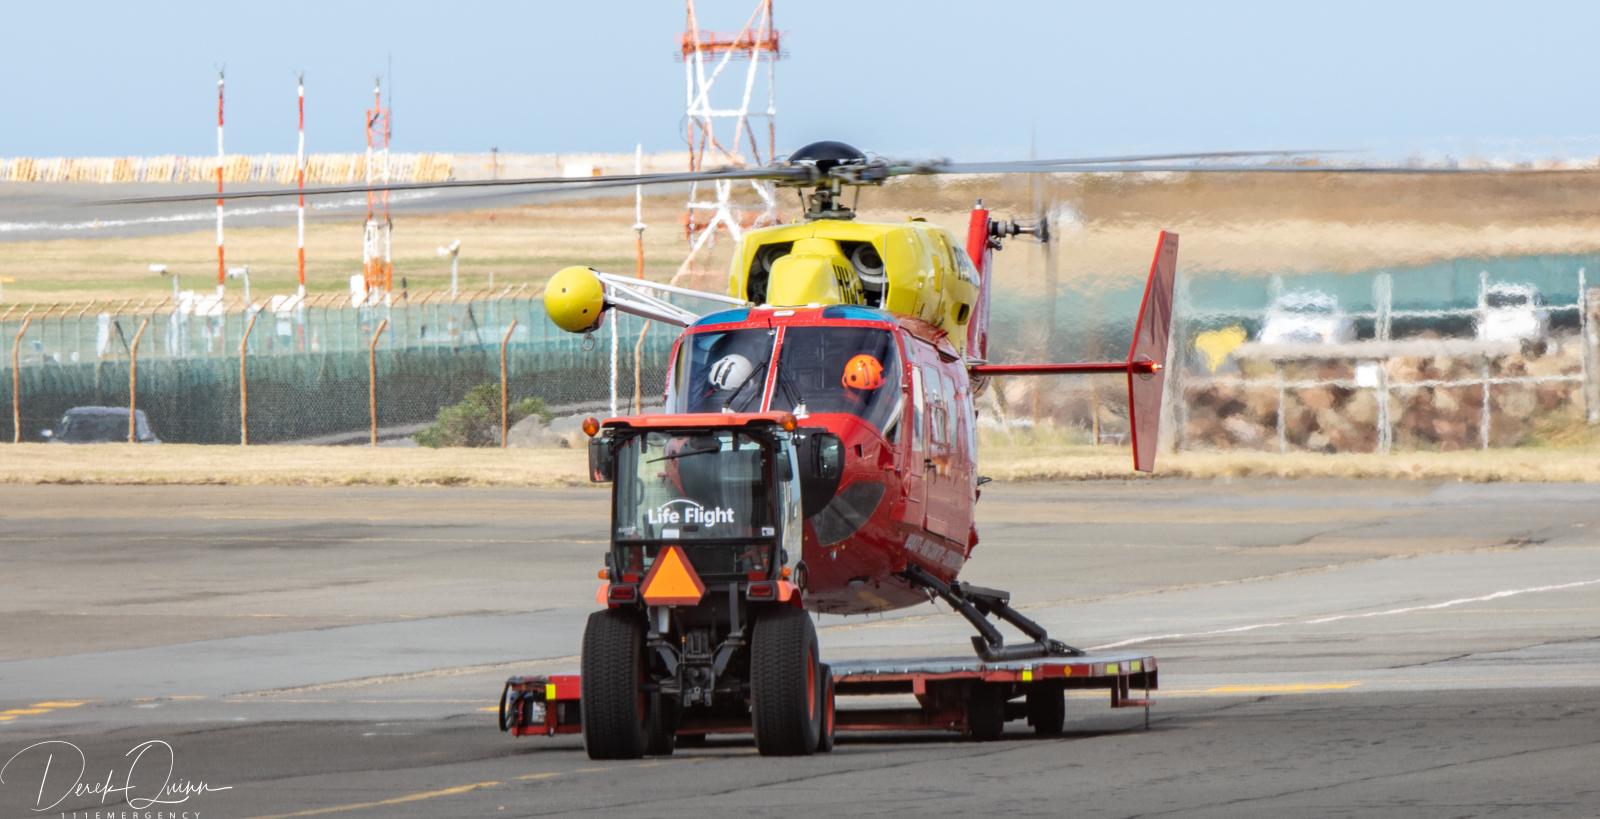
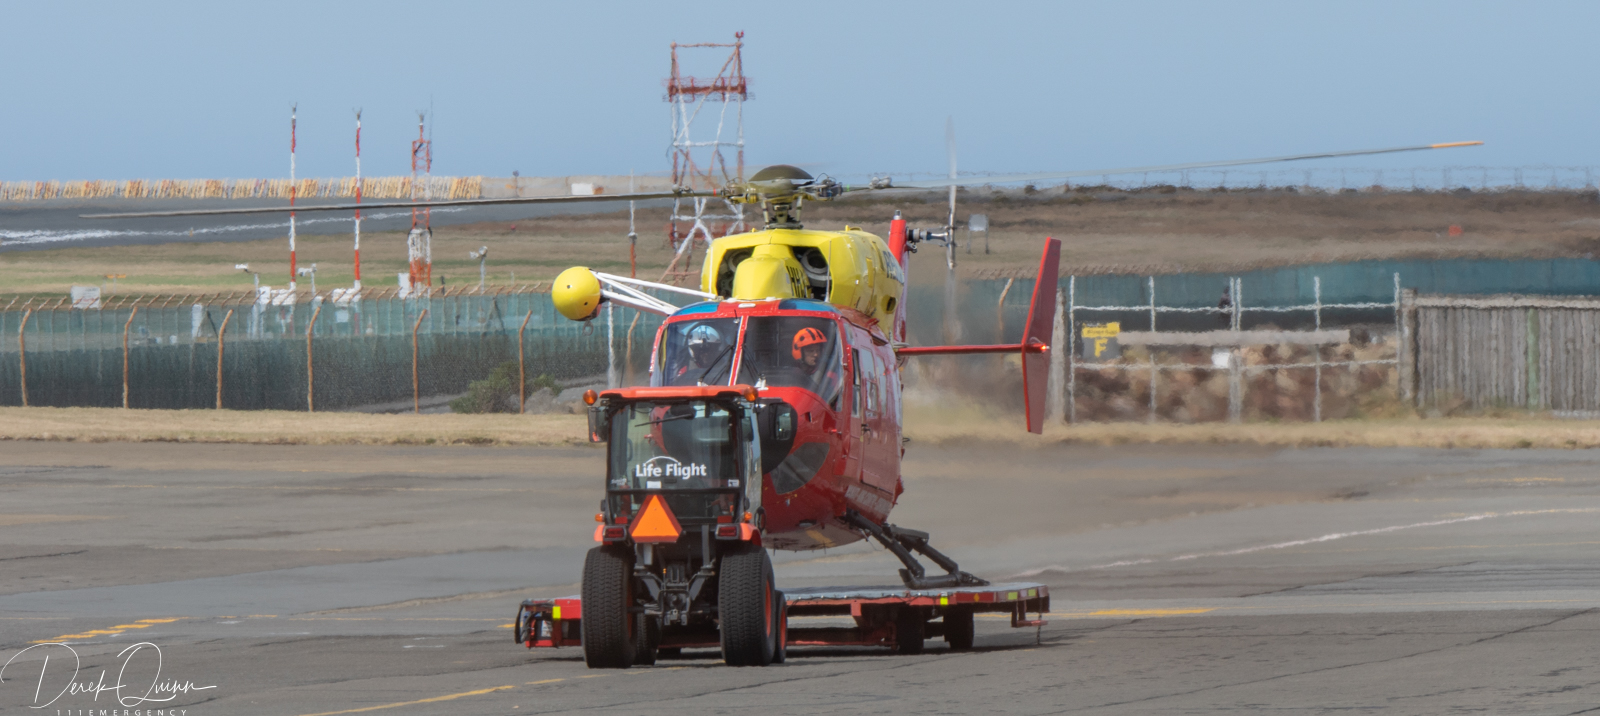
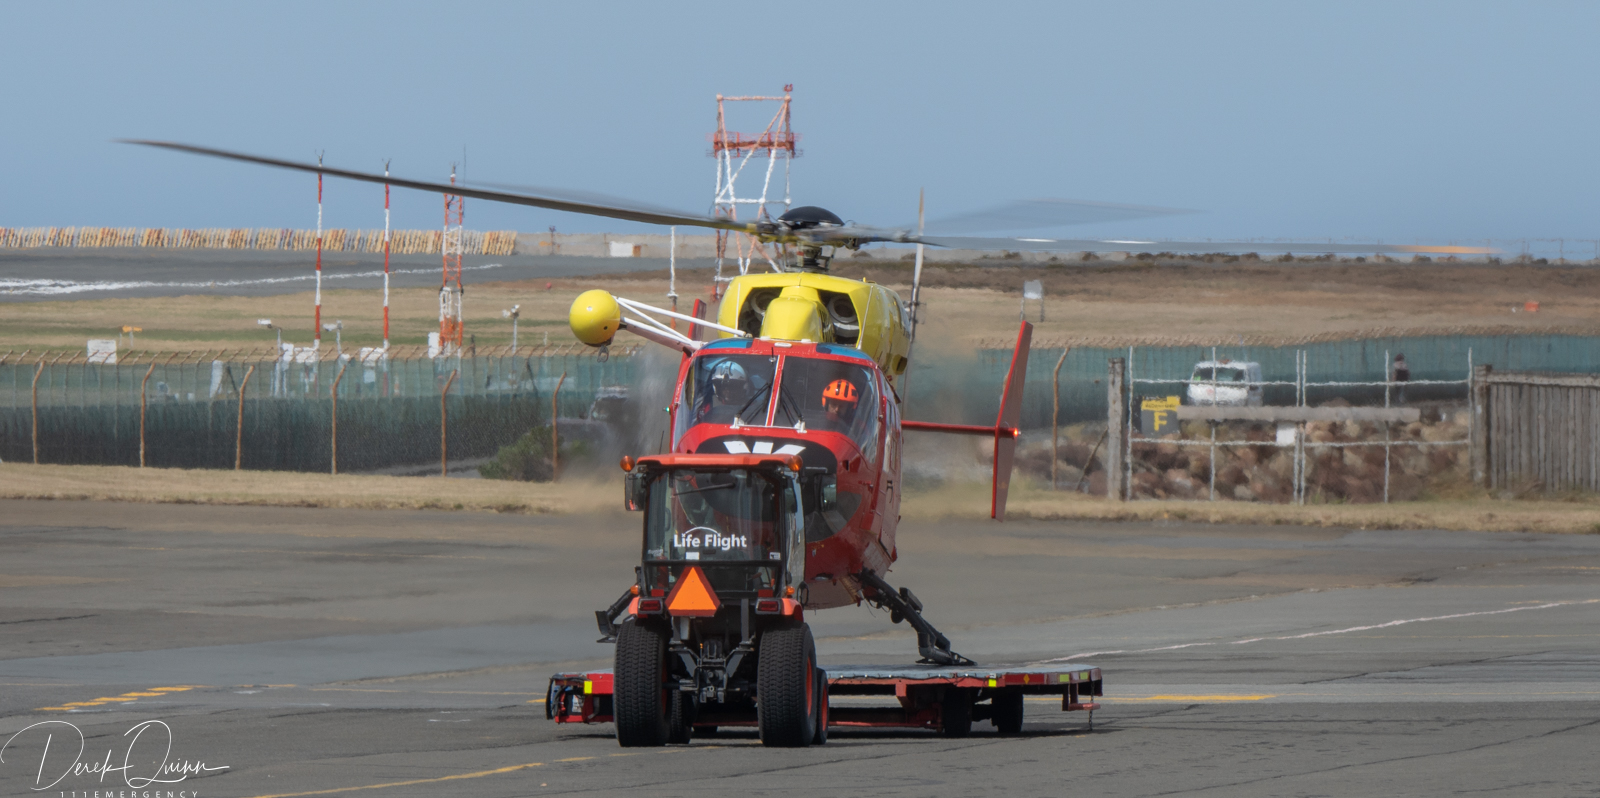
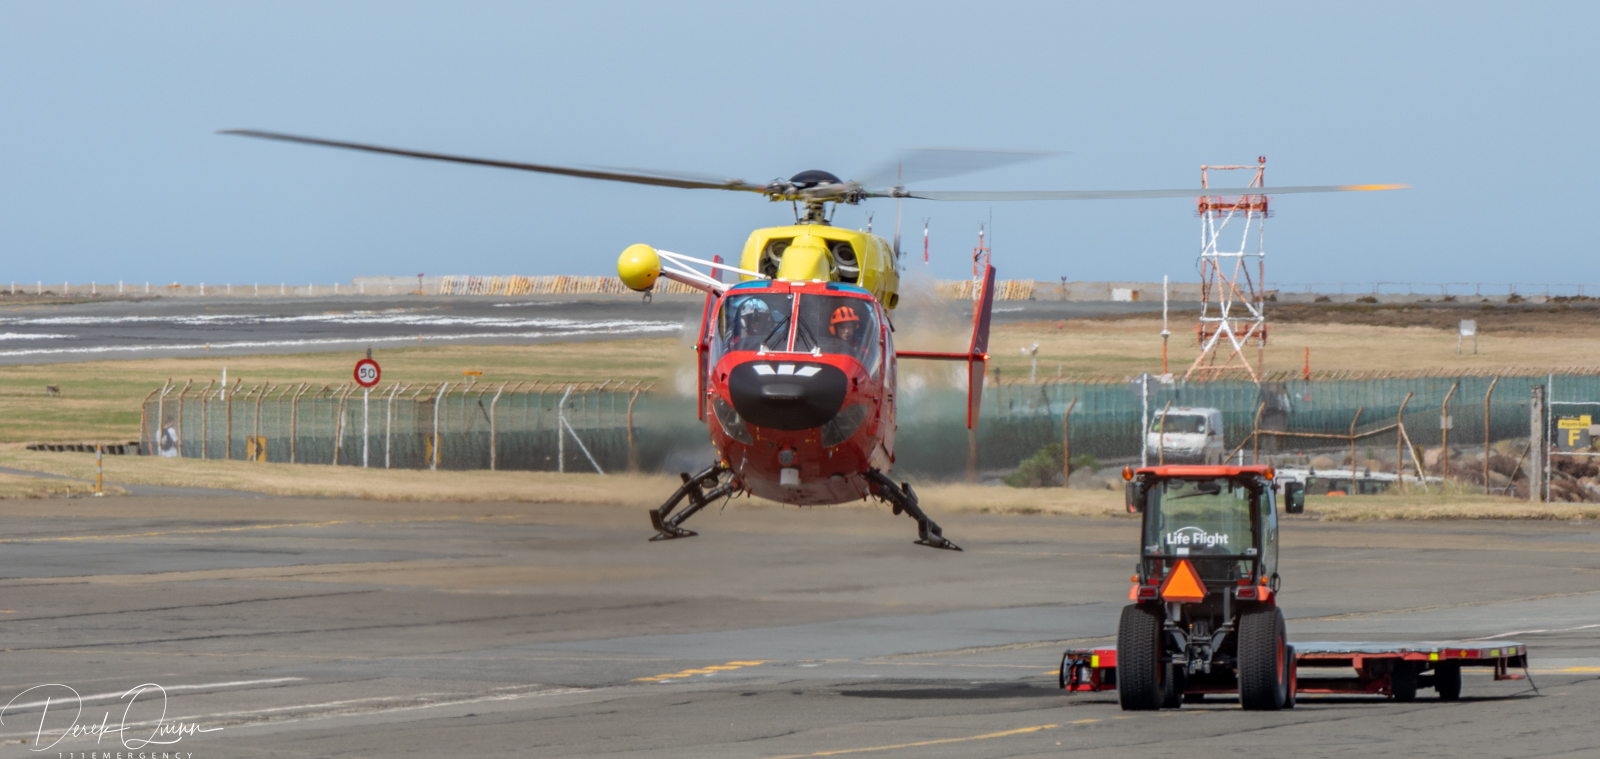
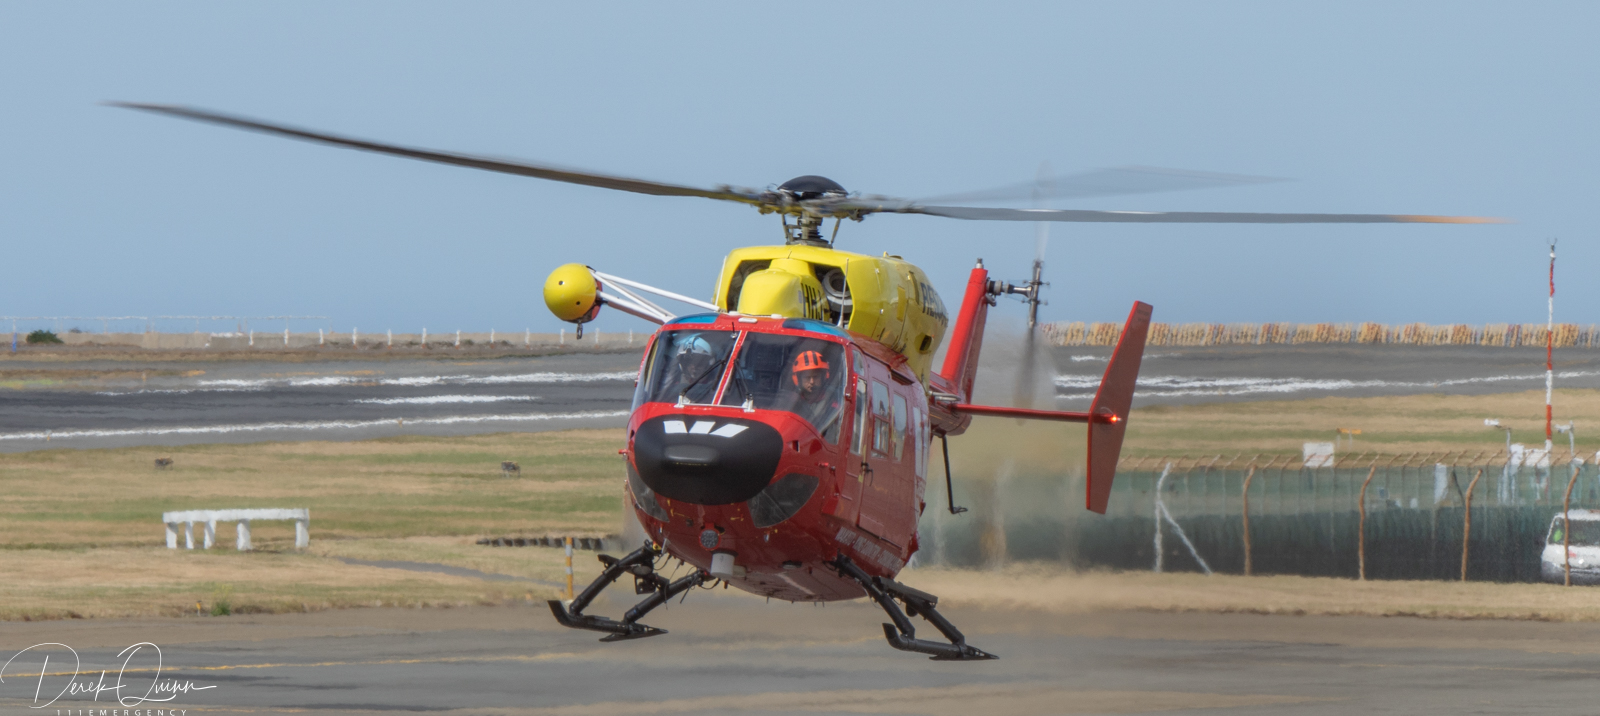
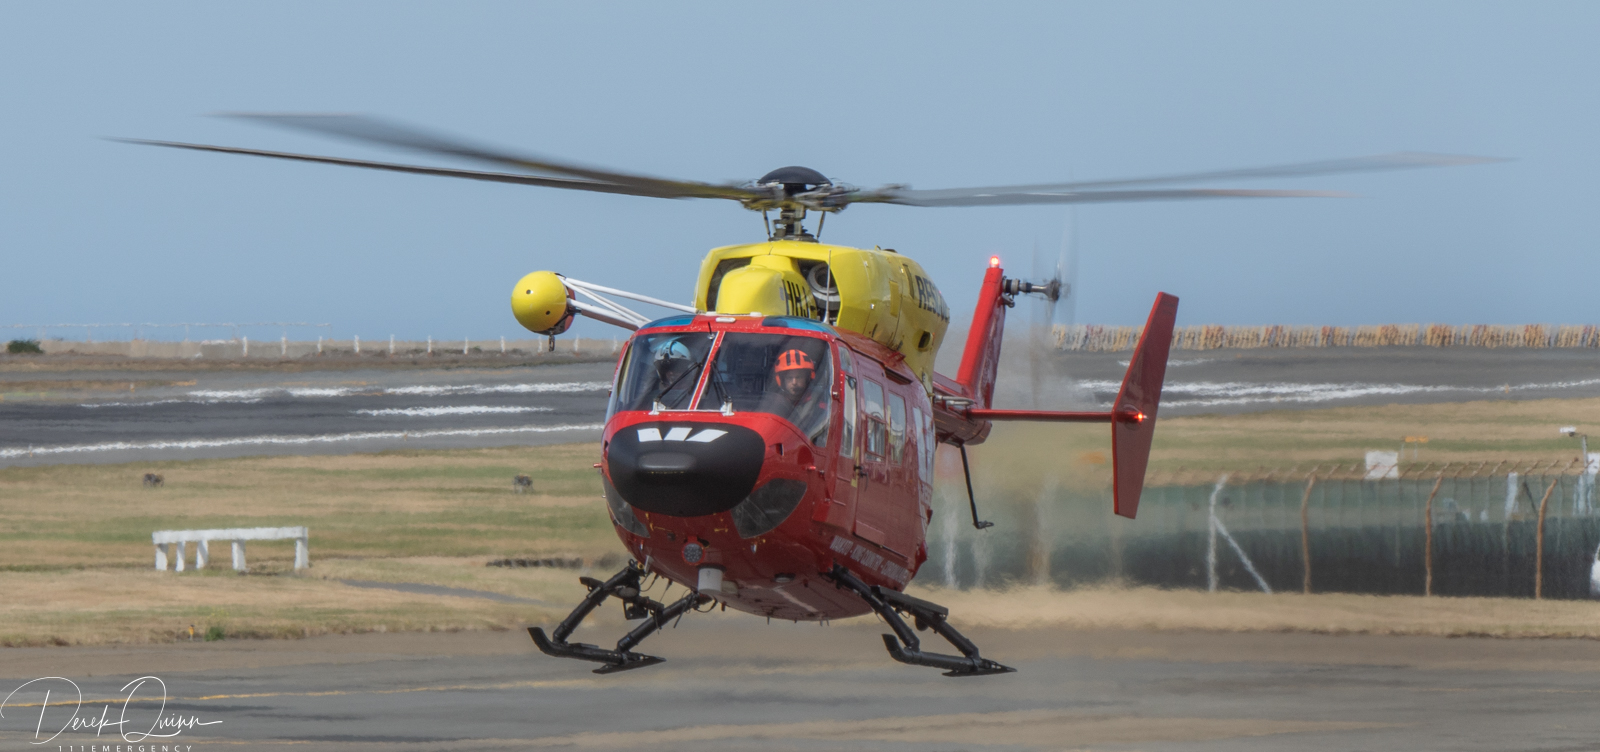
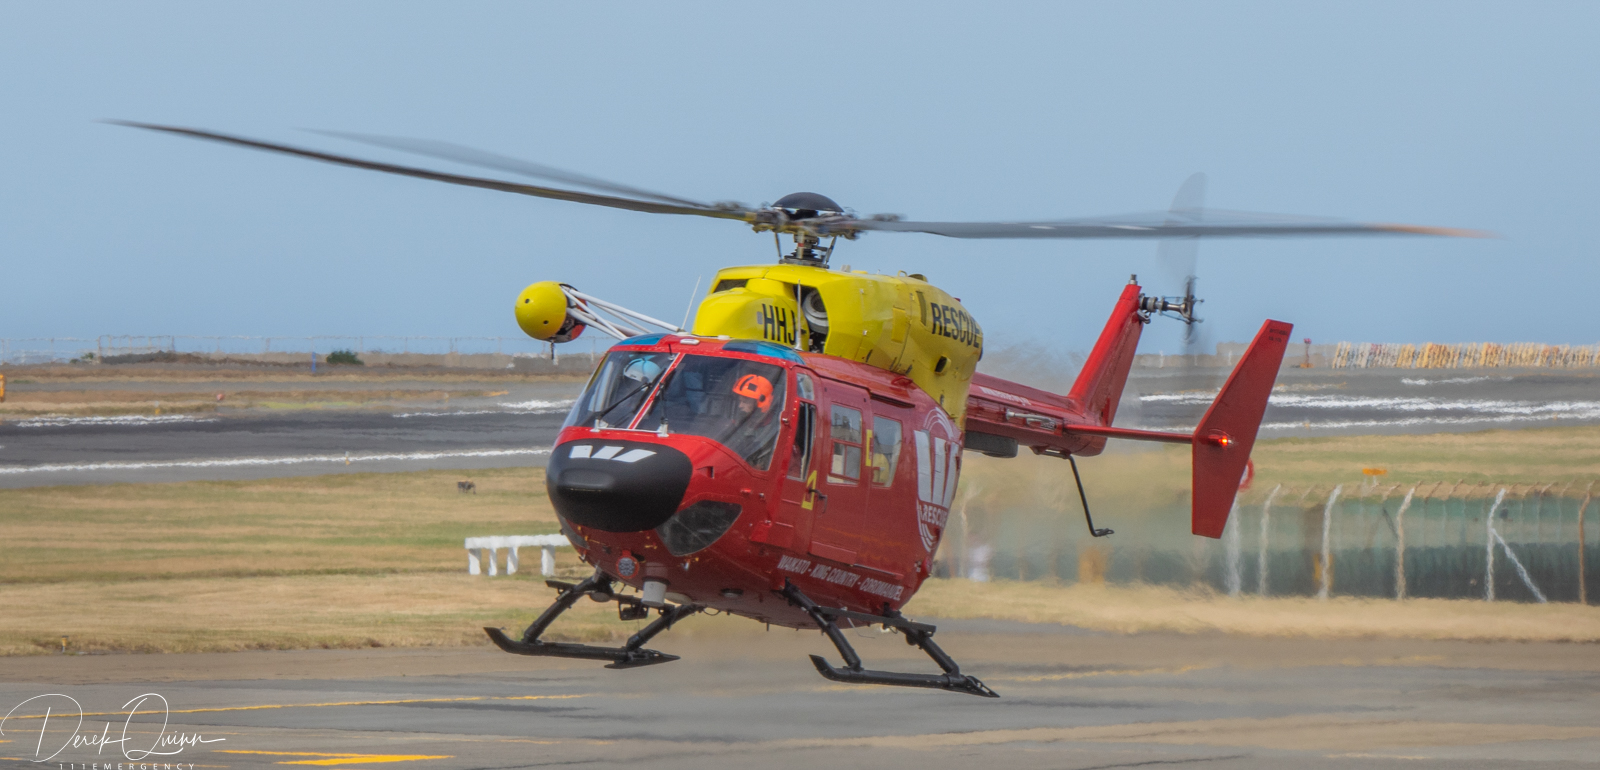
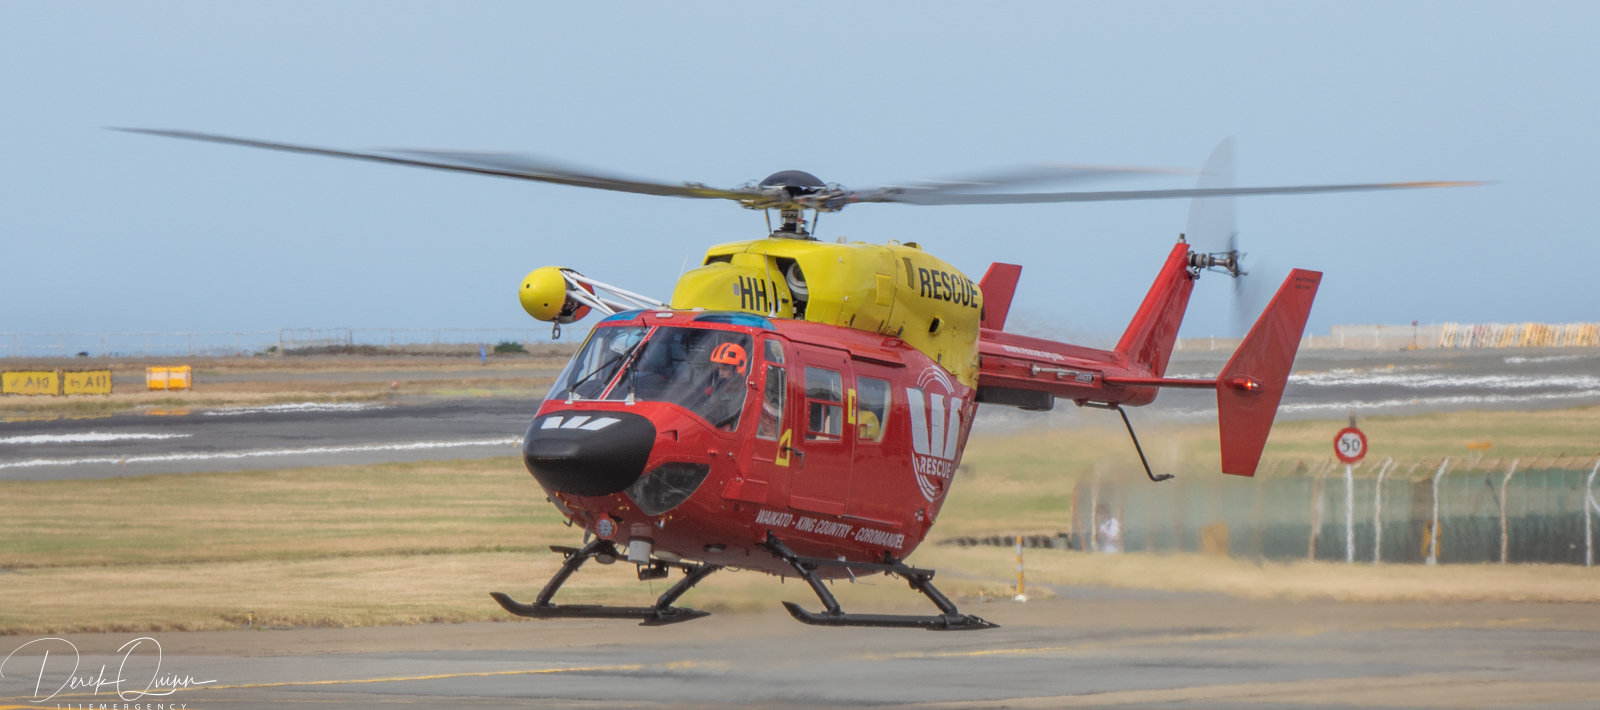
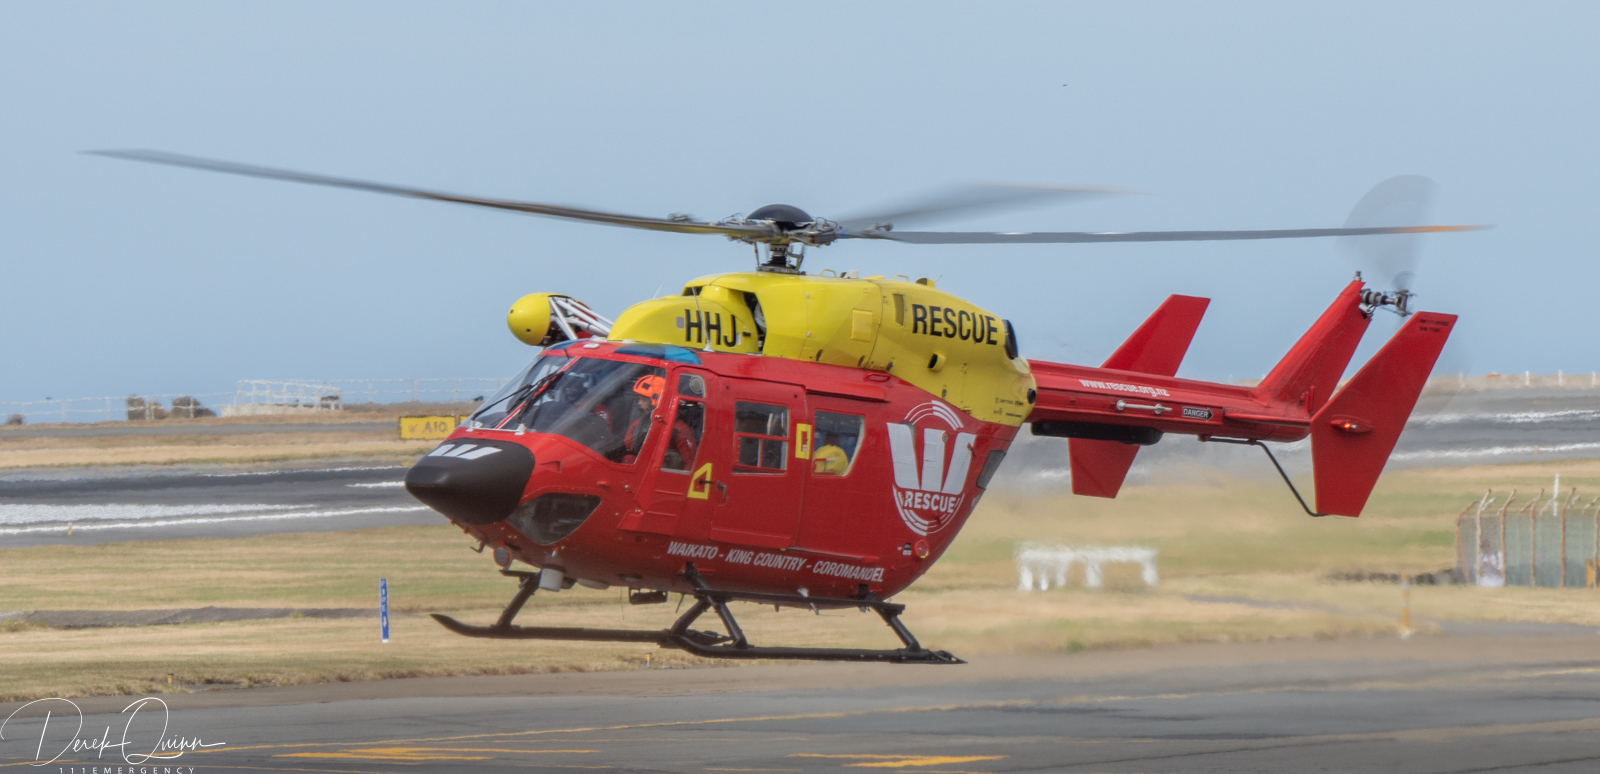
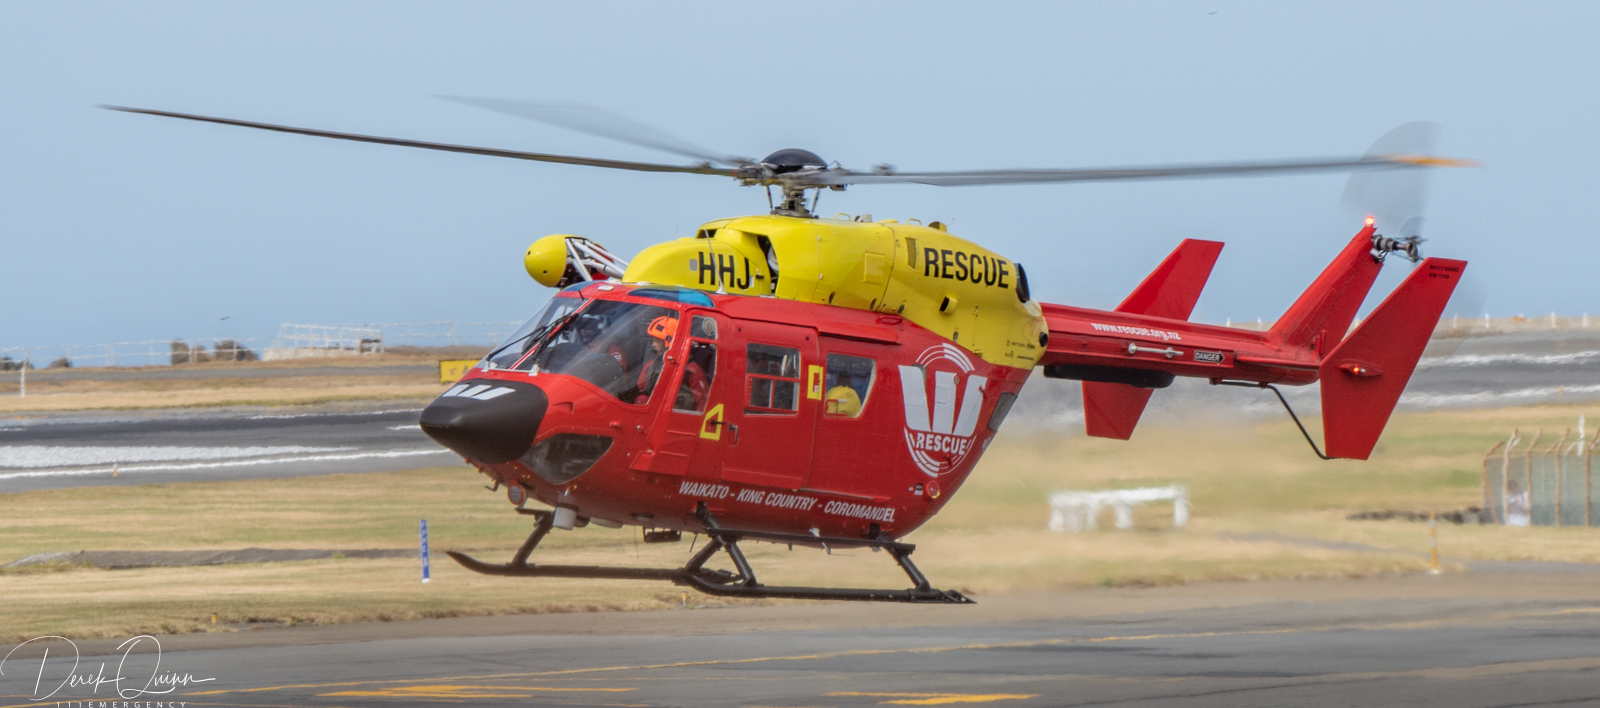
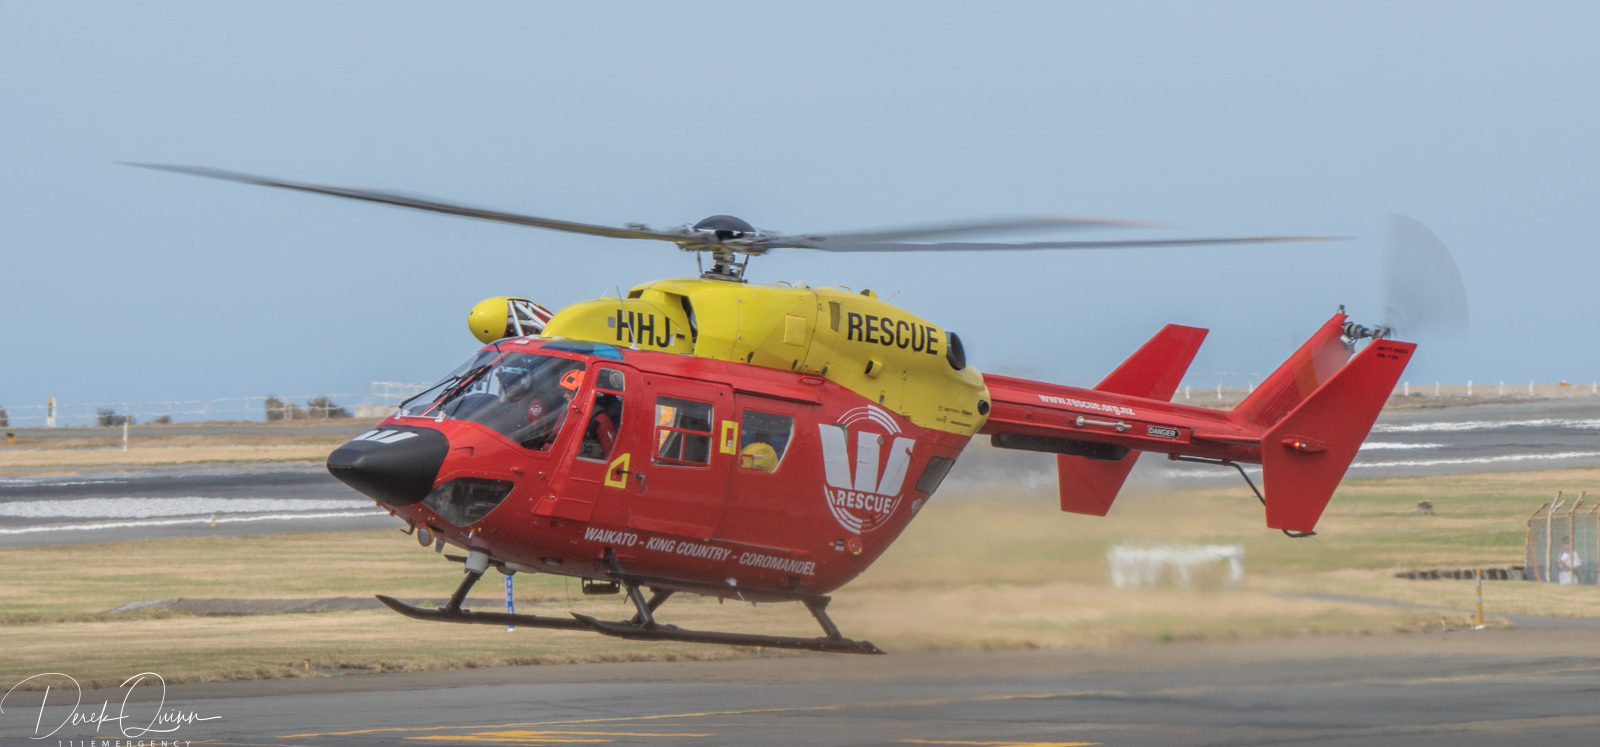
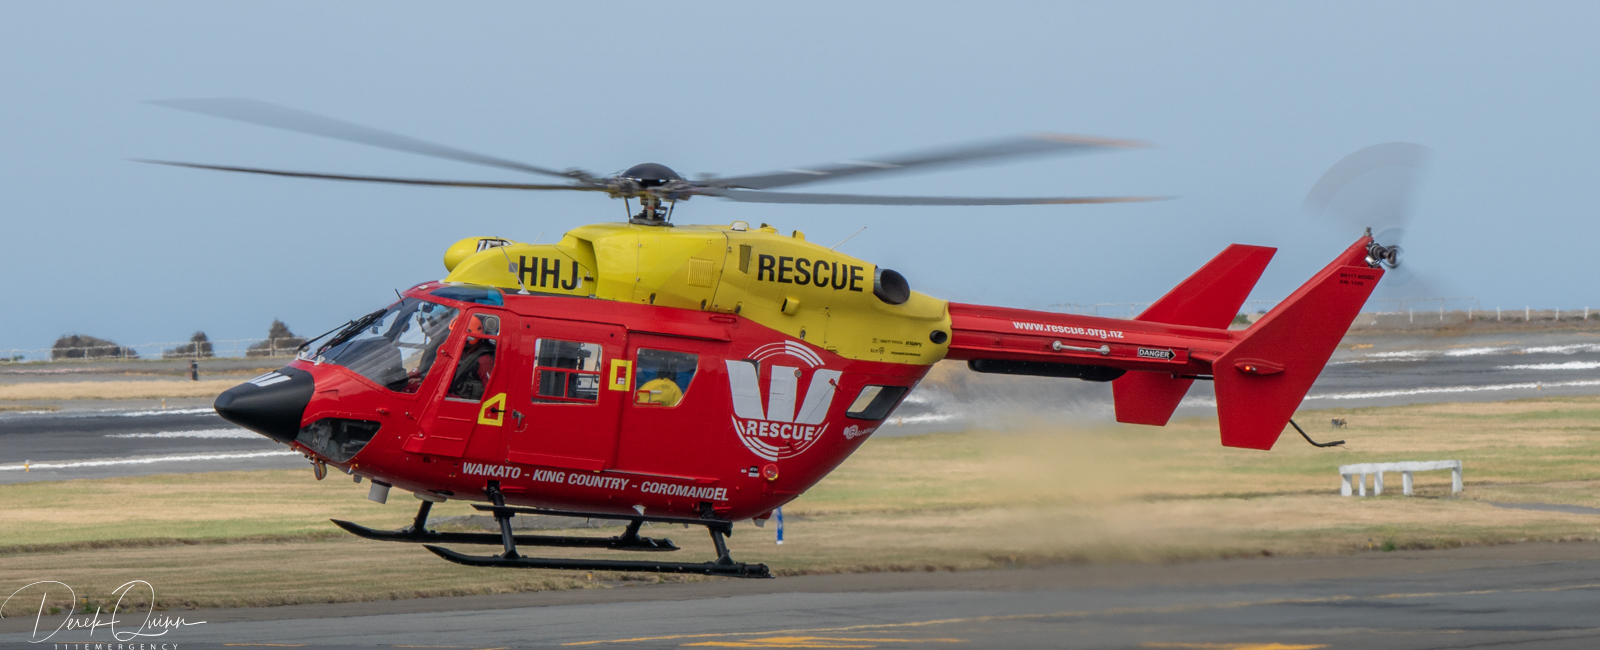
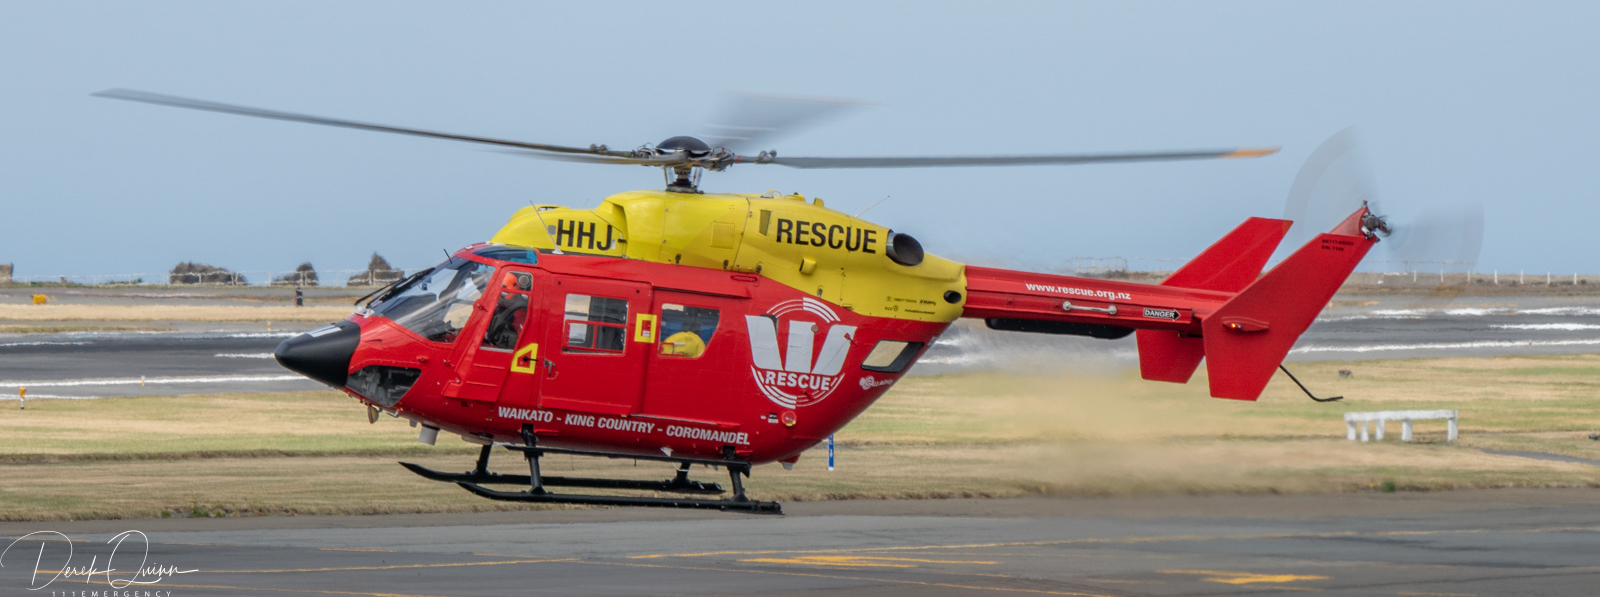
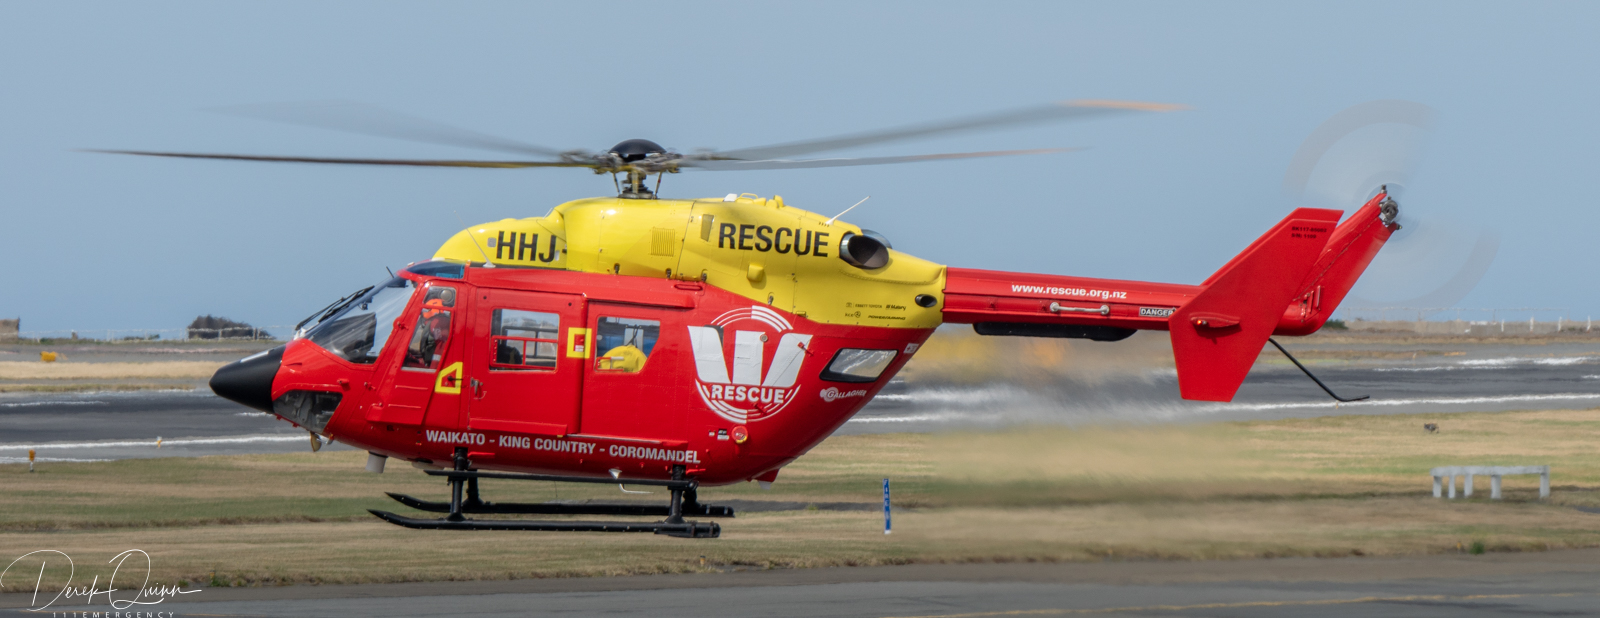
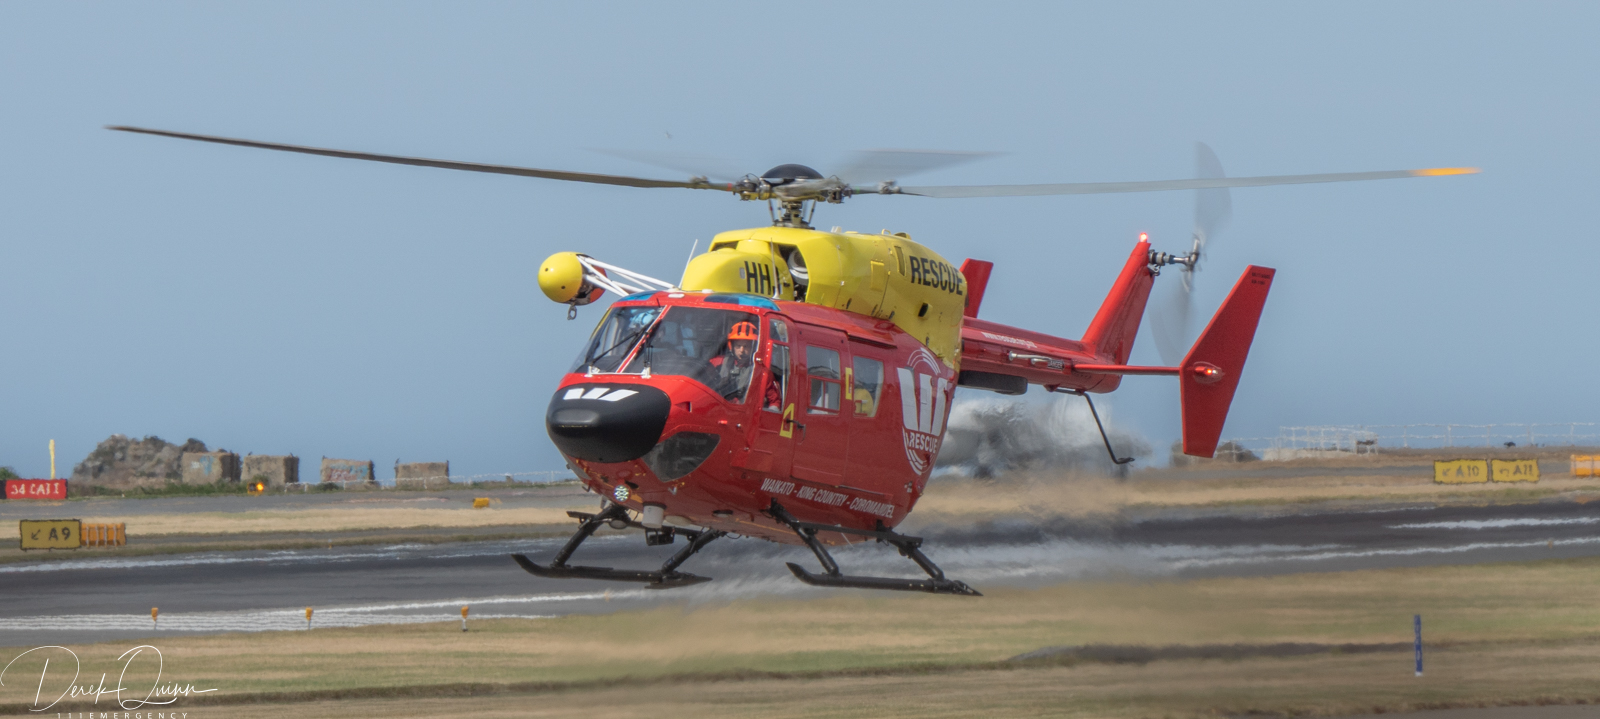
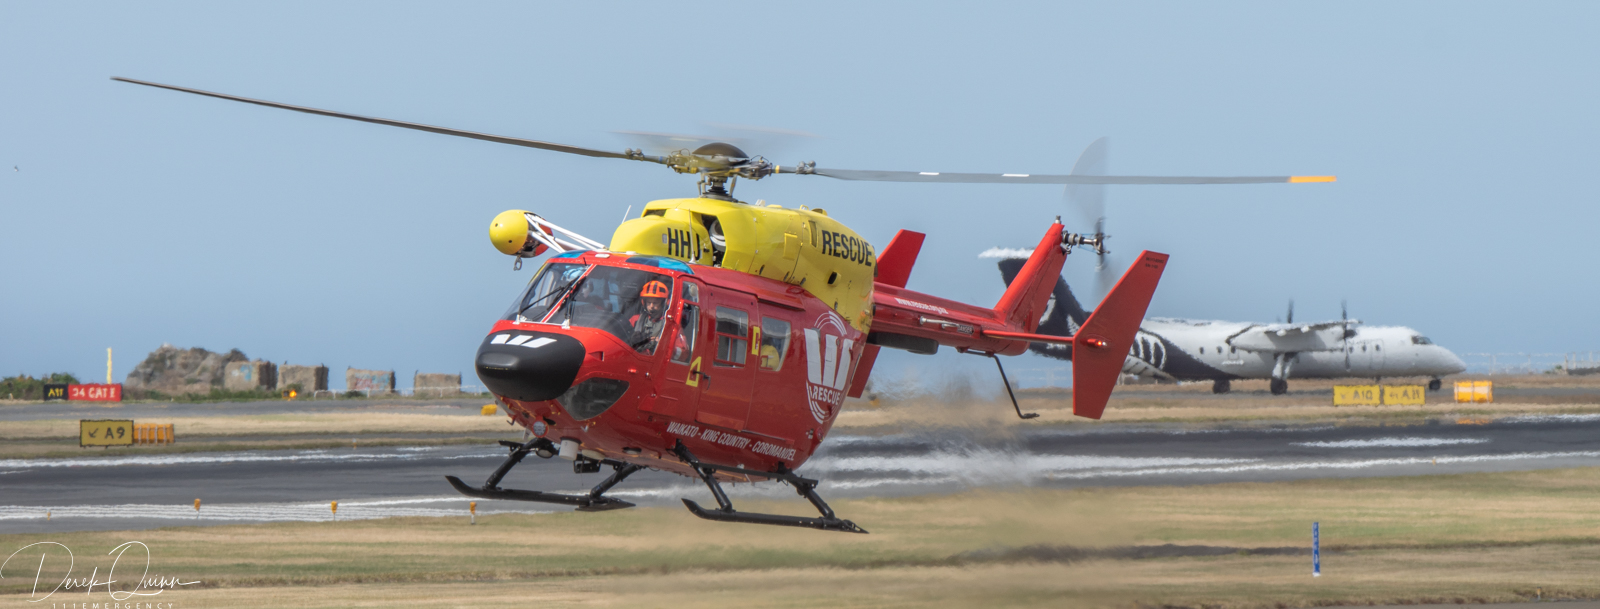
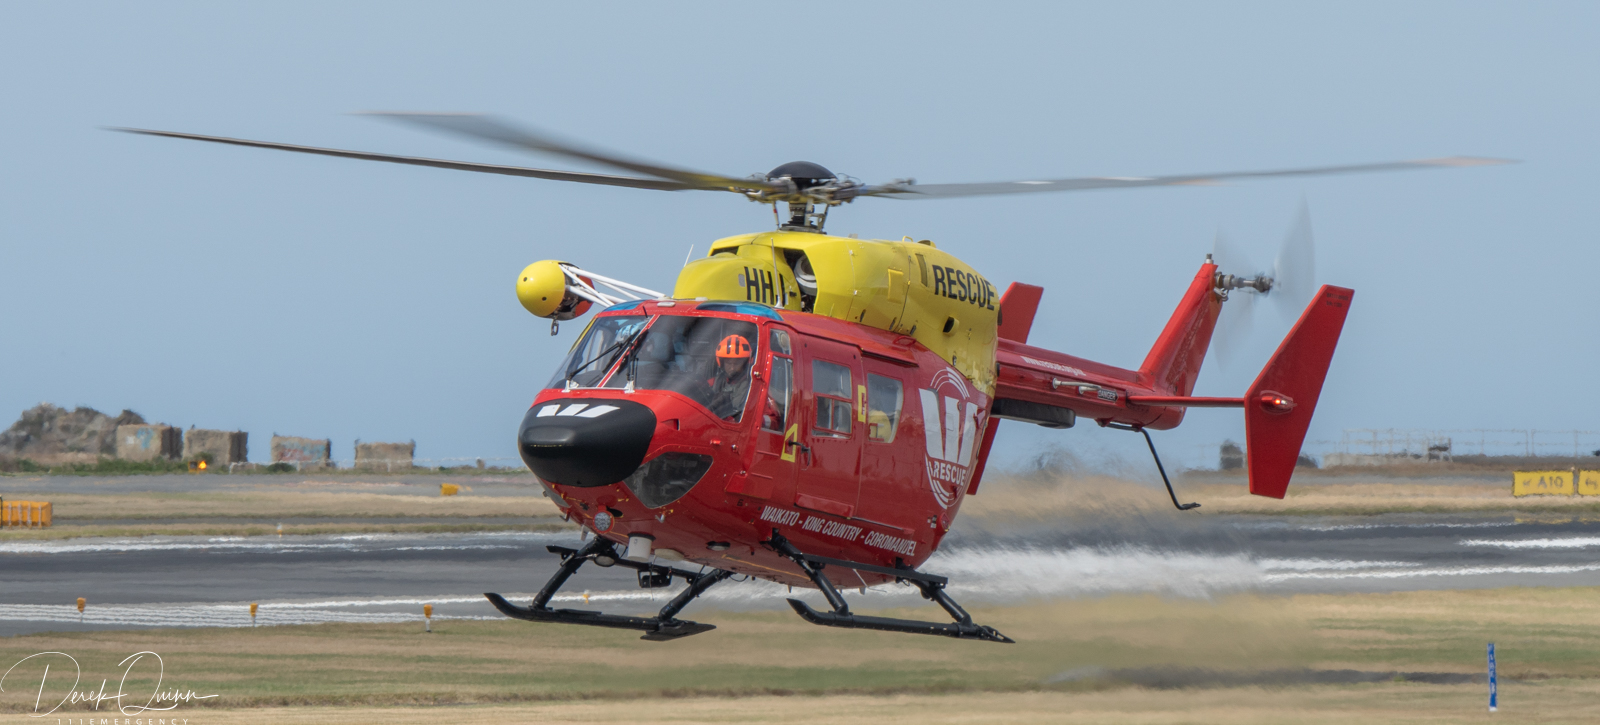
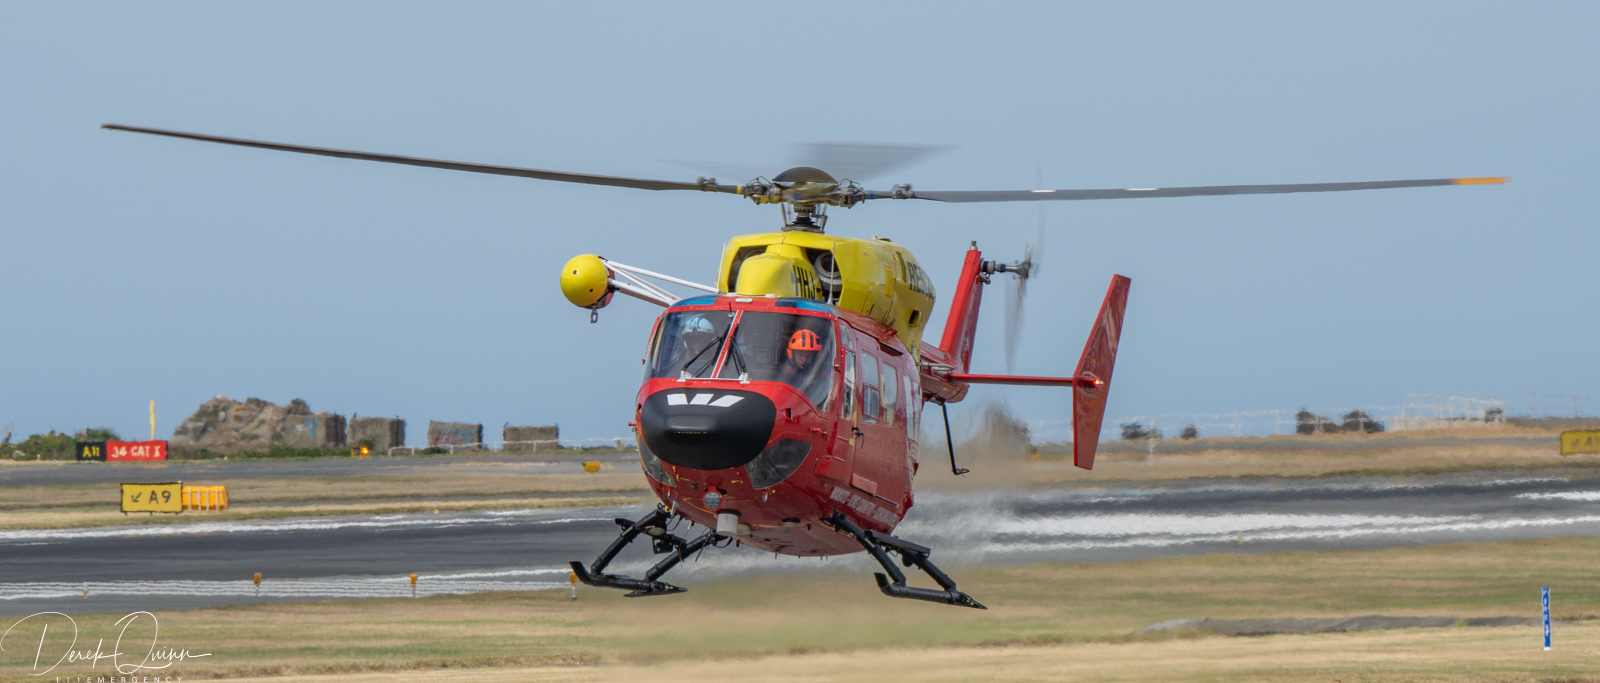
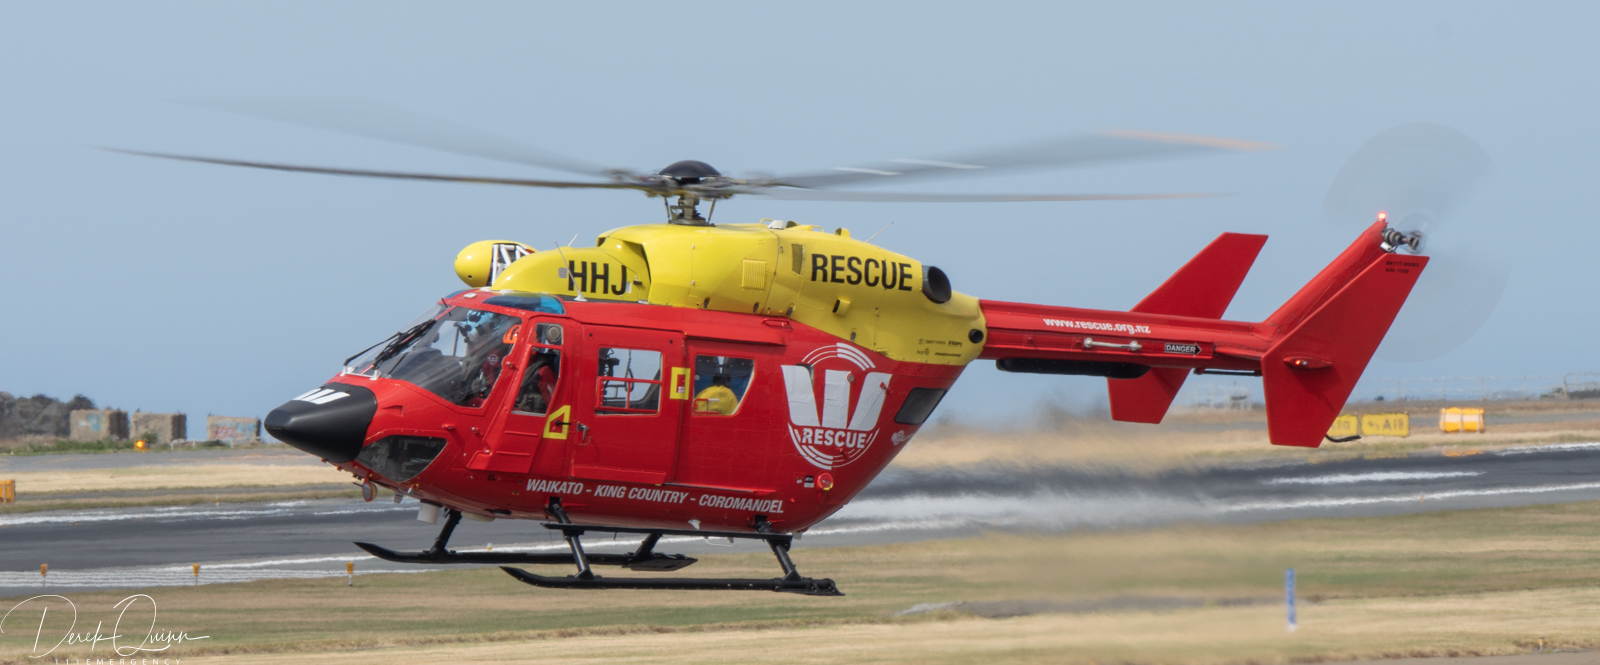
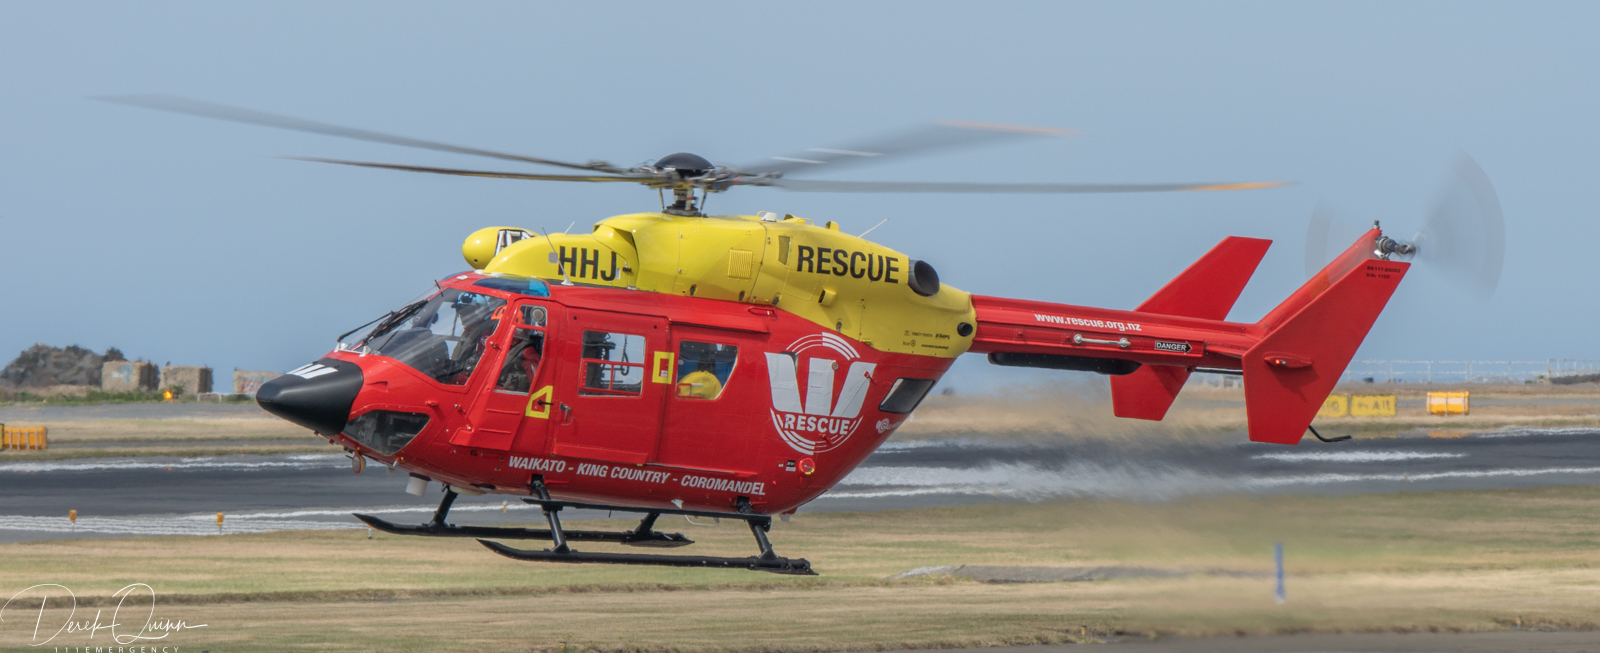
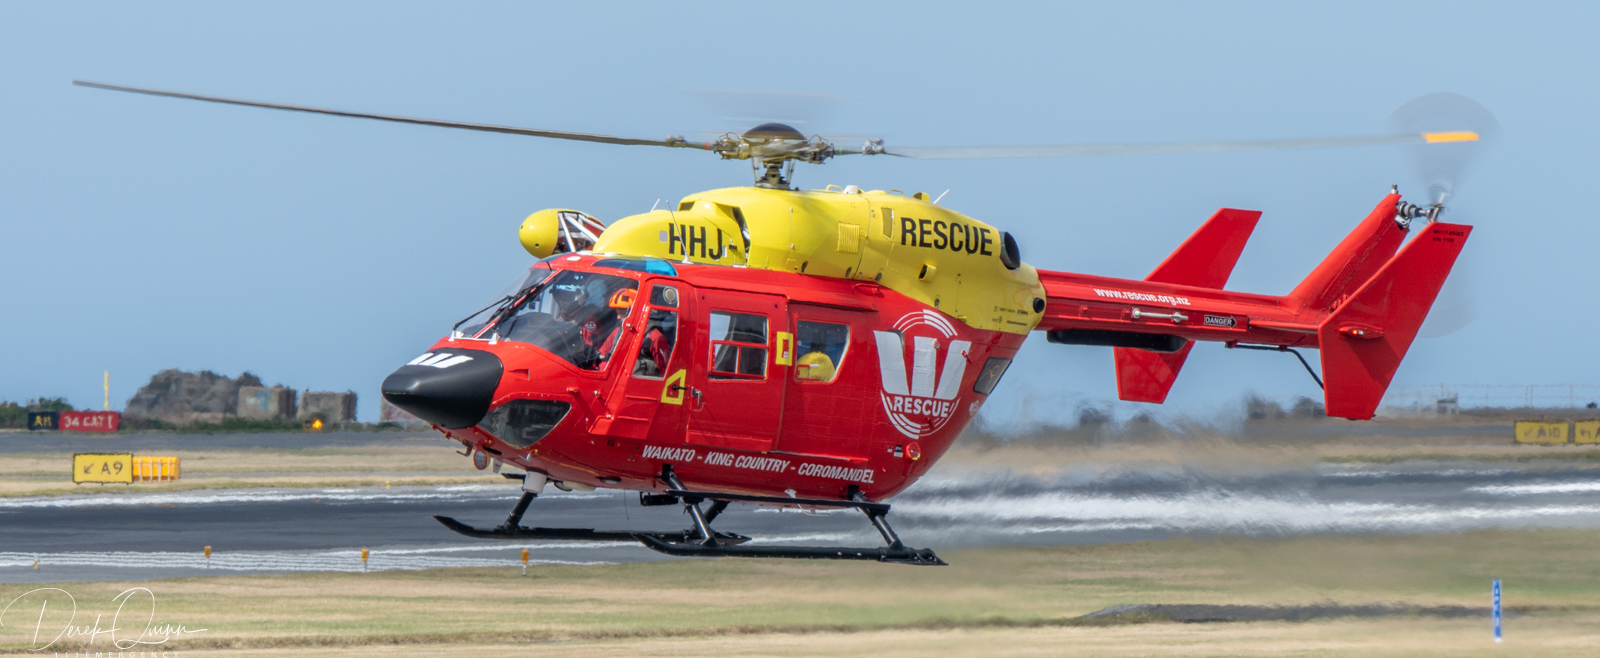
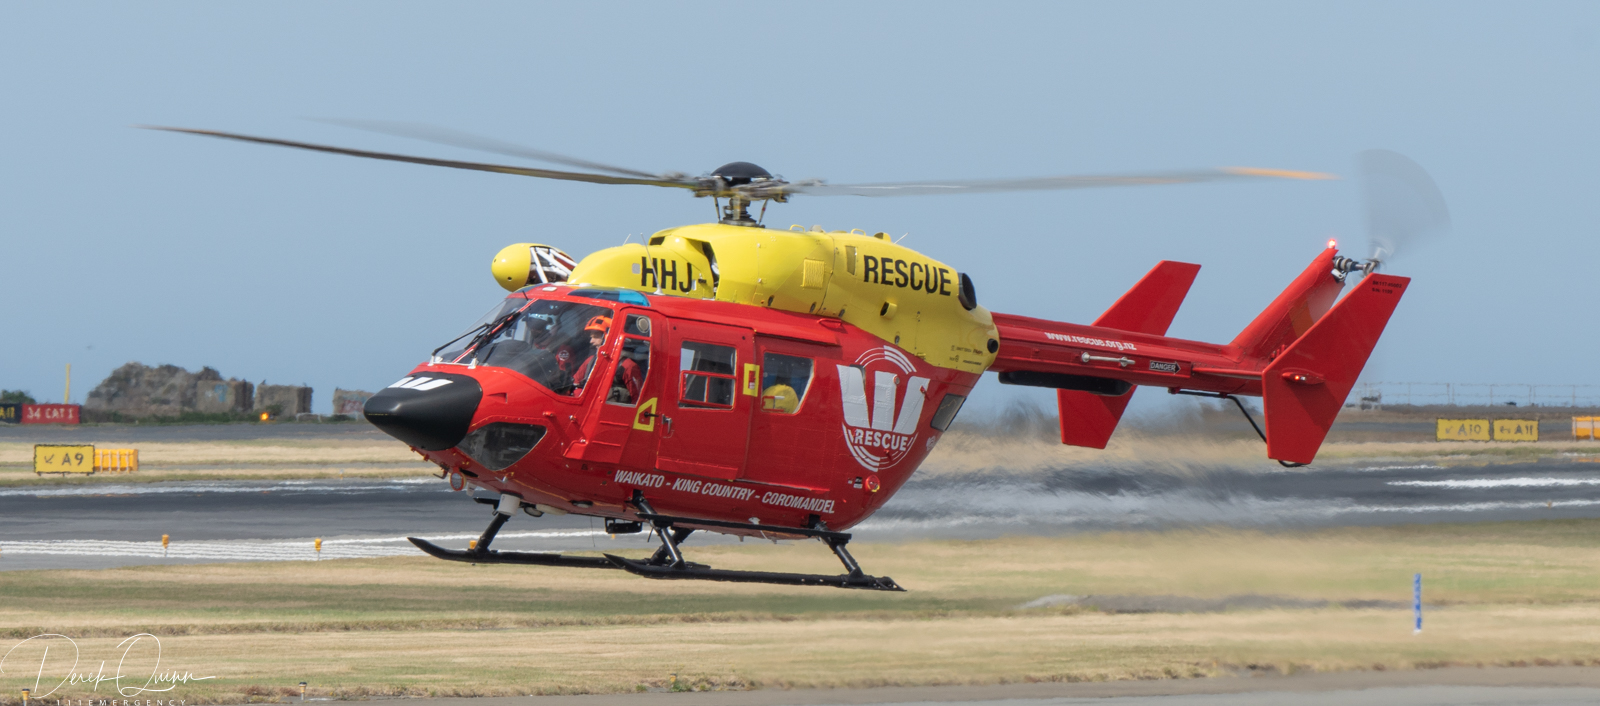
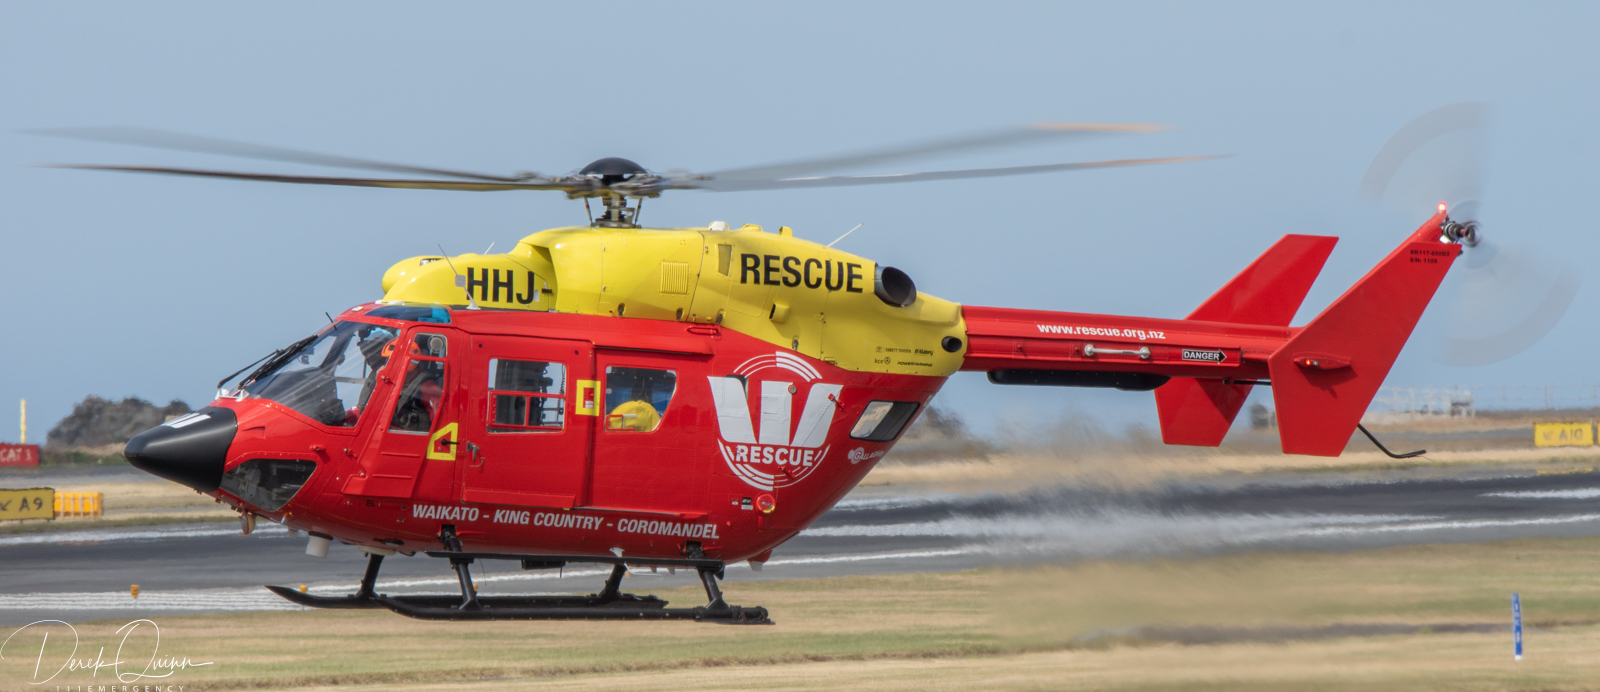
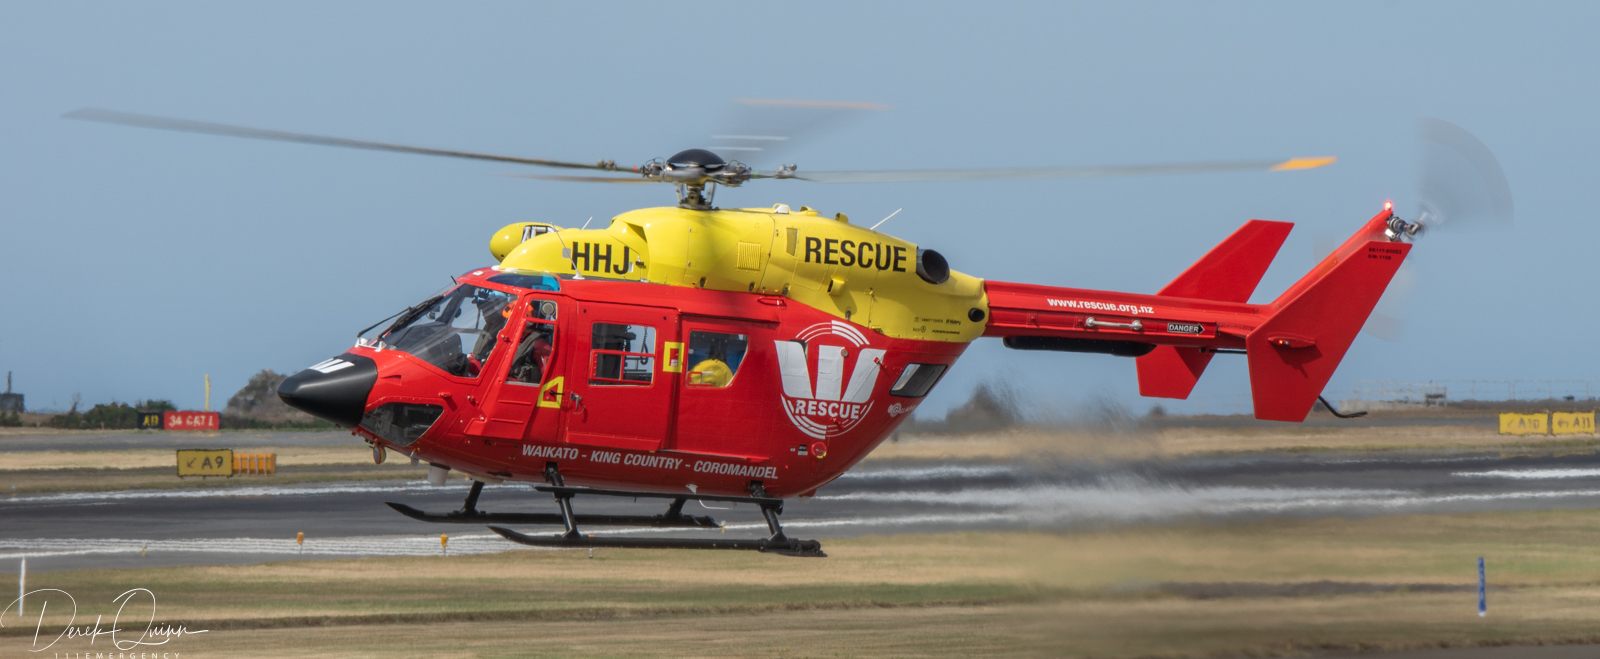
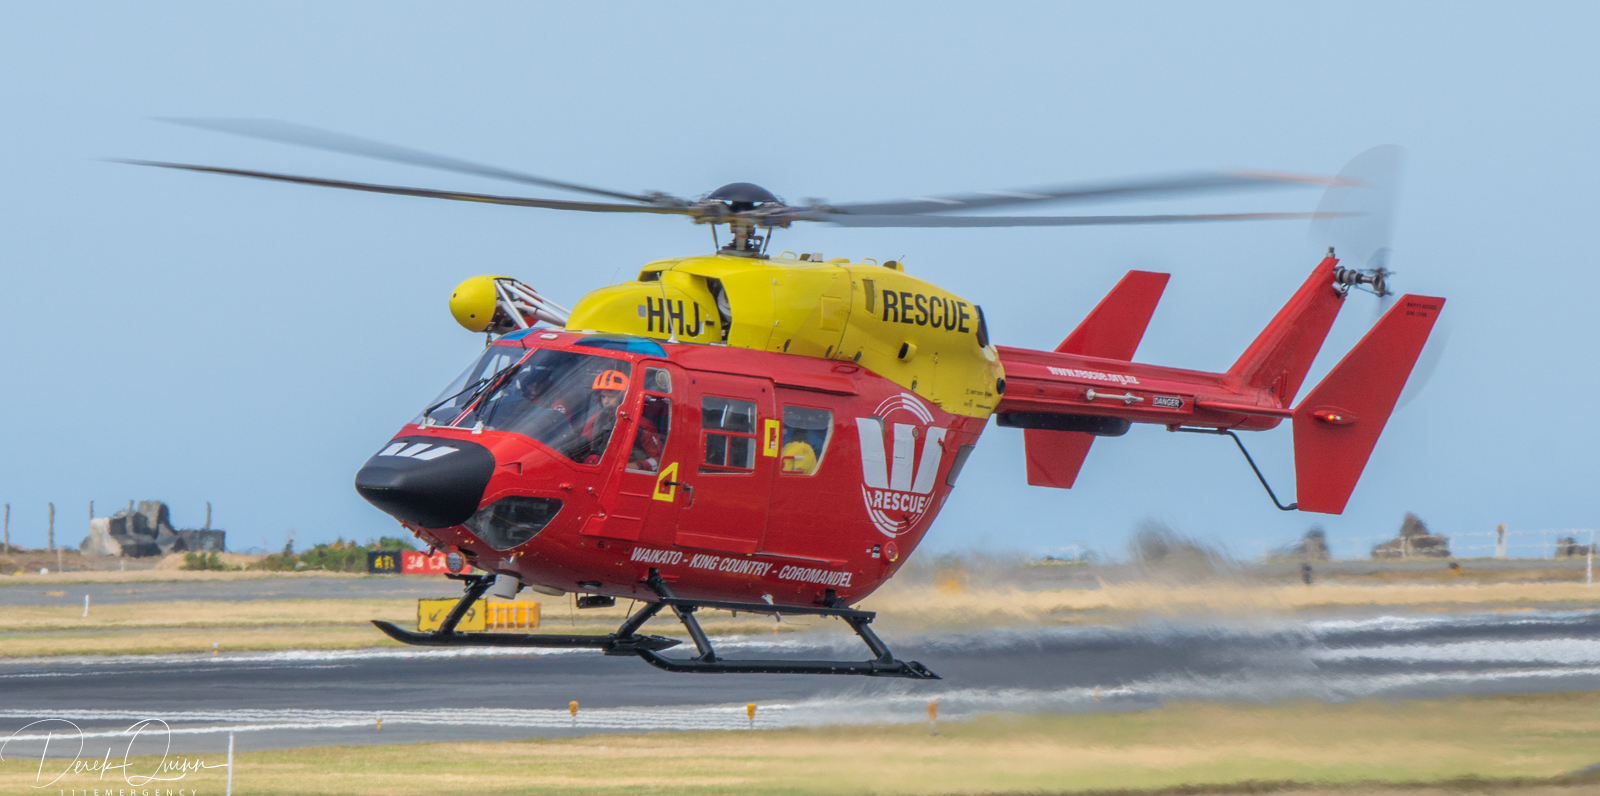
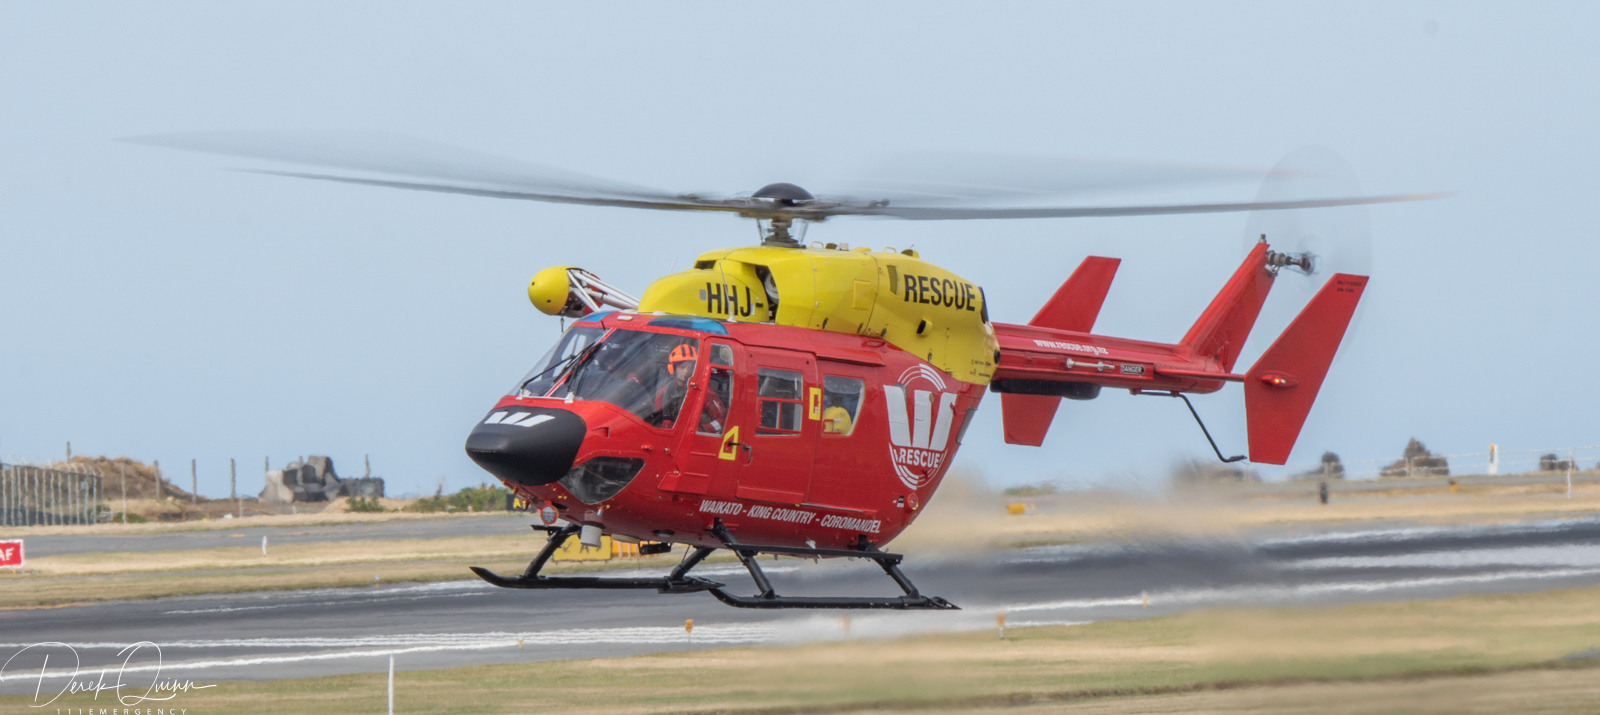
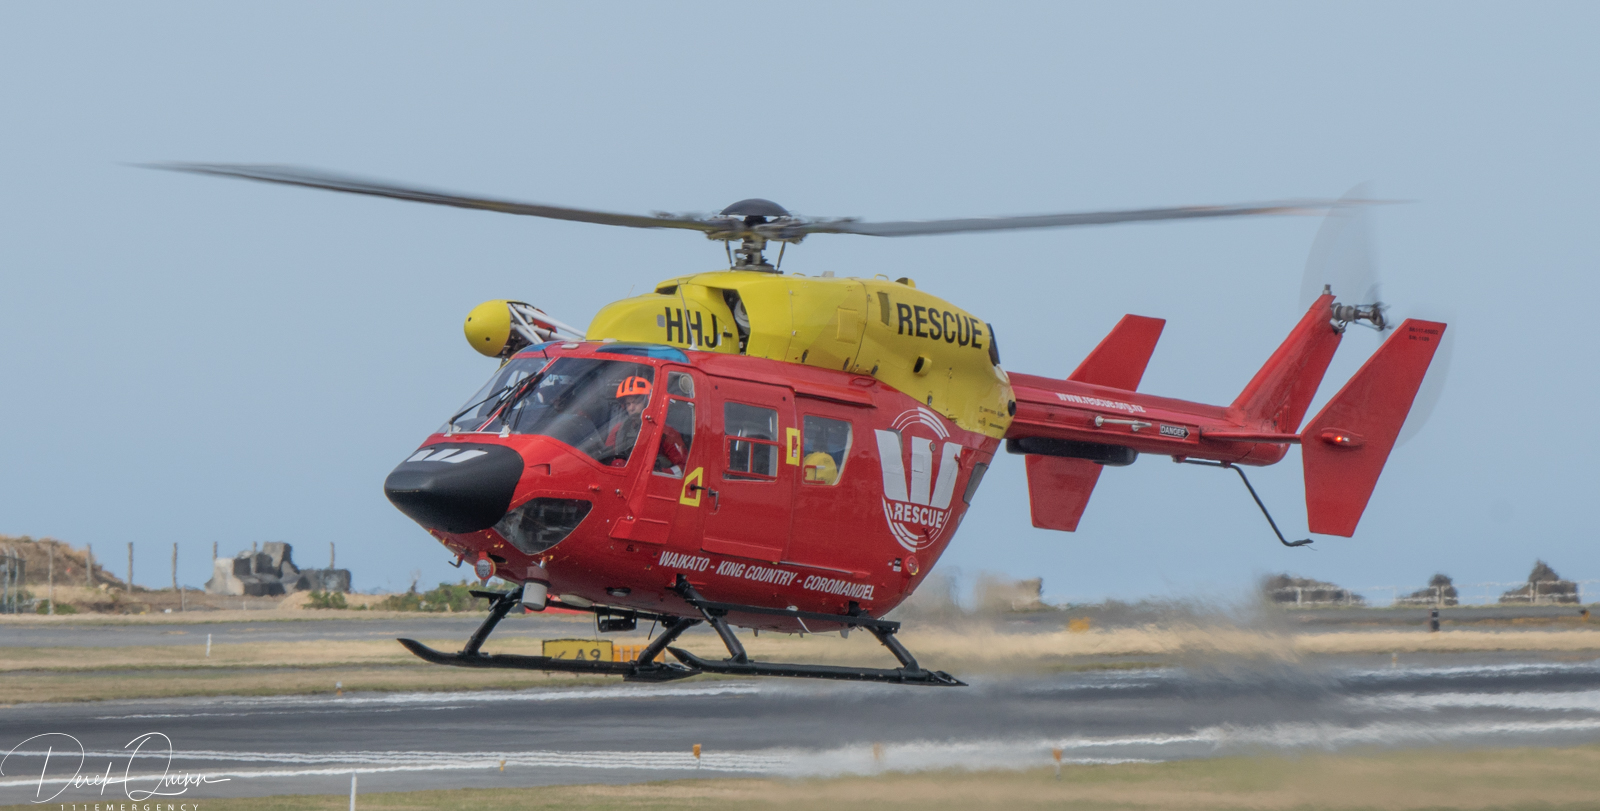
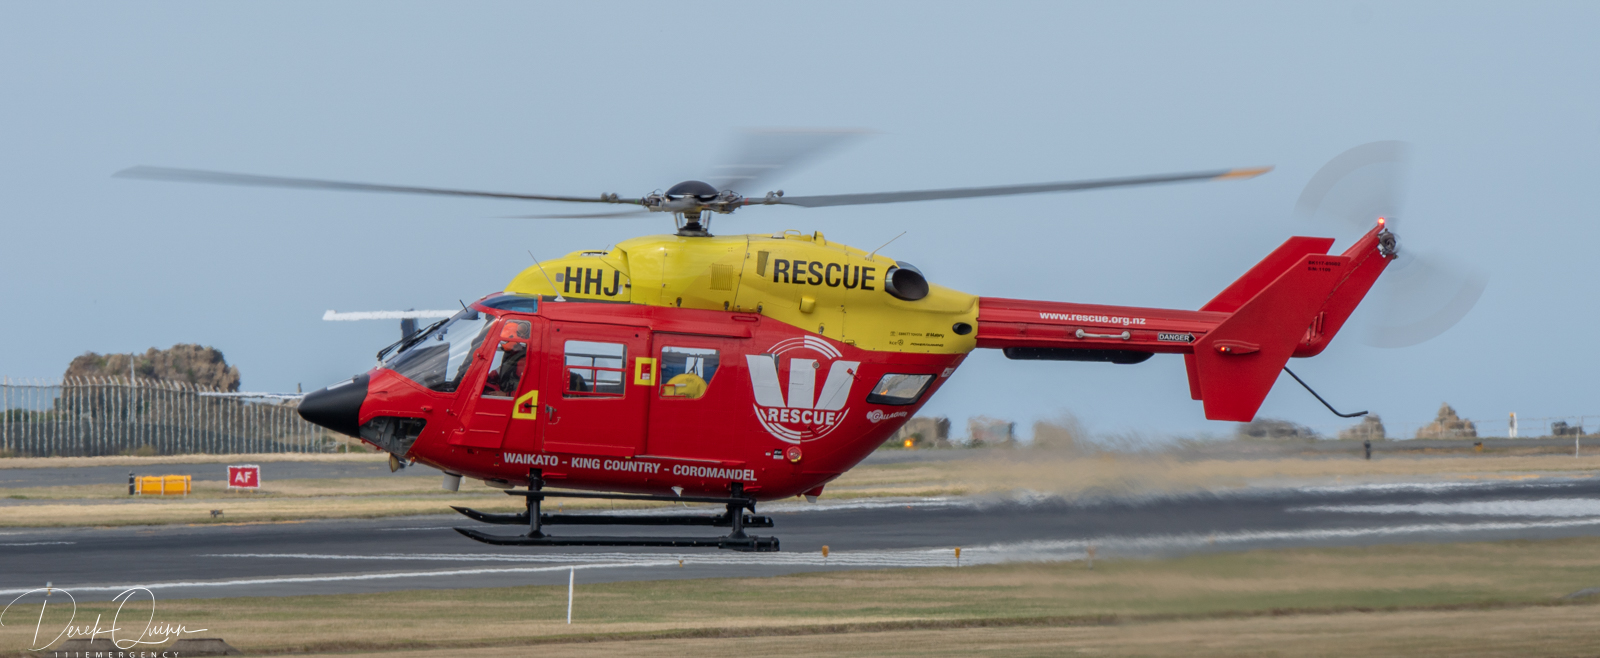
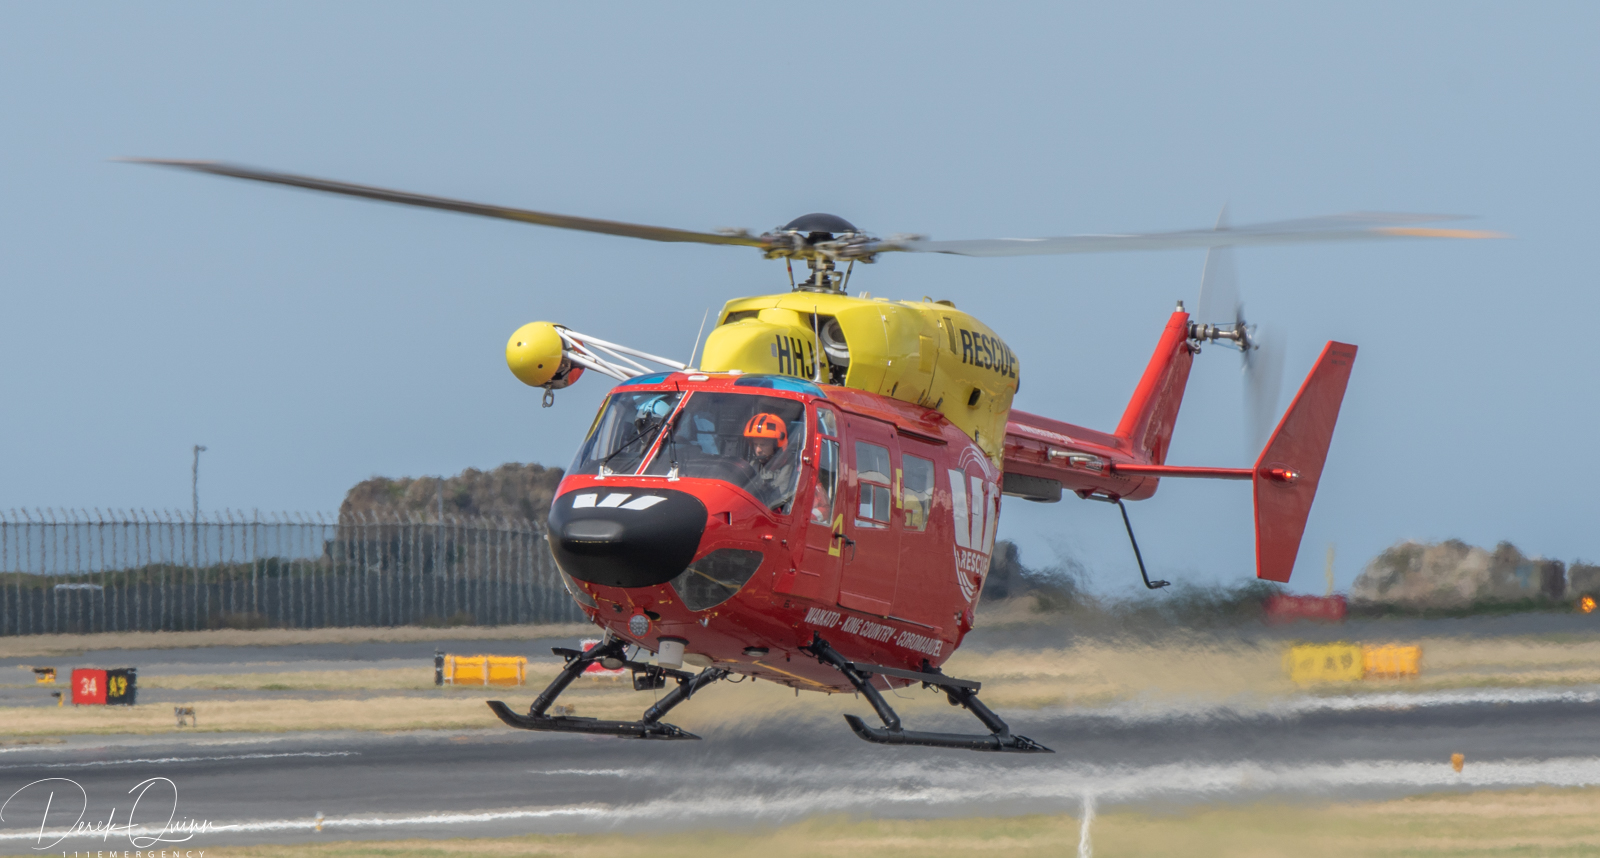
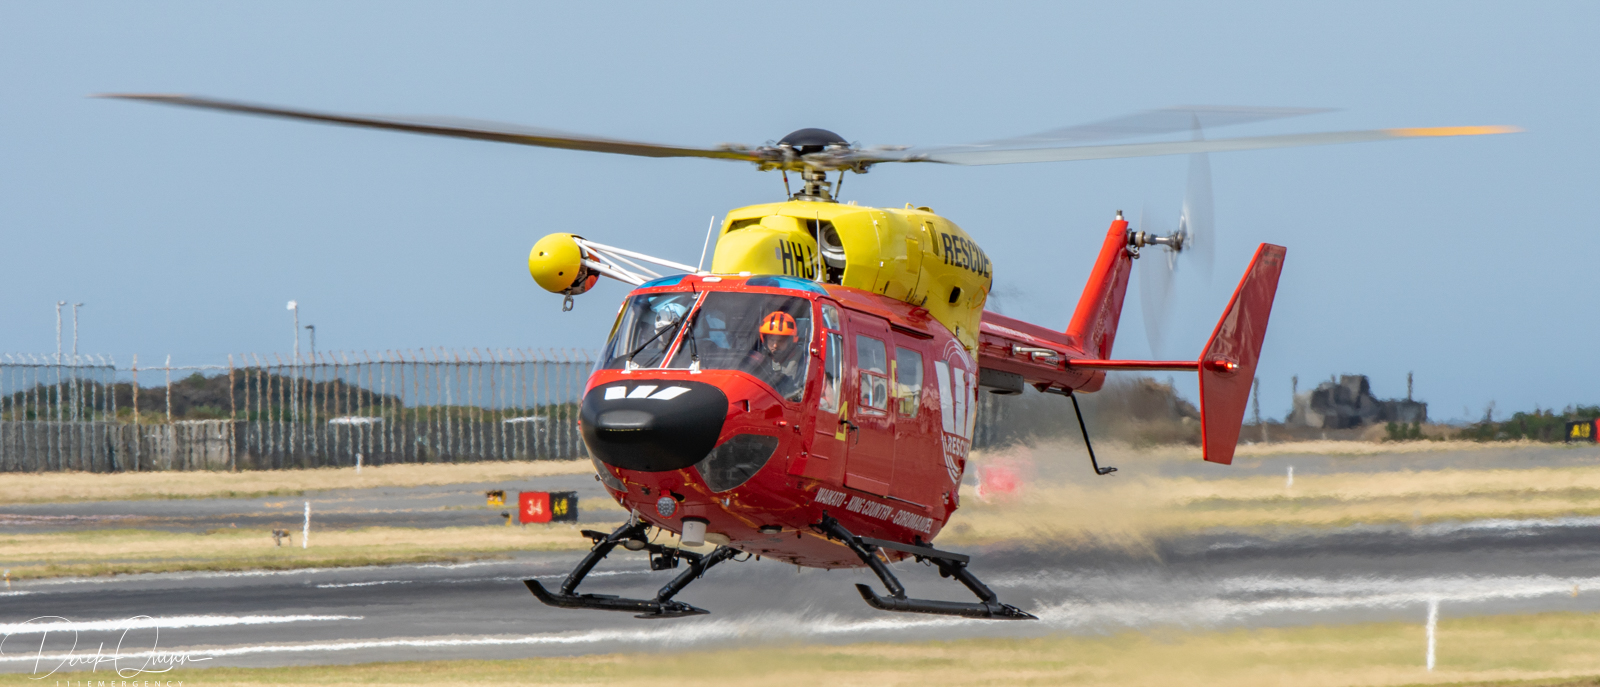
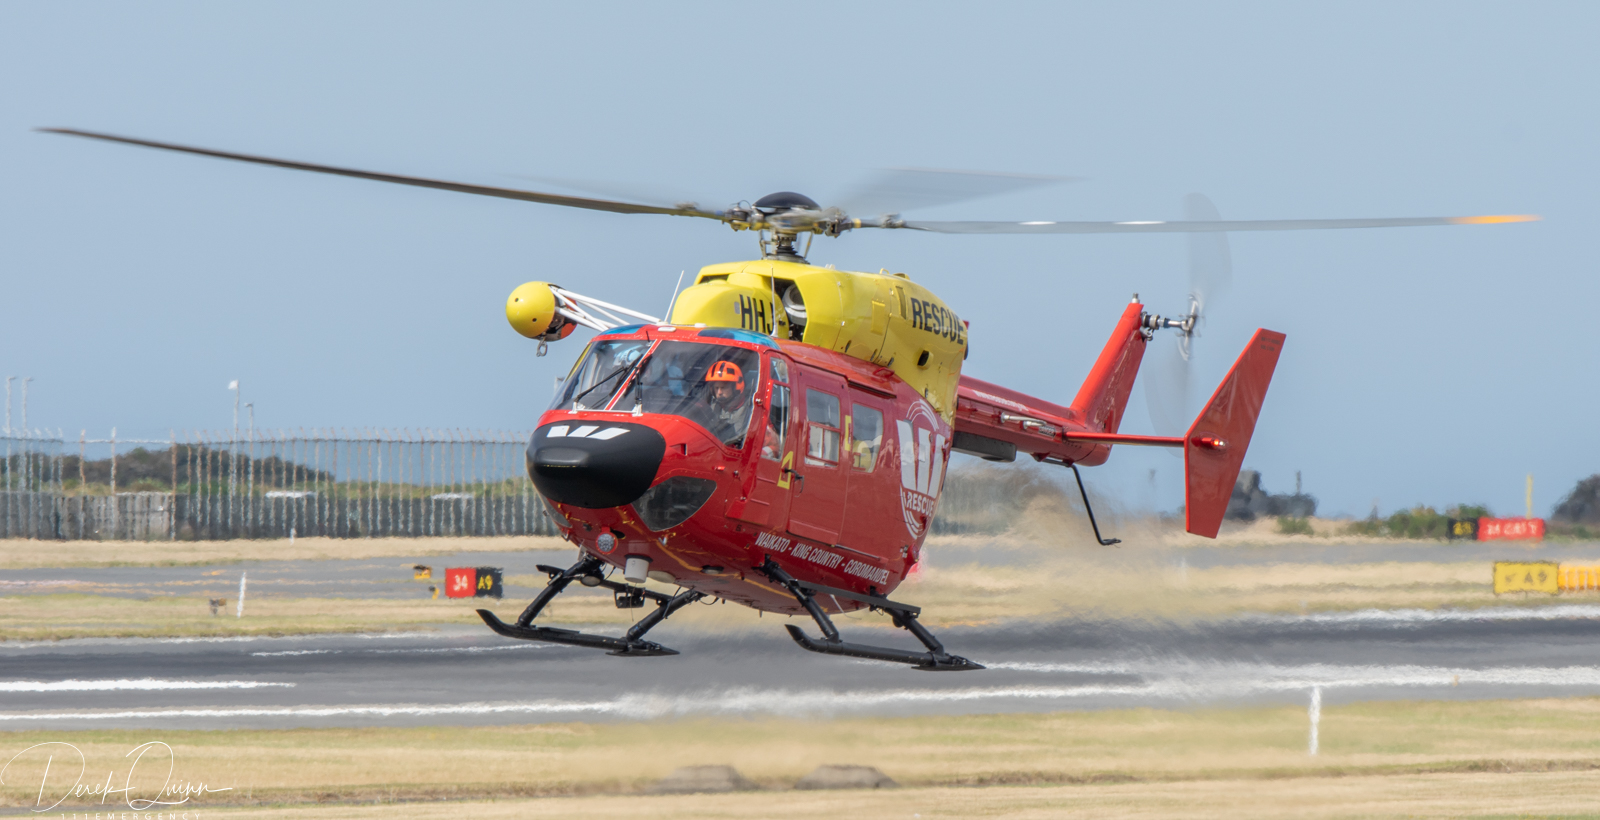
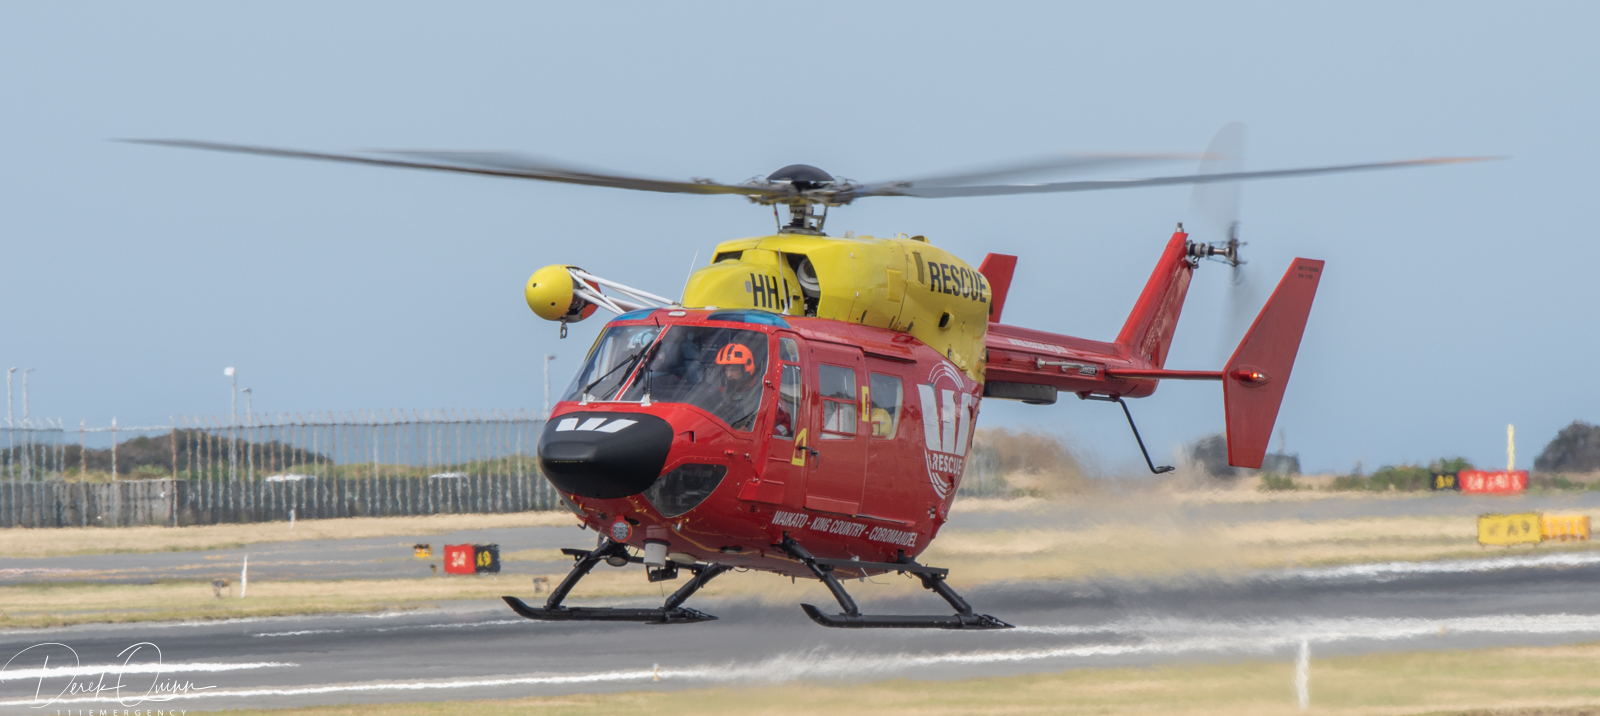
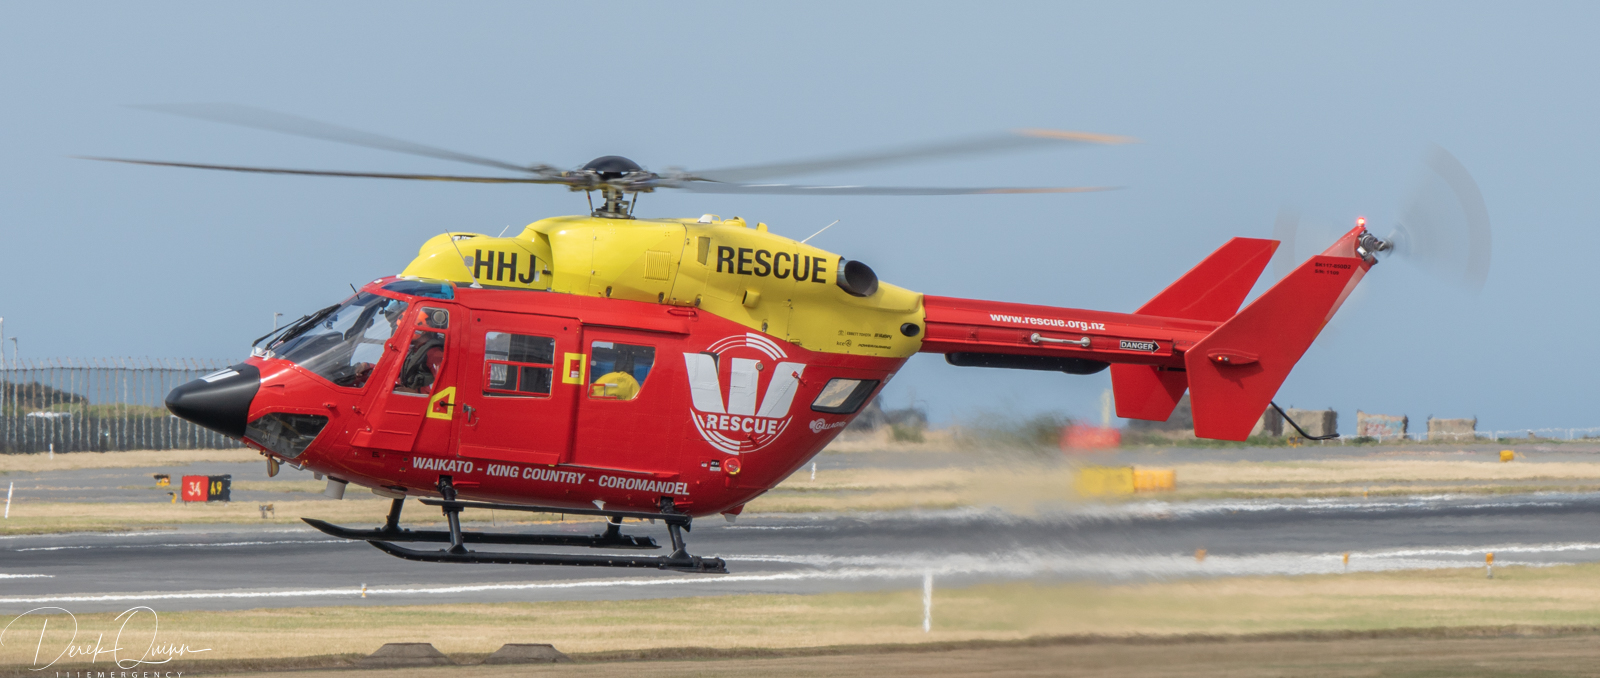
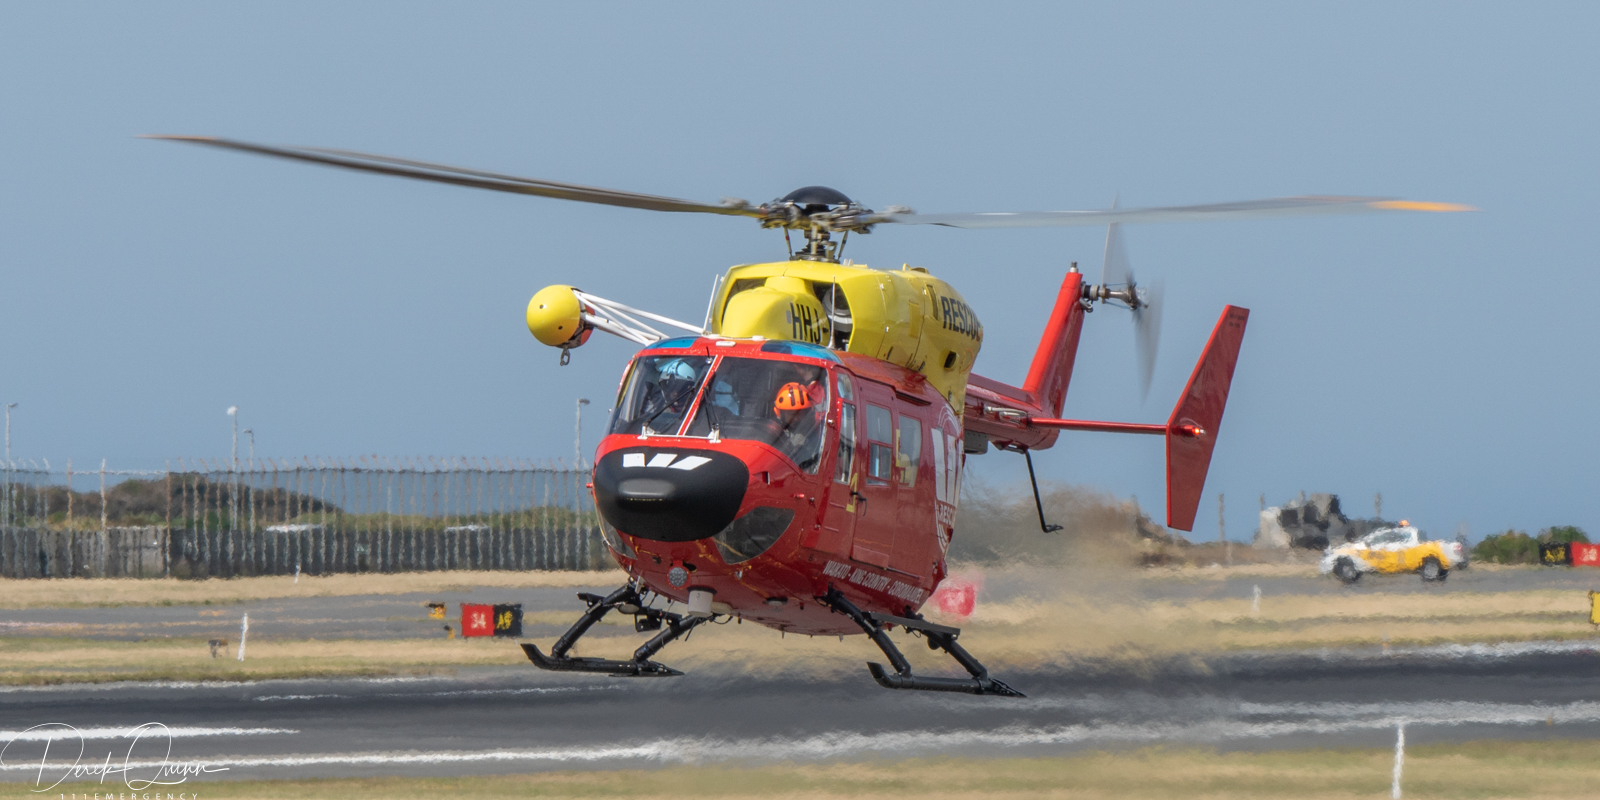
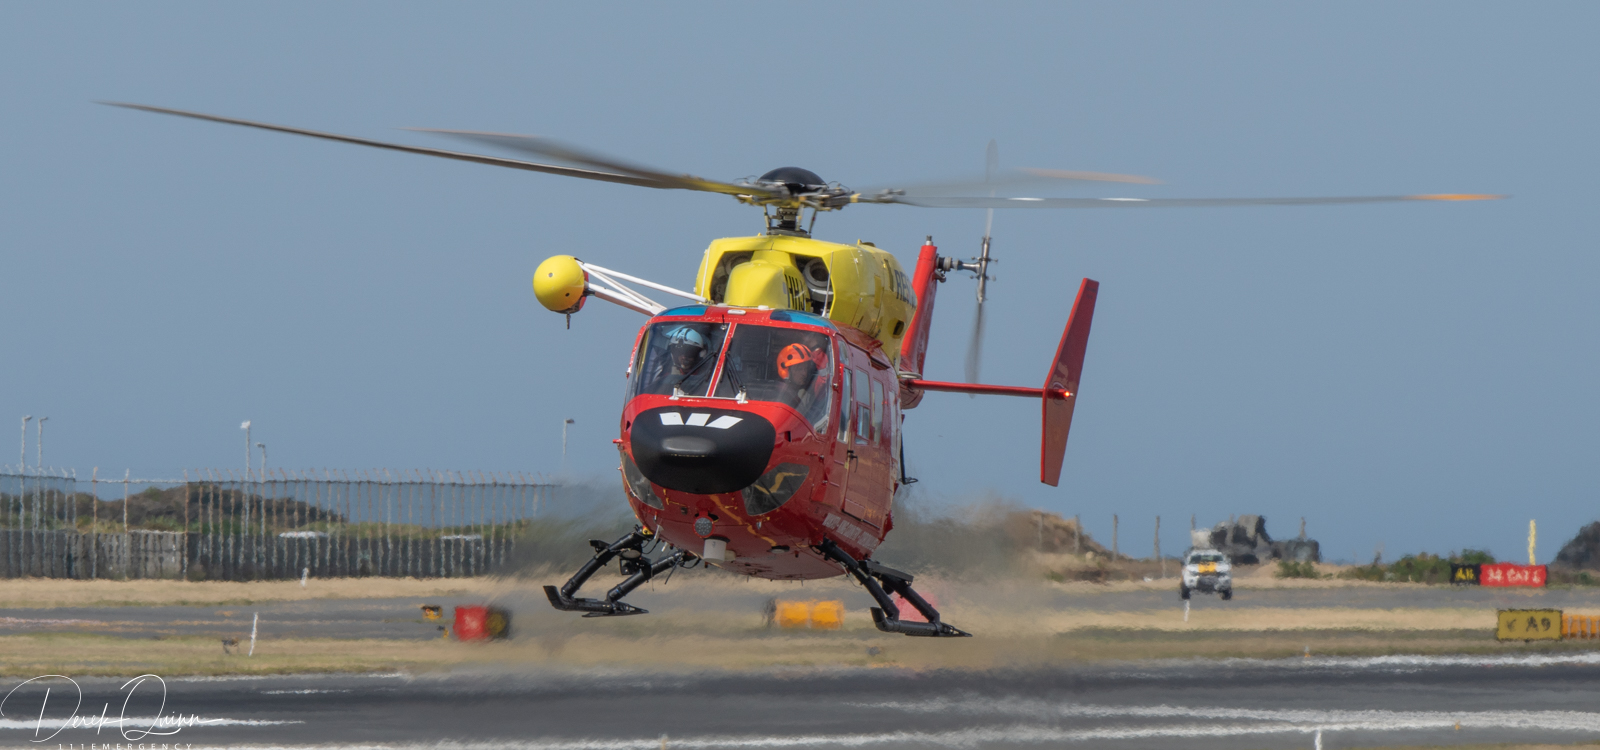
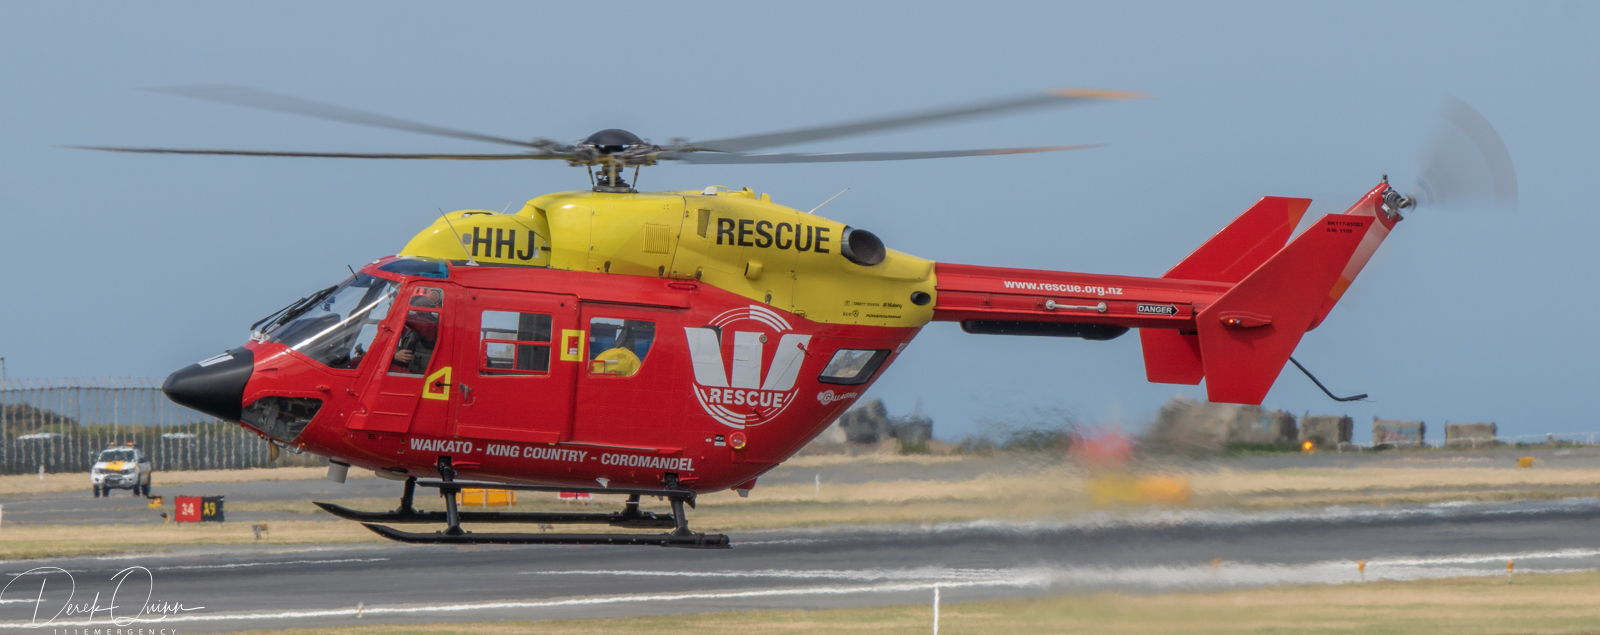
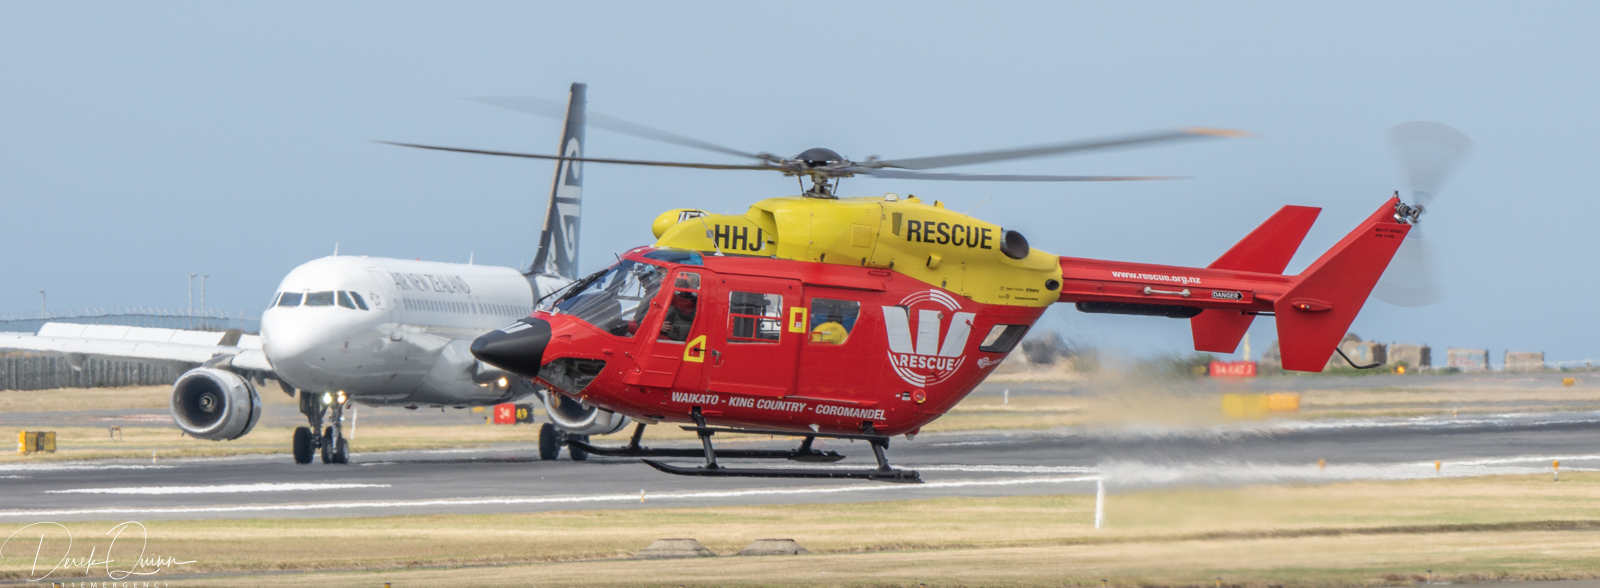
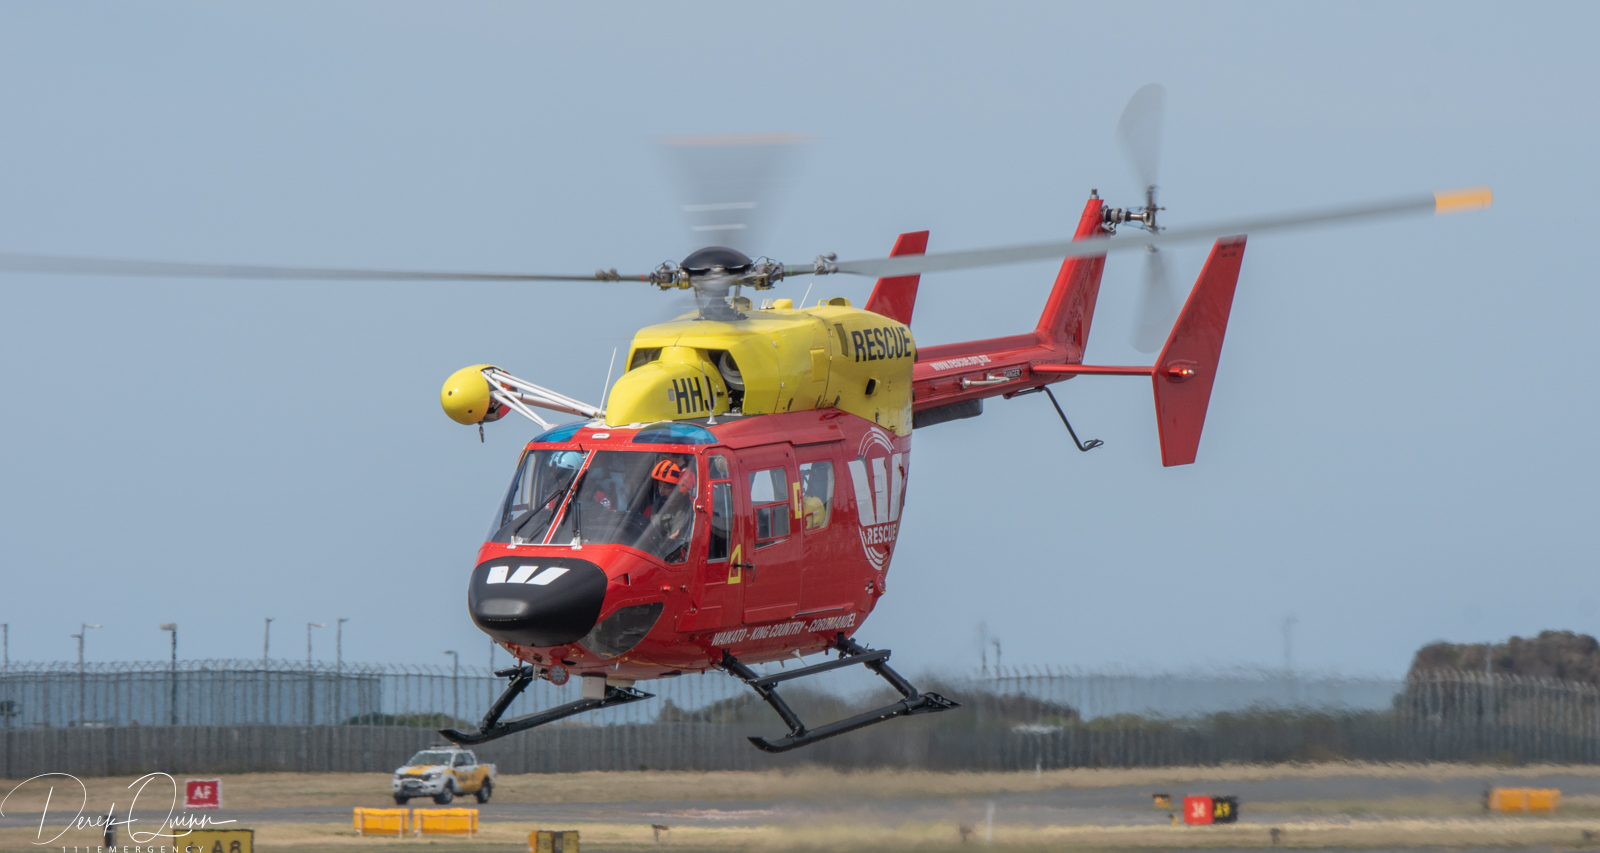
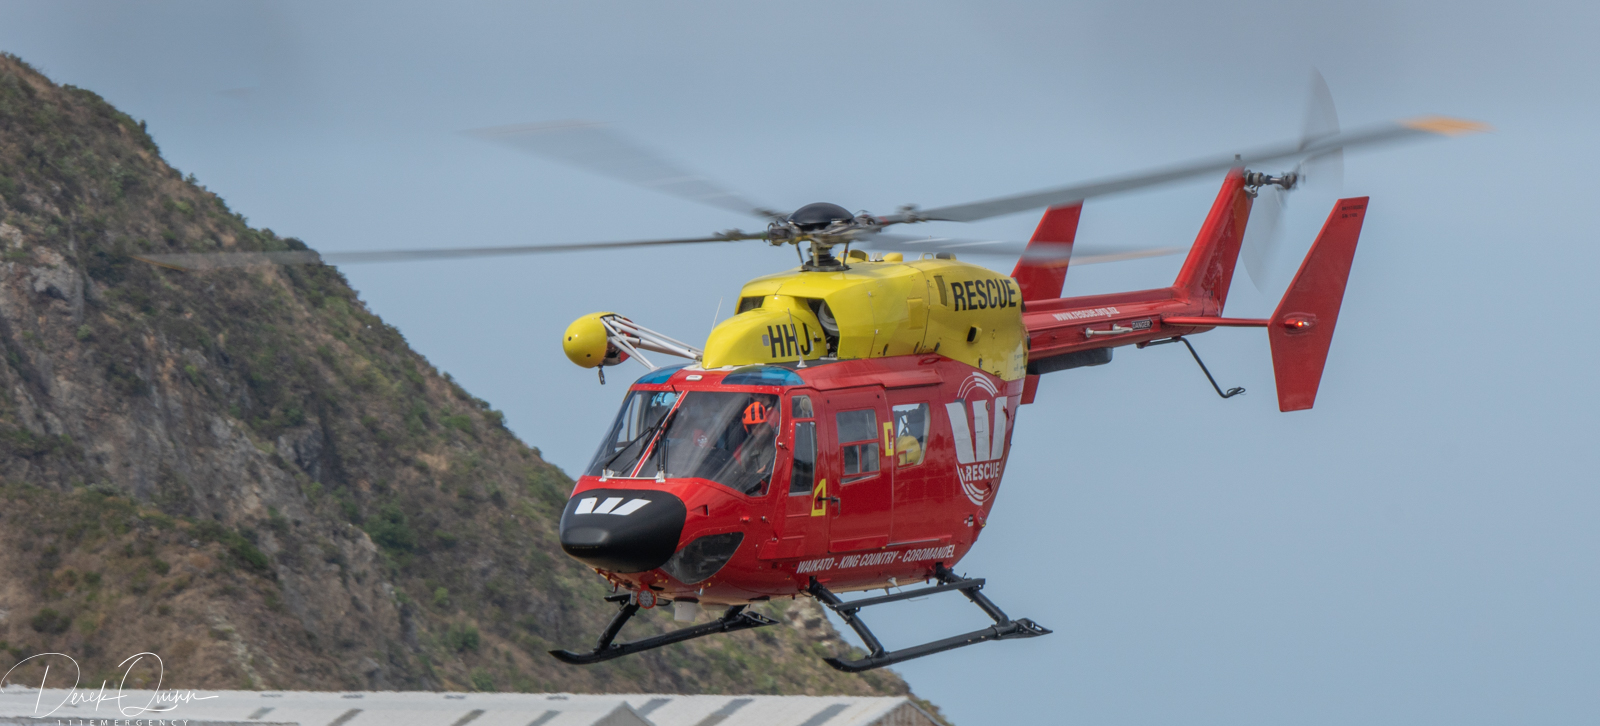
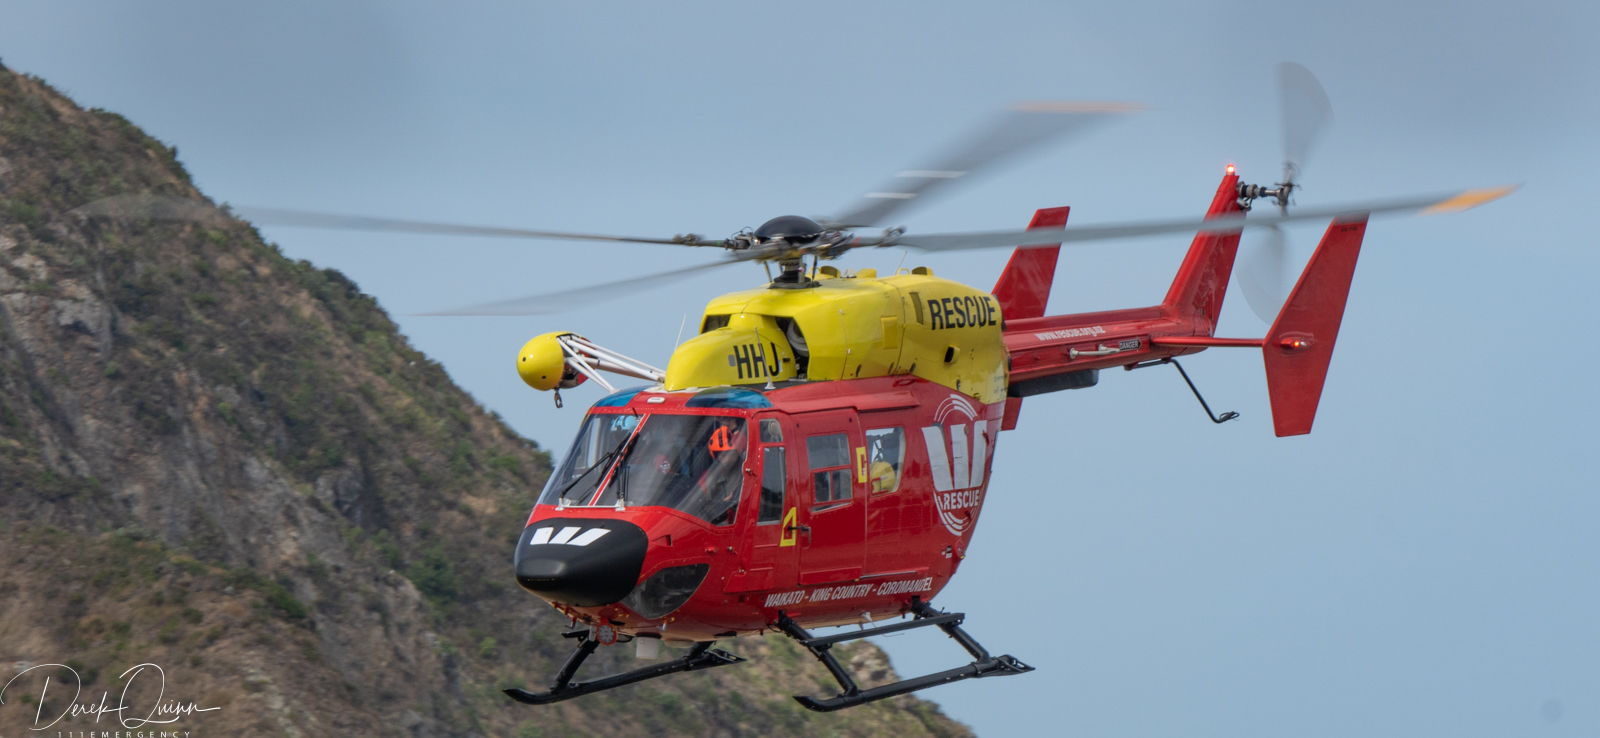
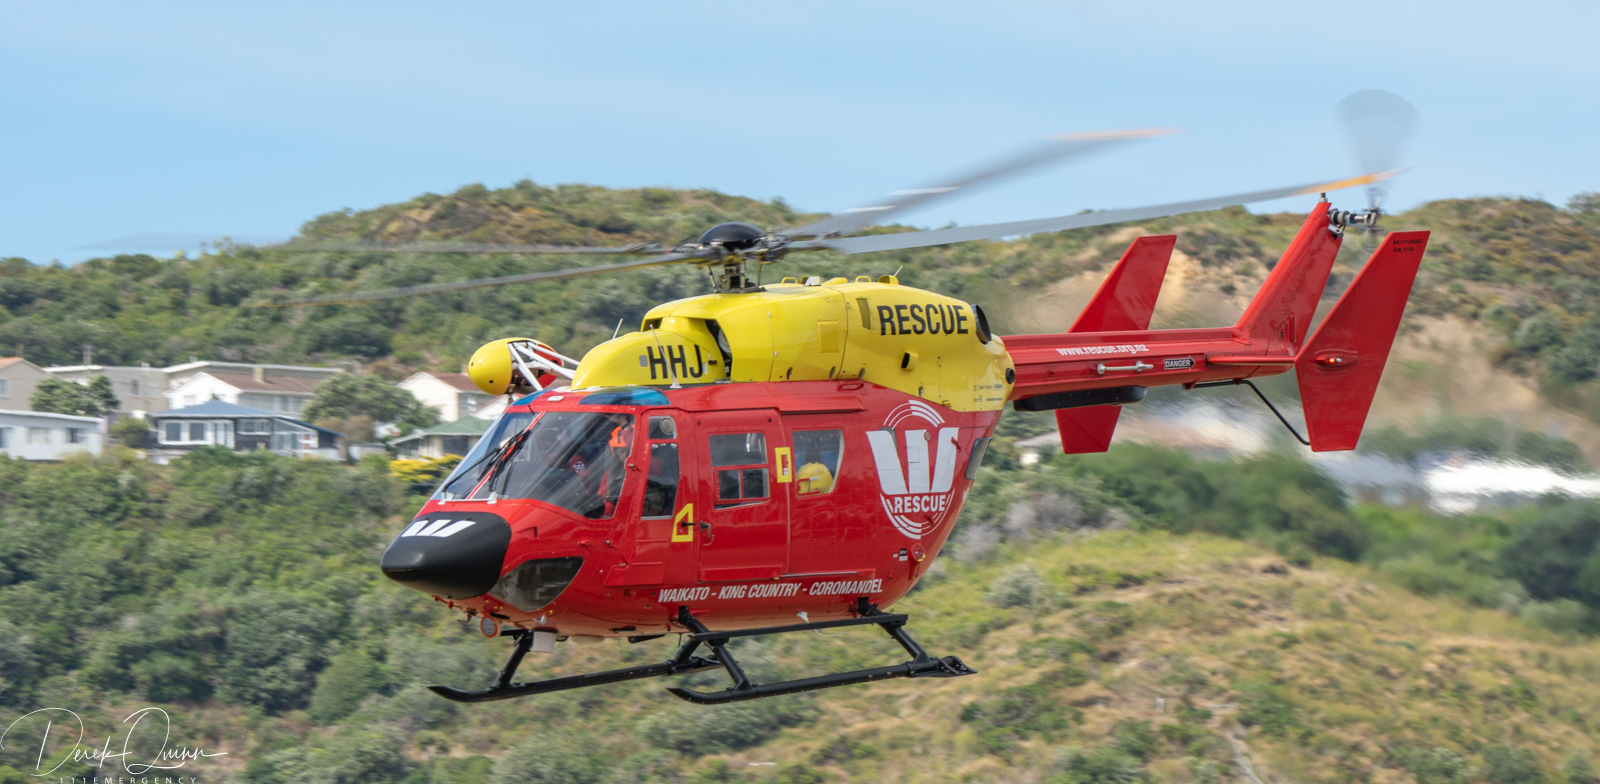
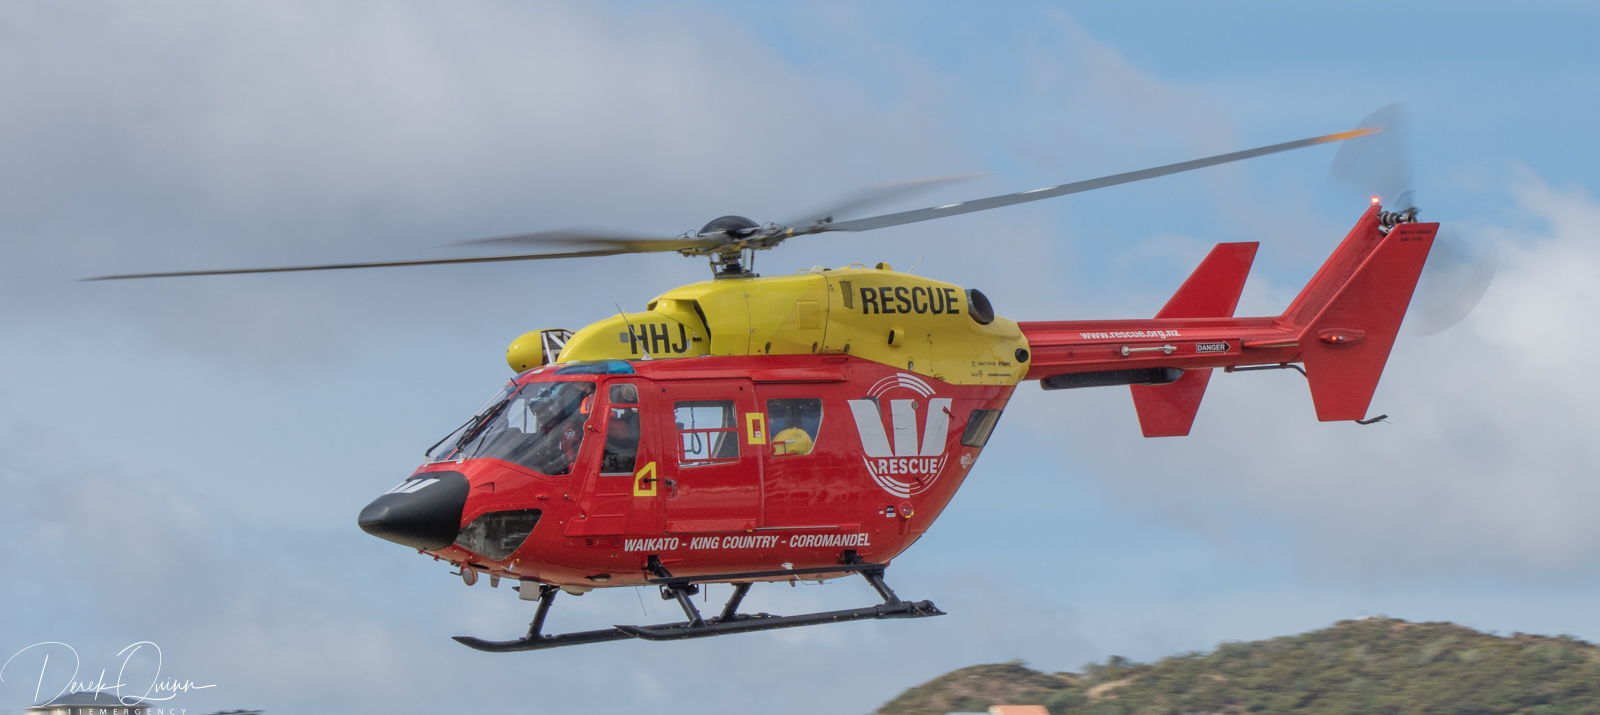
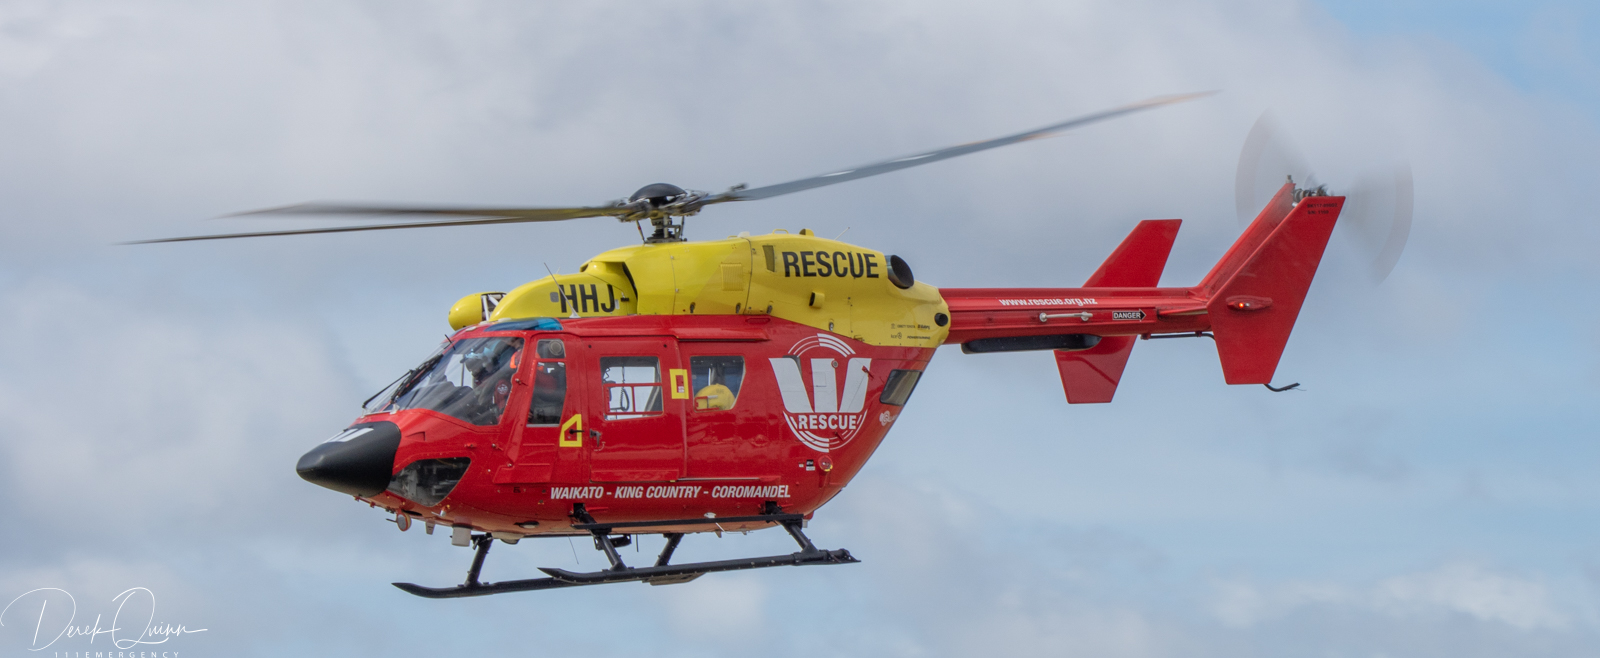
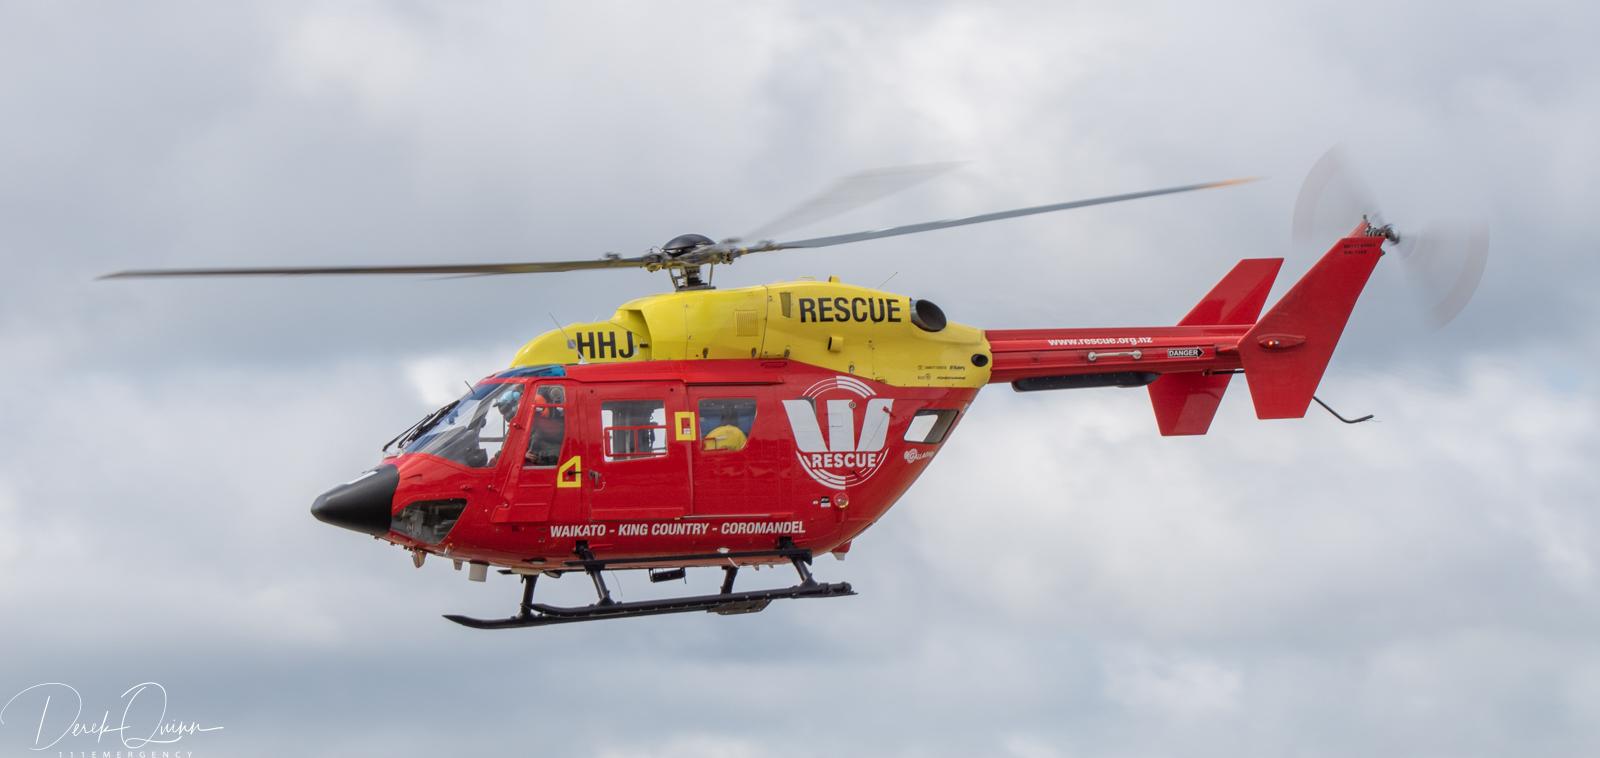
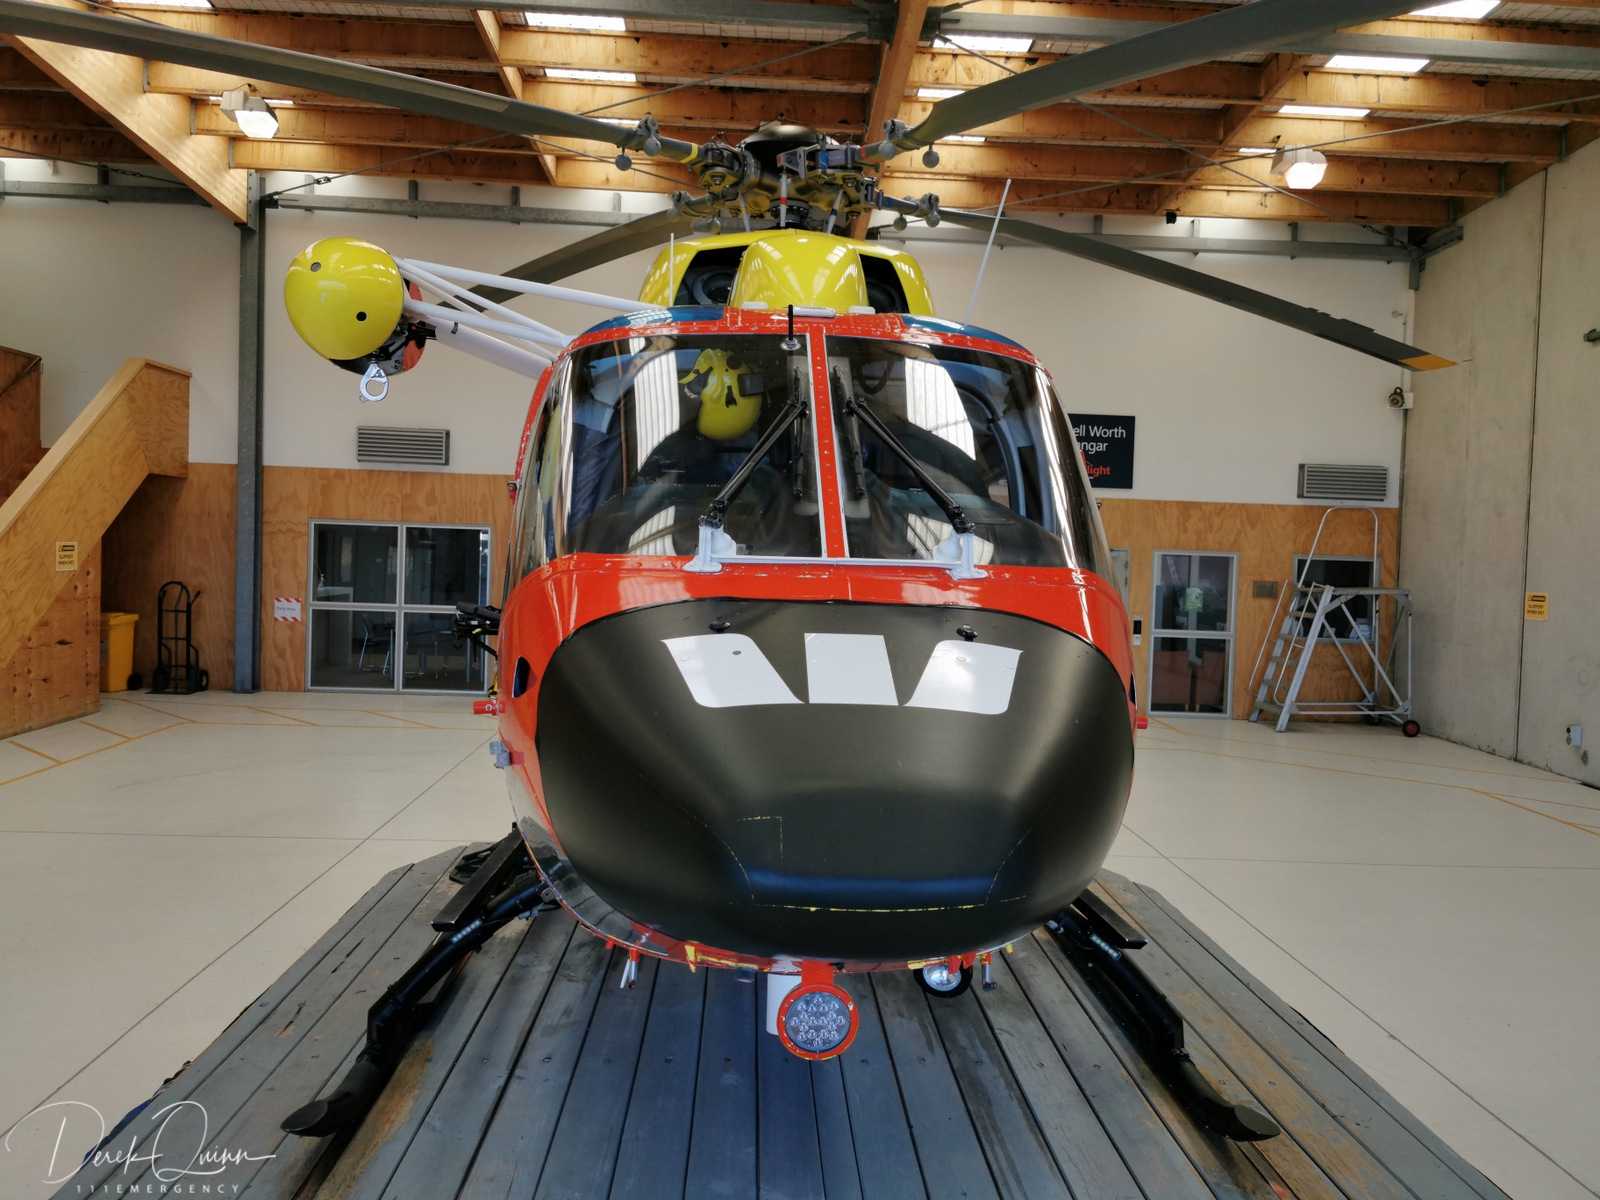
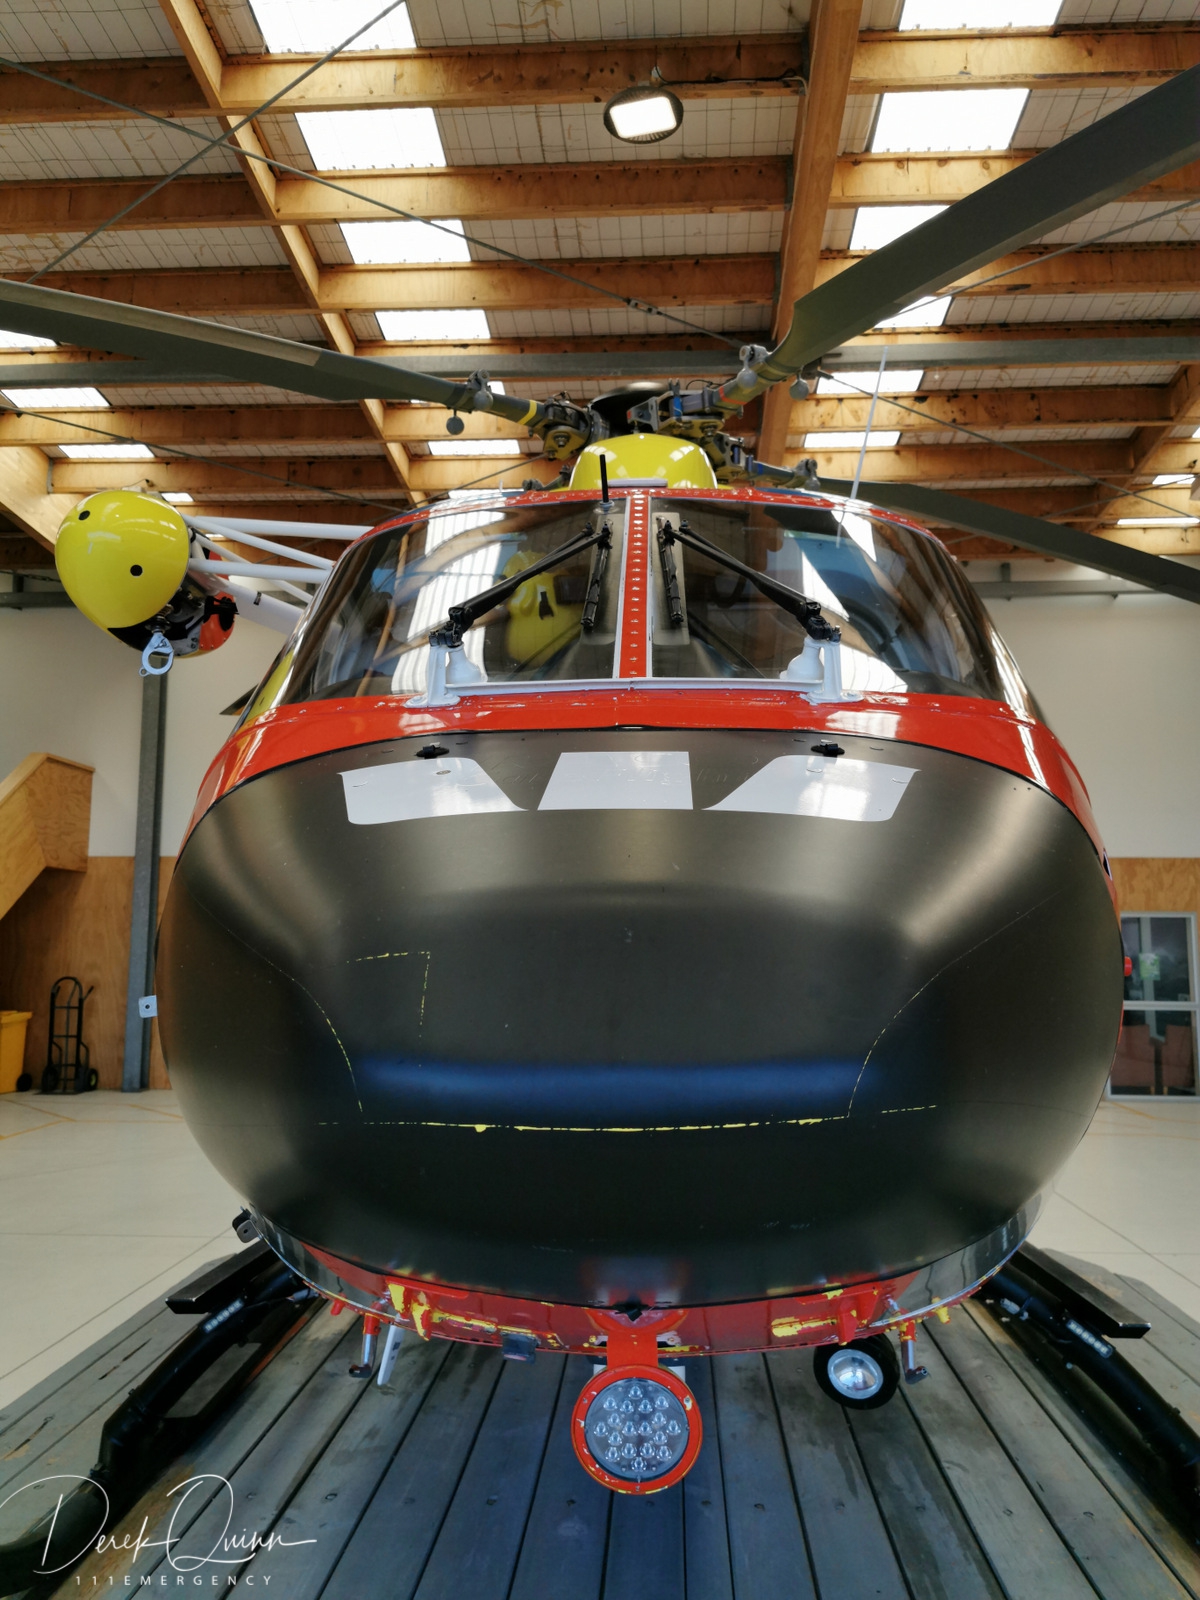
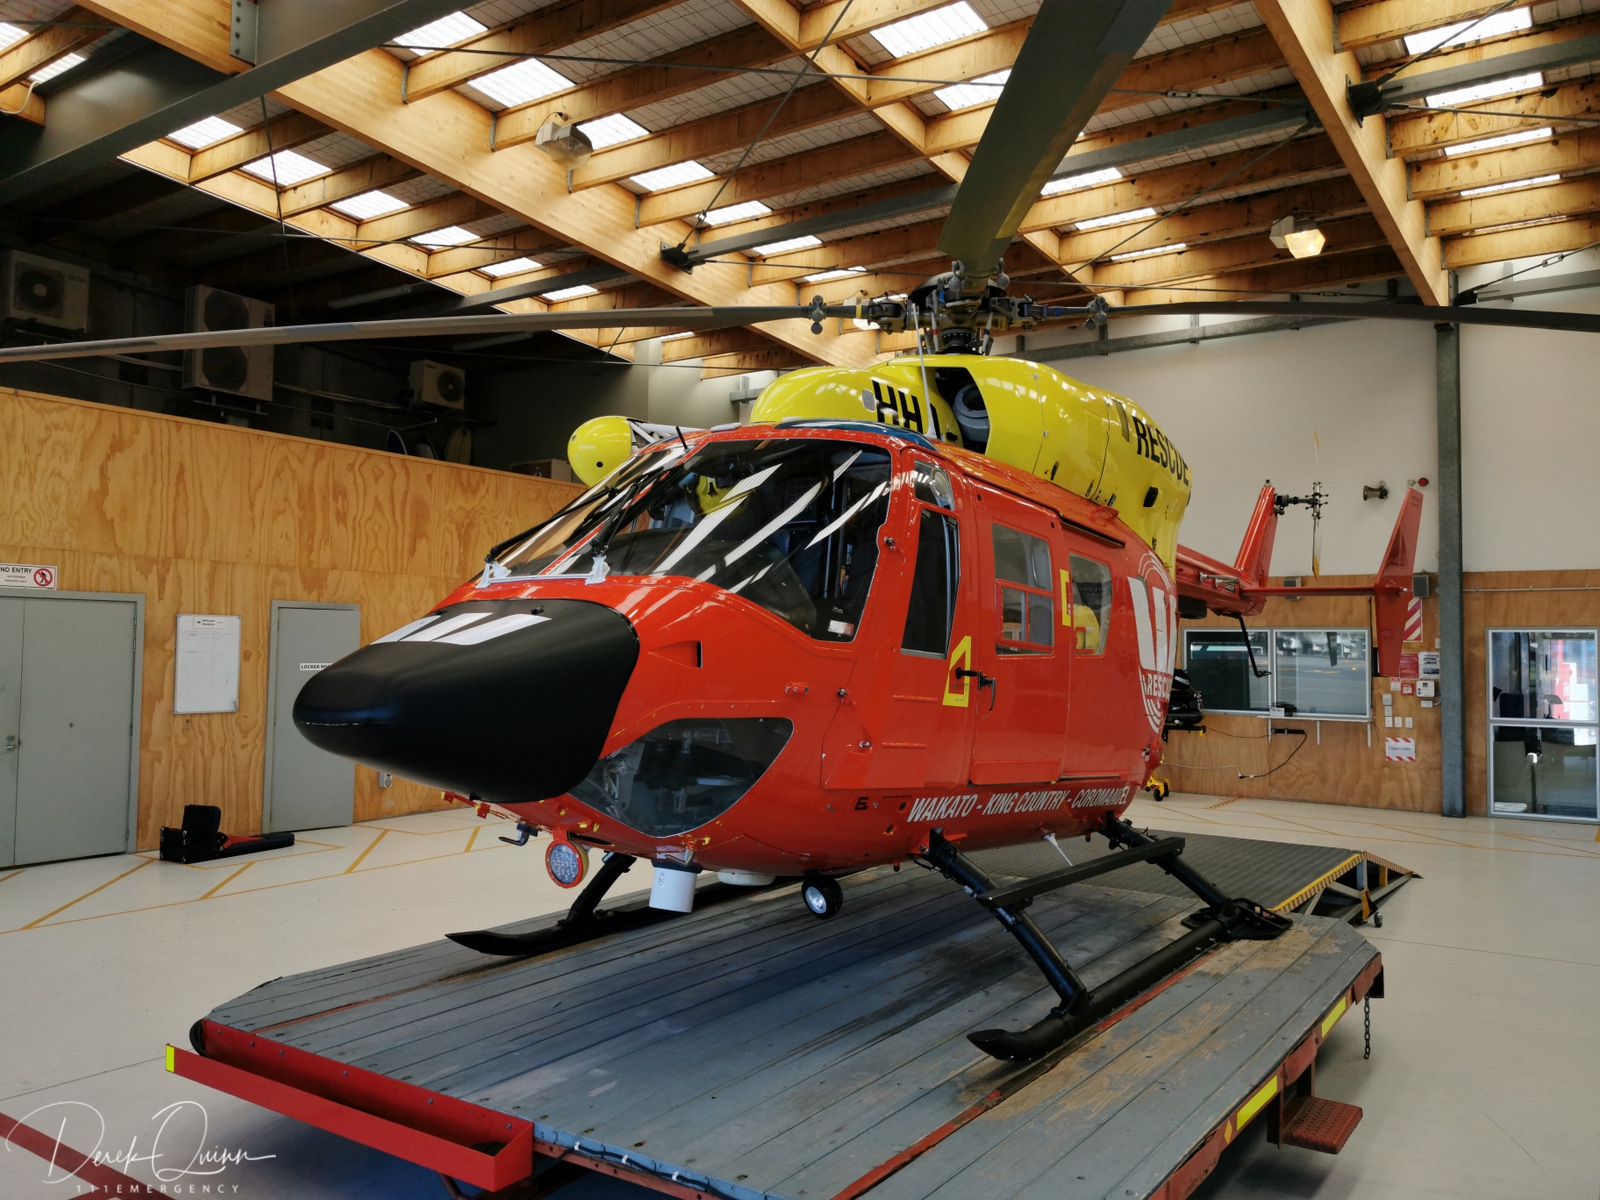
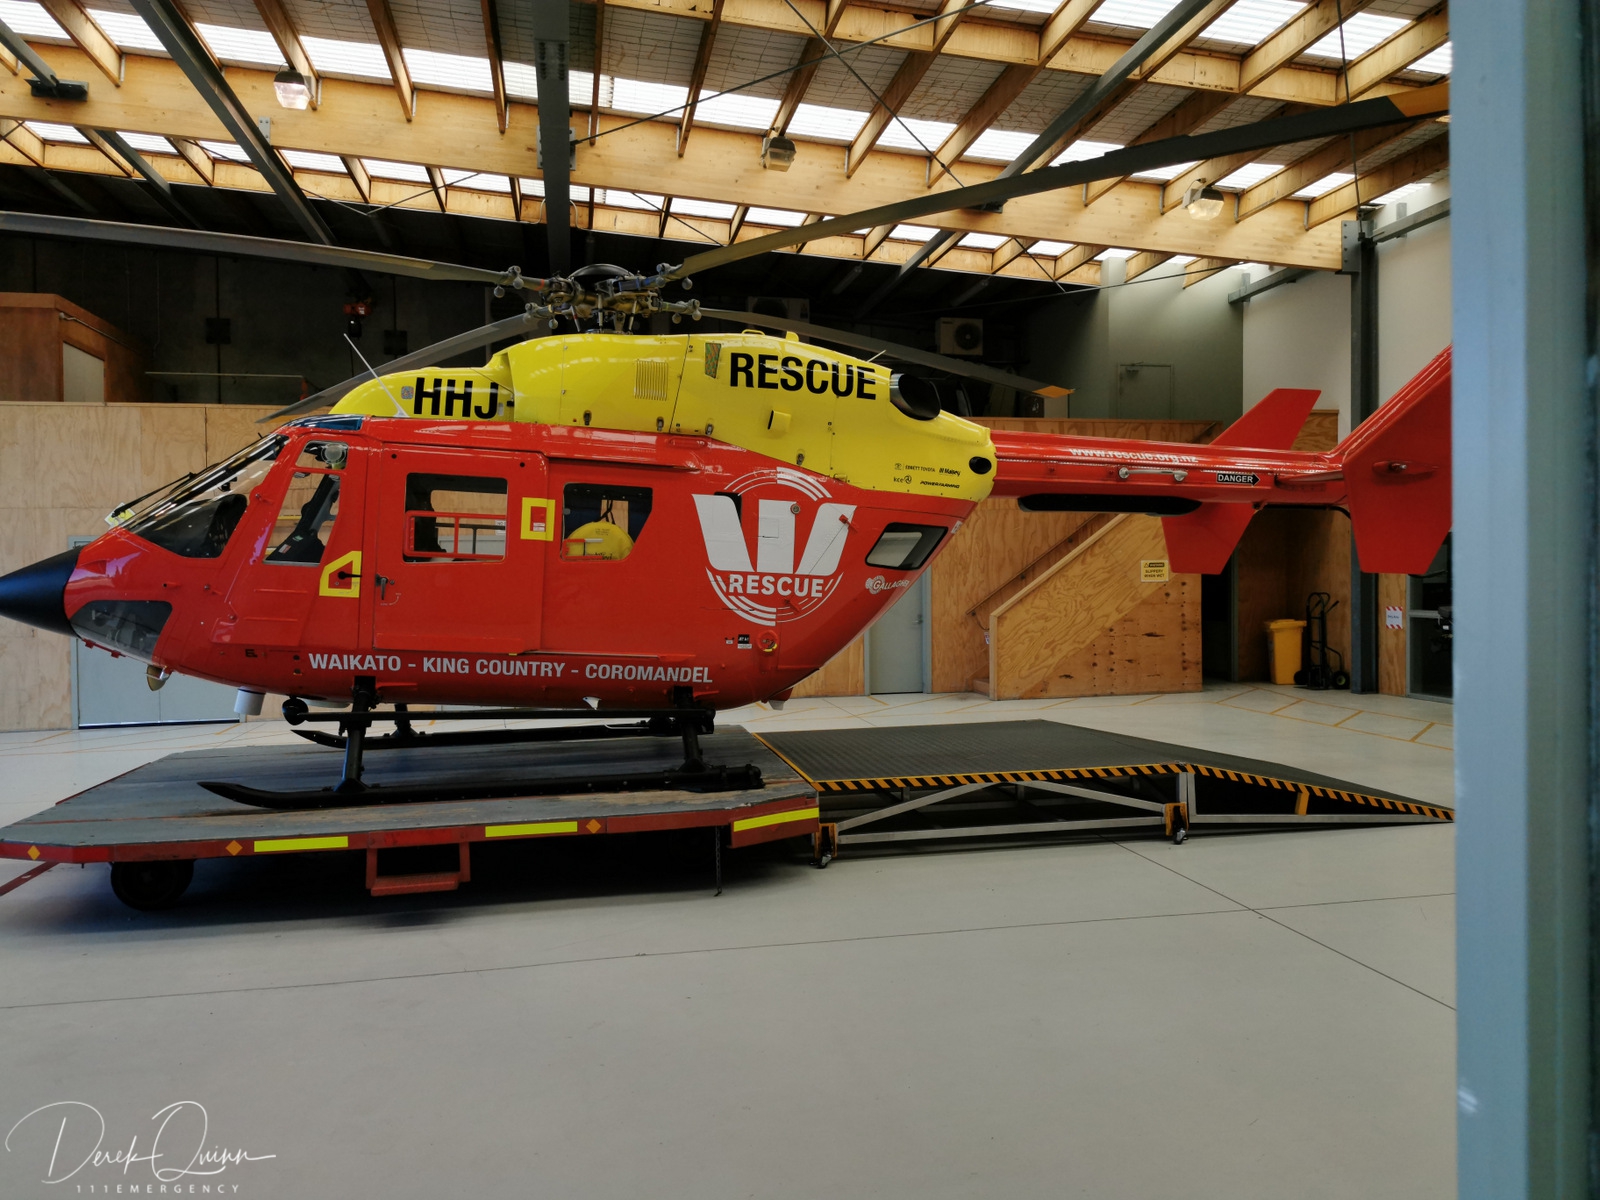
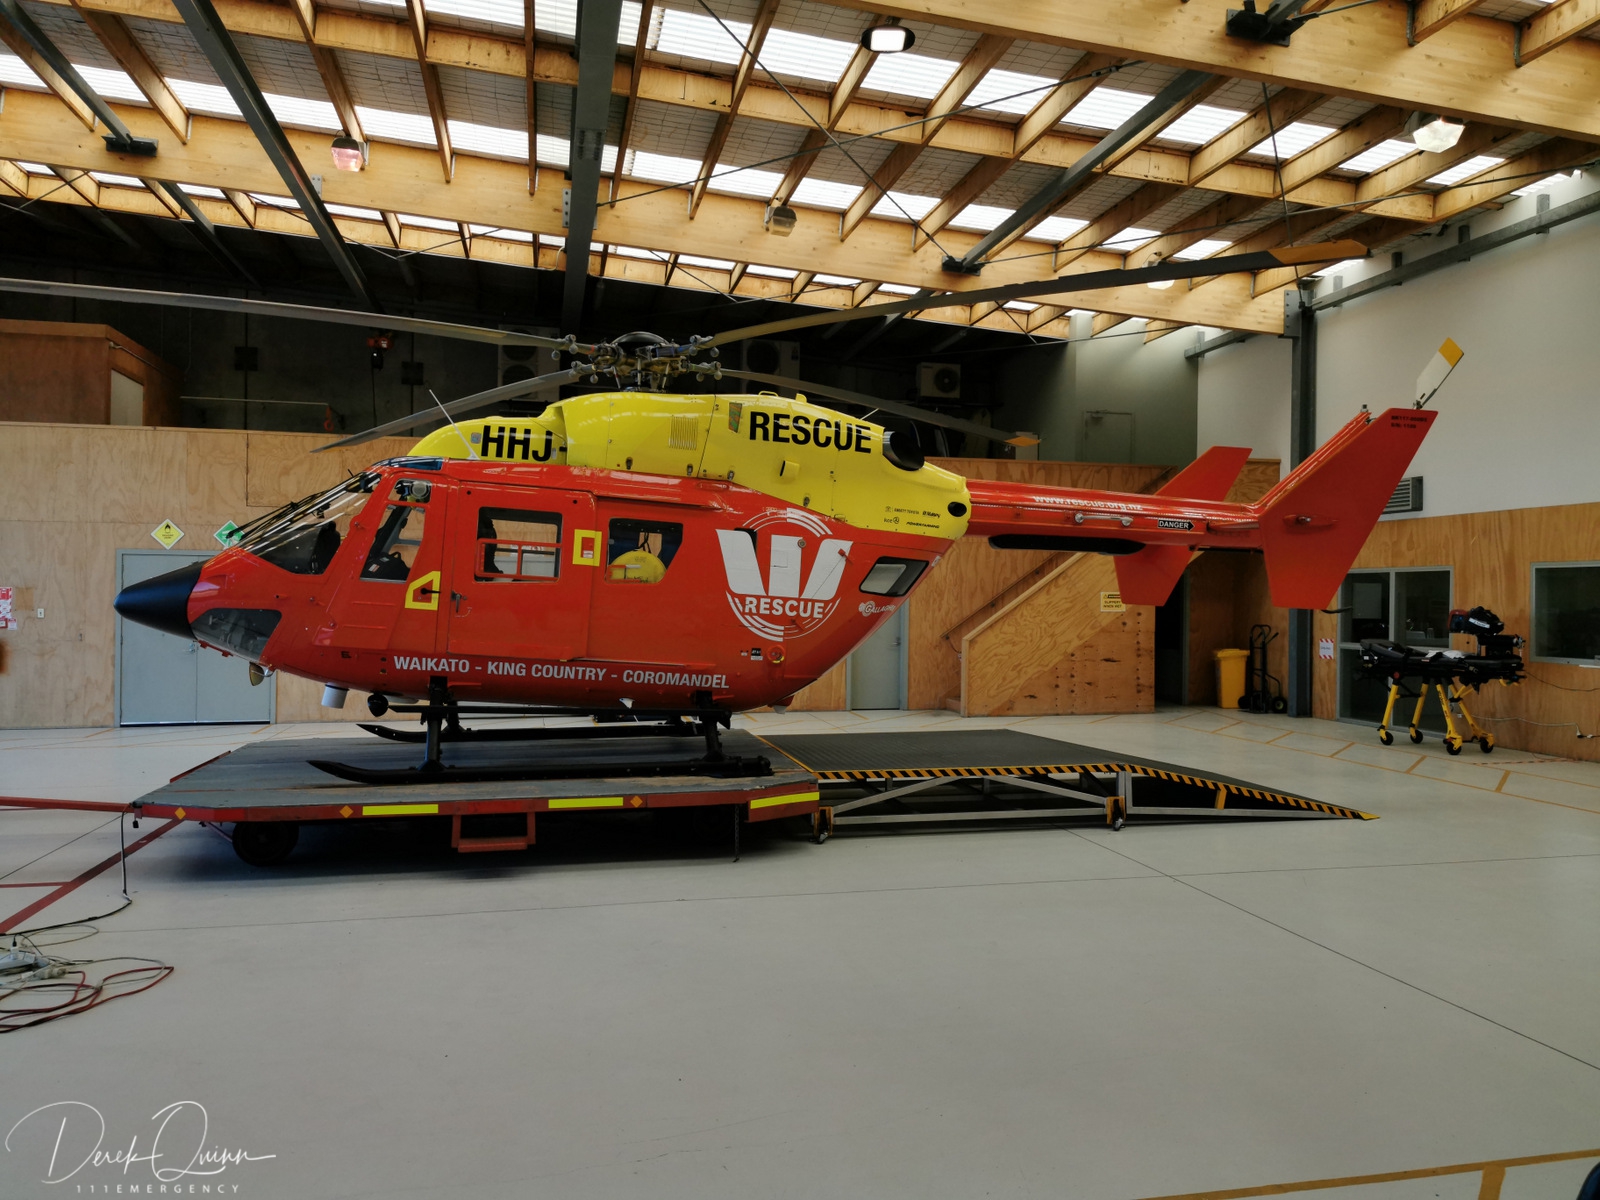
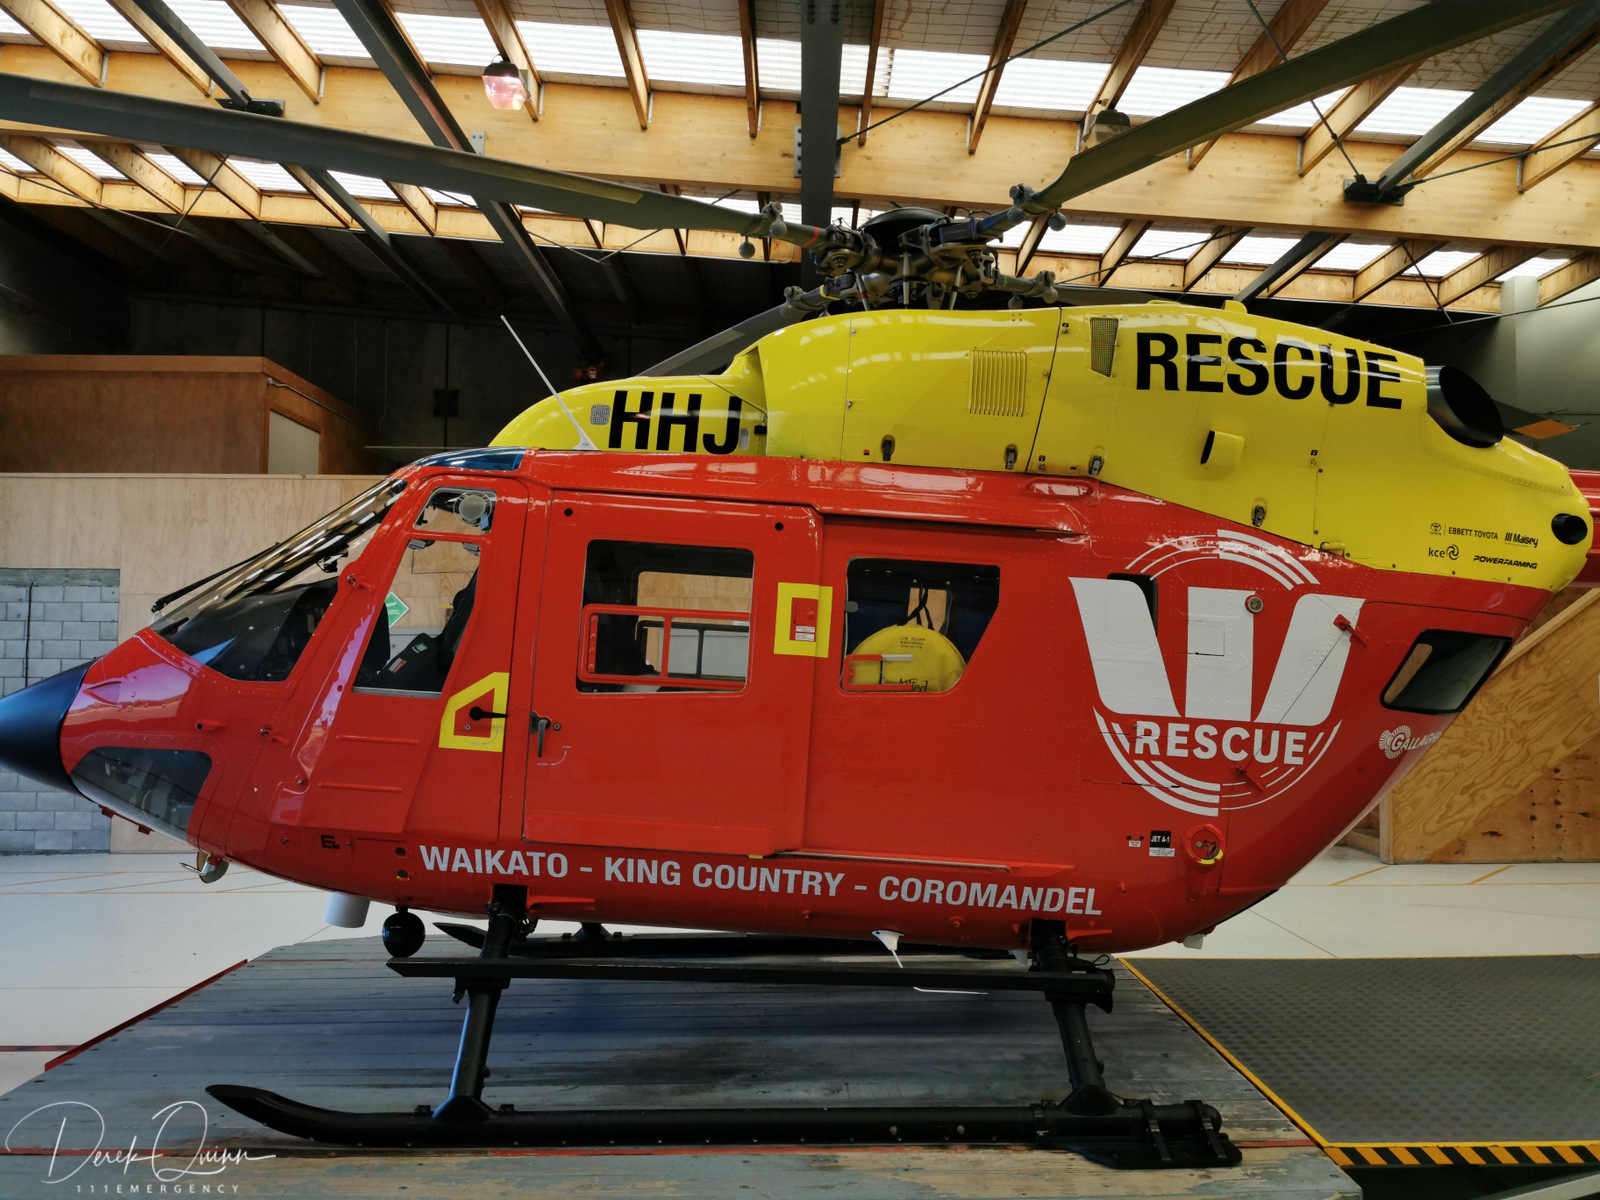
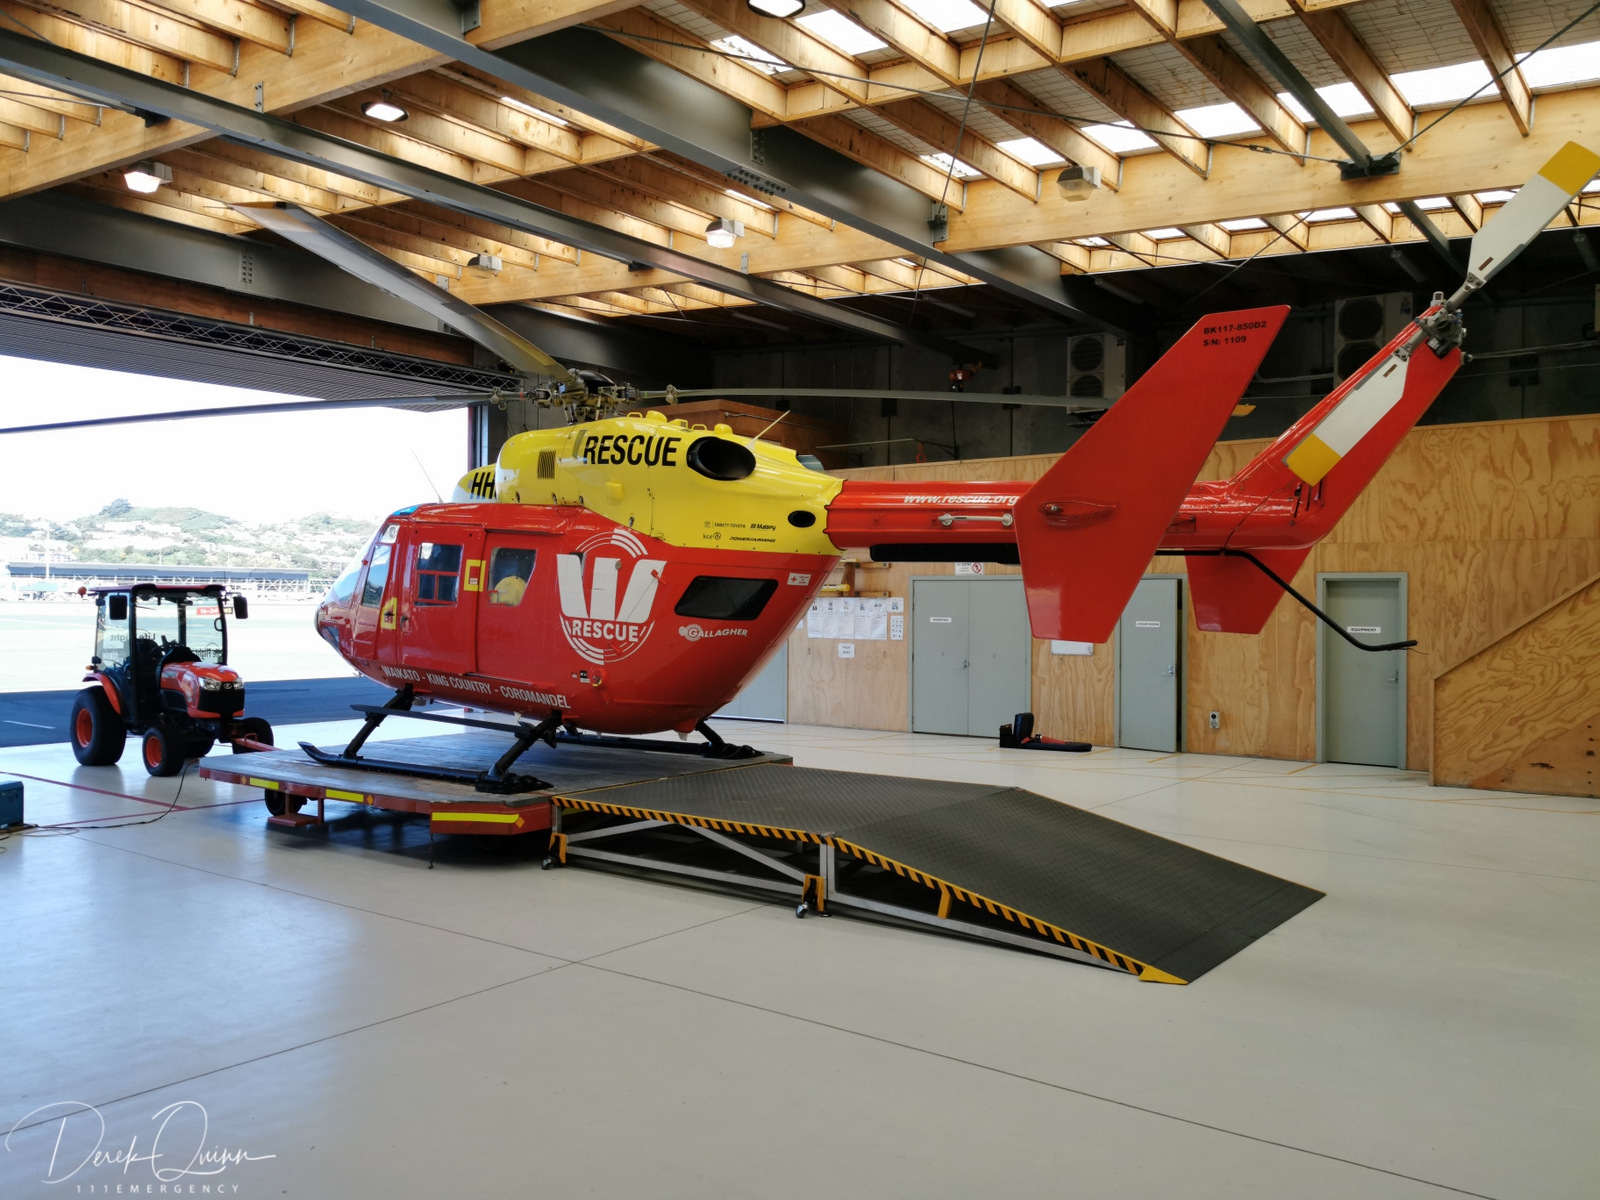
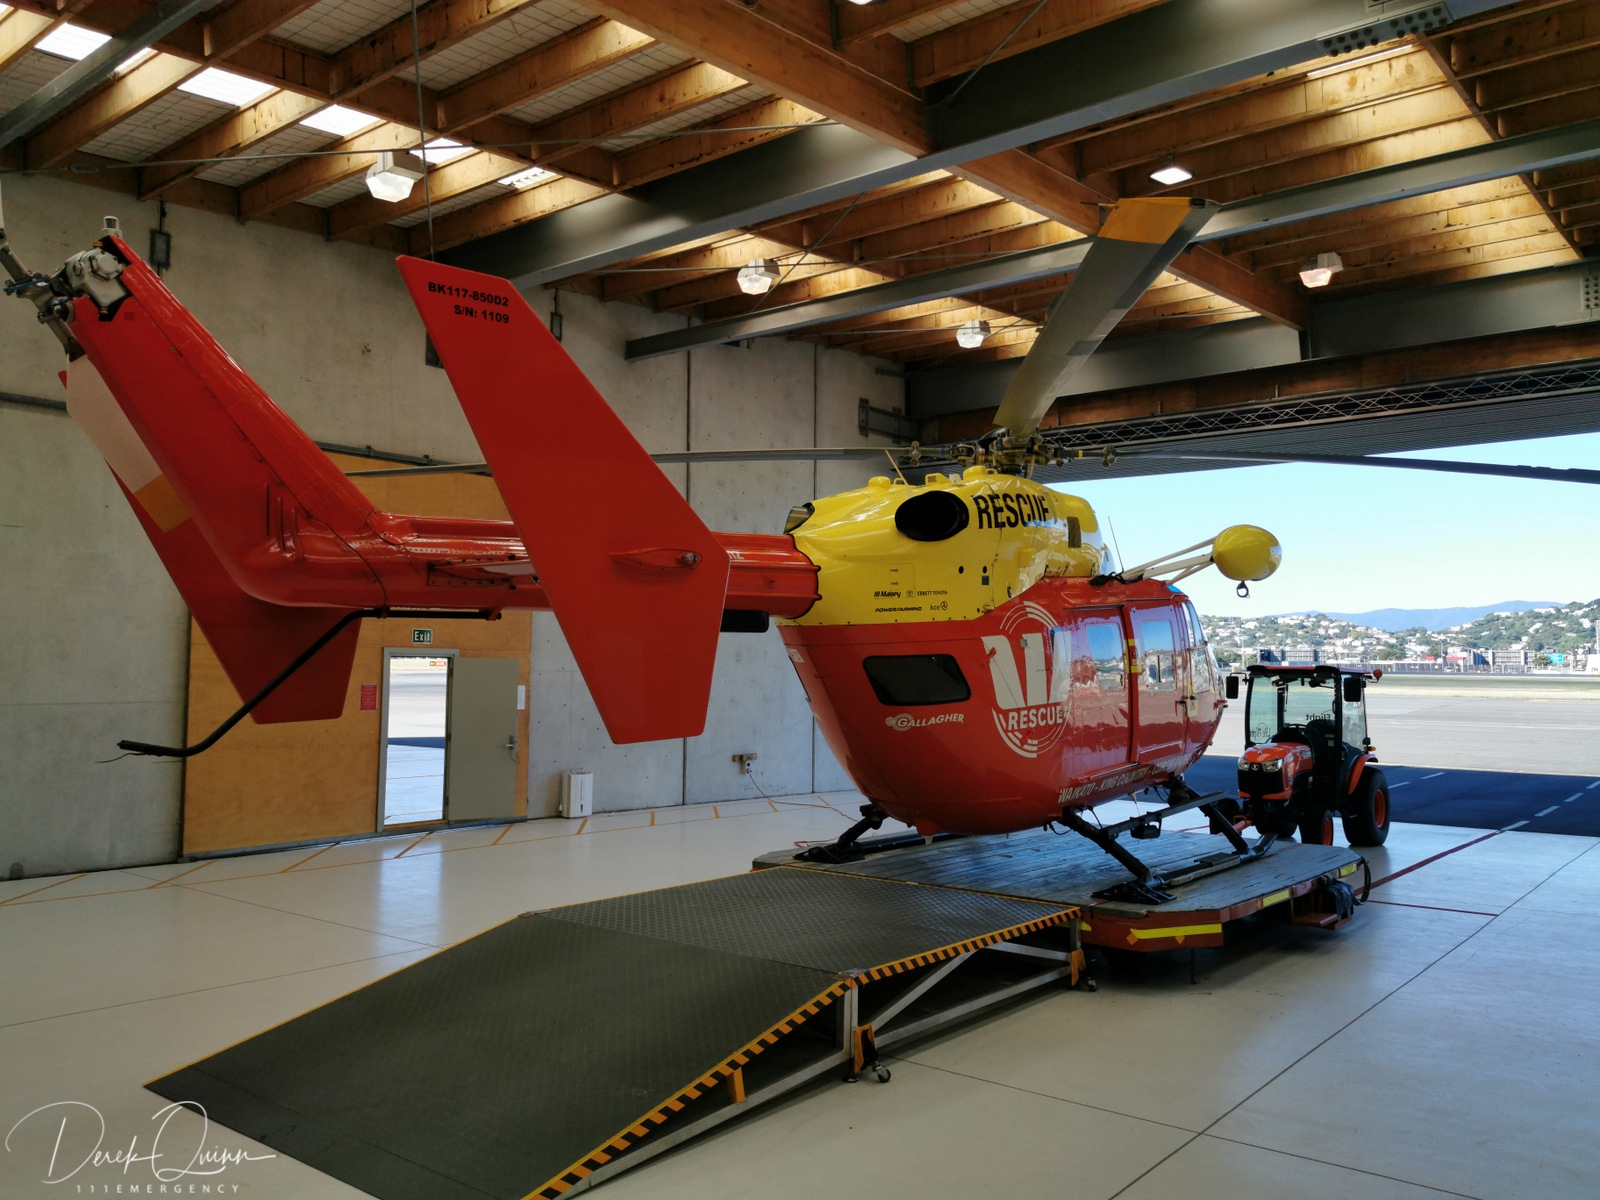
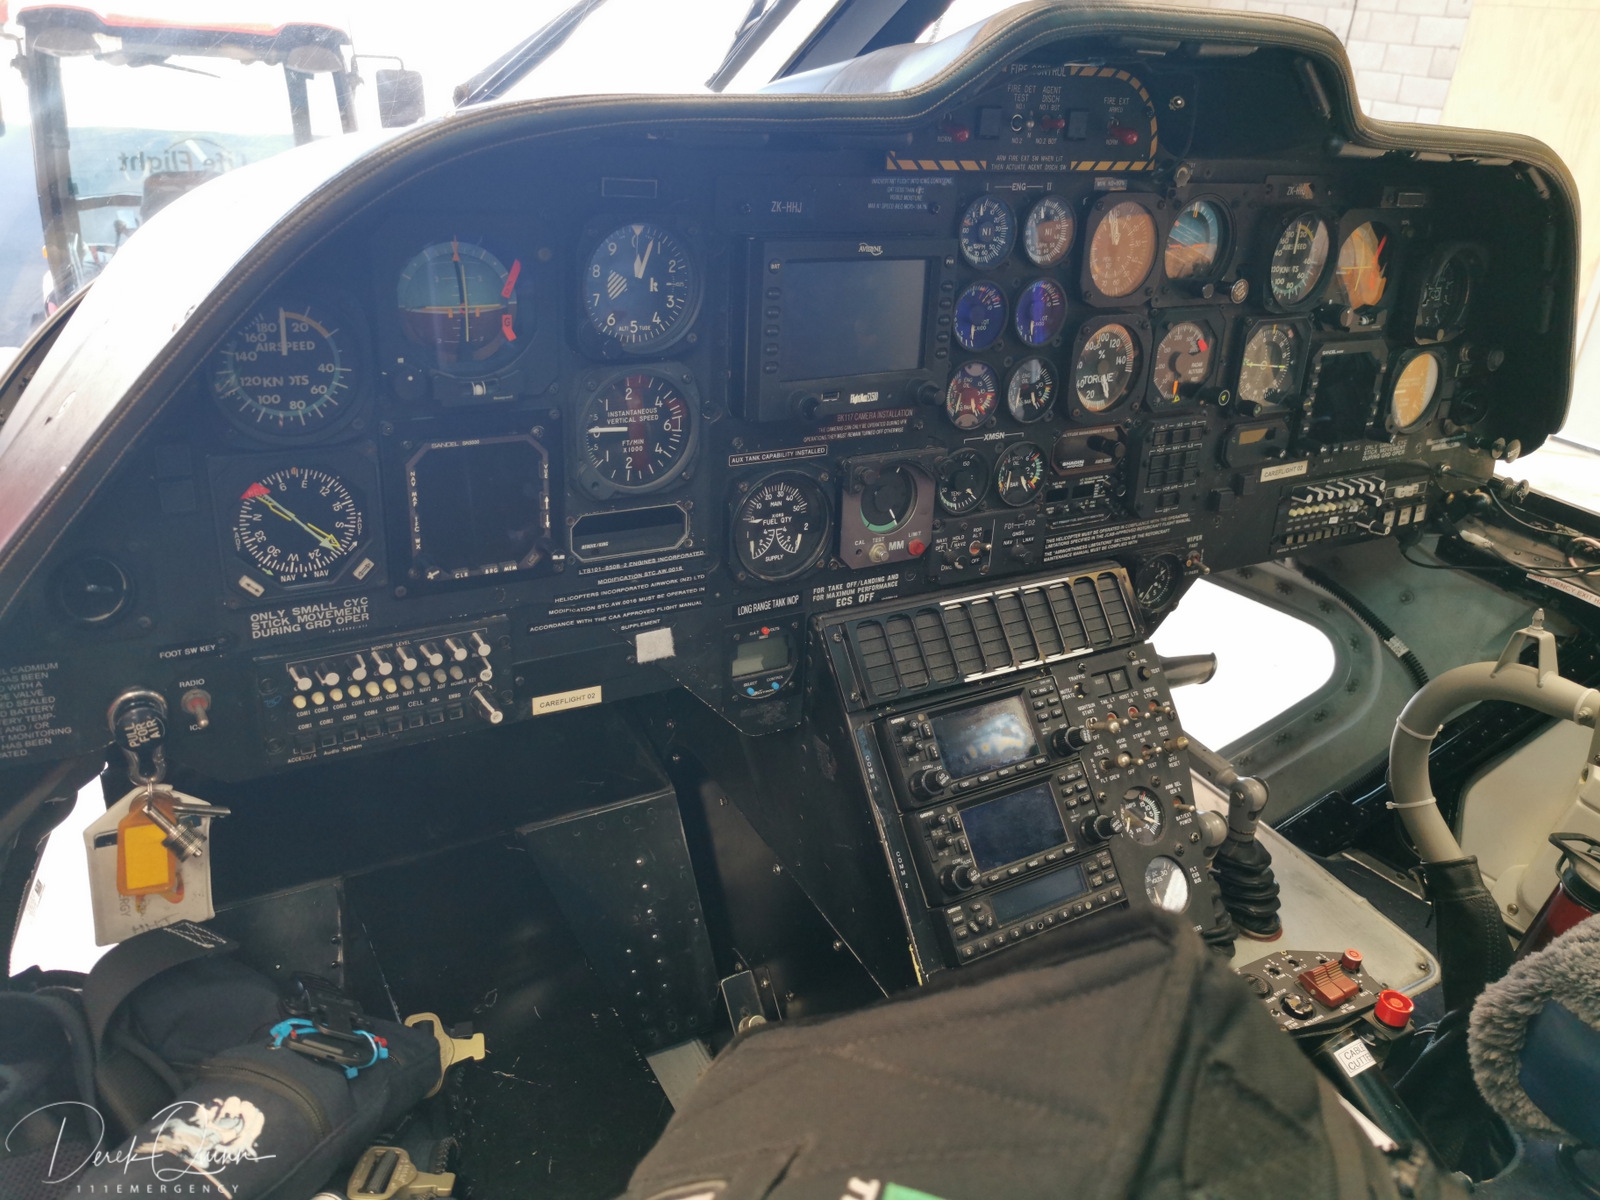
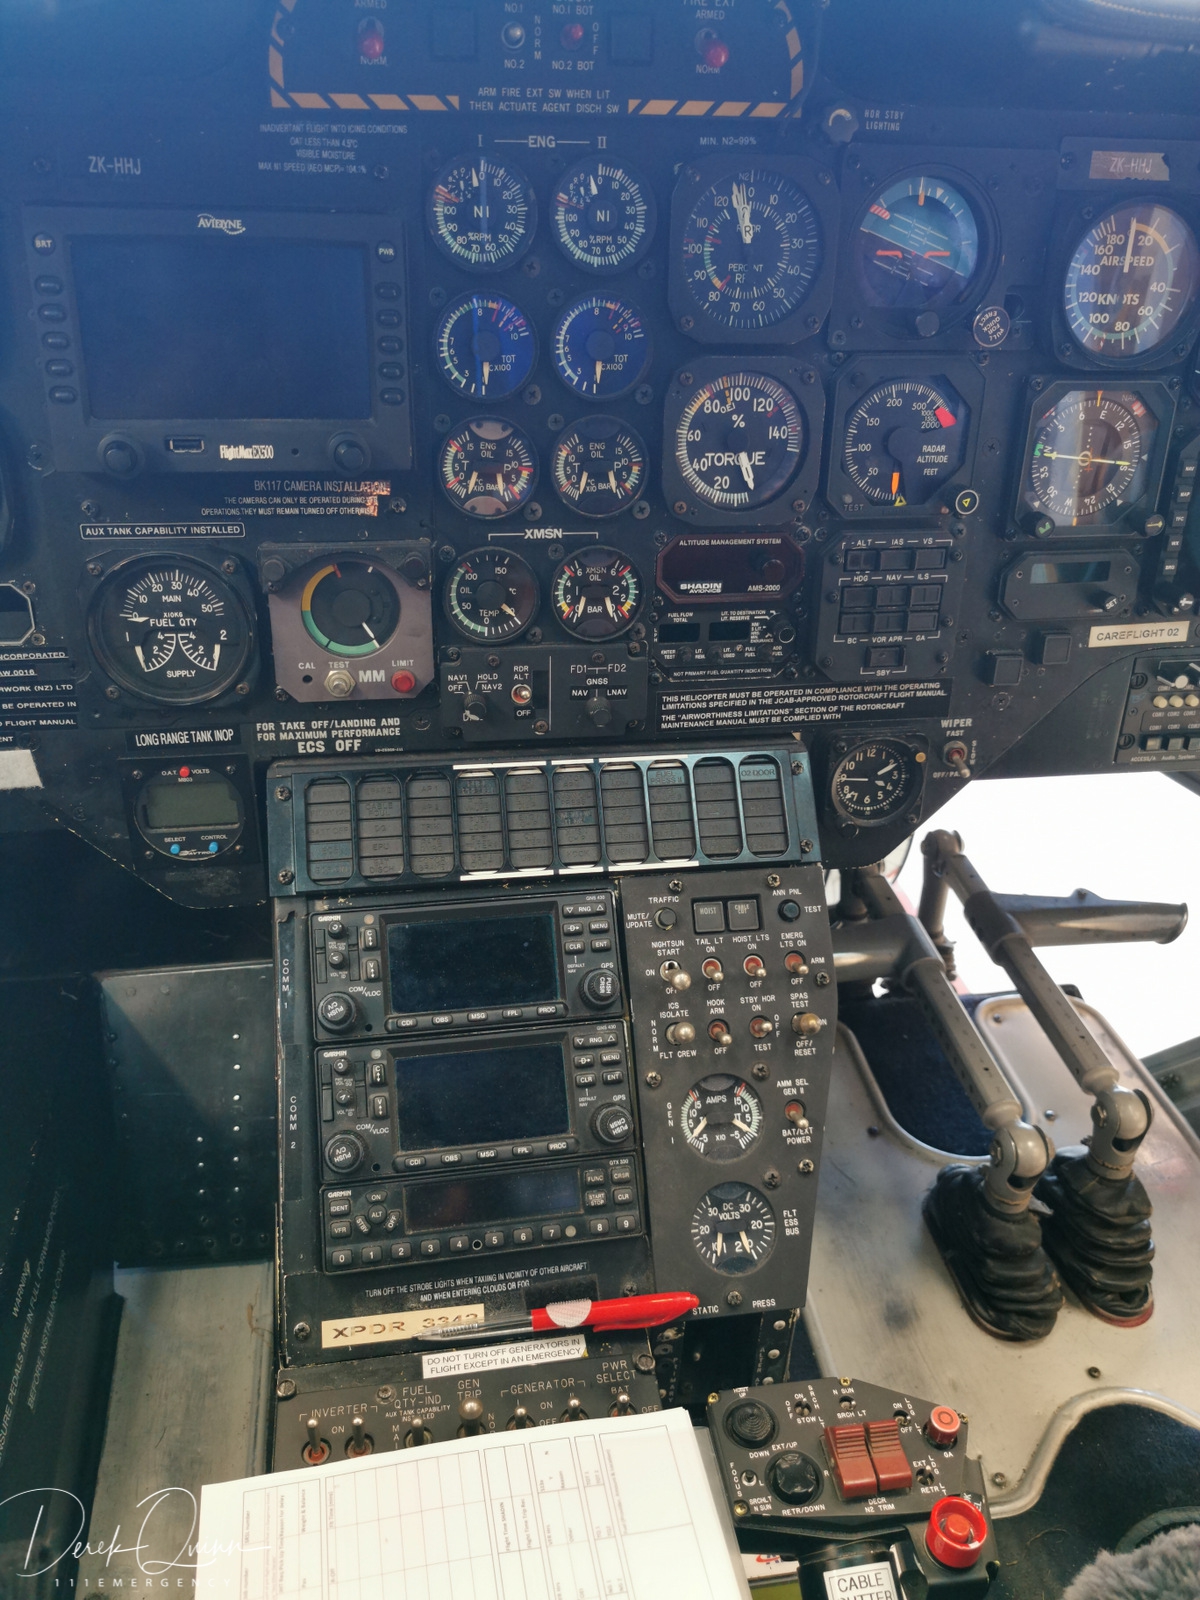
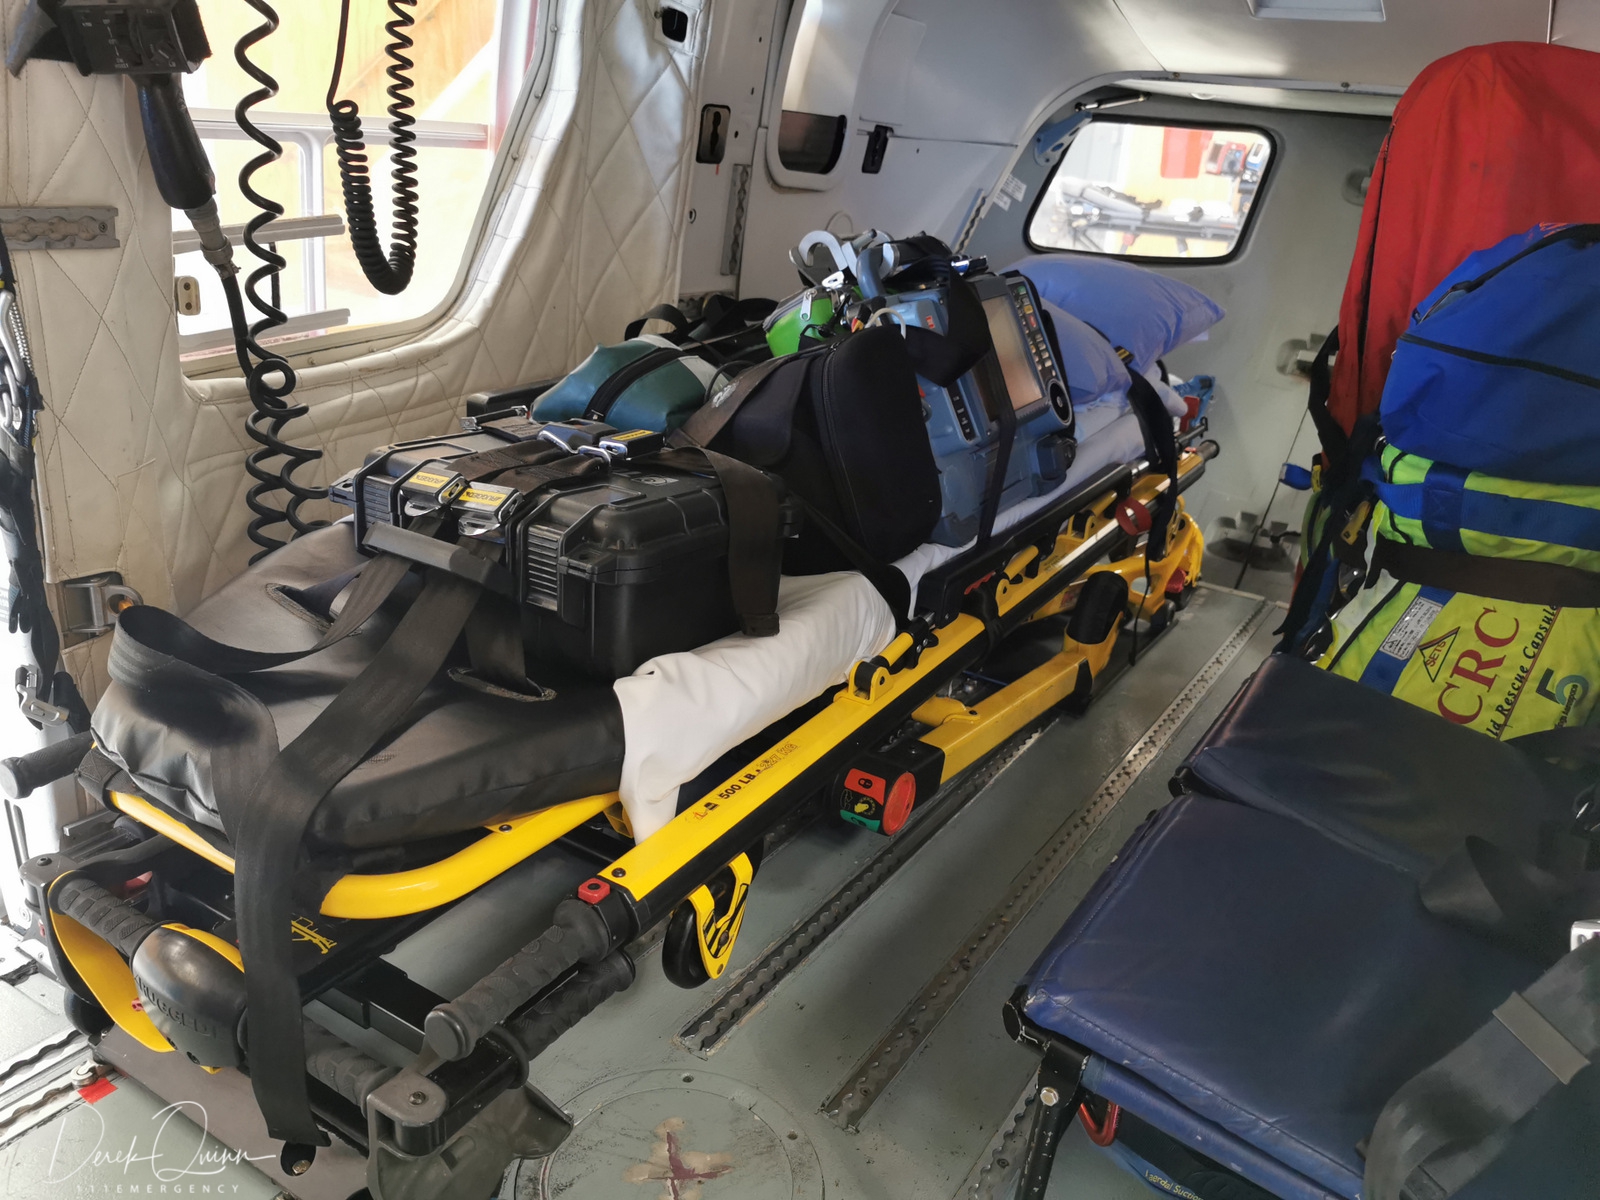
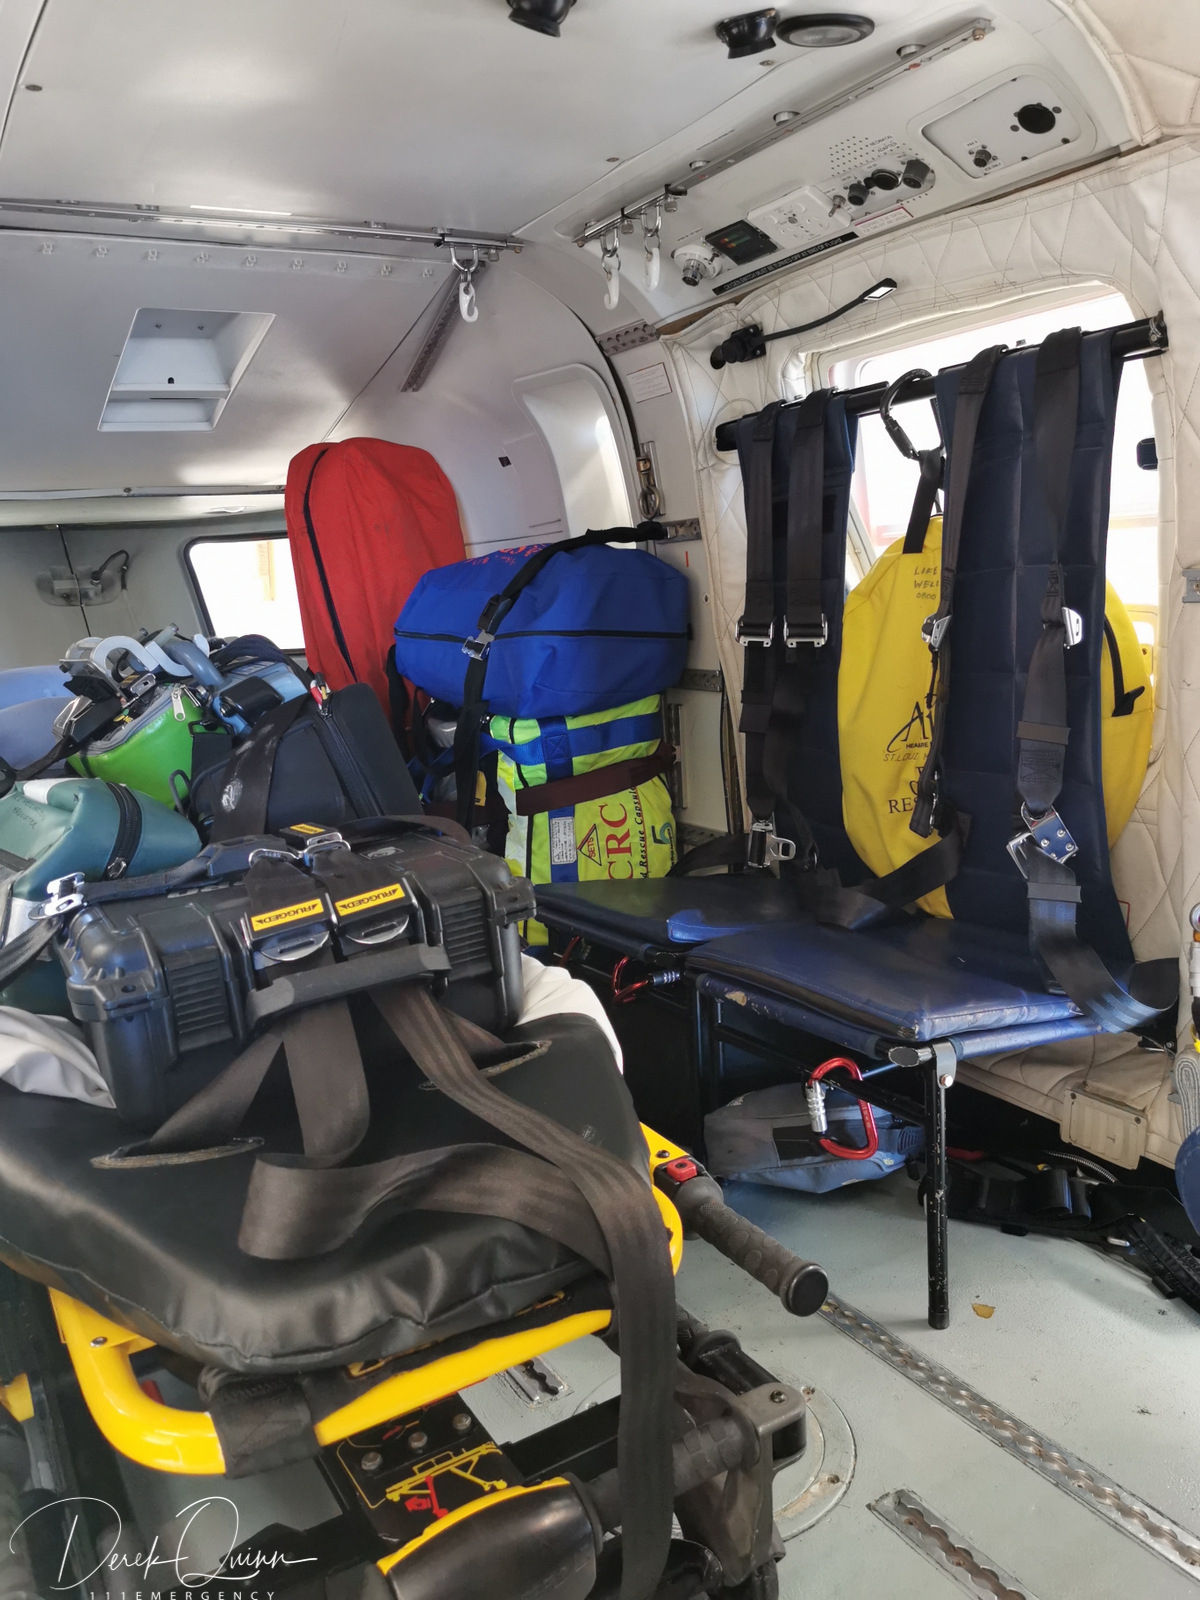
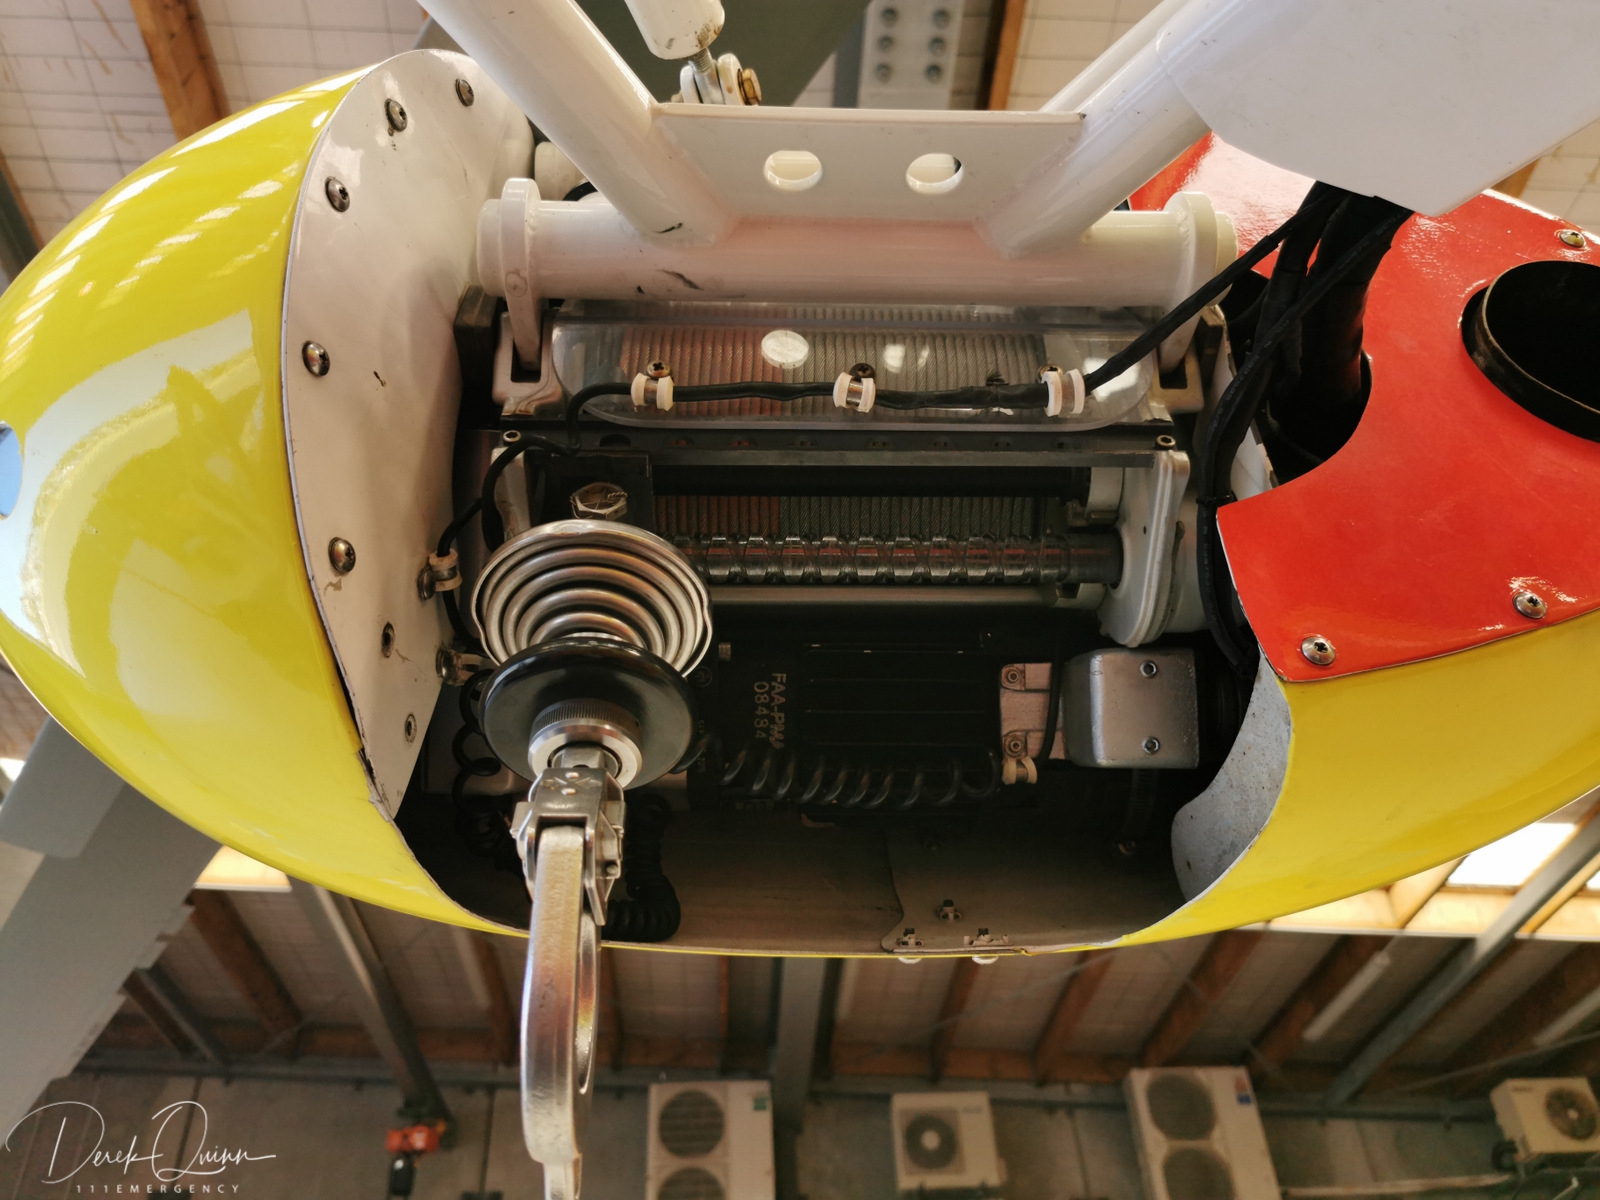
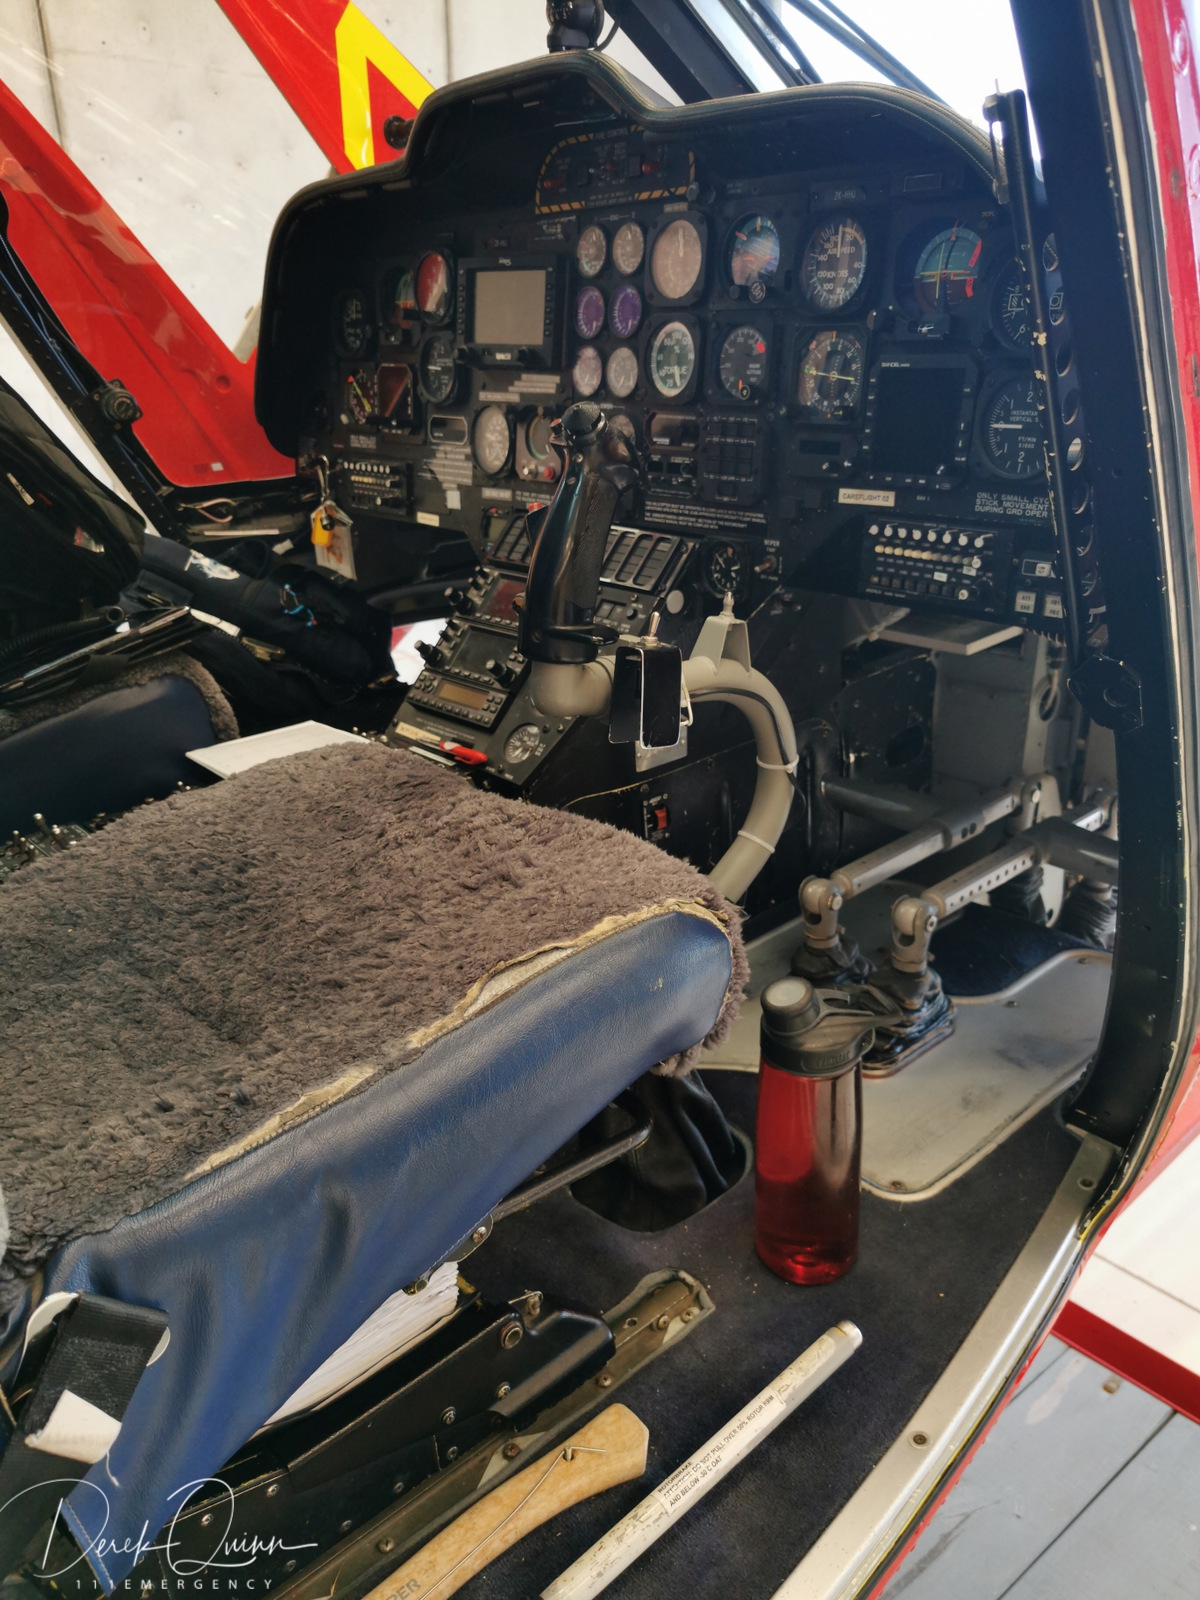
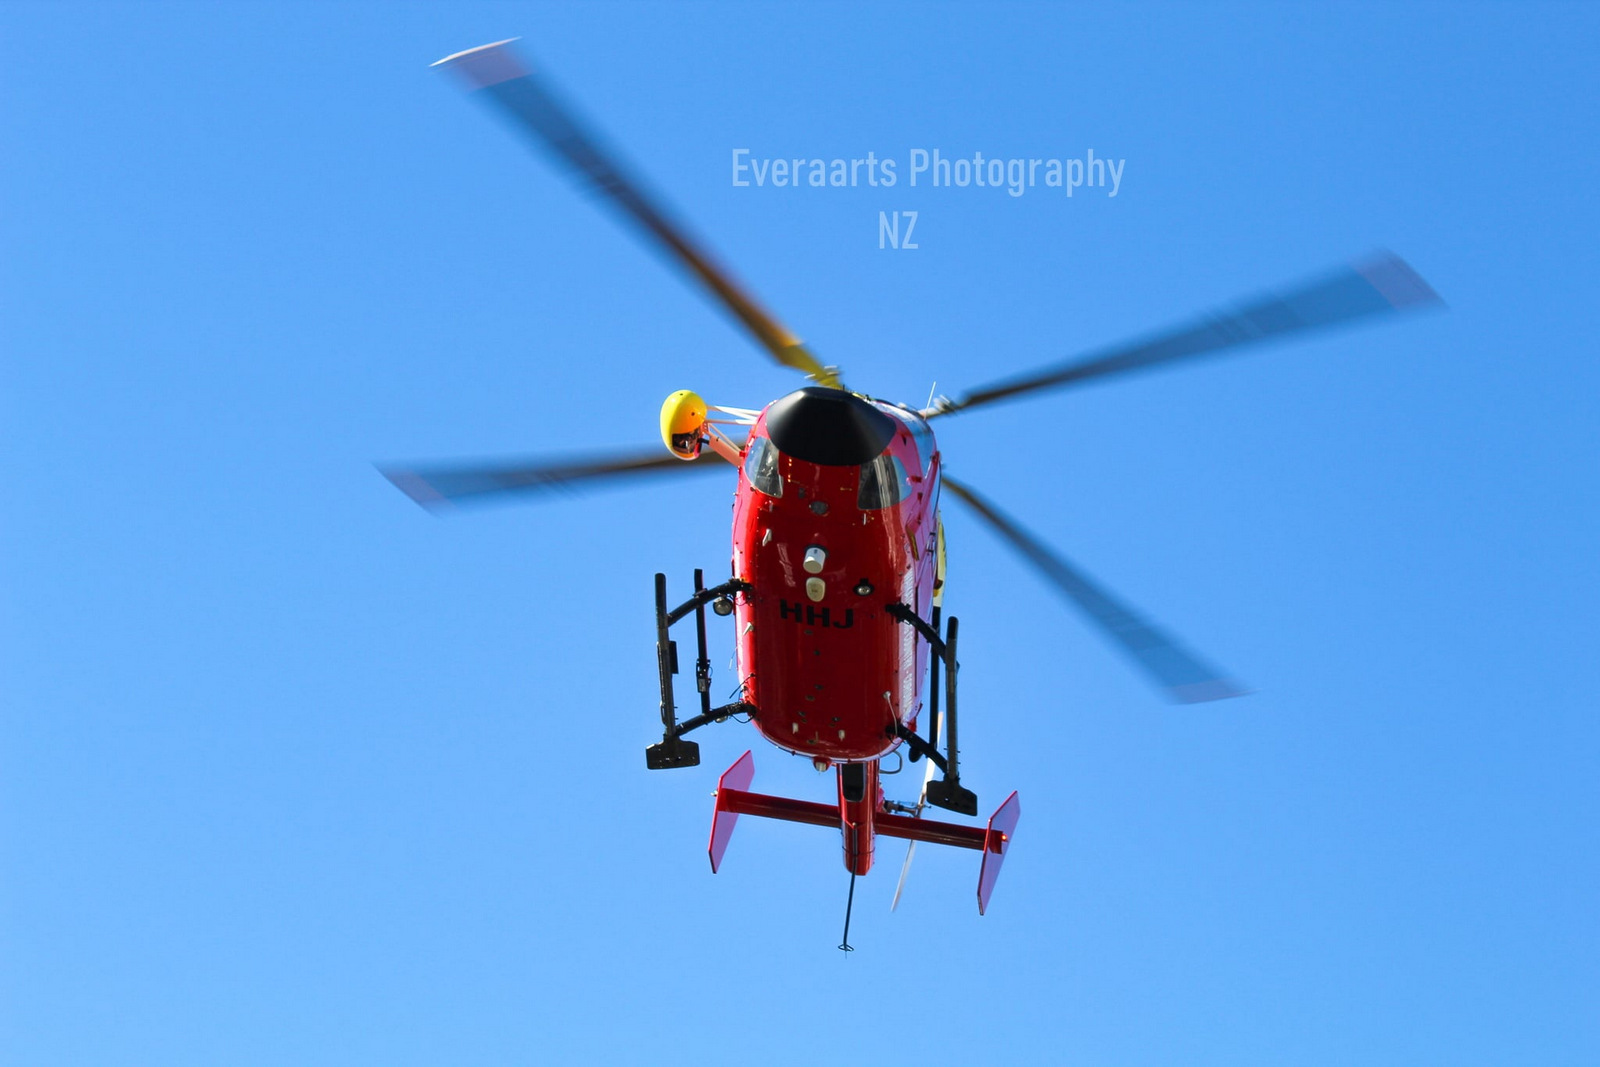
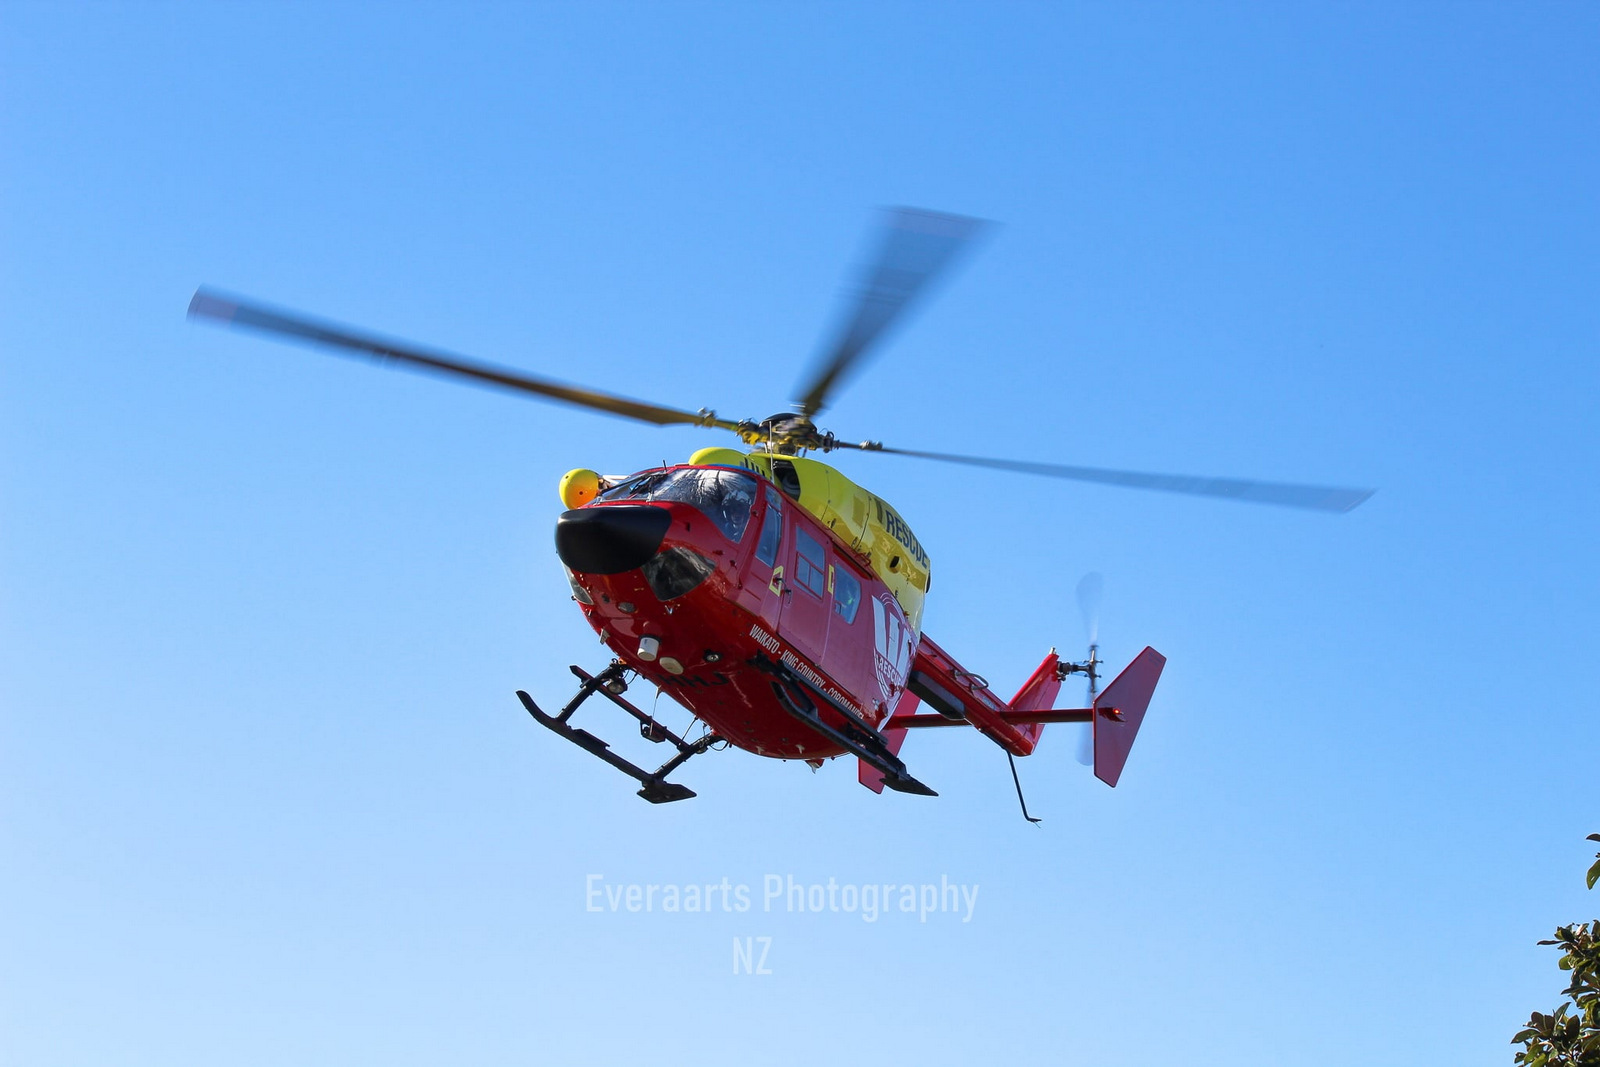
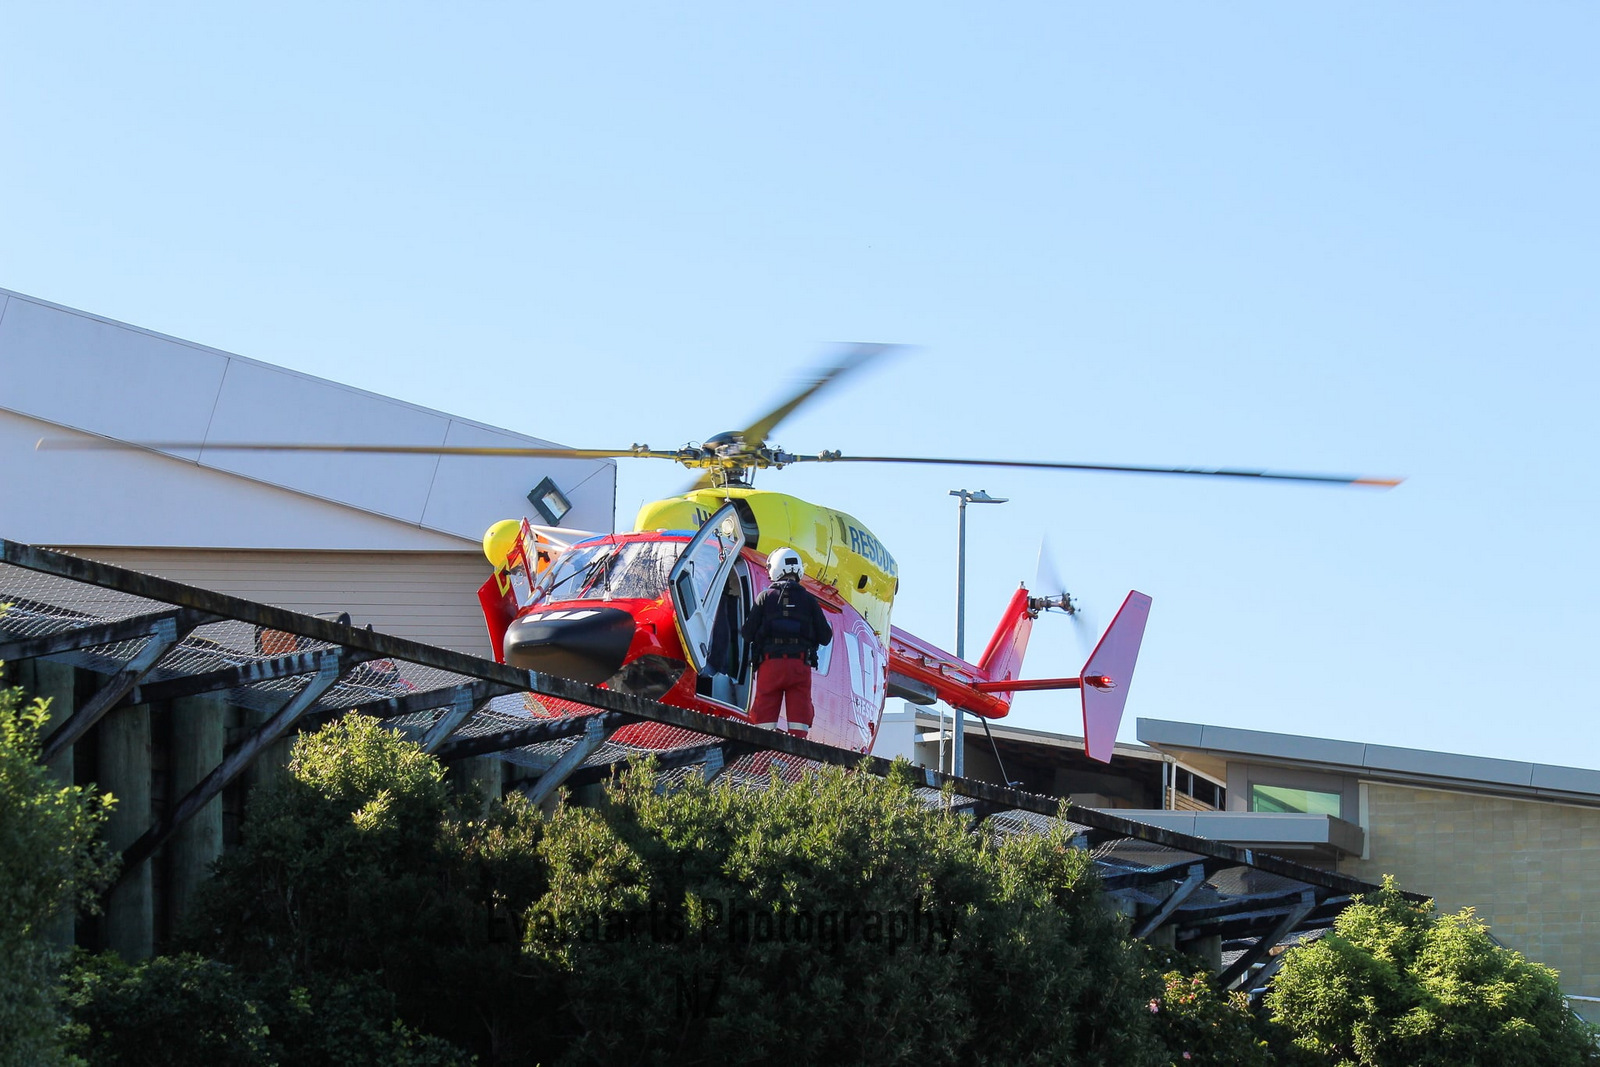
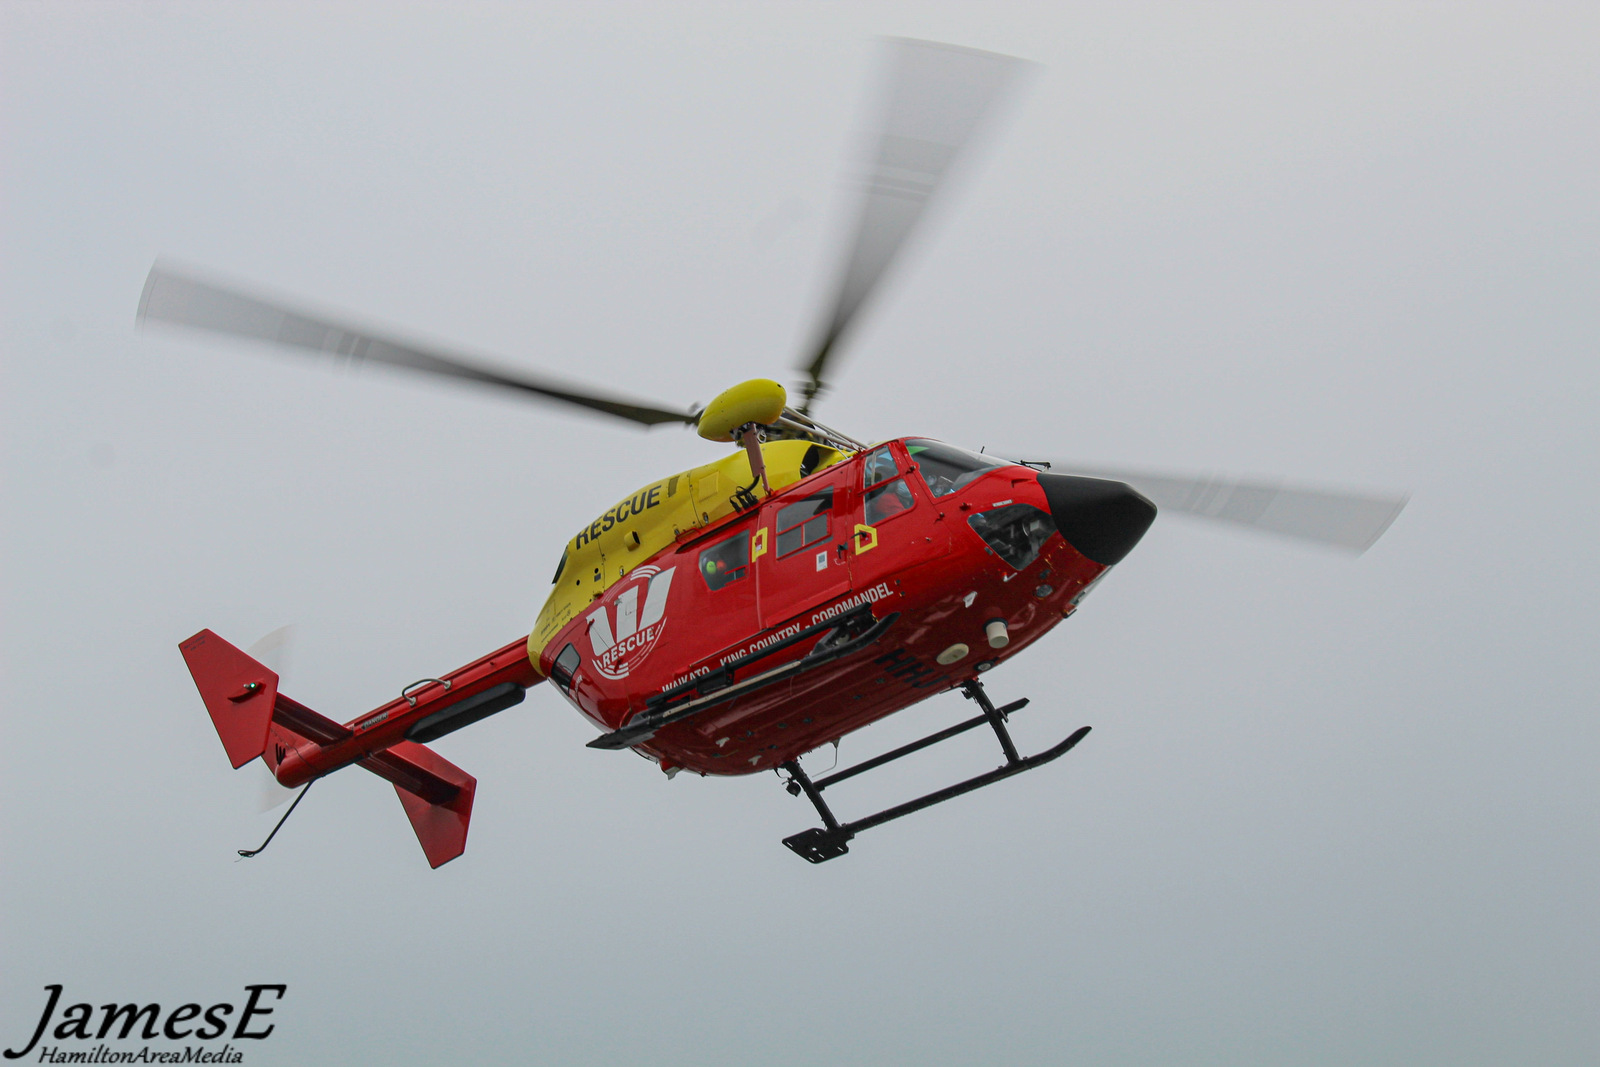
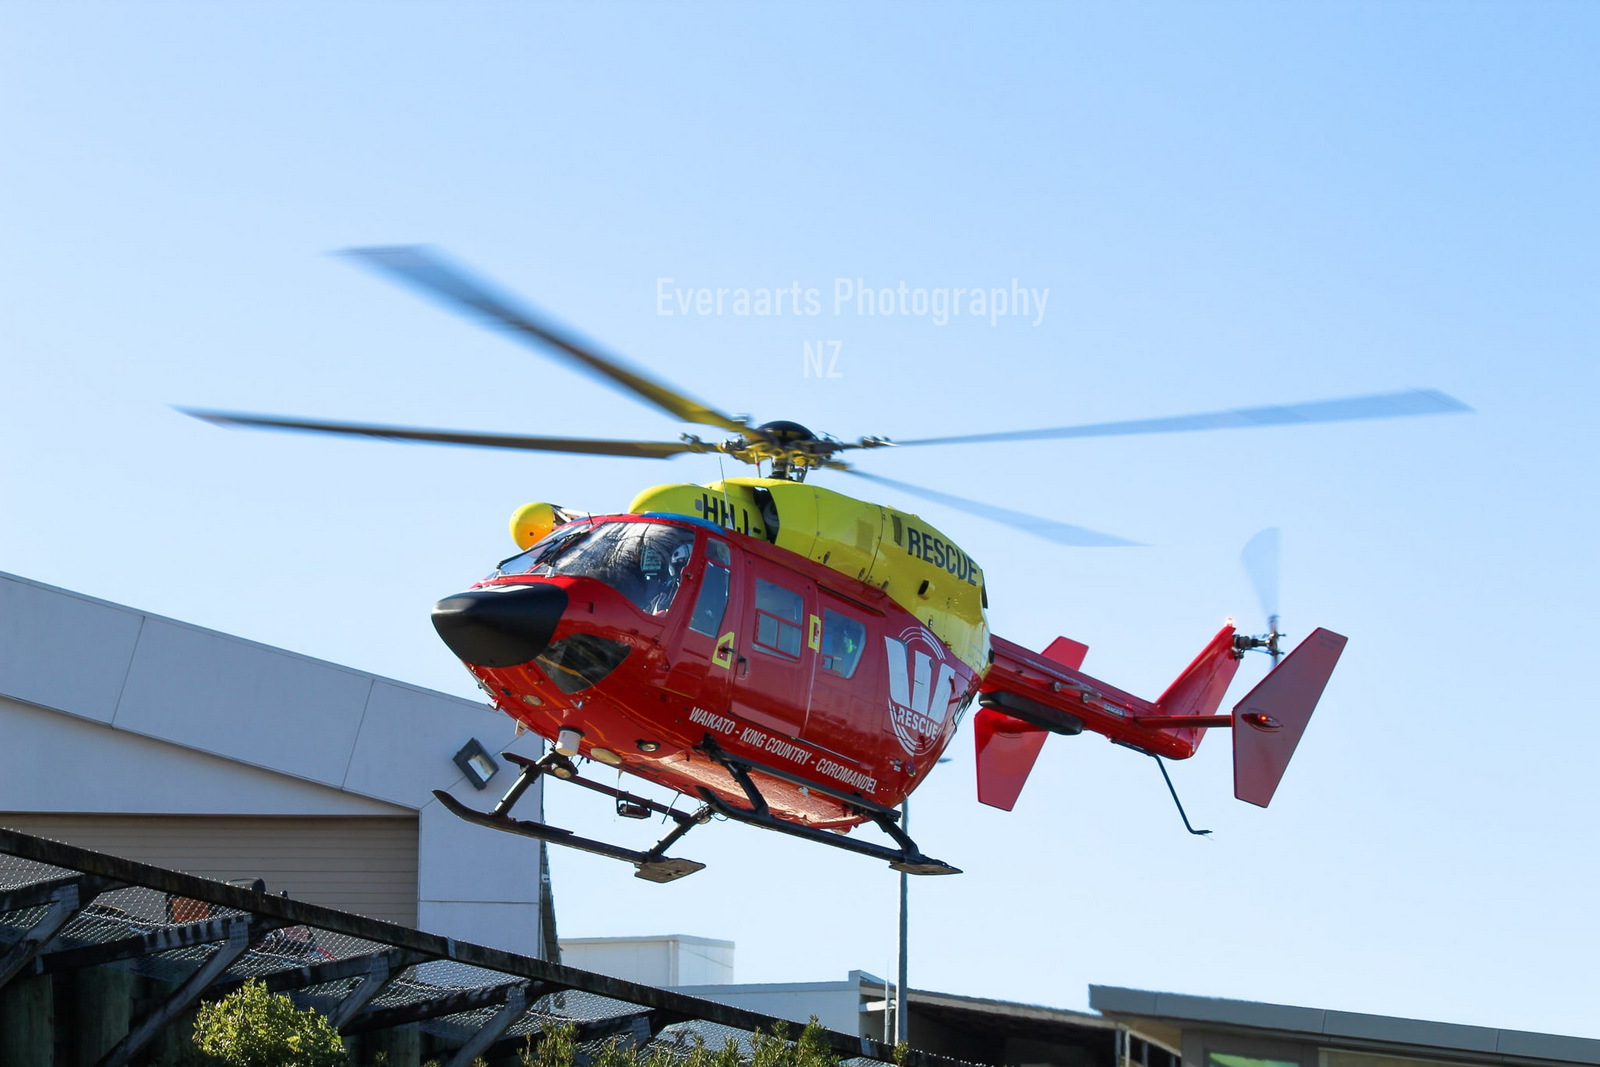
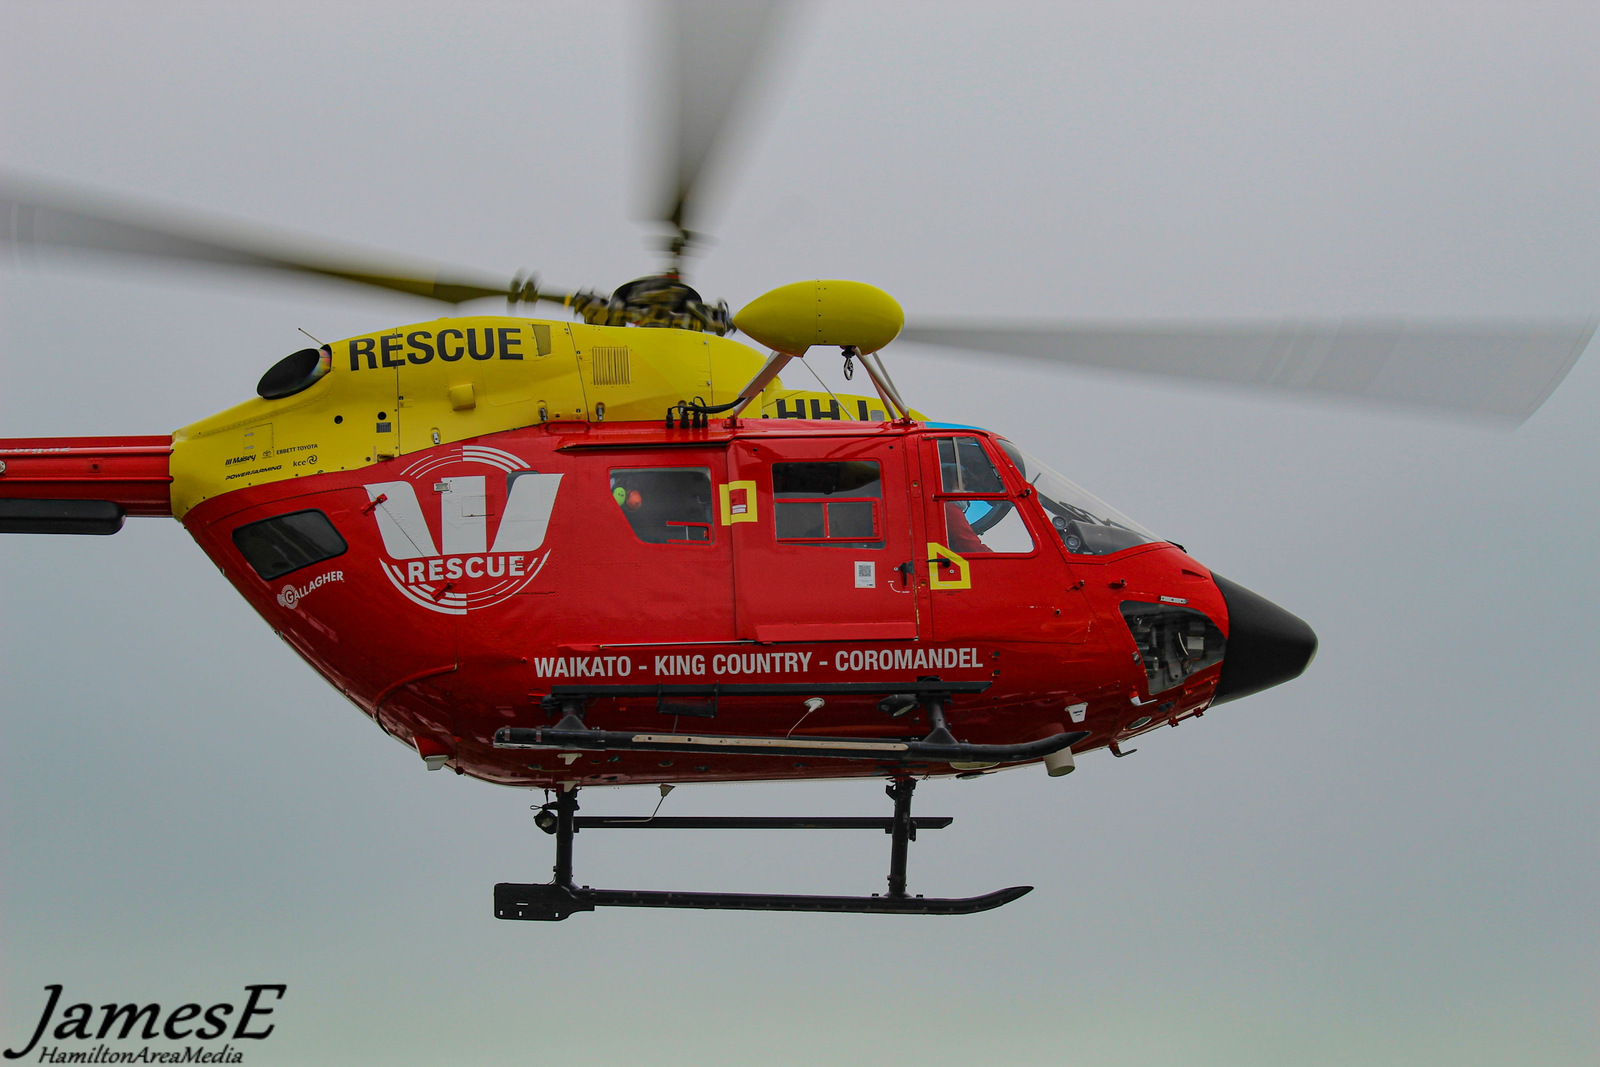
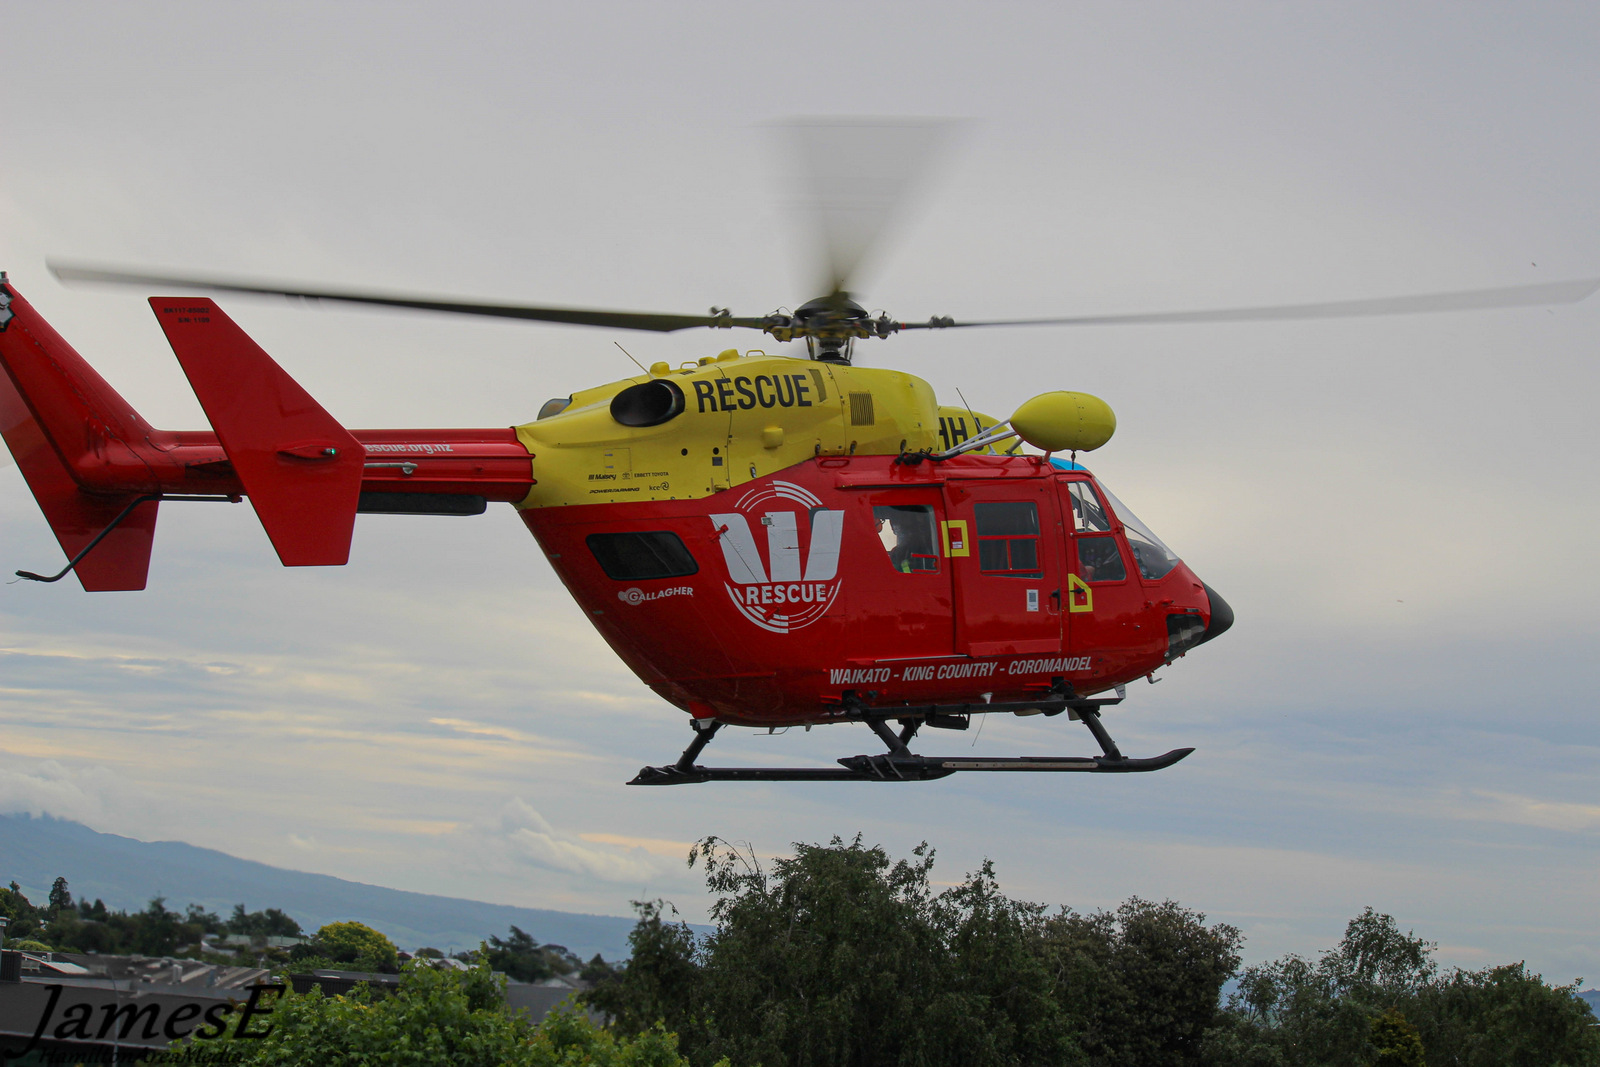
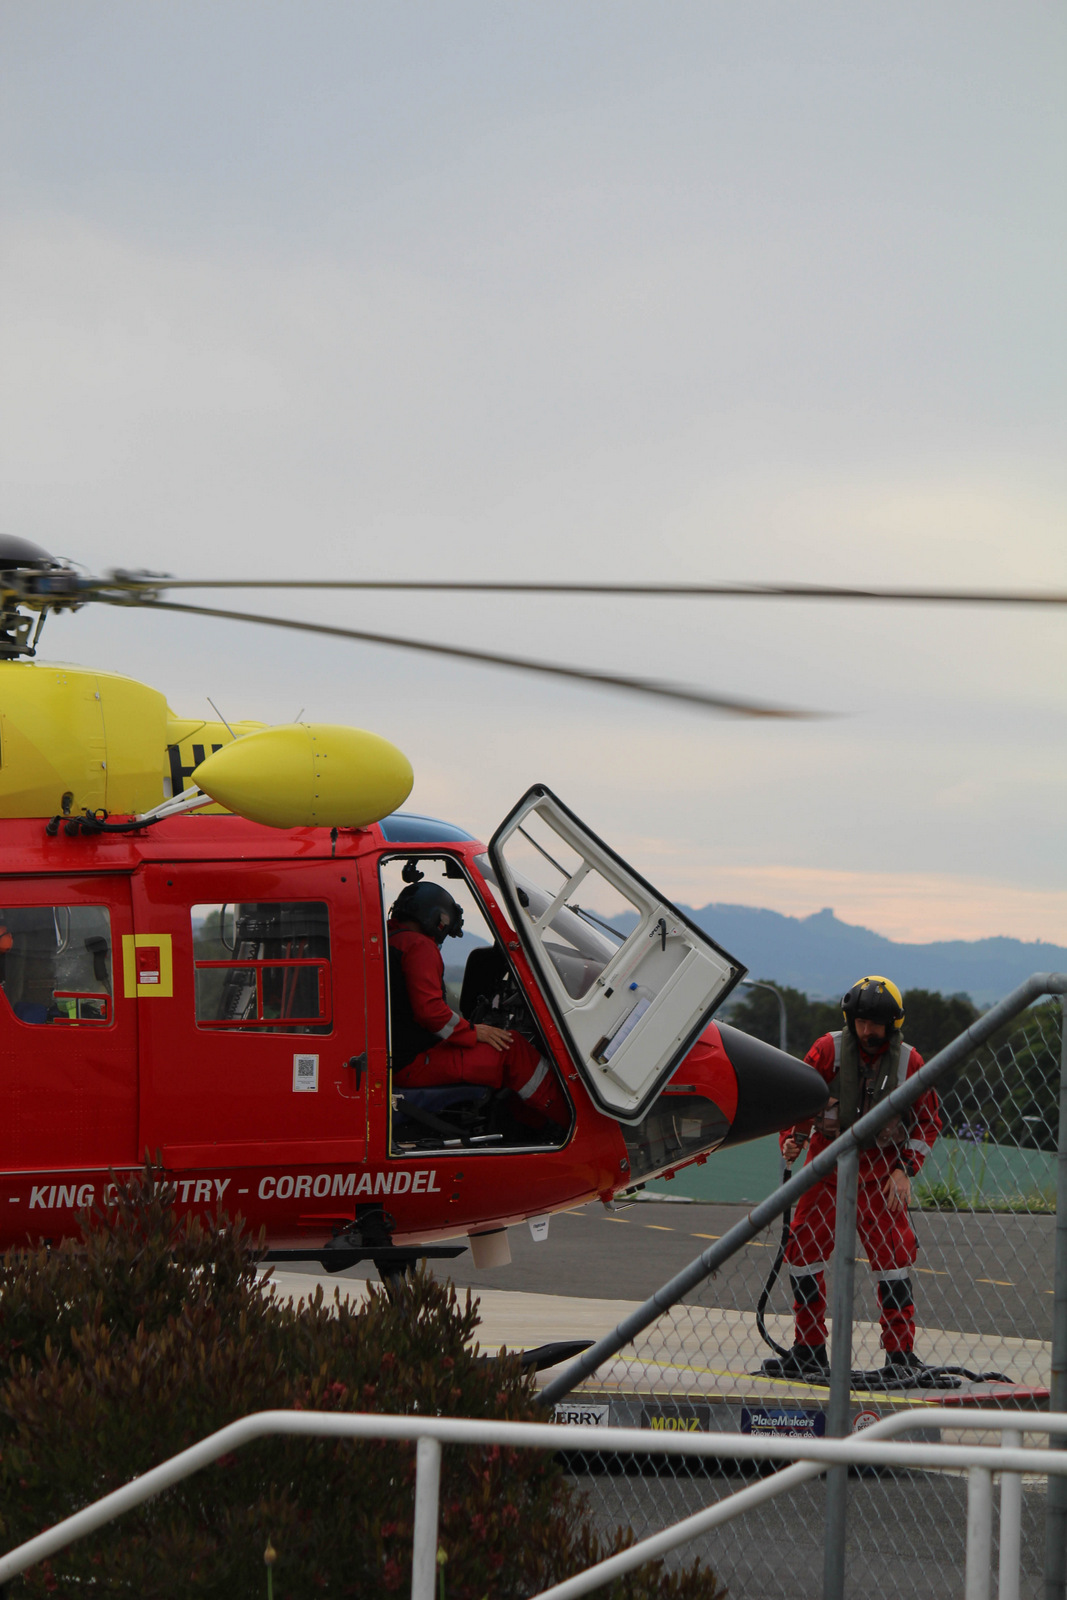
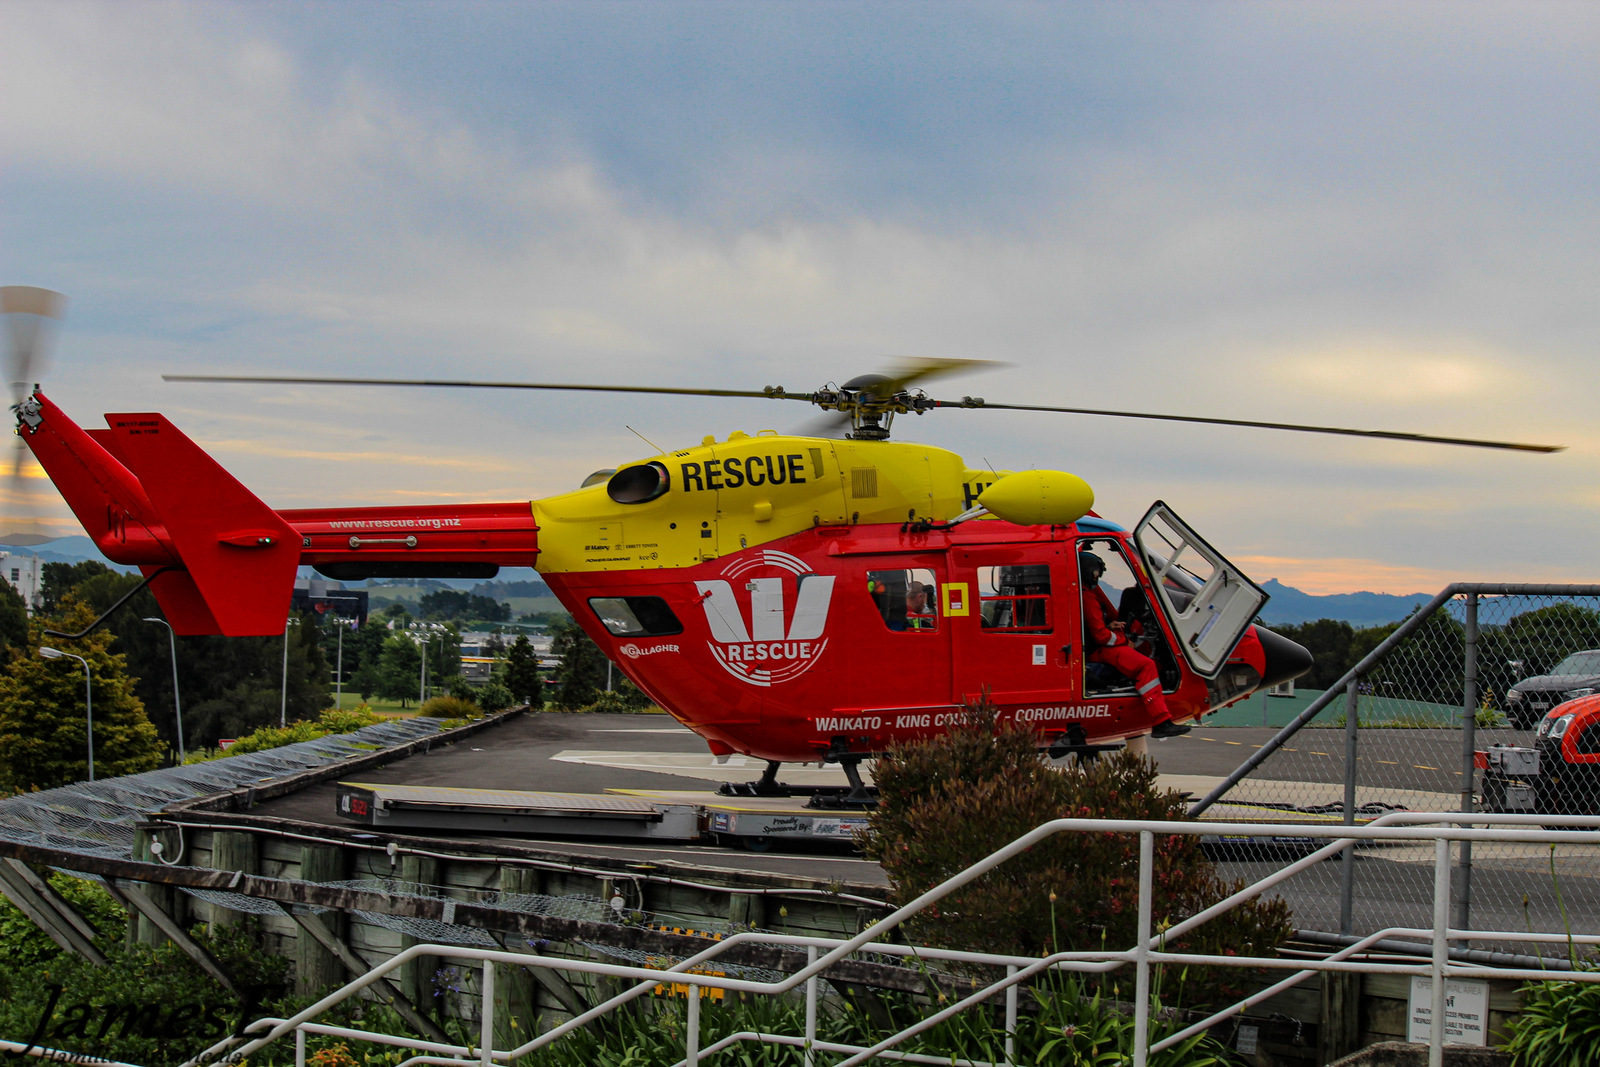
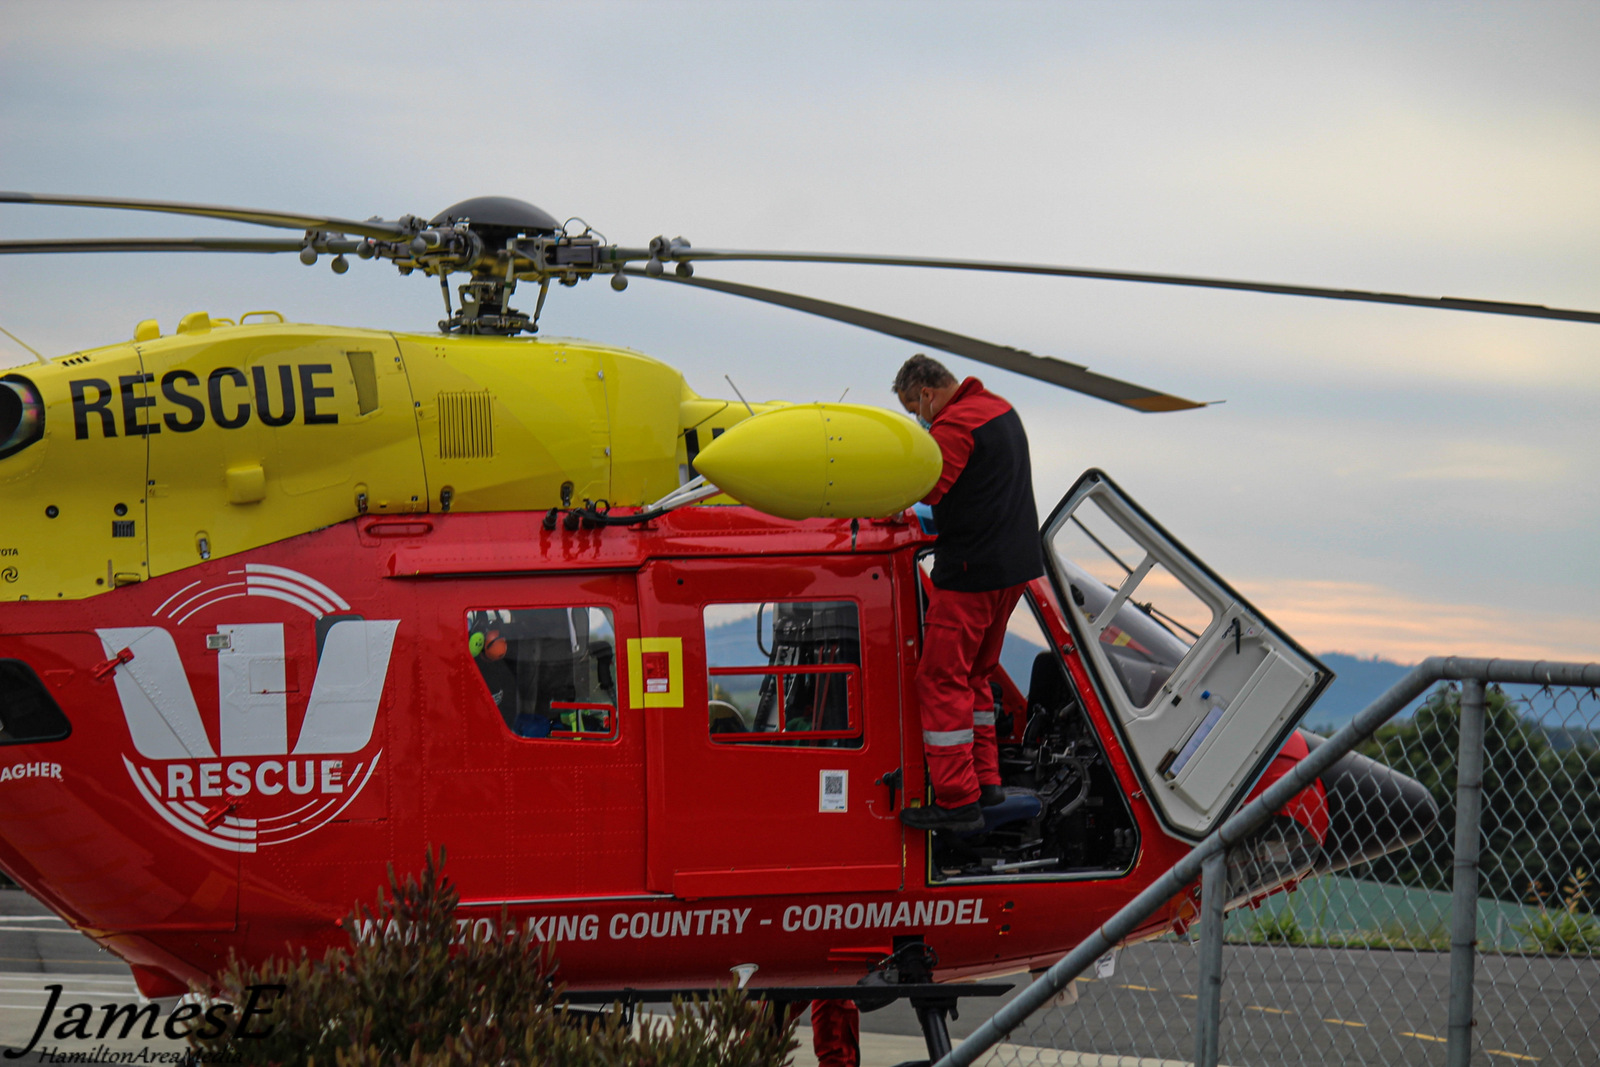
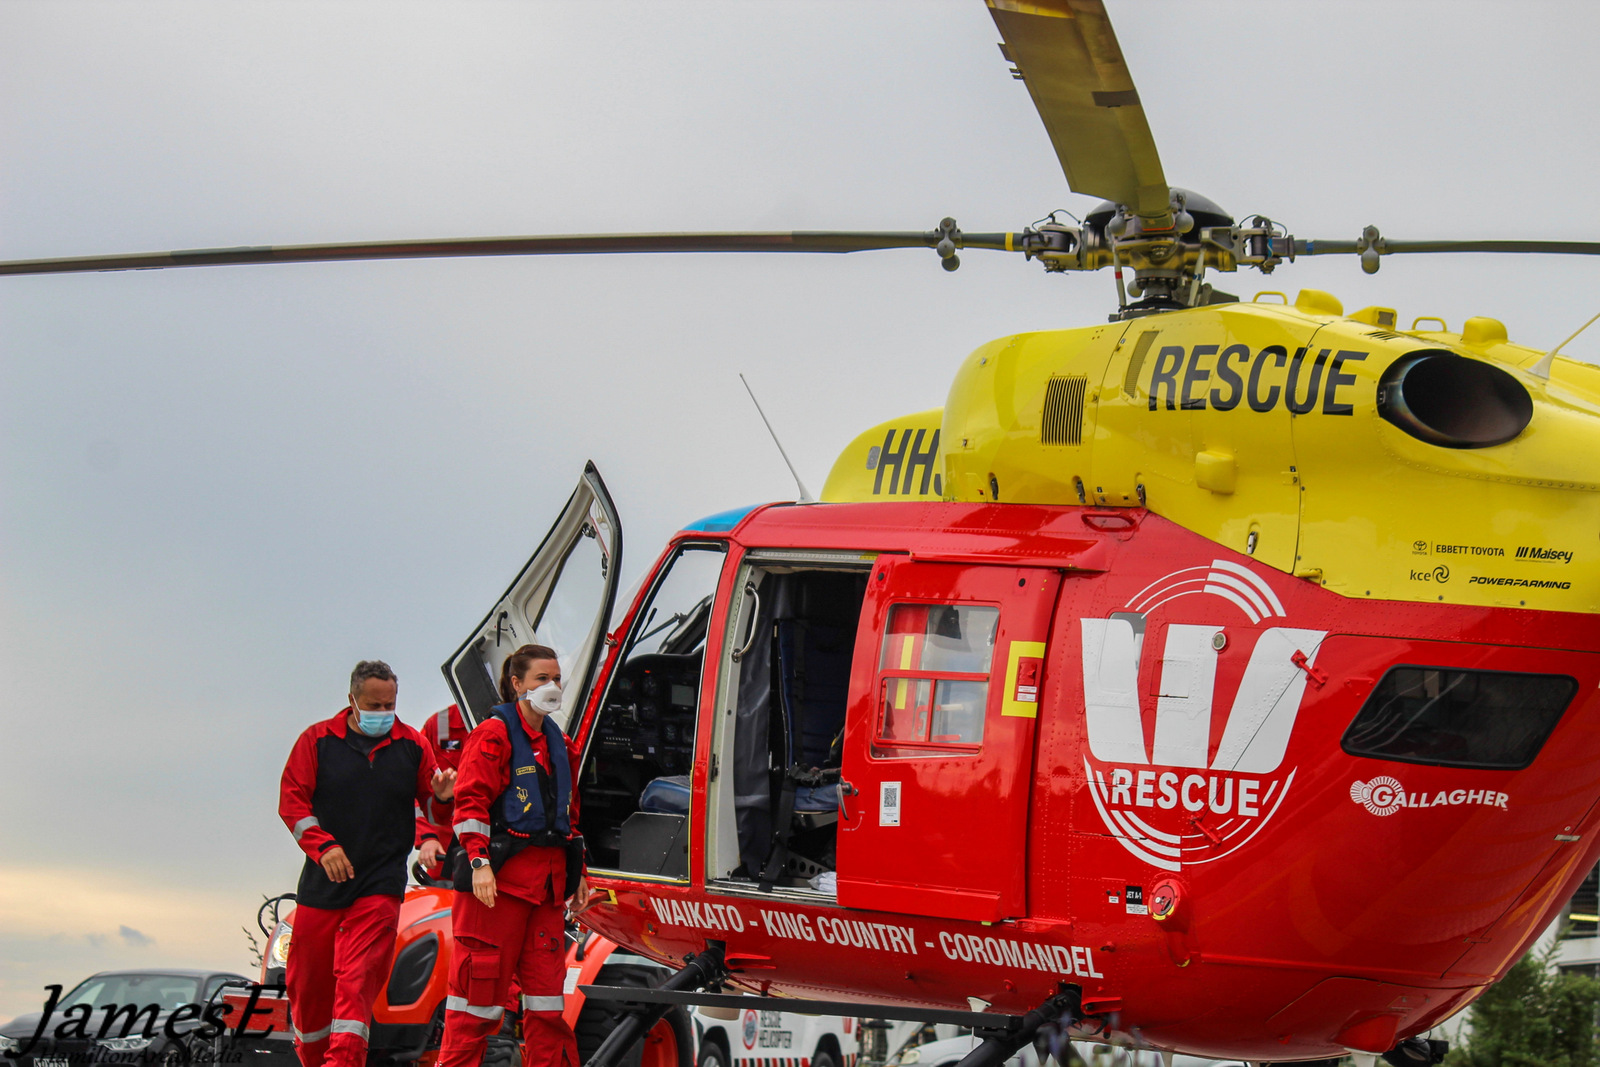
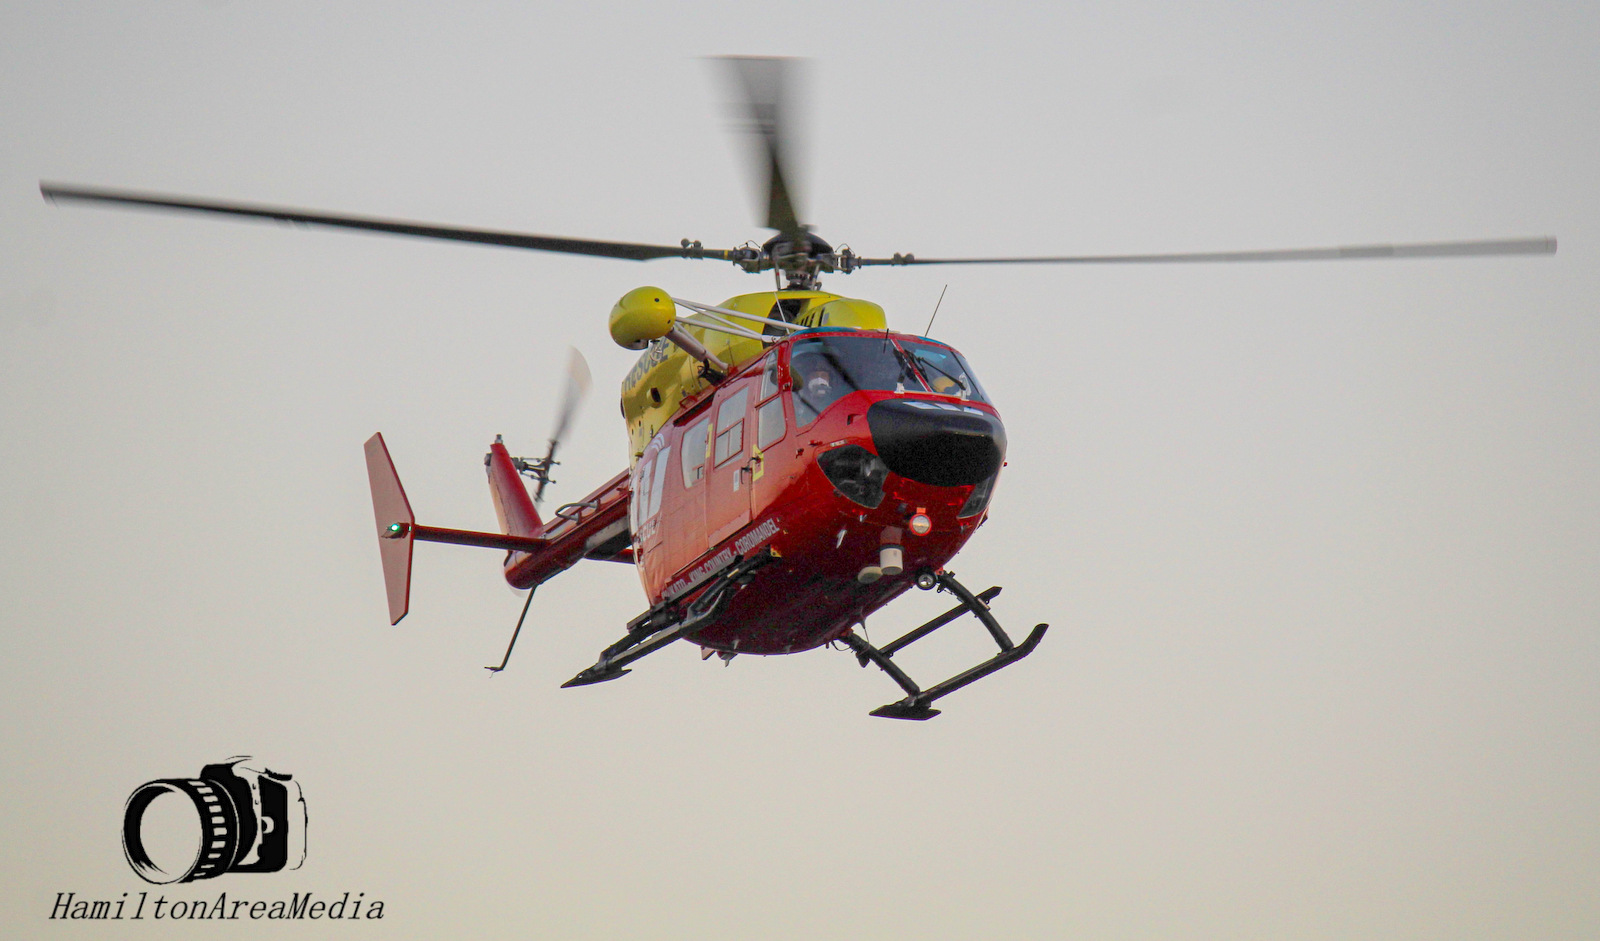
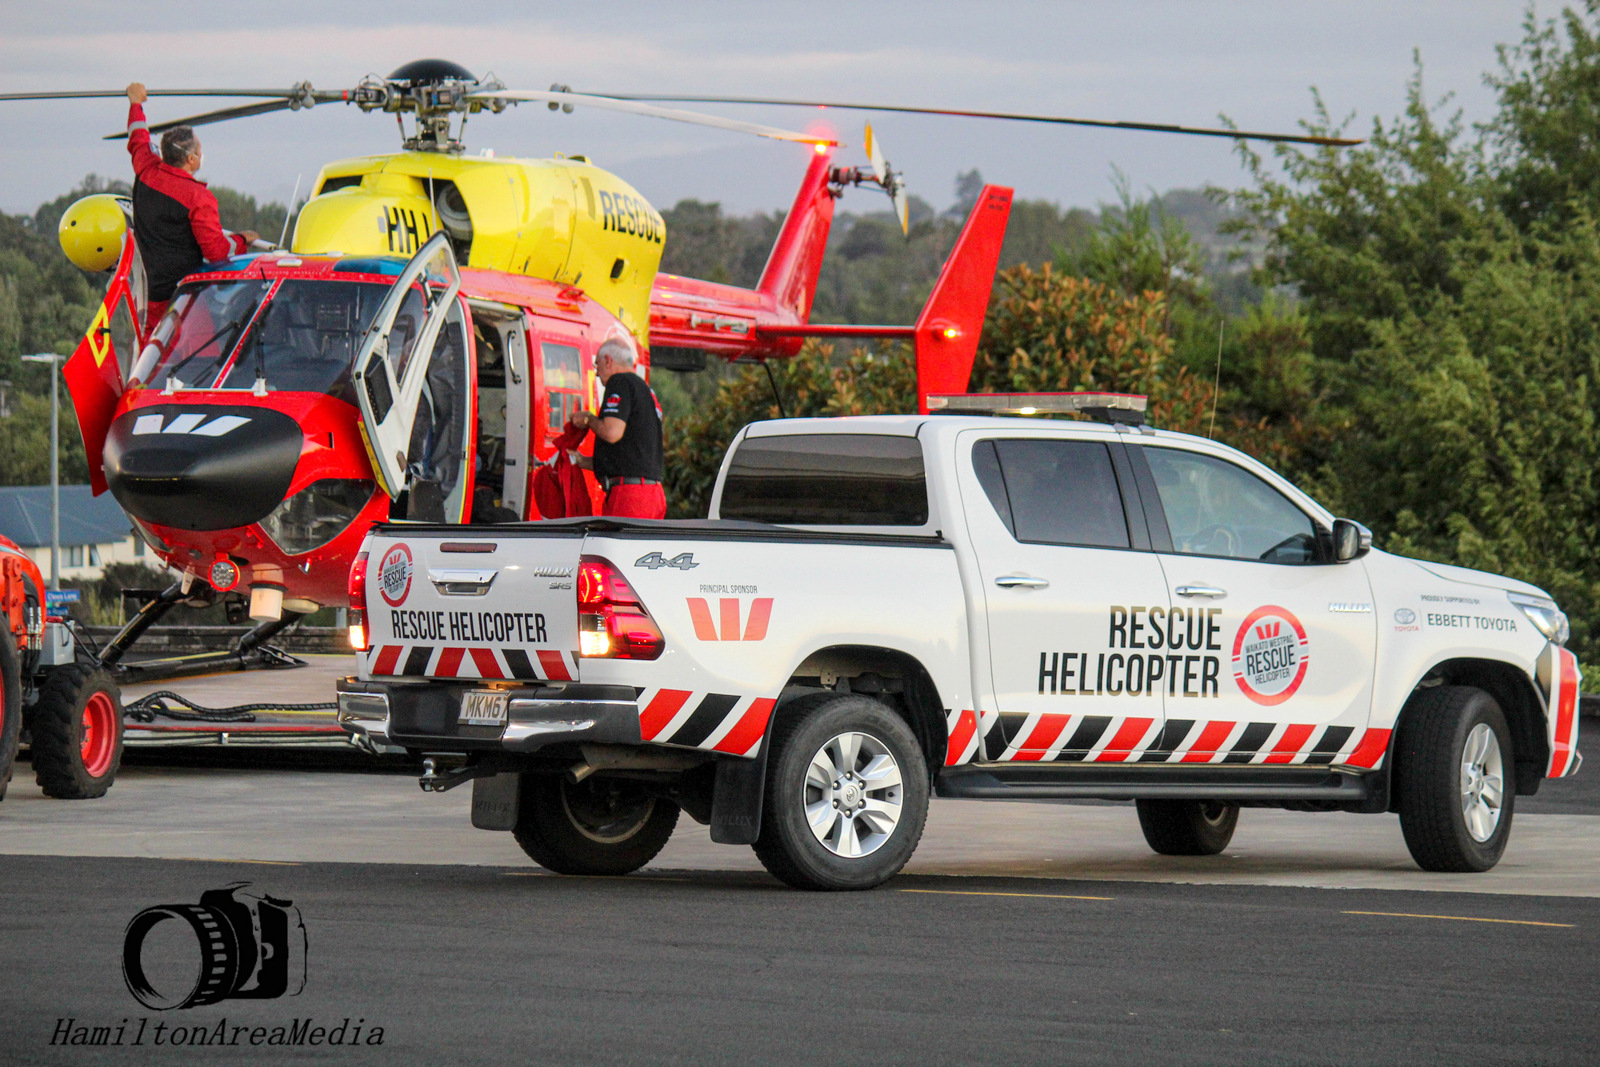
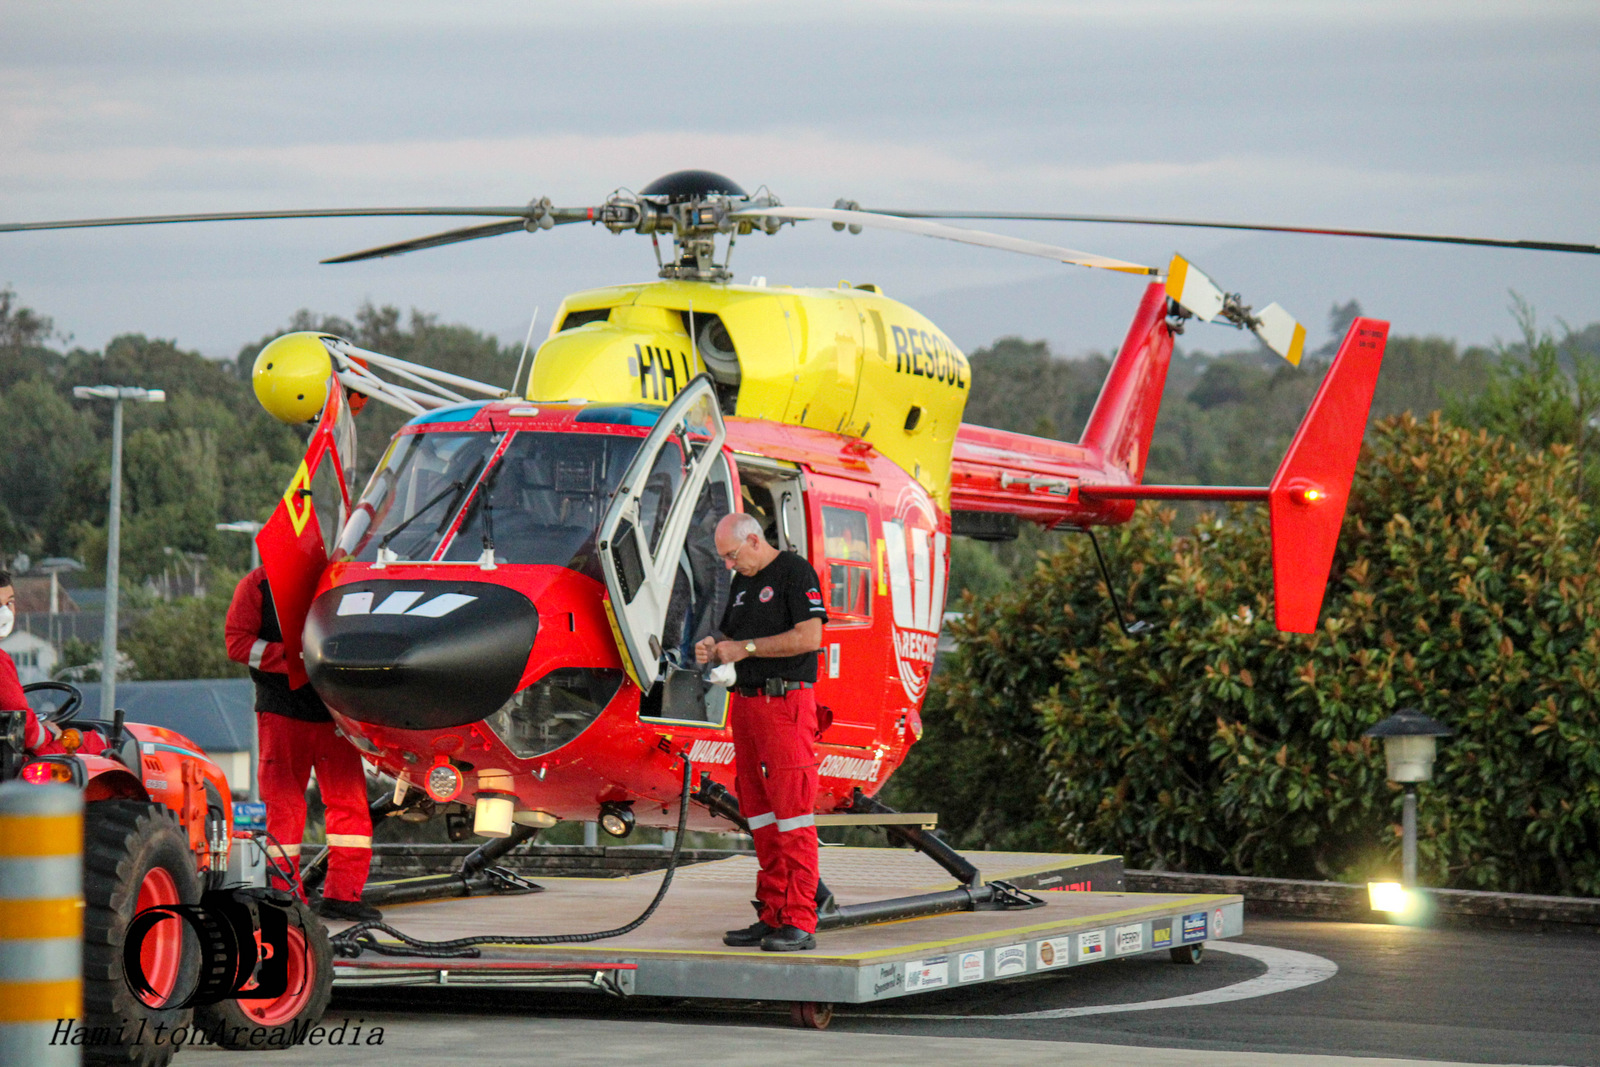
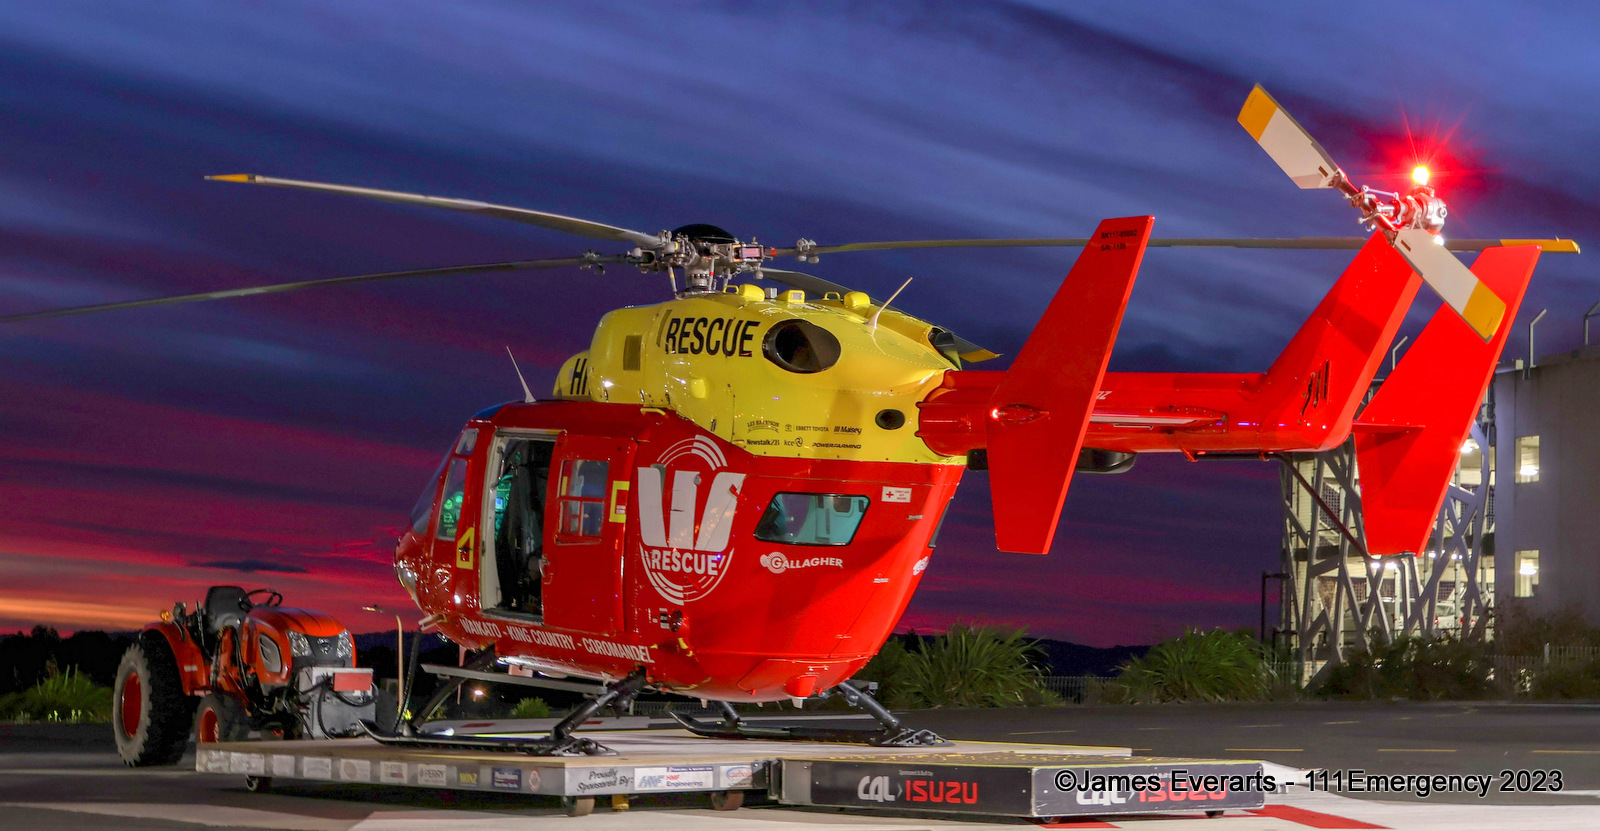
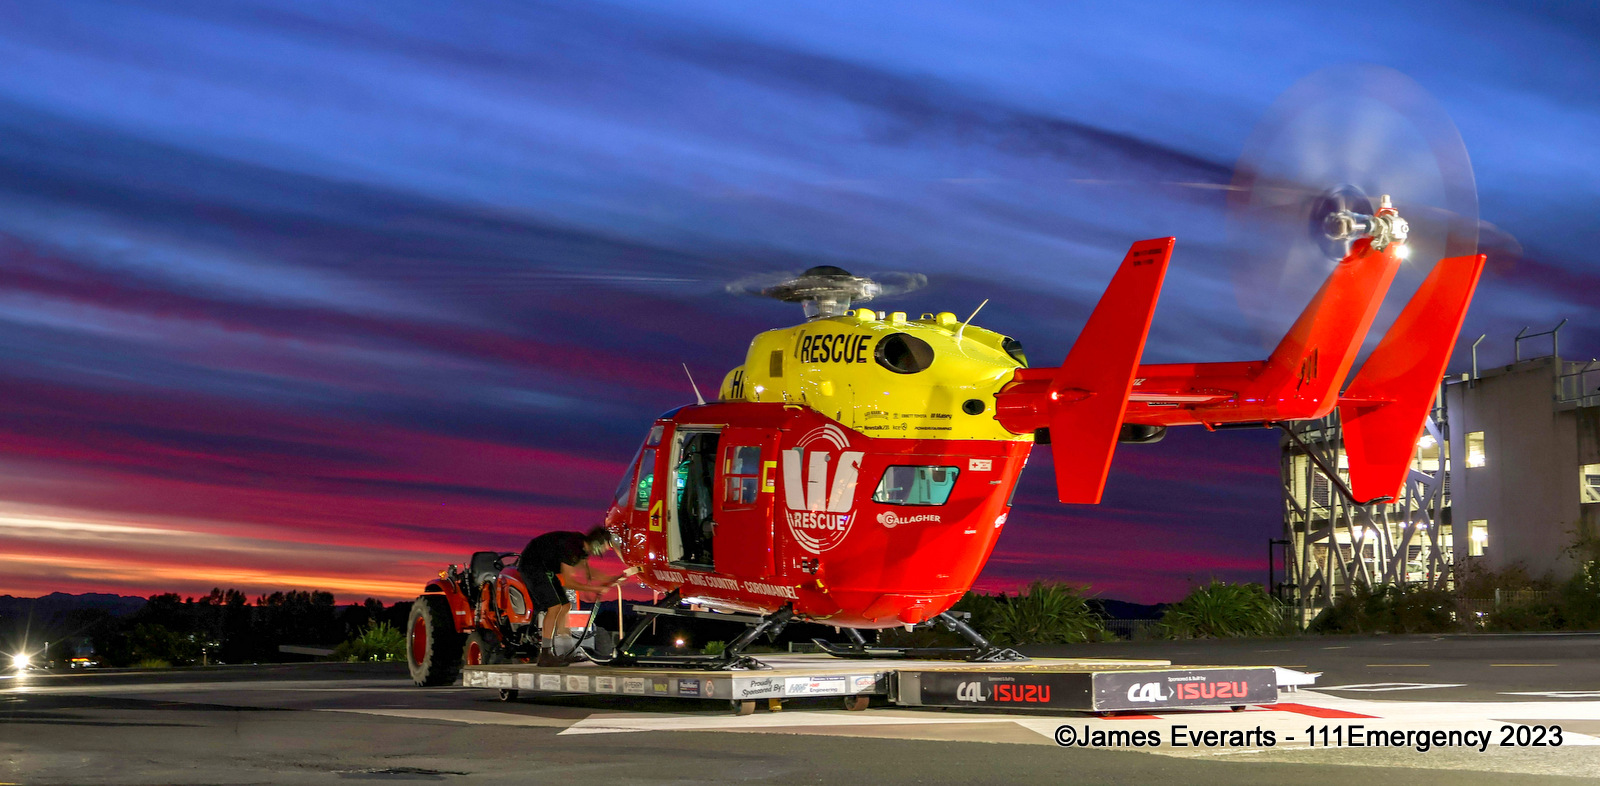
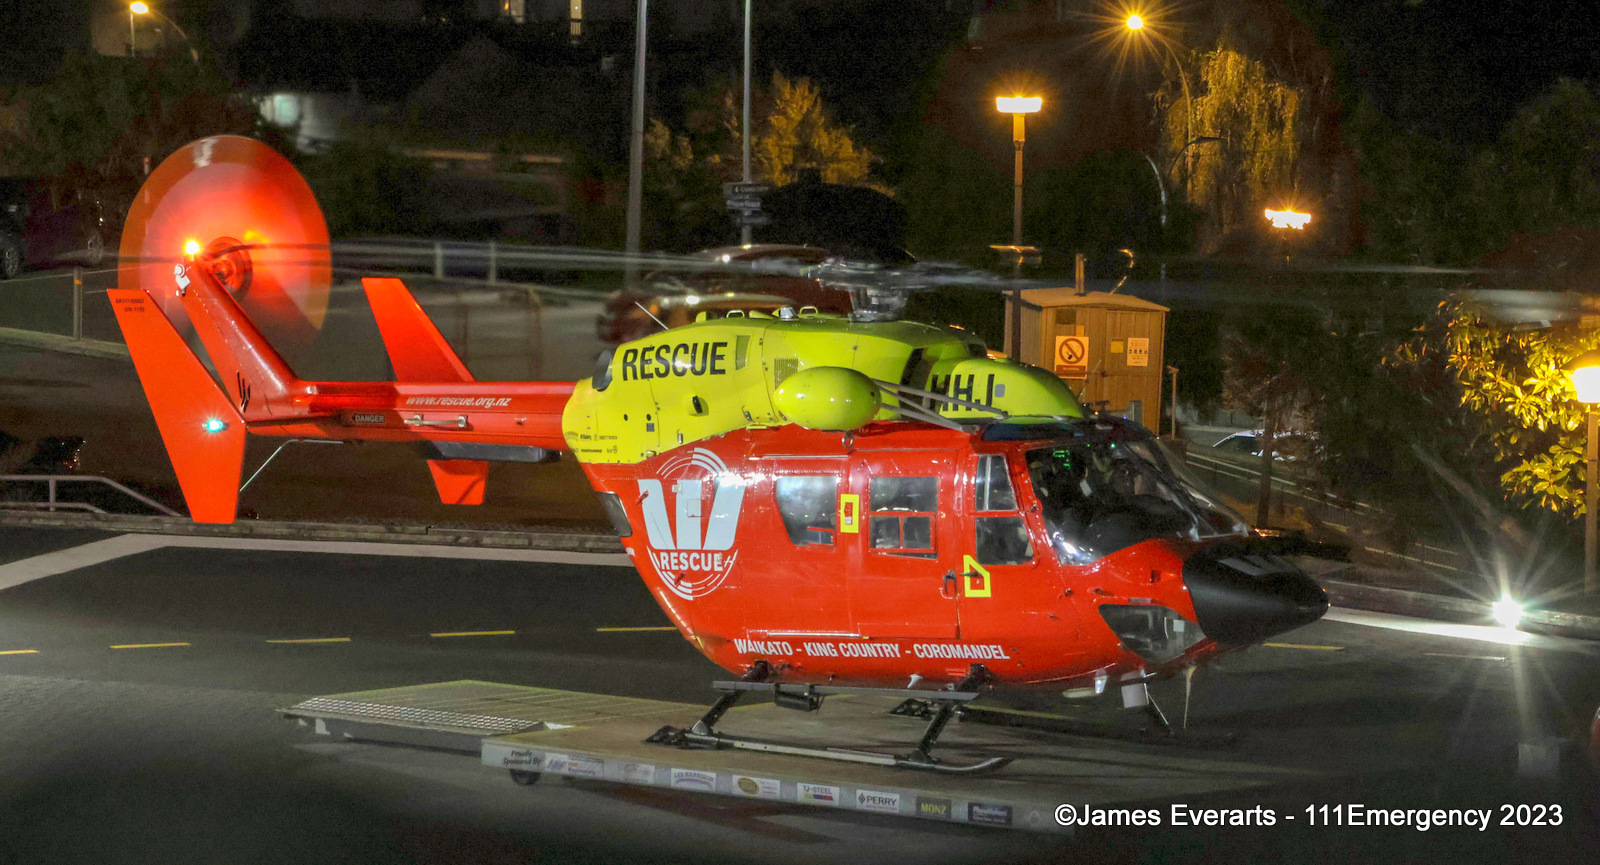
ZK-HHJ
Air 2 Waikato
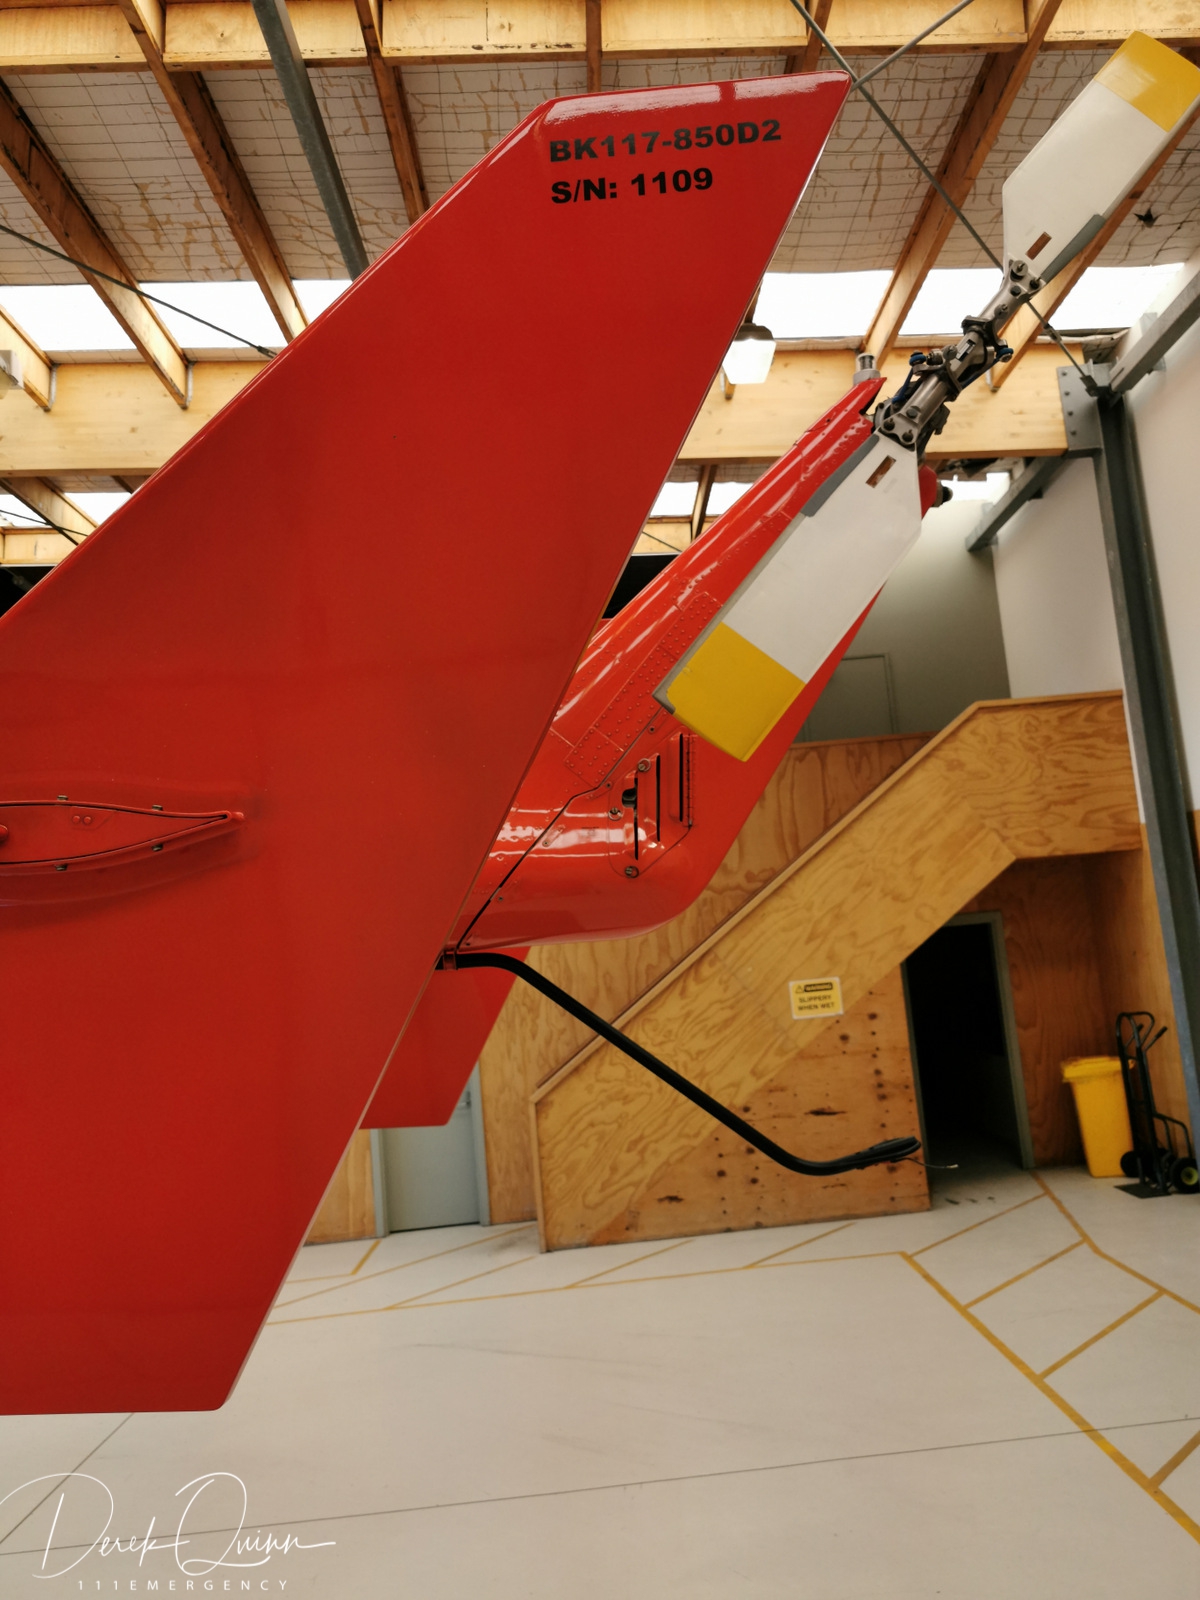
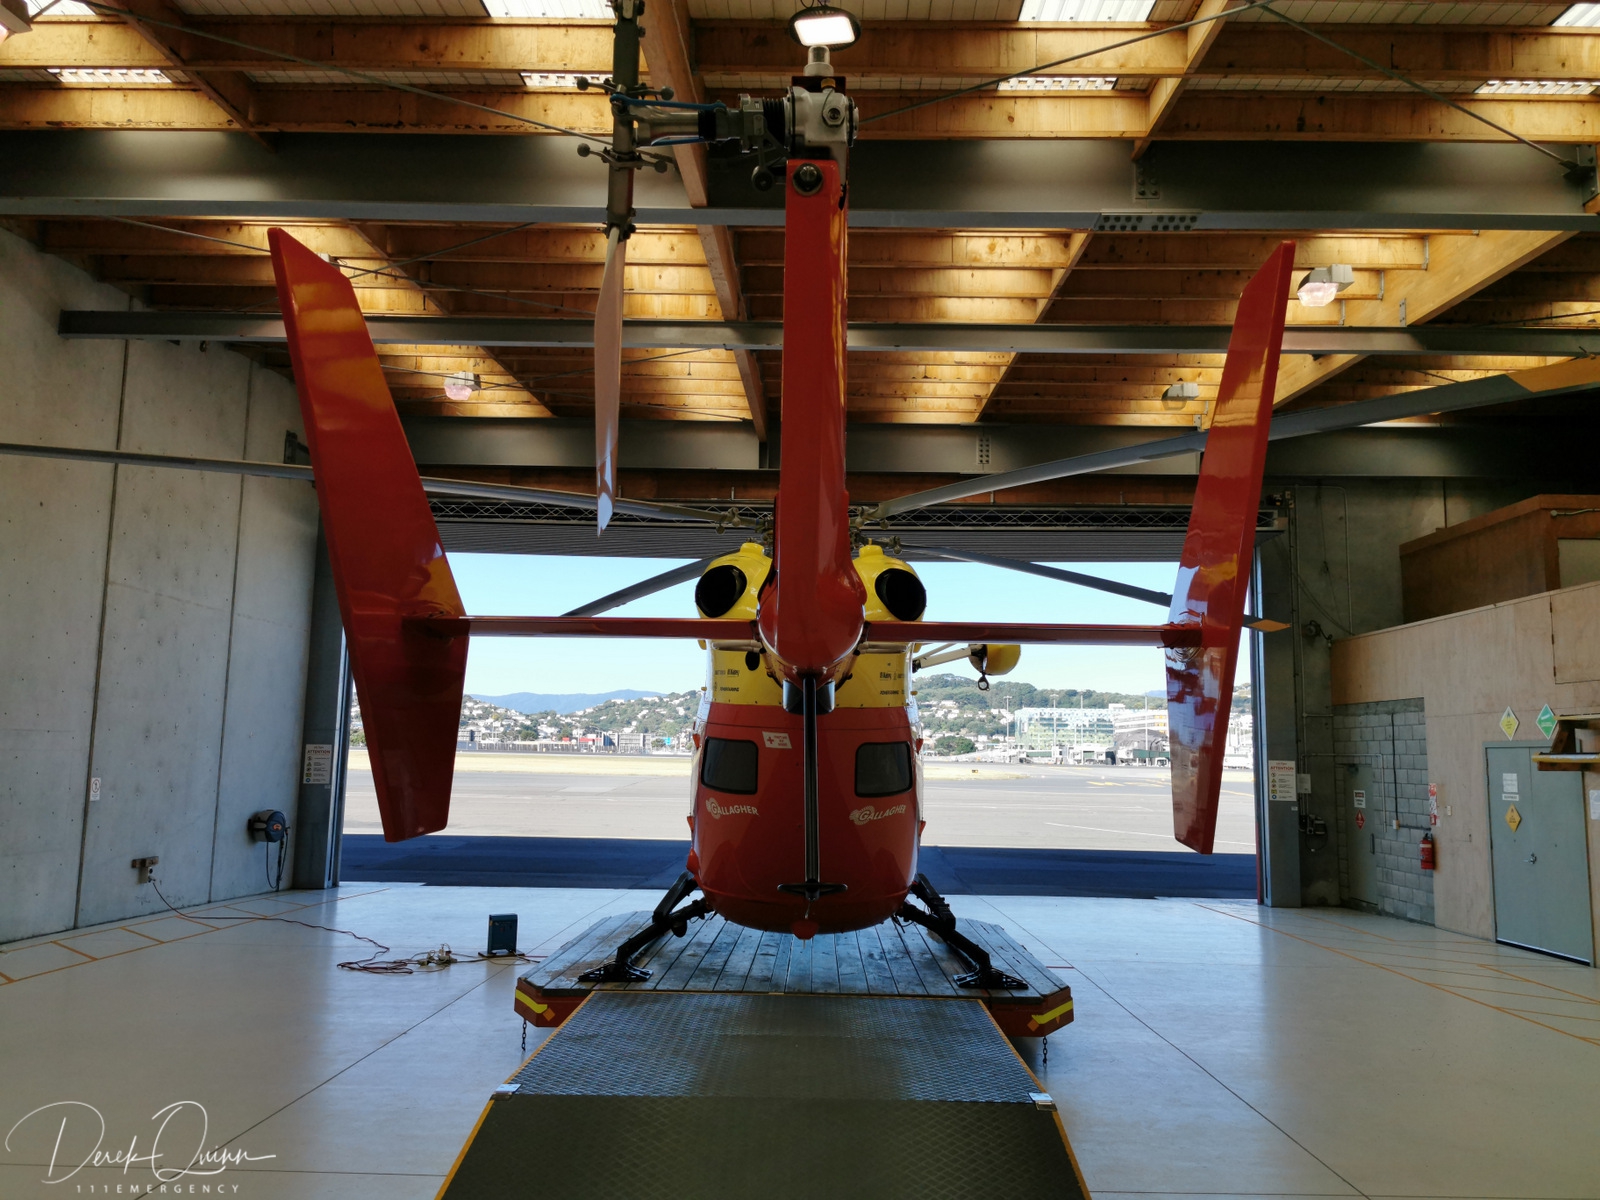
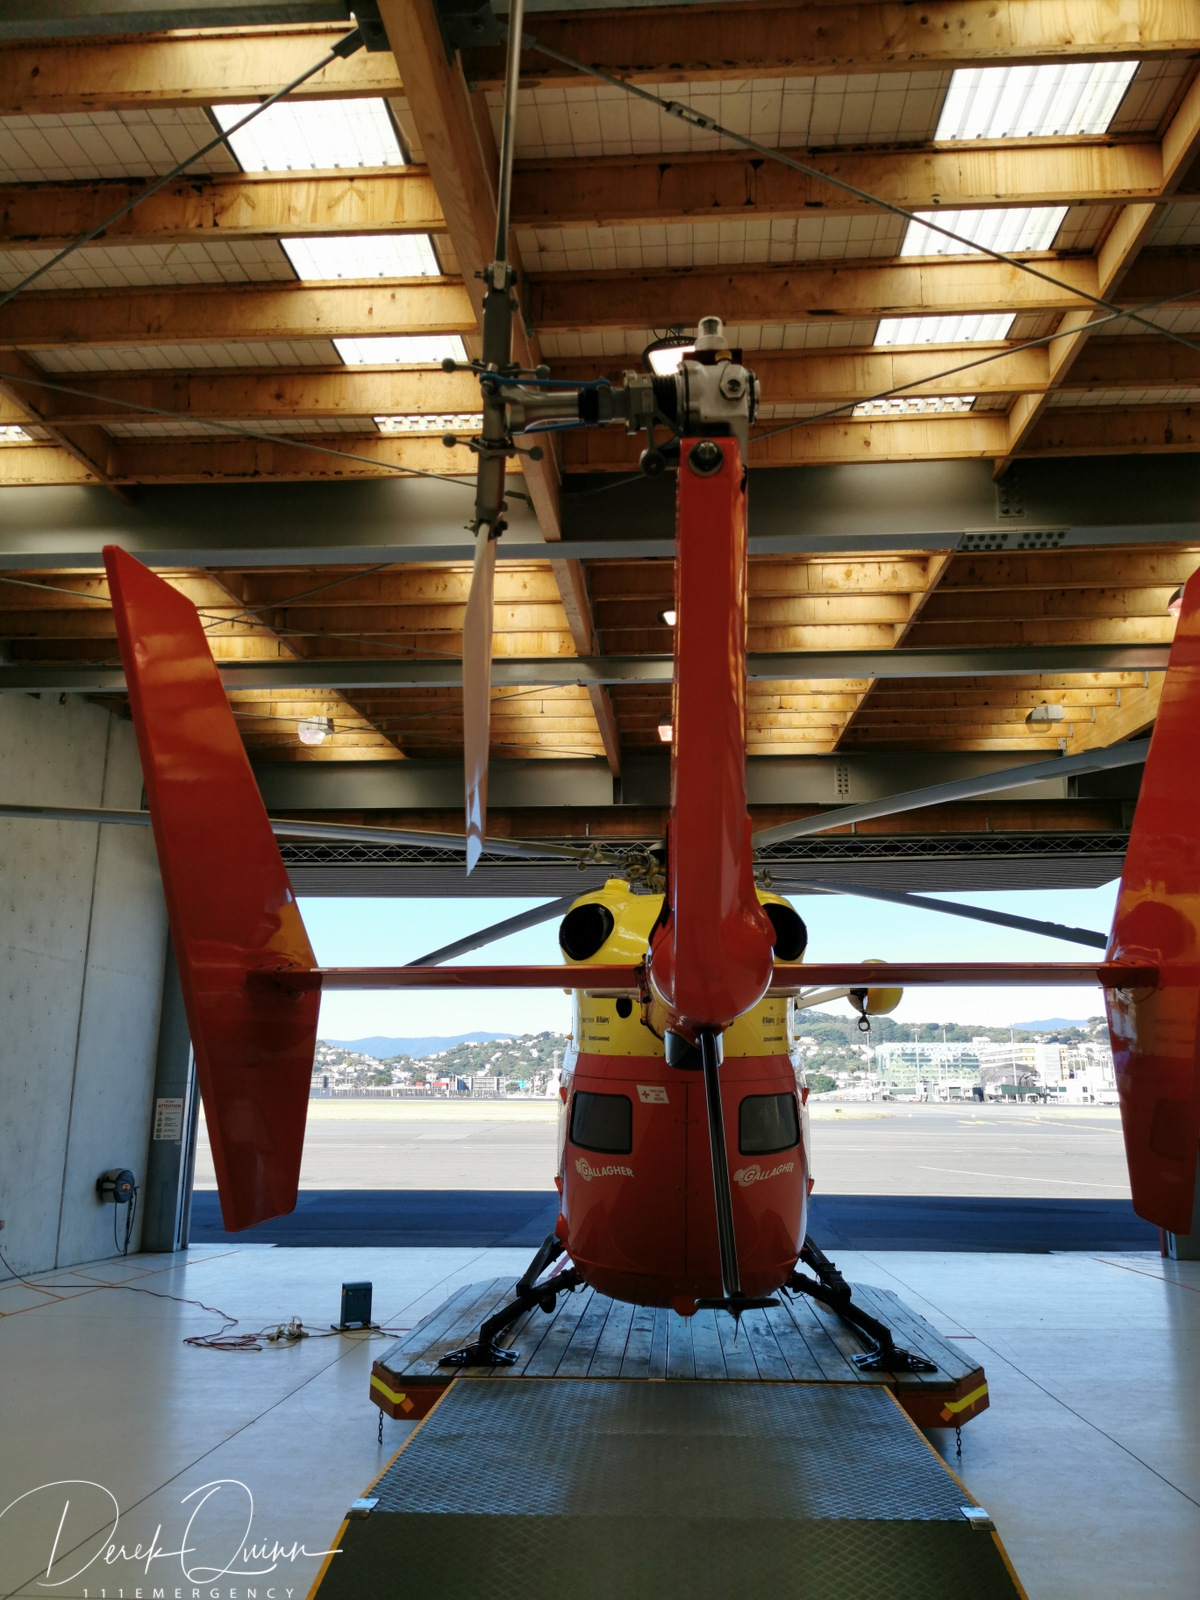
Kawasaki BK-117 B-2
 |
 |
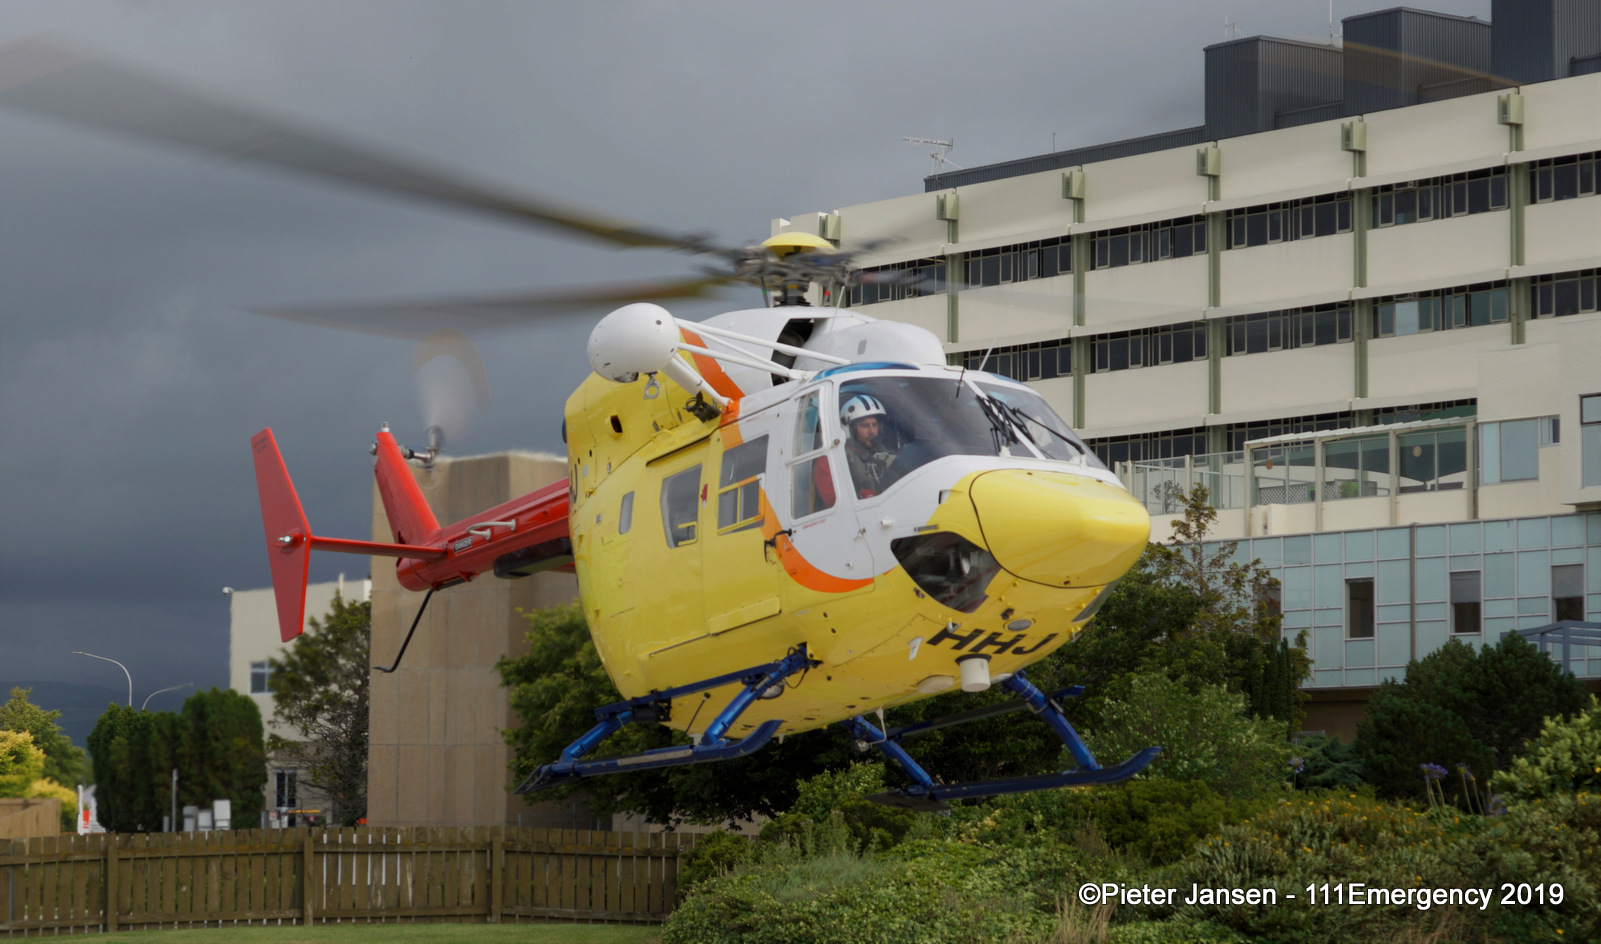 |
| Photo by Pieter Jansen | Photo by Pieter Jansen | Photo by Pieter Jansen |
 |
 |
 |
| Photo by Pieter Jansen | Photo by Pieter Jansen | Photo by Pieter Jansen |
 |
 |
 |
| Photo by Pieter Jansen | Photo by Pieter Jansen | Photo by Pieter Jansen |
 |
 |
 |
| Photo by Pieter Jansen | Photo by Pieter Jansen | Photo by Pieter Jansen |
 |
 |
 |
| Photo by Pieter Jansen | Photo by Pieter Jansen | Photo by Pieter Jansen |
 |
 |
 |
| Photo by Pieter Jansen | Photo by Pieter Jansen | Photo by Pieter Jansen |
 |
 |
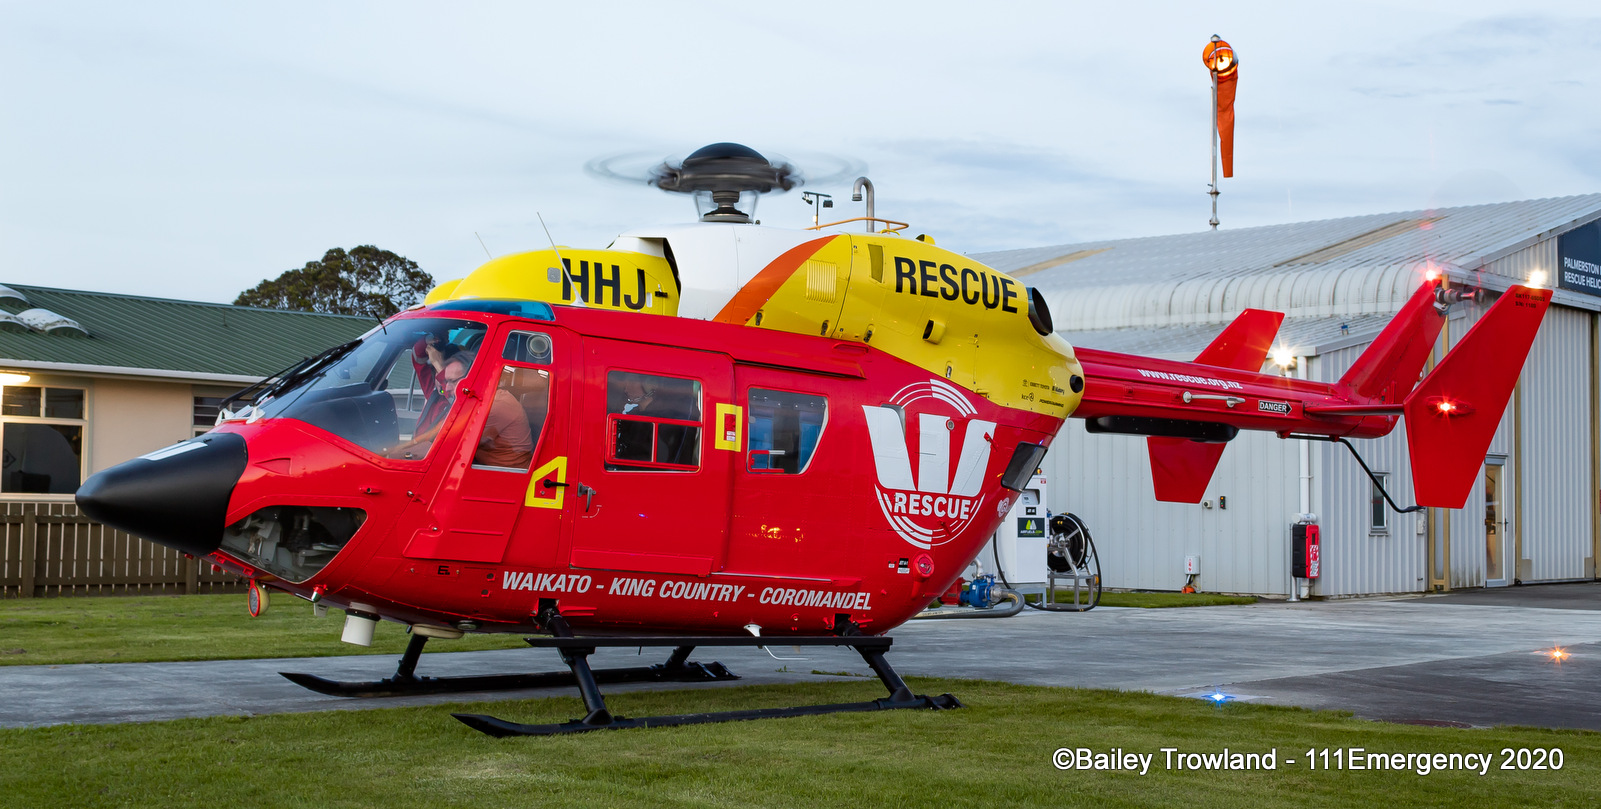 |
| Photo by Pieter Jansen | Photo by Bailey Trowland | Photo by Bailey Trowland |
 |
 |
 |
 |
 |
 |
 |
 |
 |
 |
 |
 |
 |
 |
 |
 |
 |
 |
 |
 |
 |
 |
 |
 |
 |
 |
 |
 |
 |
 |
 |
 |
 |
 |
 |
 |
 |
 |
 |
 |
 |
 |
 |
 |
 |
 |
 |
 |
 |
 |
 |
 |
 |
 |
 |
 |
 |
 |
 |
 |
 |
 |
 |
 |
 |
 |
 |
 |
 |
 |
 |
 |
 |
 |
 |
| Photo by James Everaarts | Photo by James Everaarts | |
 |
 |
 |
| Photo by James Everaarts | Photo by James Everaarts | Photo by James Everaarts |
 |
 |
 |
| Photo by James Everaarts | Photo by James Everaarts | Photo by James Everaarts |
 |
 |
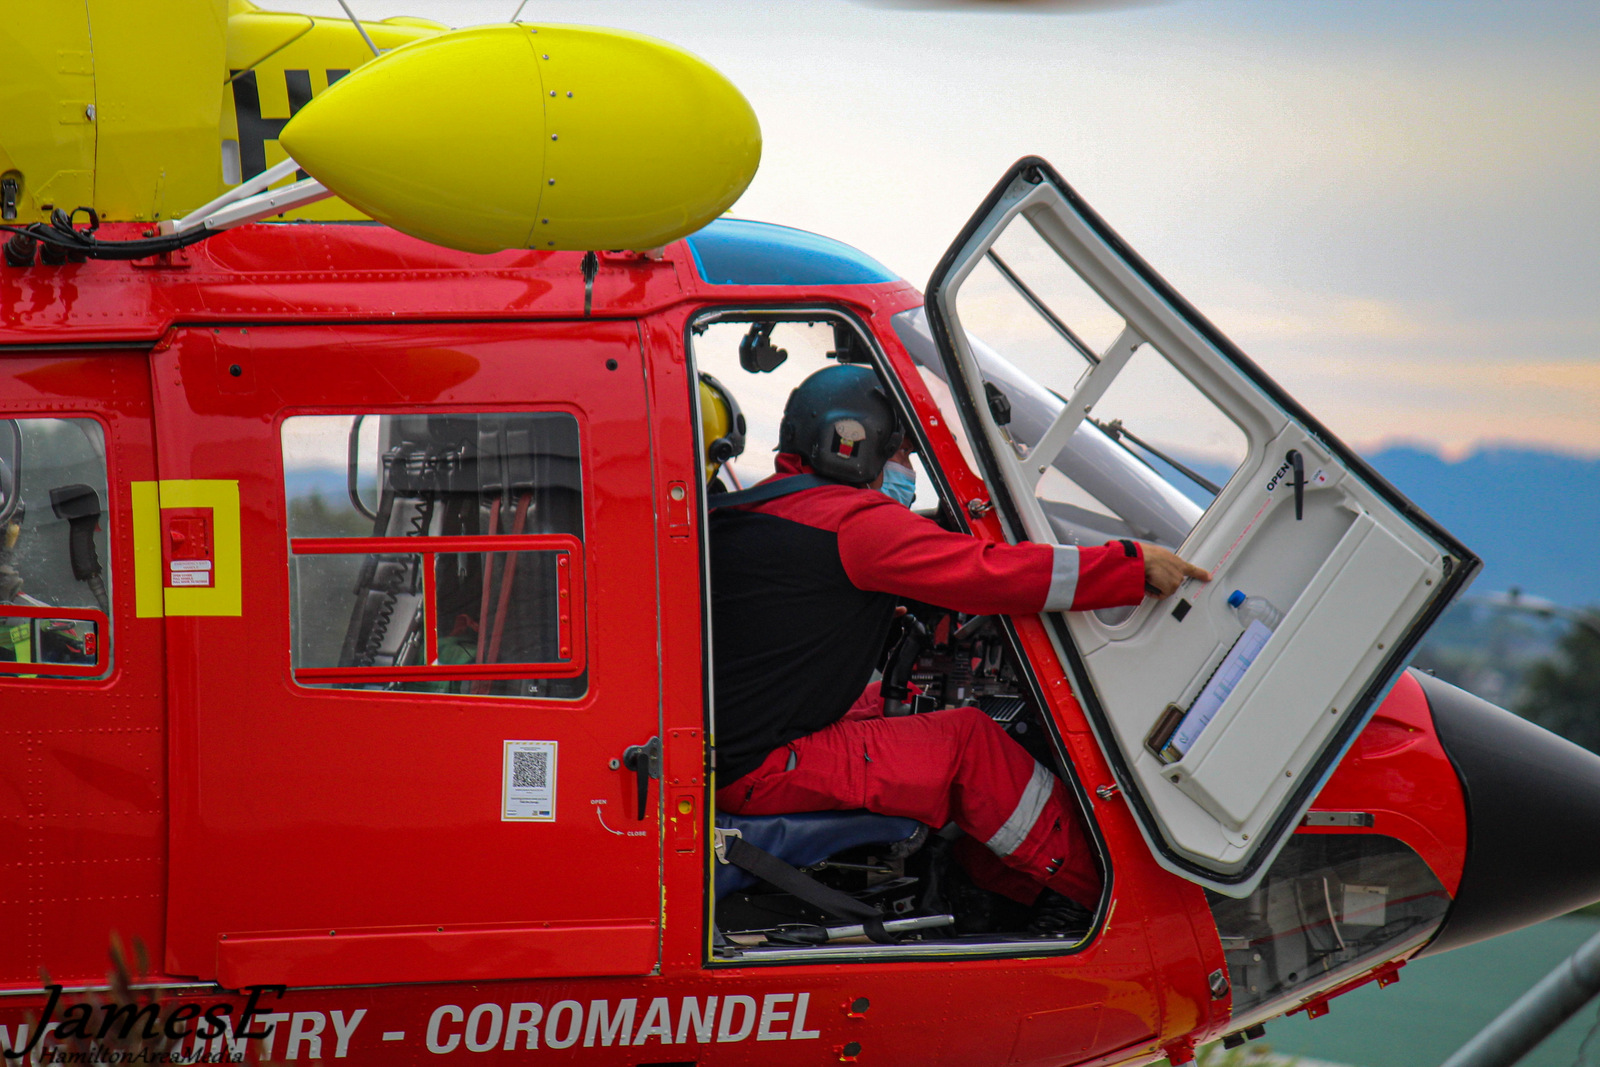 |
| Photo by James Everaarts | Photo by James Everaarts | Photo by James Everaarts |
 |
 |
 |
| Photo by James Everaarts | Photo by James Everaarts | Photo by James Everaarts |
 |
 |
 |
| Photo by James Everaarts | Photo by James Everaarts | Photo by James Everaarts |
 |
 |
 |
| Photo by James Everaarts | Photo by James Everaarts | Photo by James Everaarts |
 |
 |
 |
| Photo by James Everaarts | Photo by James Everaarts | Photo by James Everaarts |
 |
||
| Photo by James Everaarts |
Click here to go back to Rescue Helicopters page

© All photos / videos remain the property of the original photographer. Do not use them elsewhere without their written permission.