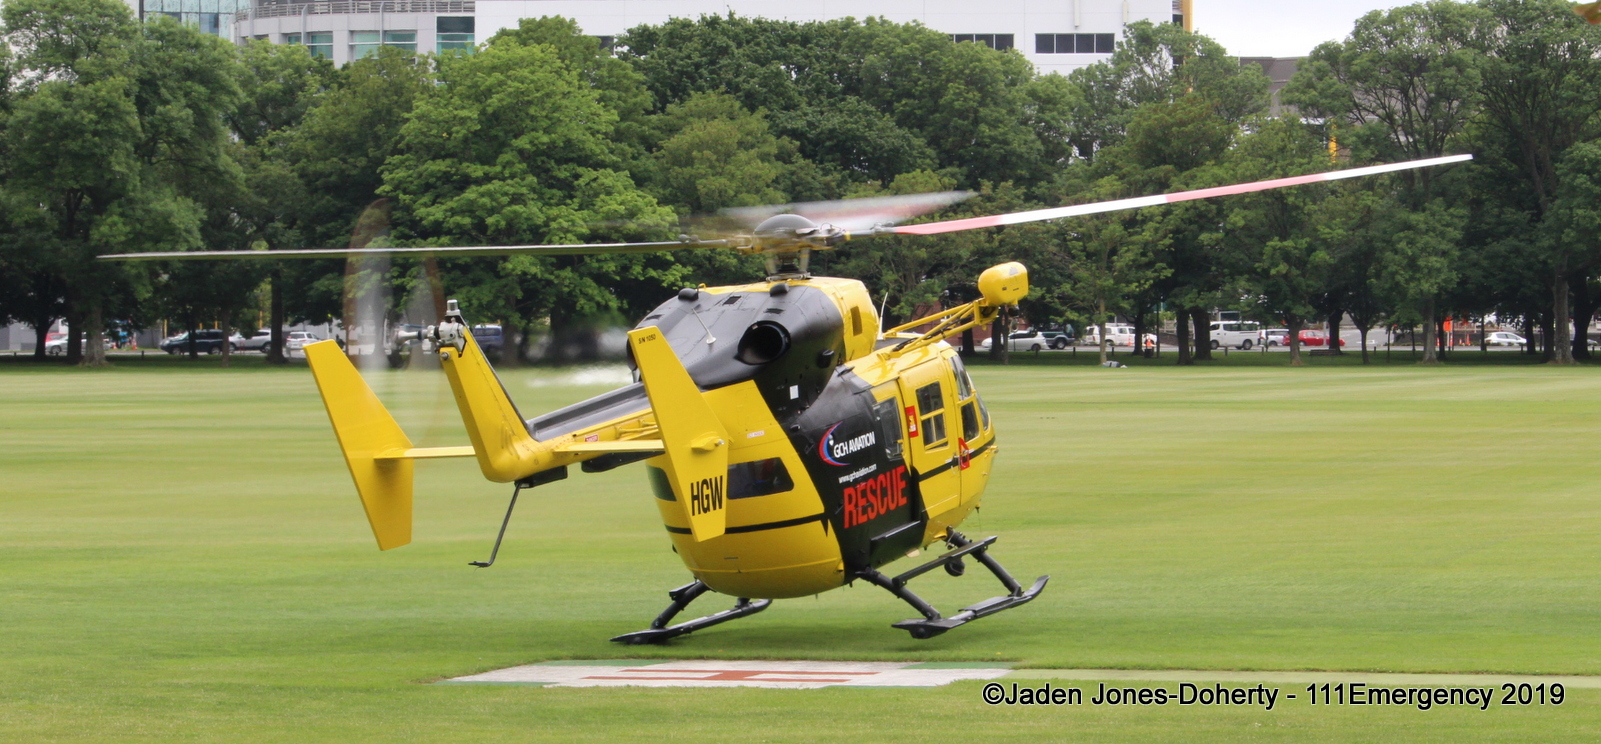
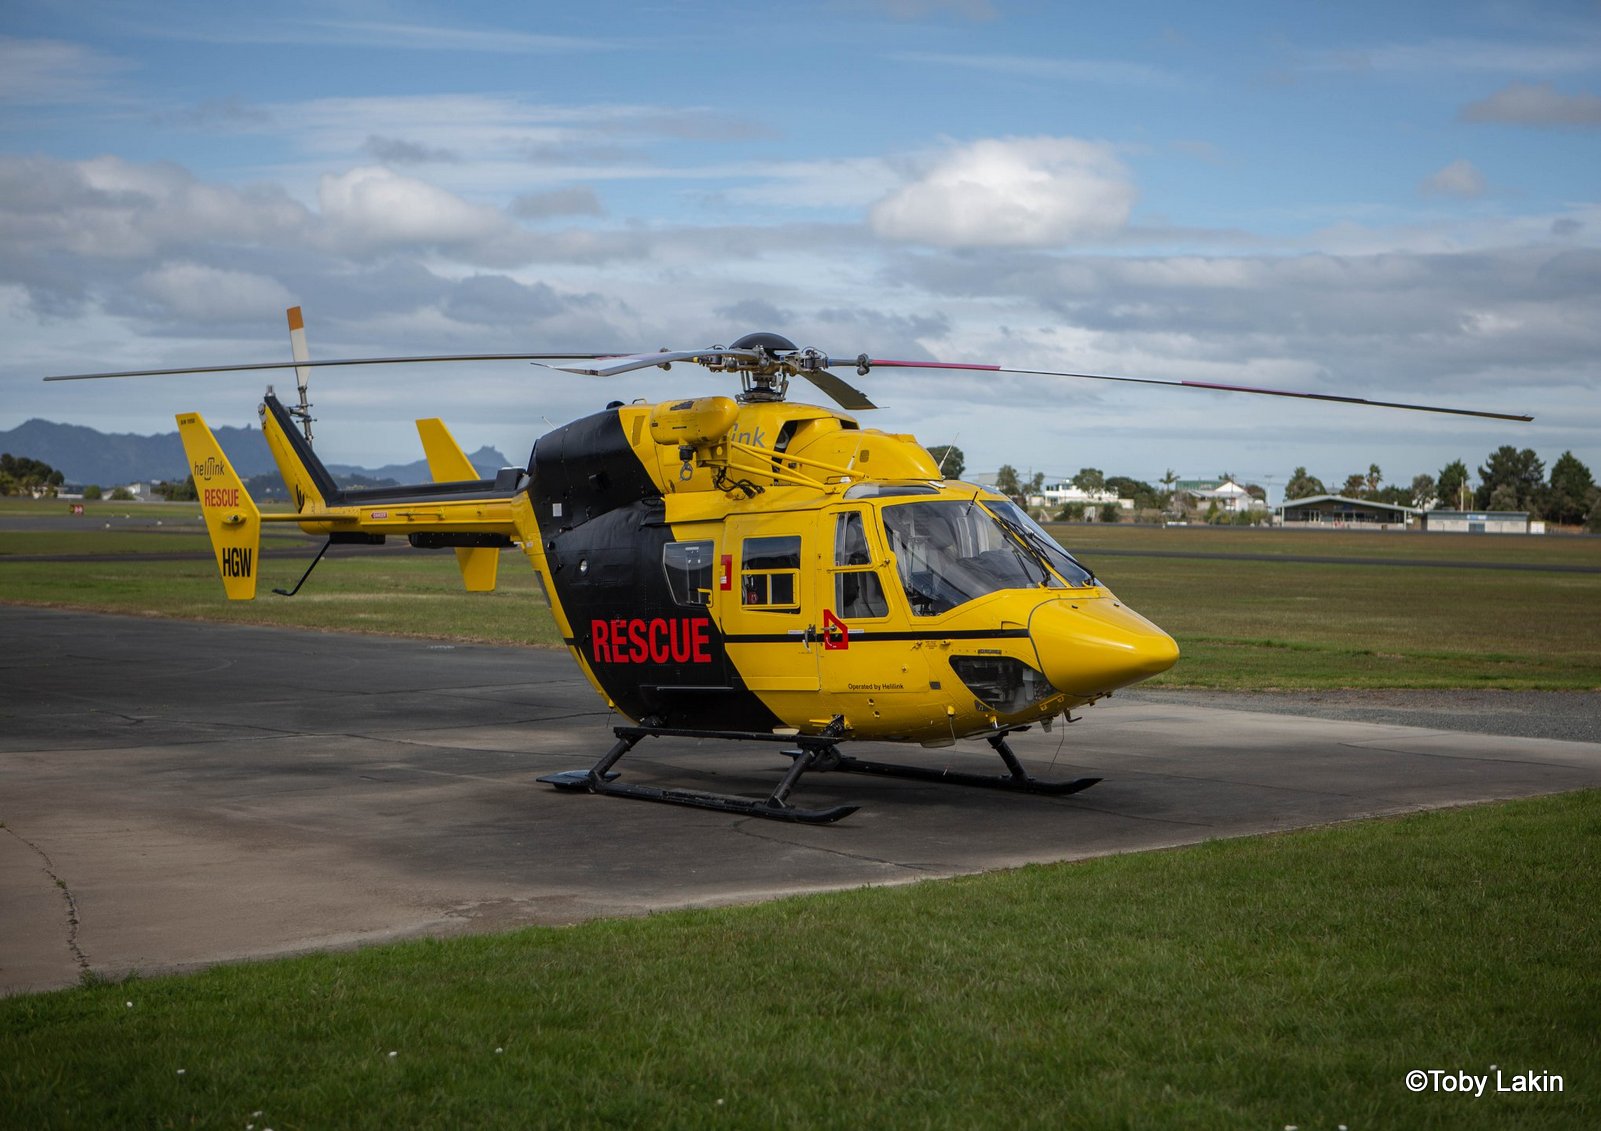
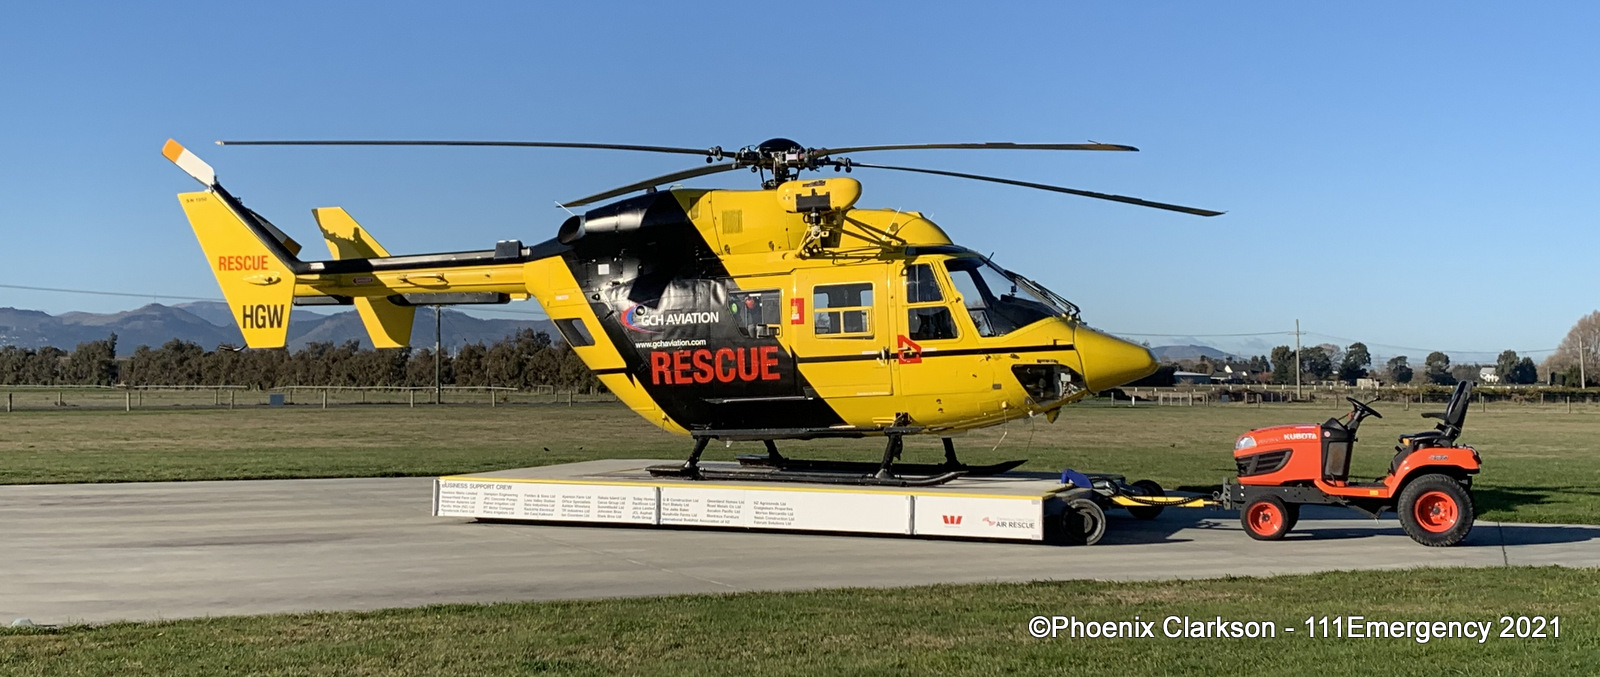
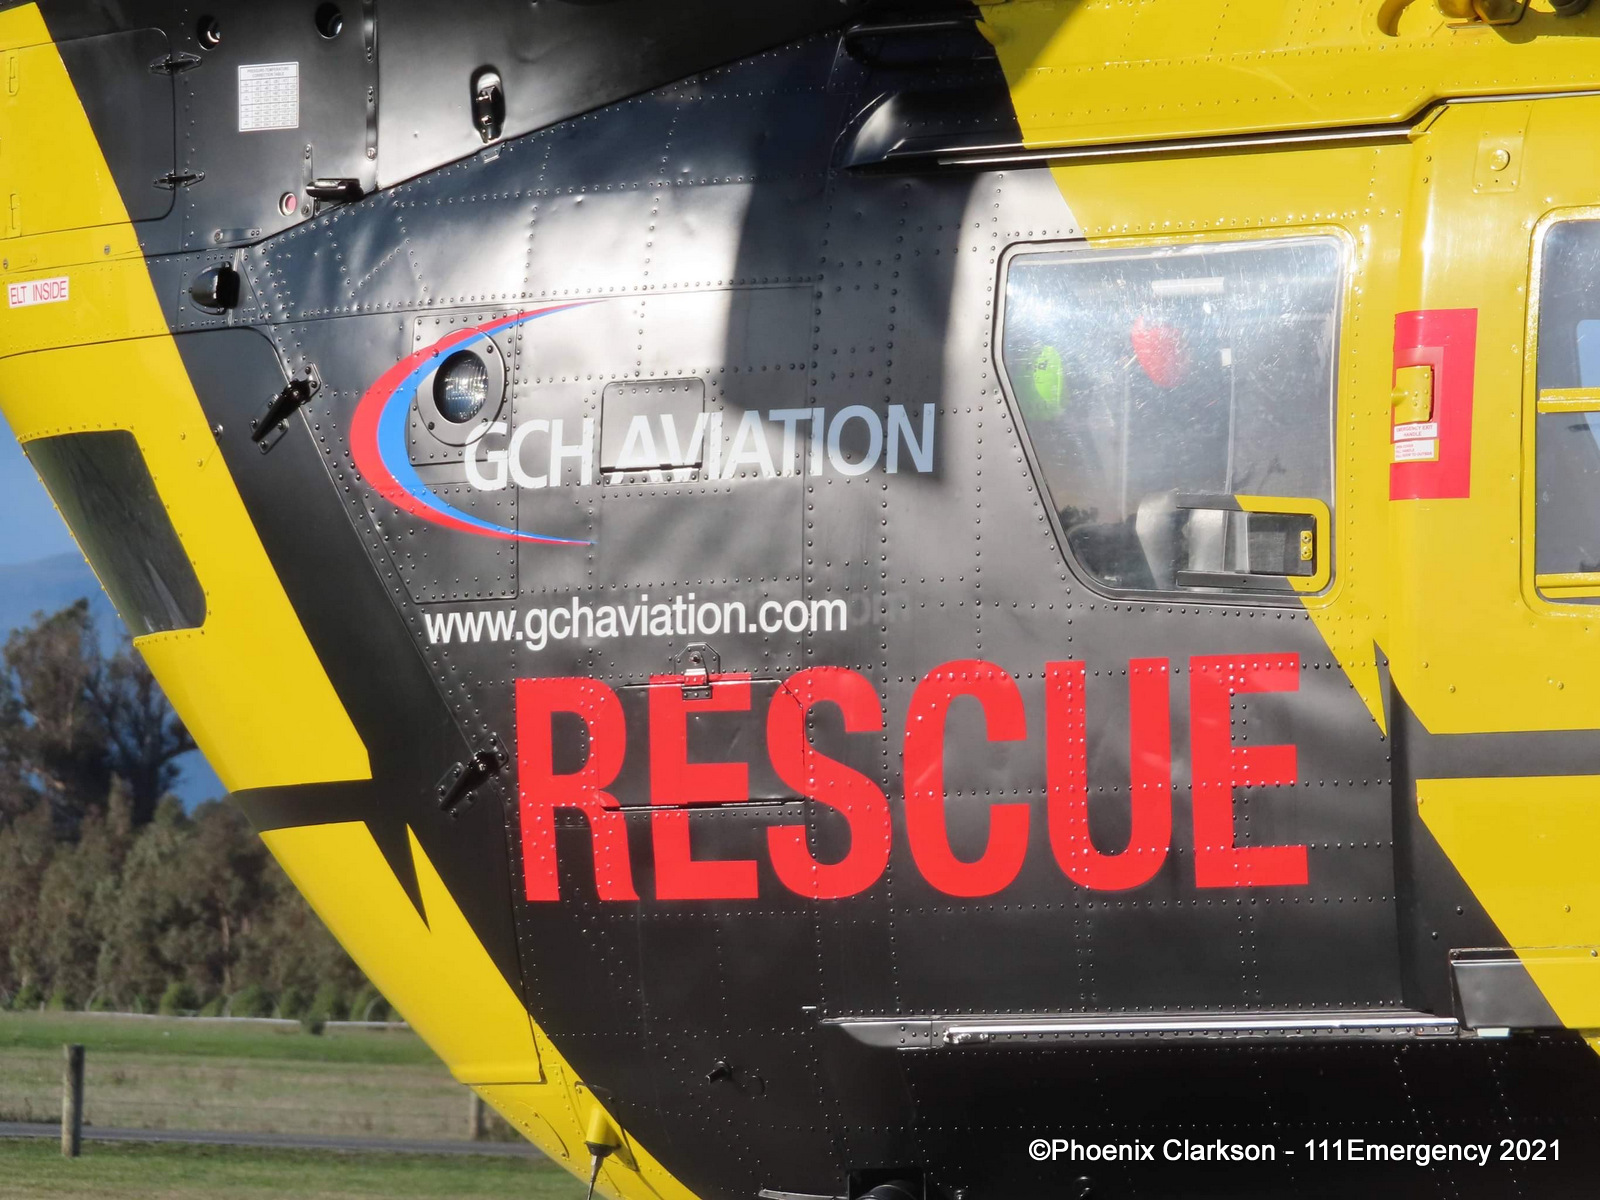
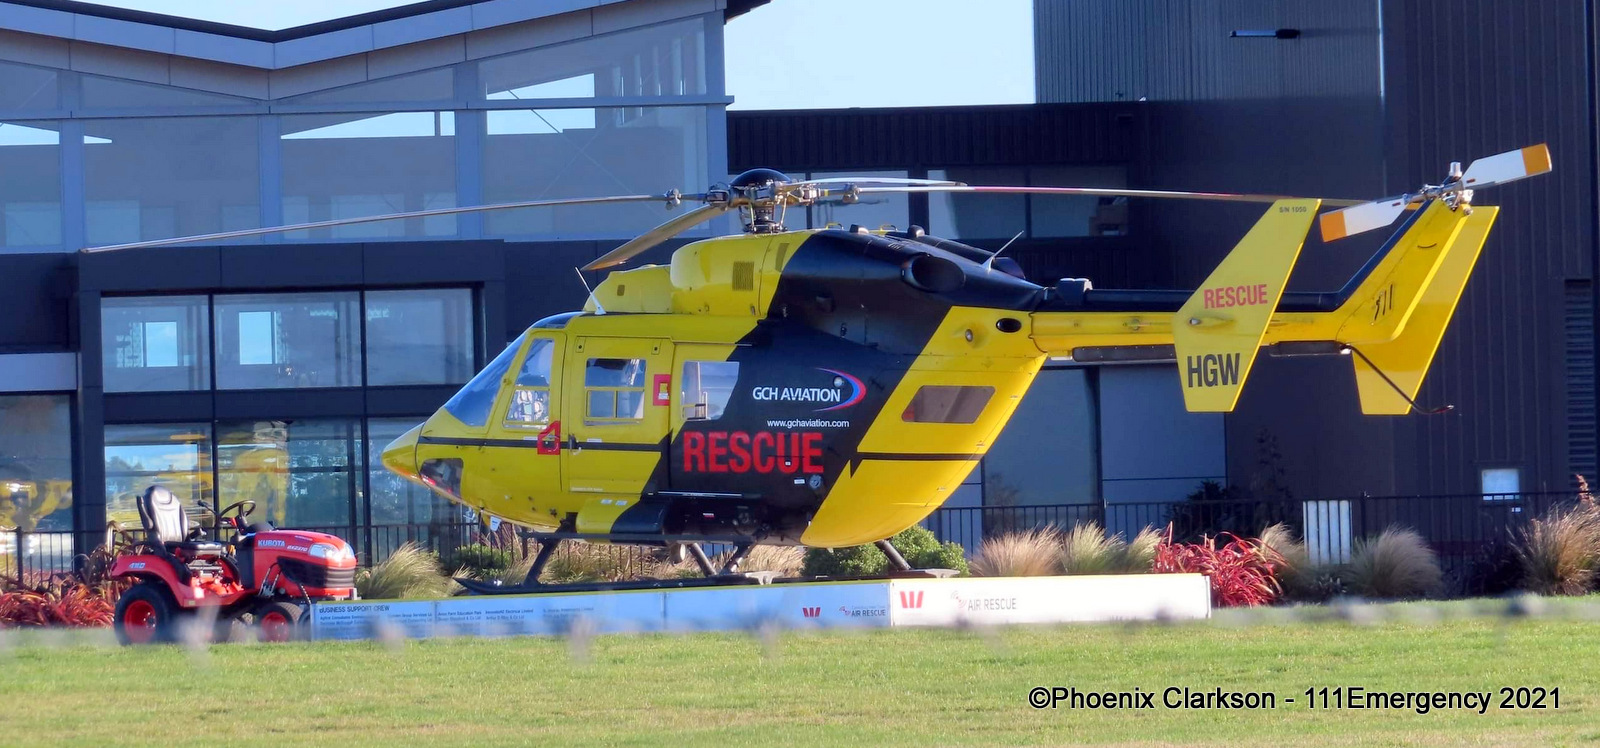
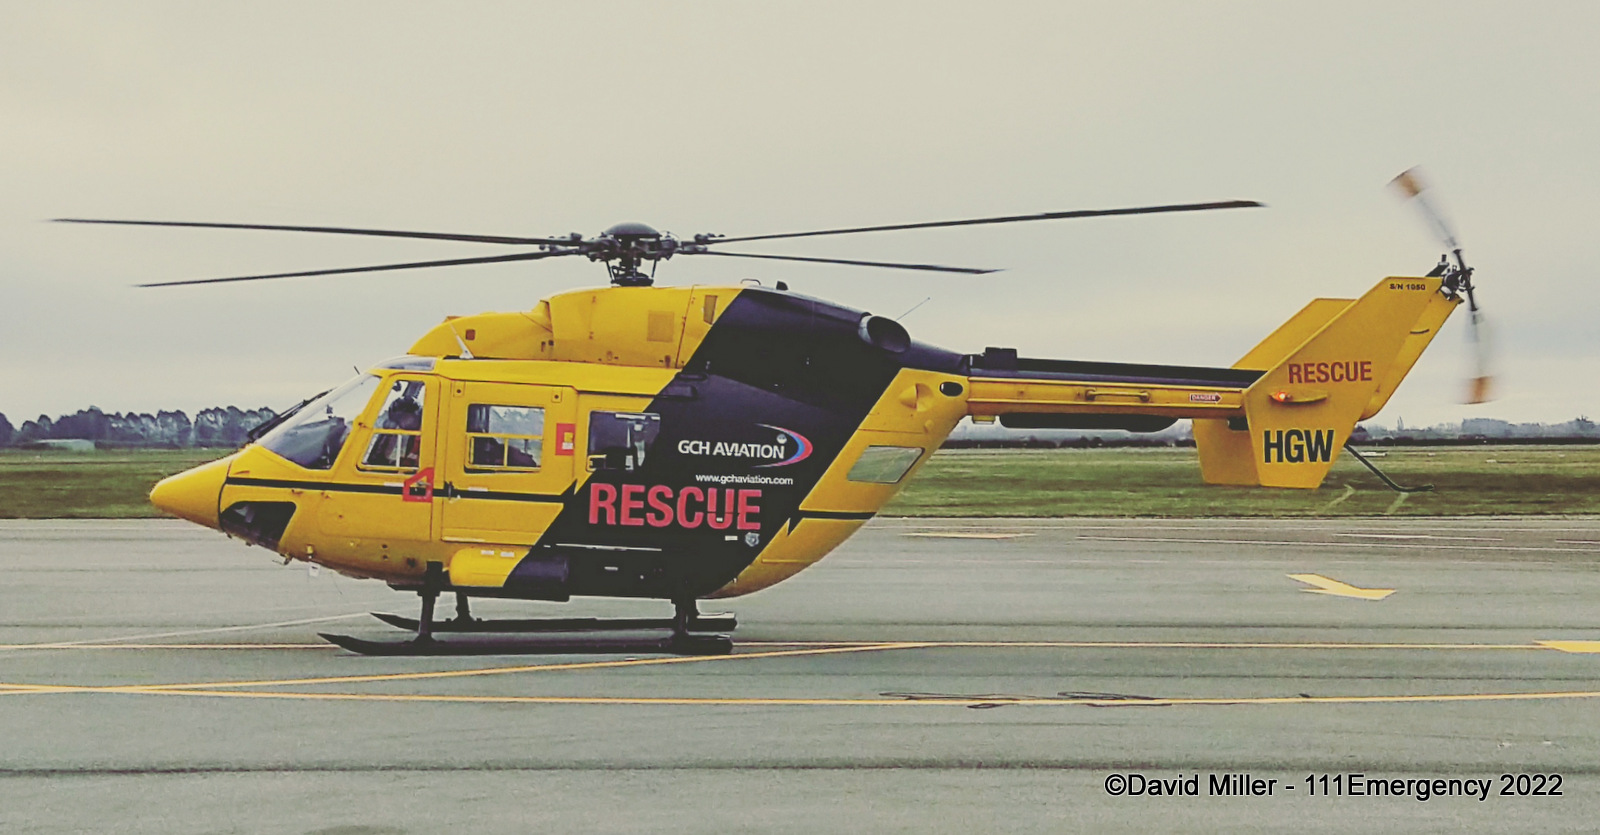
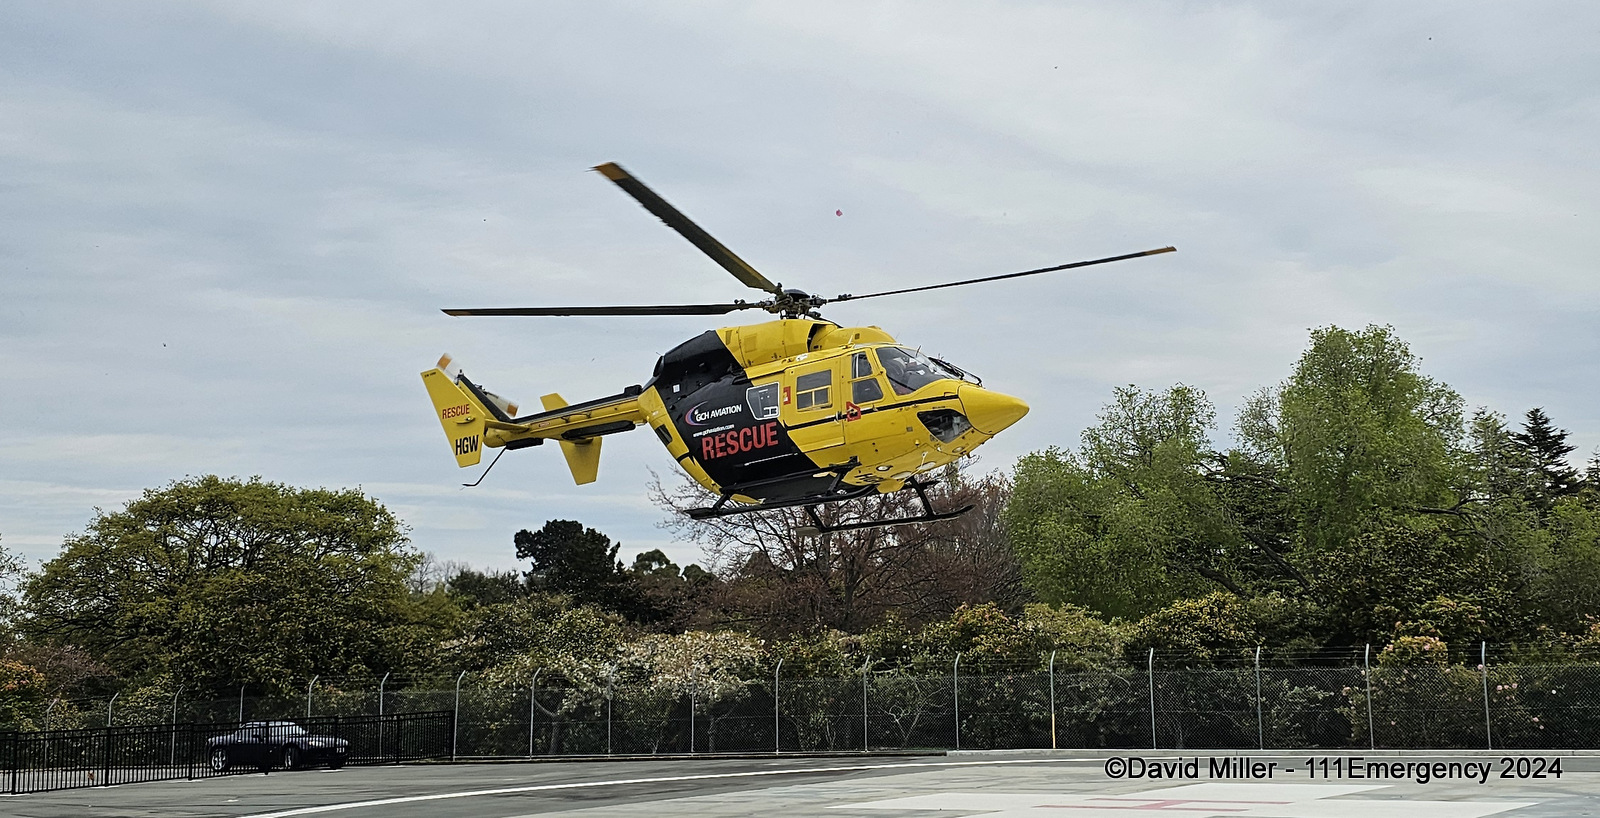
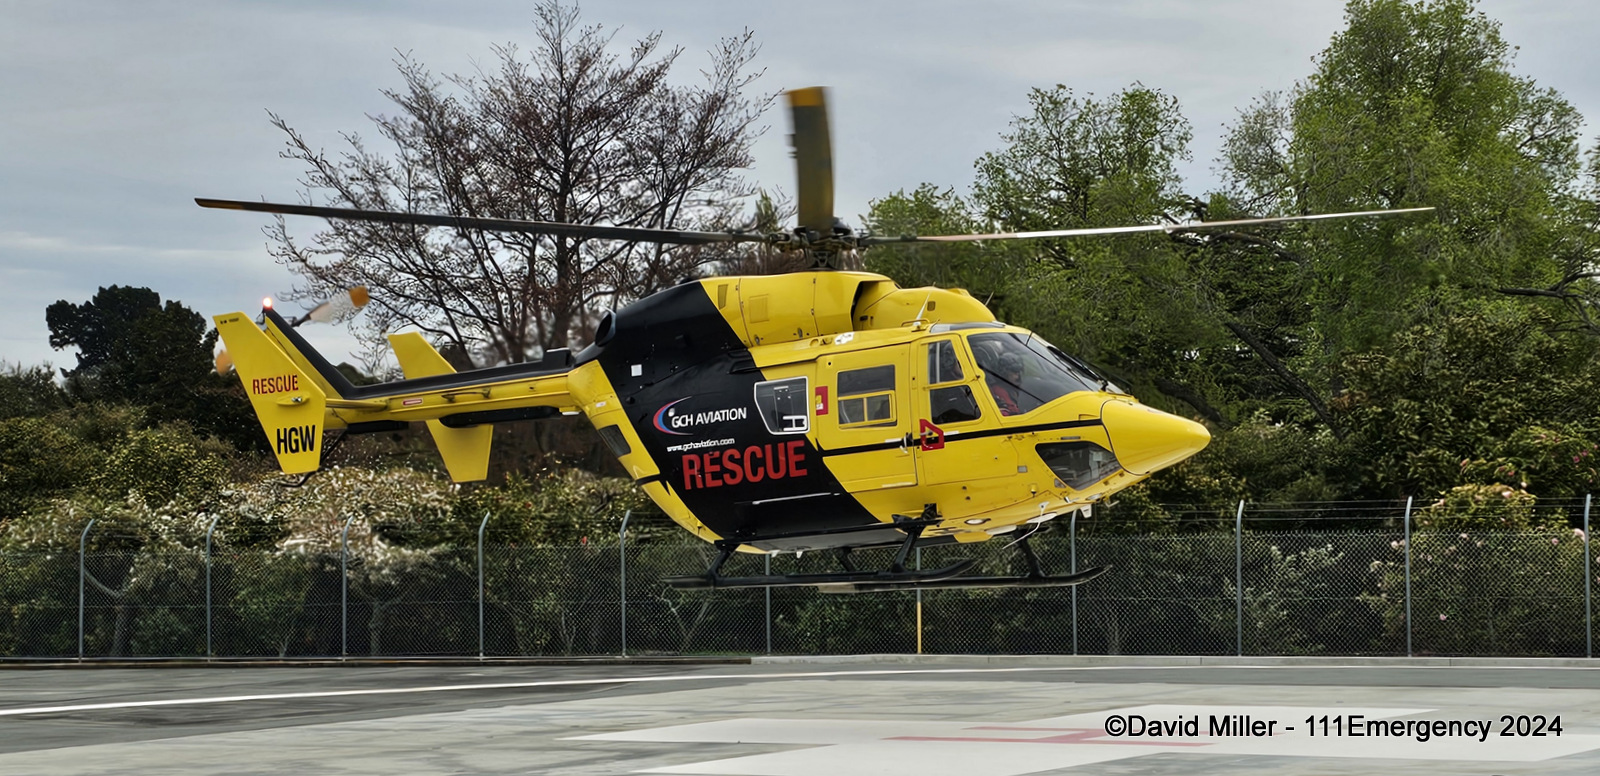
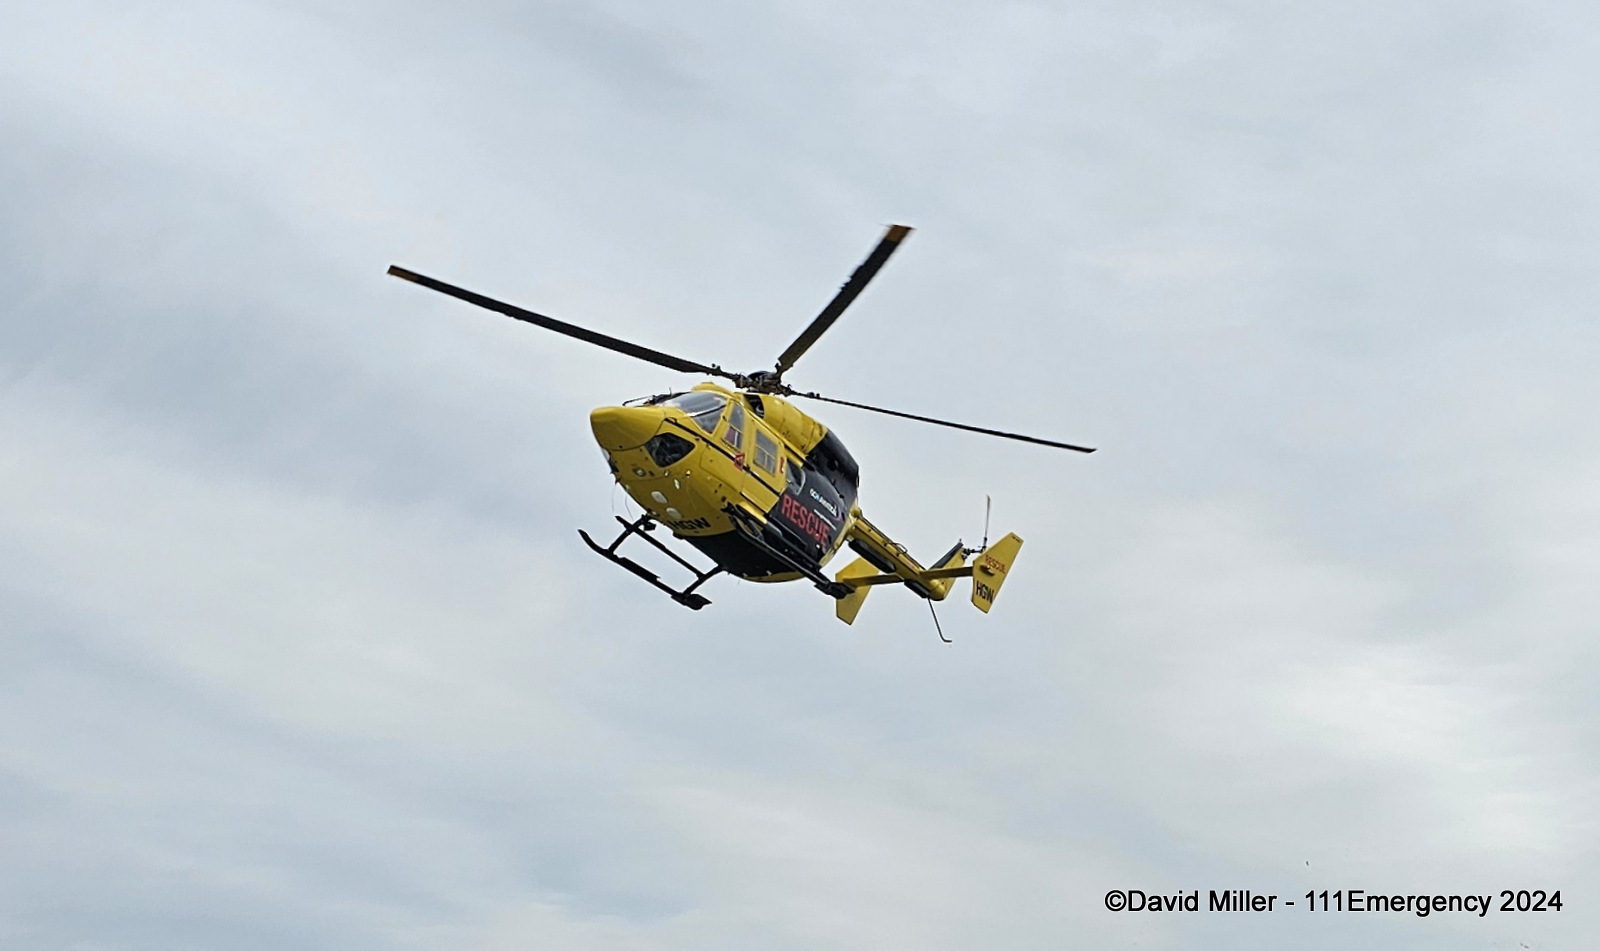
ZK-HGW
RELIEF
Kawasaki BK-117 B-2
 |
 |
 |
|
Photo by Jaden Jones-Doherty |
Photo by Toby Lakin | Photo by Phoenix Clarkson |
 |
 |
 |
| Photo by Phoenix Clarkson | Photo by Phoenix Clarkson | Photo by Phoenix Clarkson |
 |
 |
 |
| Photo by Phoenix Clarkson | Photo by David Miller | Photo by Craig Crew |
 |
 |
 |
| Photo by David Miller | Photo by David Miller | Photo by David Miller |
Click here to go back to Rescue Helicopters page

© All photos / videos remain the property of the original photographer. Do not use them elsewhere without their written permission.