FIRE AND EMERGENCY NEW ZEALAND TE IHU REGION RELIEF APPLIANCES
 |
|
 |
|
|
AREA 1701 Ex. Tapawera 351, AREA1703 1993 Mitsubishi FK160F SF 1861 Photo by Daniel Capon |
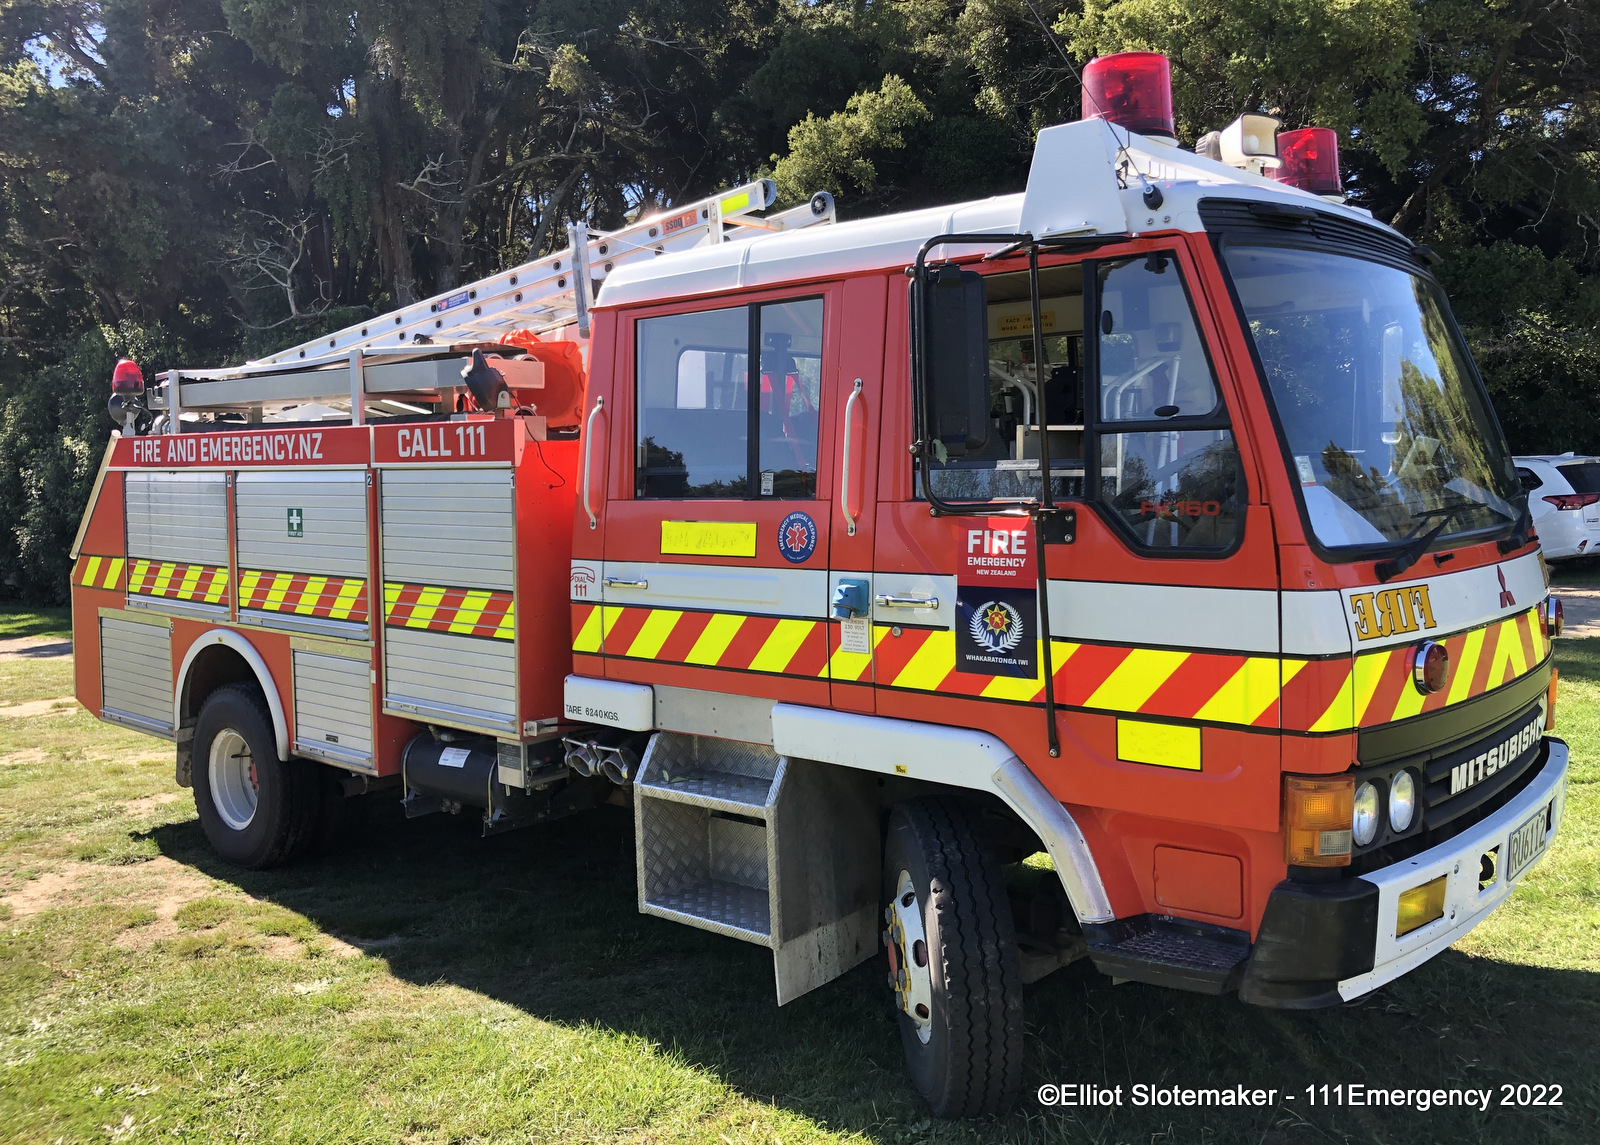
AREA 1702 Ex. Murchison 381, Rai Valley 231, AREA1701 1992 Mitsubishi FK160F RU 6112 Photo by Daniel Capon |
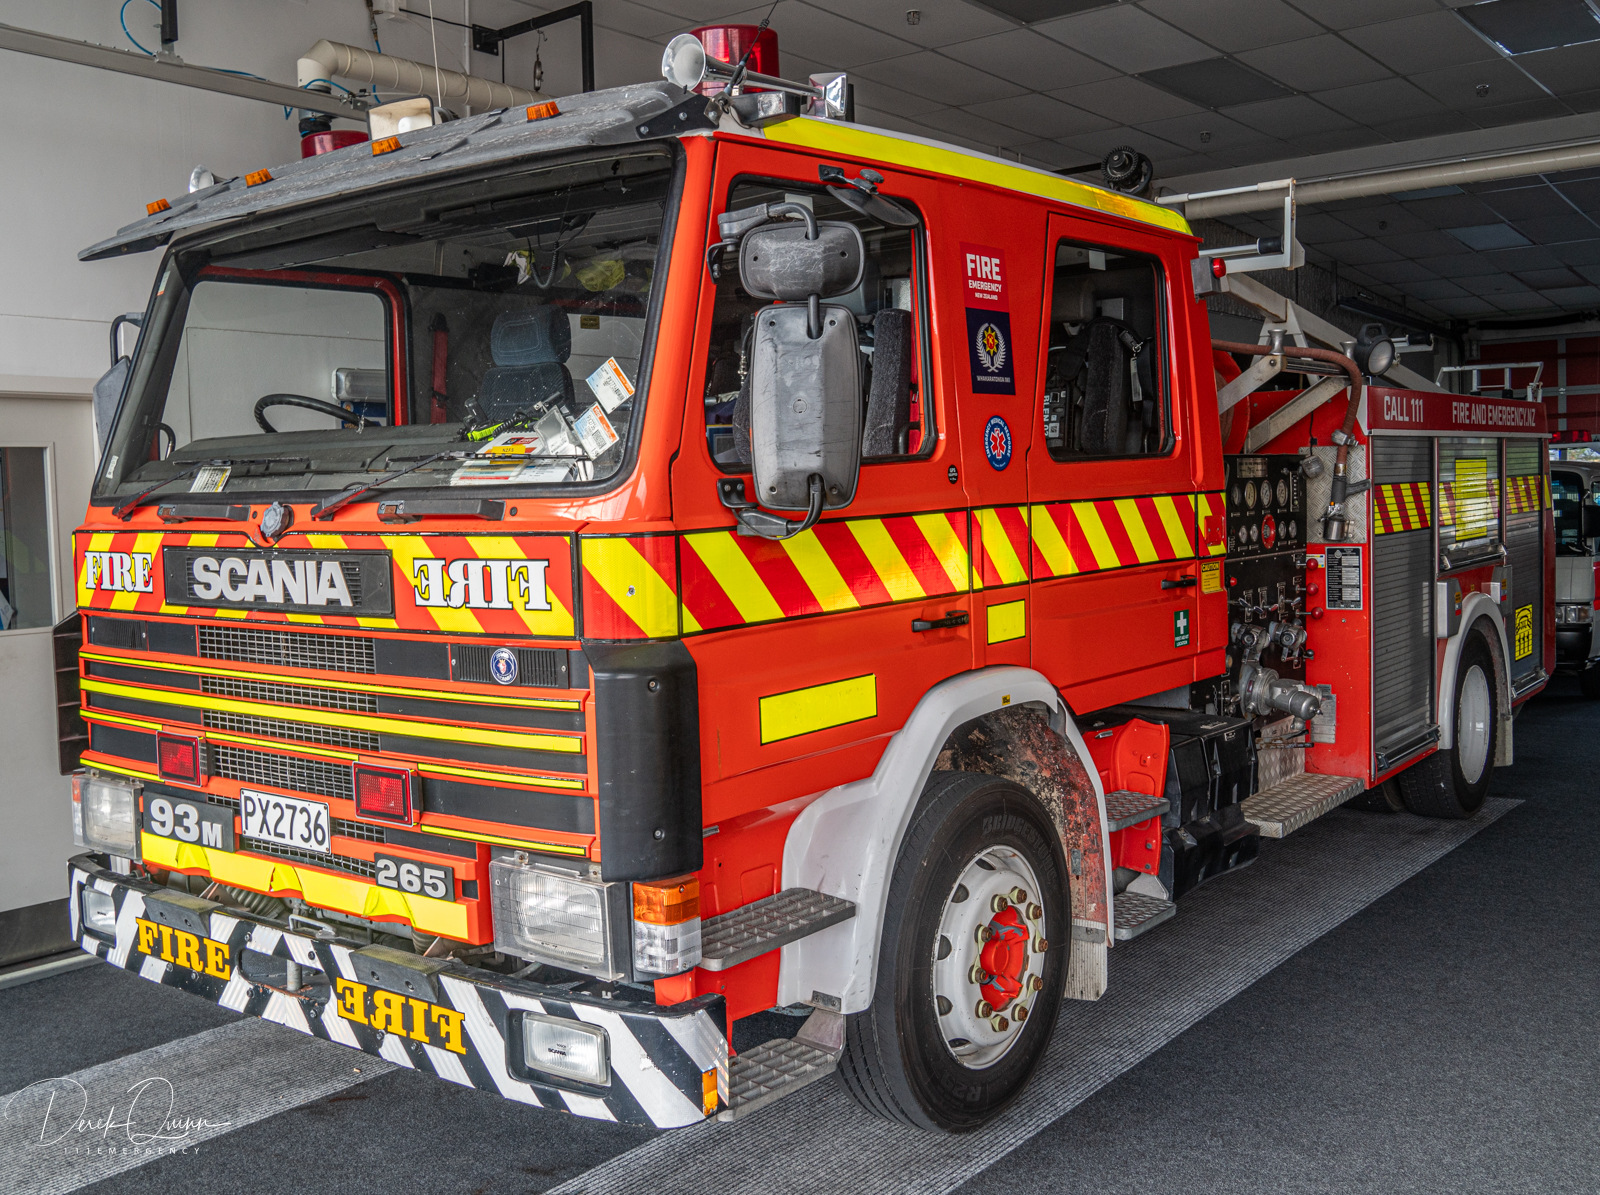
AREA 1703 Ex. Wainuiomata 441, Takaka 397, Blenheim 241 1990 Scania G93M PX 2736 Photo by Craig Love |
|
 |
|
|
|
|
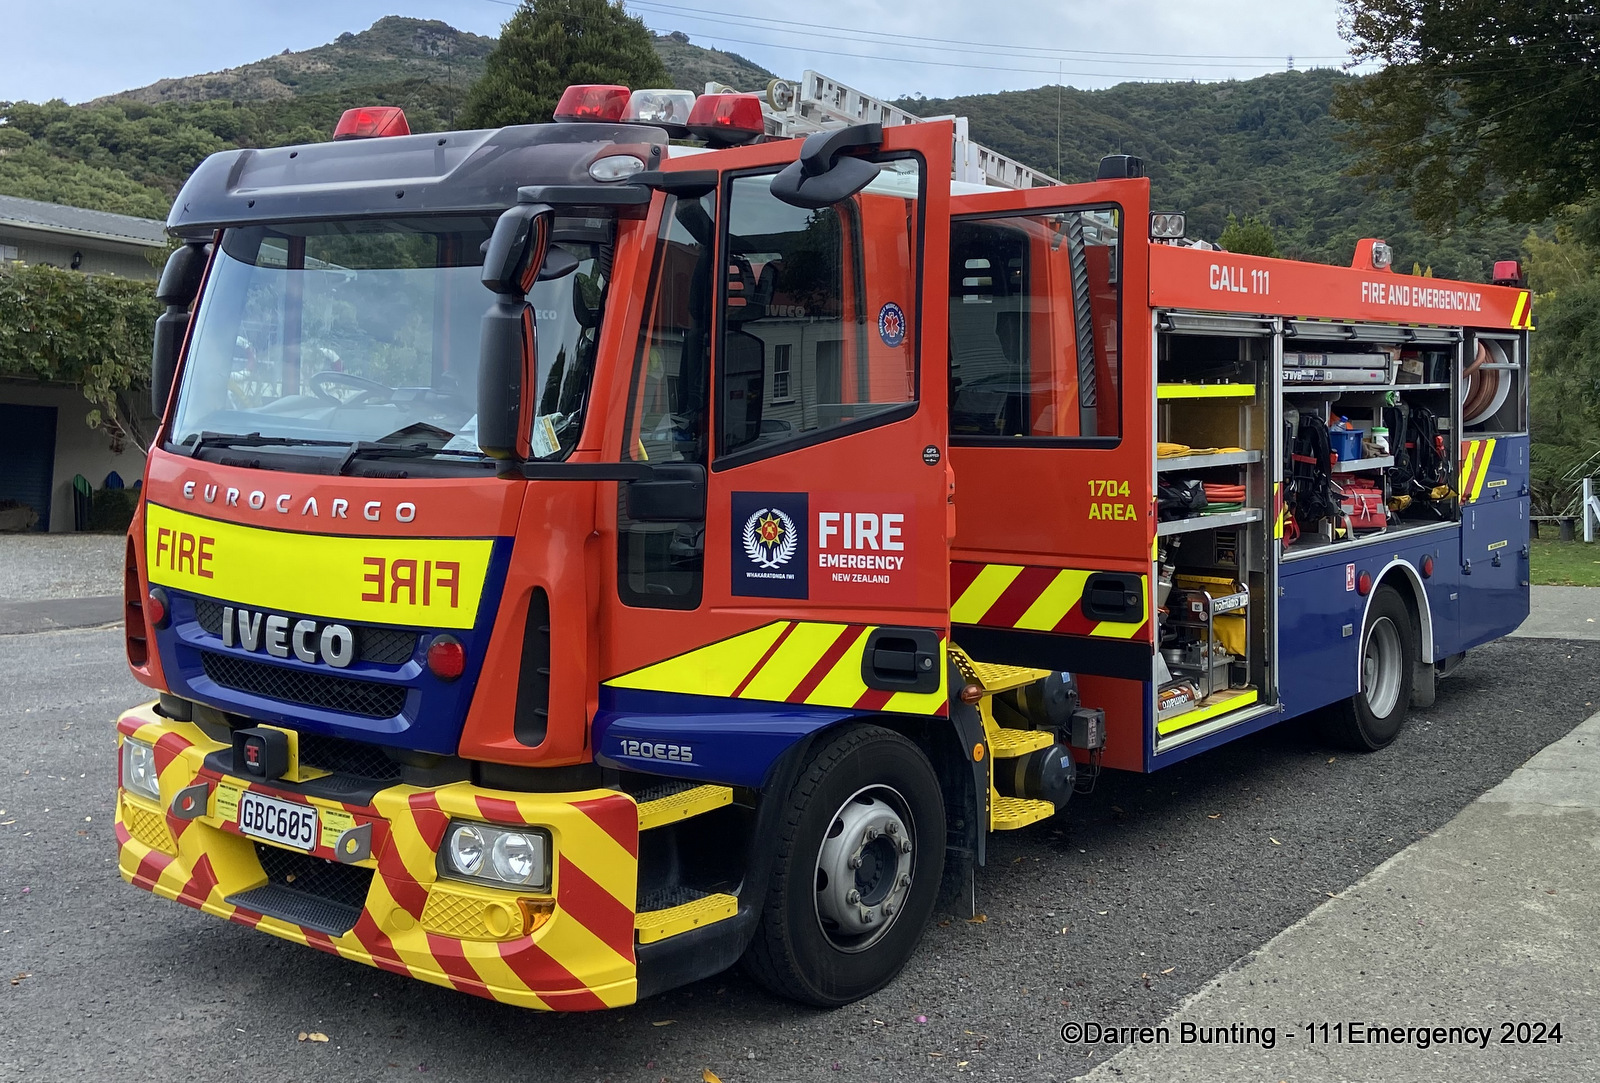
AREA 1704 Ex. Greymouth 617, Cobden 621, Motueka 367 2011 Iveco Euro Cargo ML120E25 GBC 605 Photo by Daniel Capon |
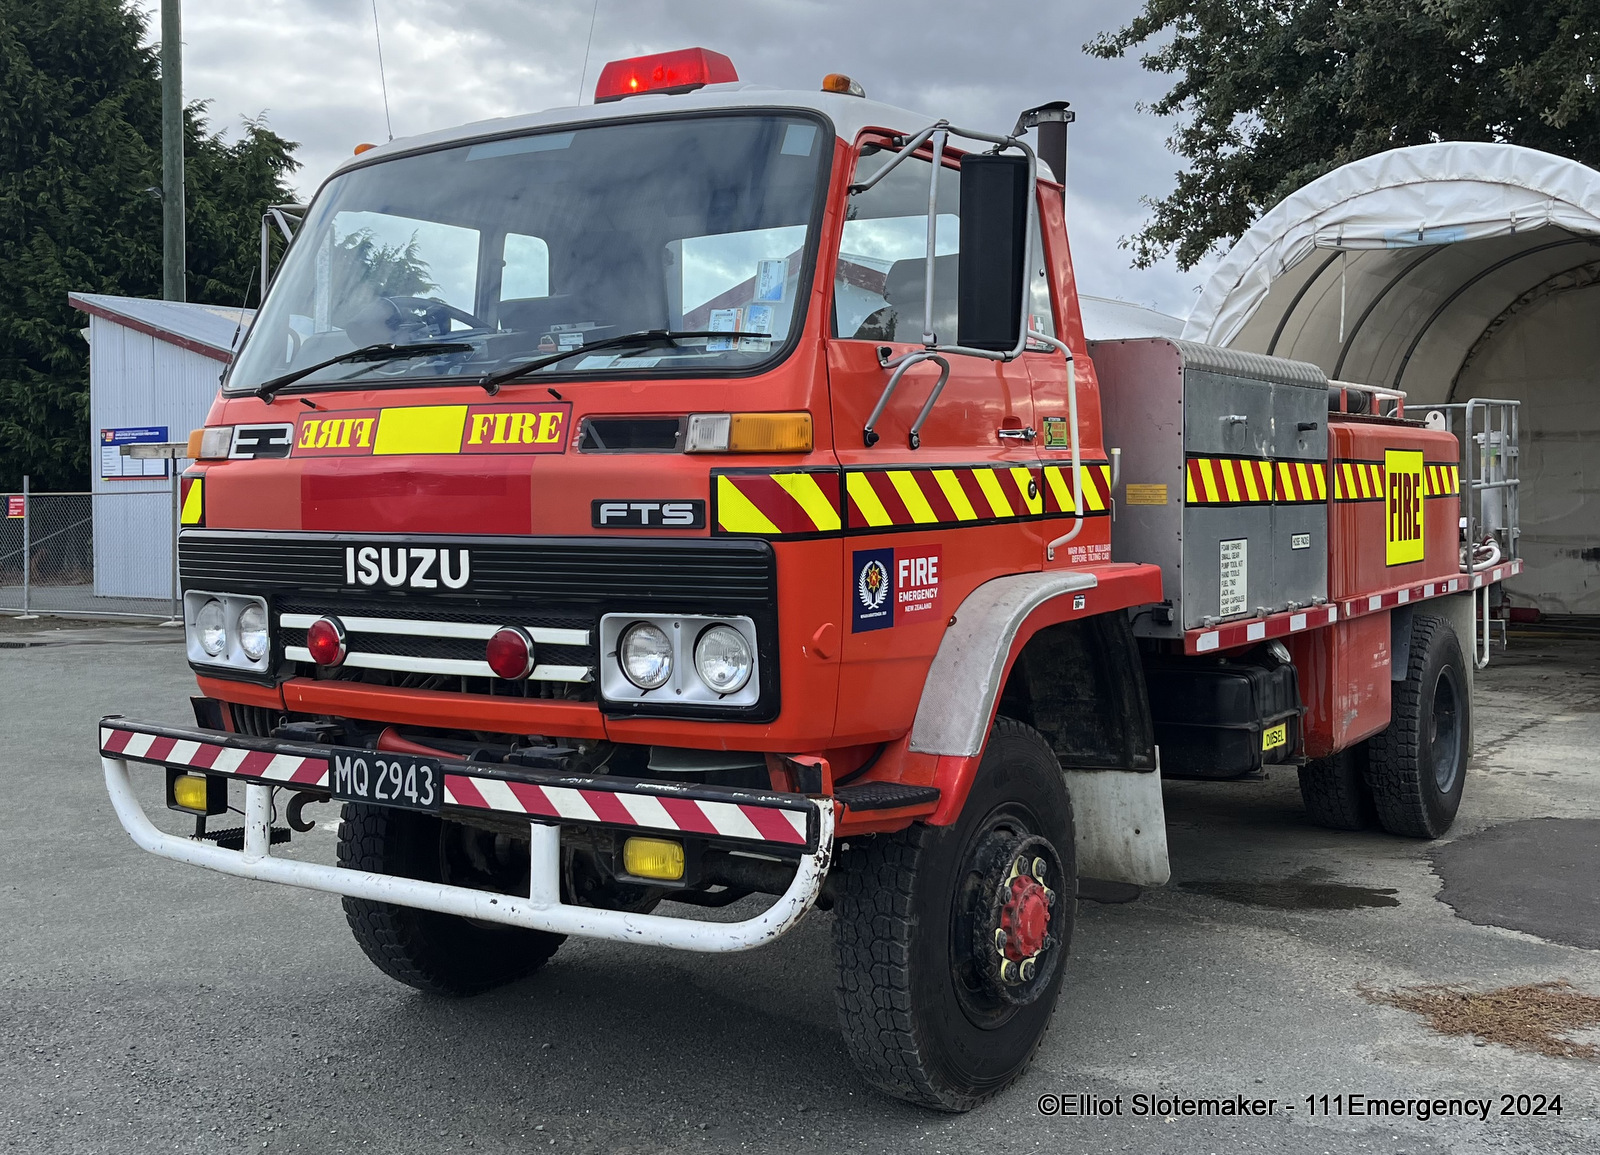
AREA 1775 1986 Isuzu FTS MQ 2943 Ex. Baigent Forest Industries, Waipara, Sefton, Spring Grove (Carter Holt Harvey), Brightwater, Upper Moutere 3211 Photo by David Miller |
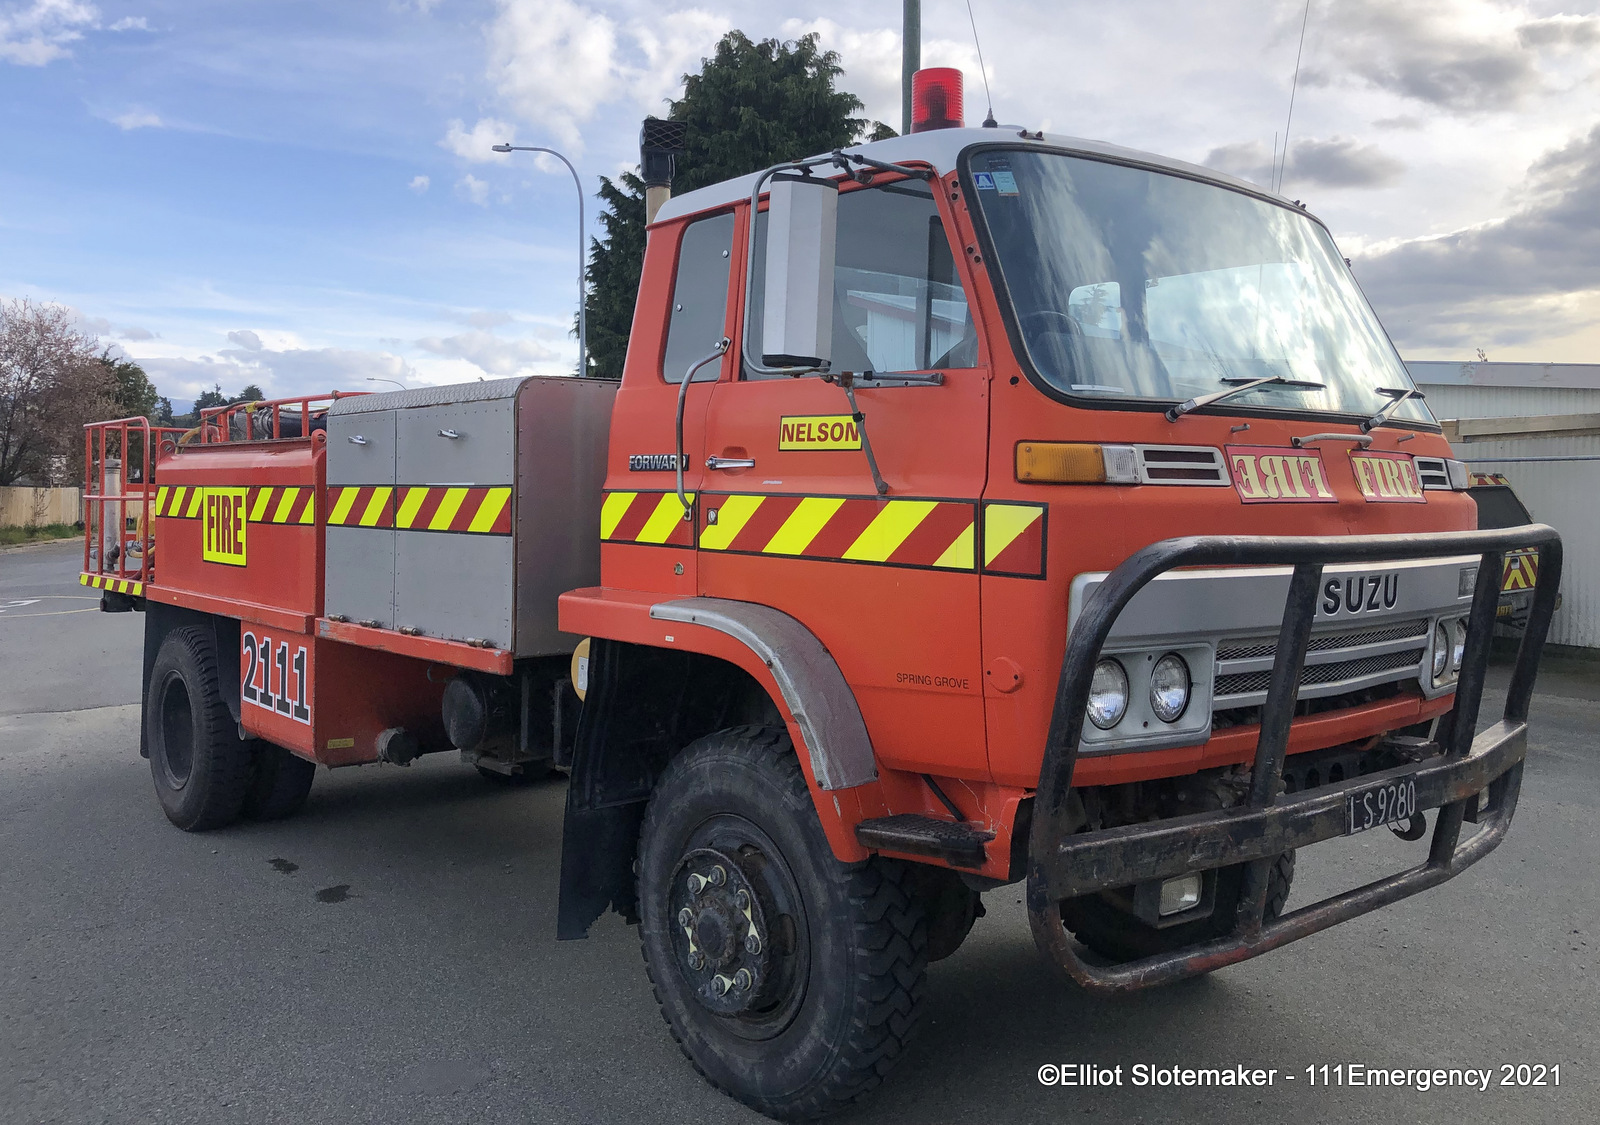
AREA 1776 1985 Isuzu JCS LS 9280 Ex. Baigent Forest Industries, Nelson (Carter Holt Harvey) Photo by Elliot Slotemaker |
|
|
AREA 1801
|
 |
|
|
|
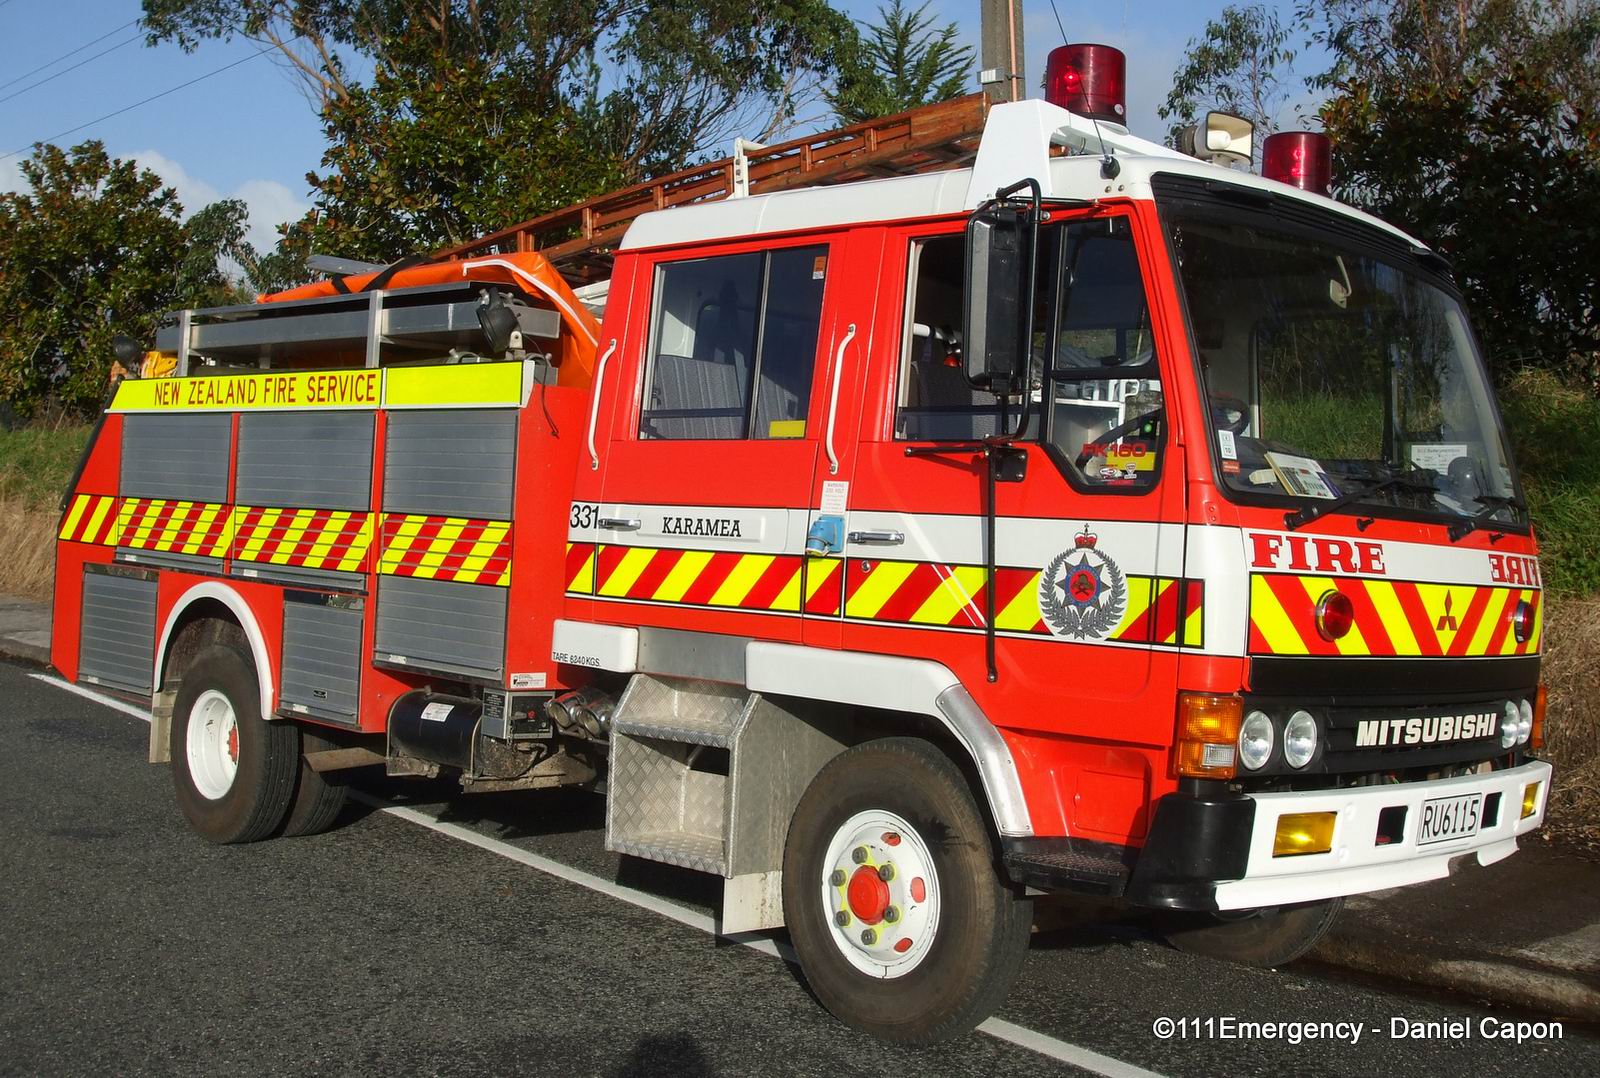
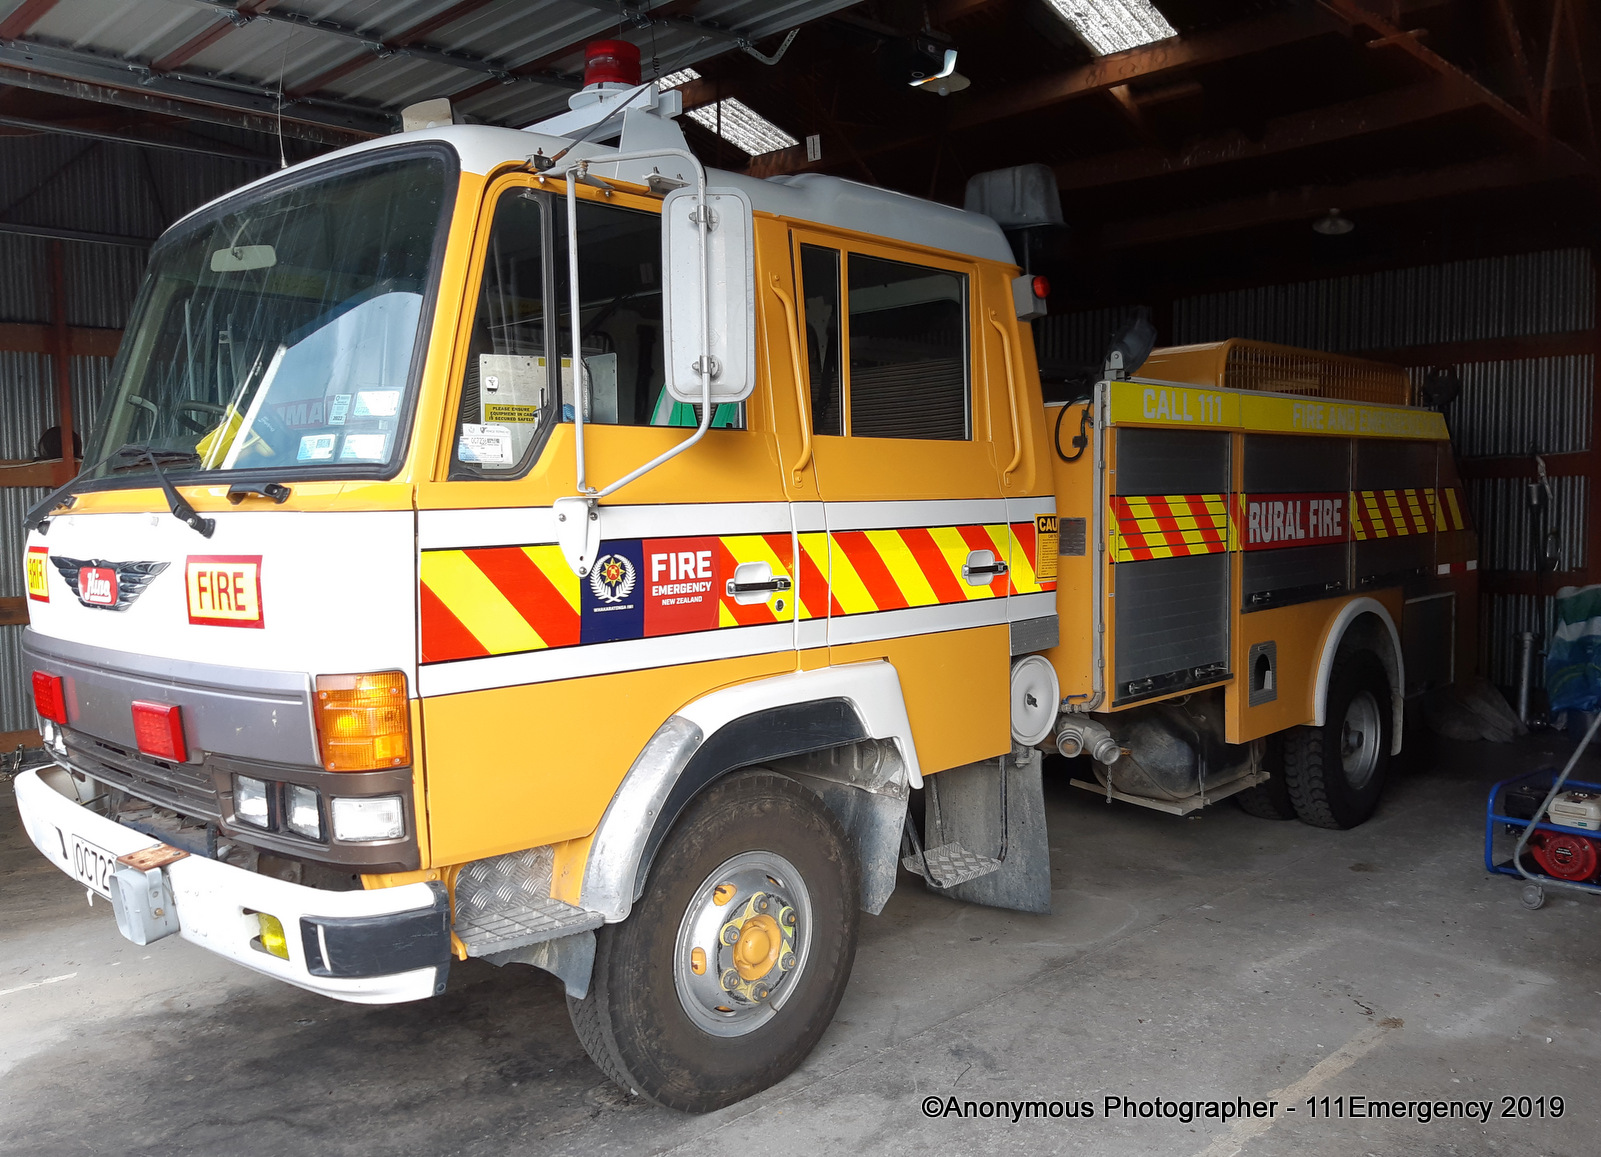
AREA 1802 1992 Mitsubishi FK160F RU 6115 Ex. Karamea 807, AREA 1801 Photo by Daniel Capon |
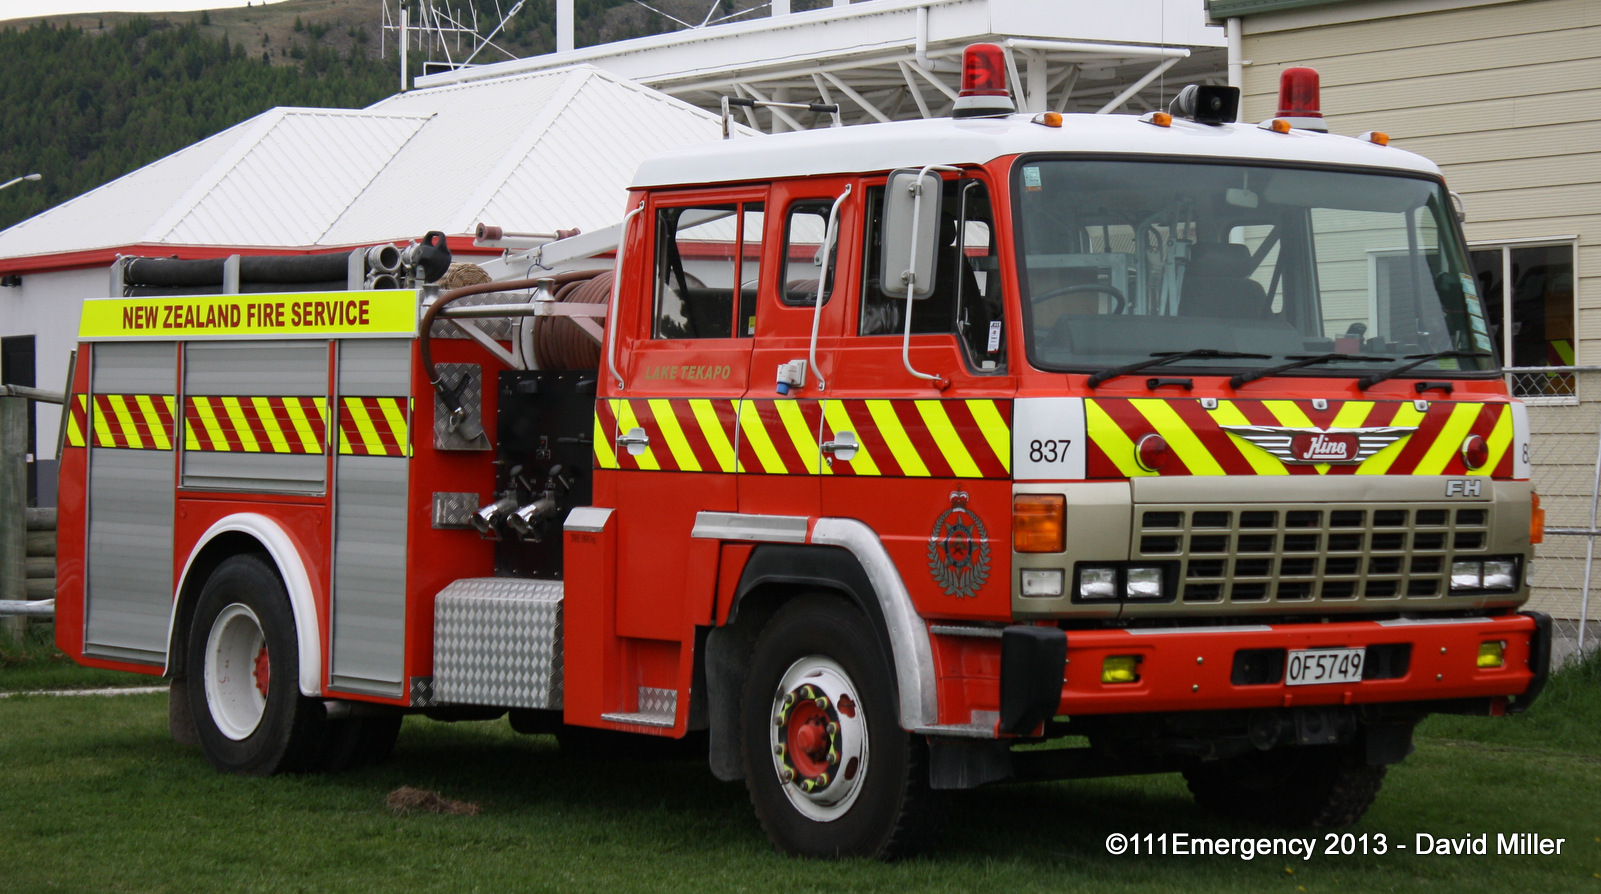
Area 1803 (West Coast Relief) Ex. Twizel 907, Lake Tekapo 837 1989 Hino FH222 OF 5749 Photo by David Miller |
||
|
|
 |
|
|
|
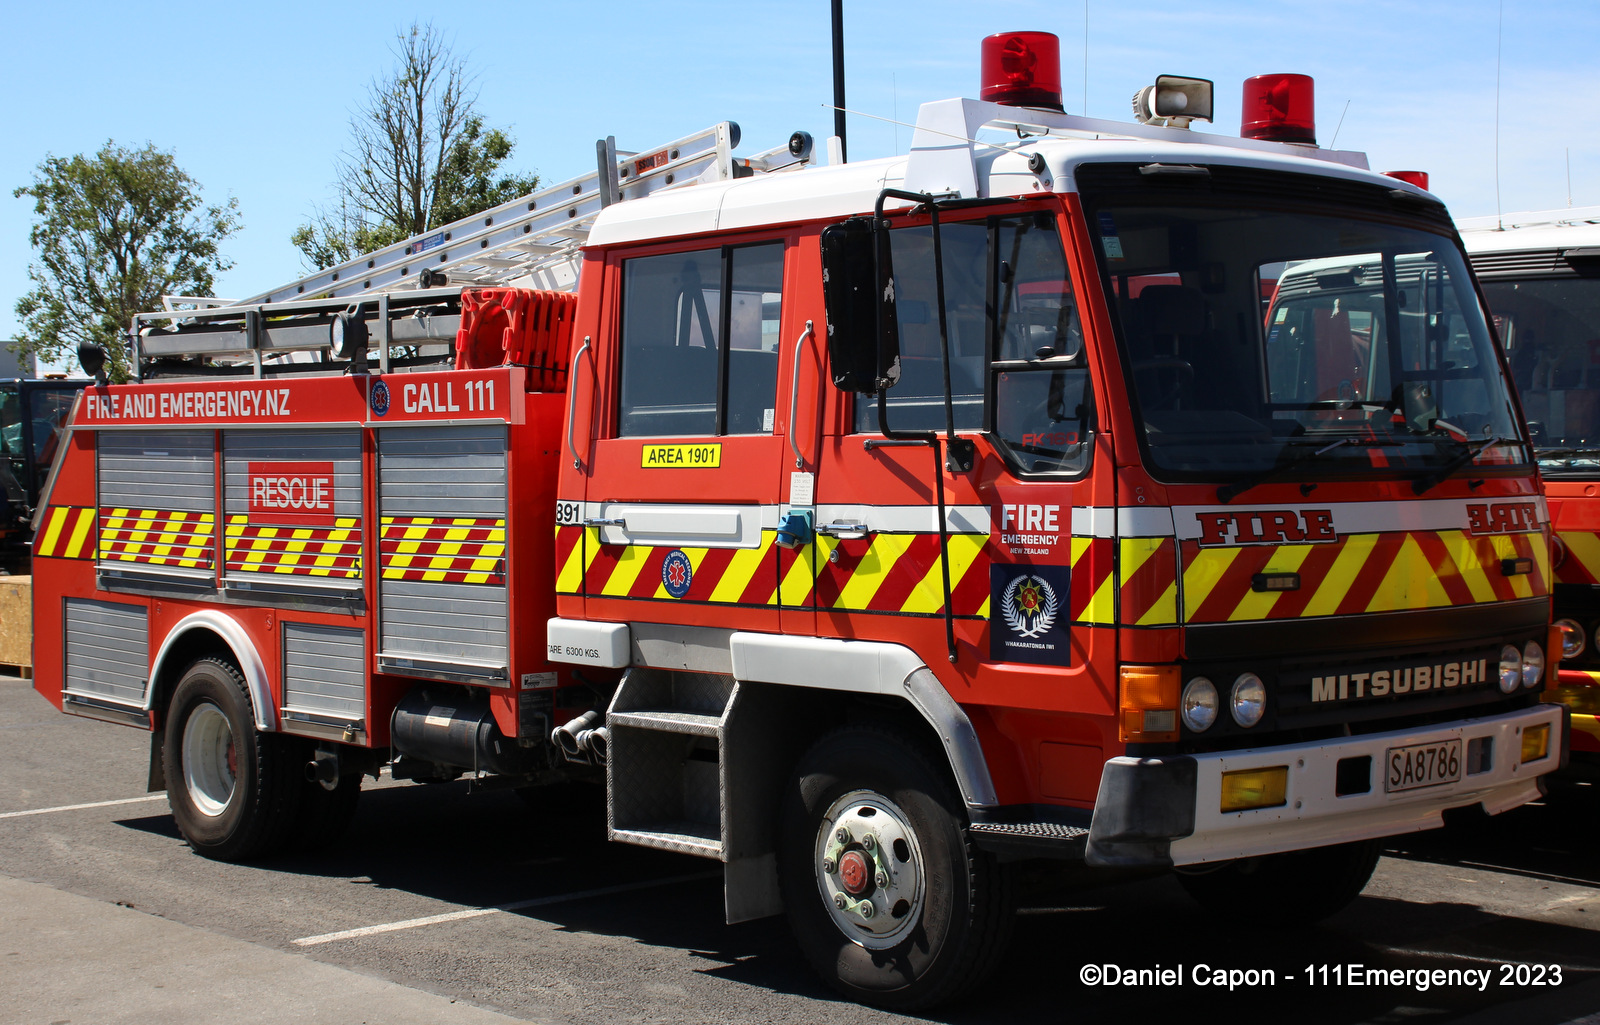
AREA 1901 (Canterbury Relief) 1993 Mitsubishi FK160F SA 8786 Photo donated by David Miller |
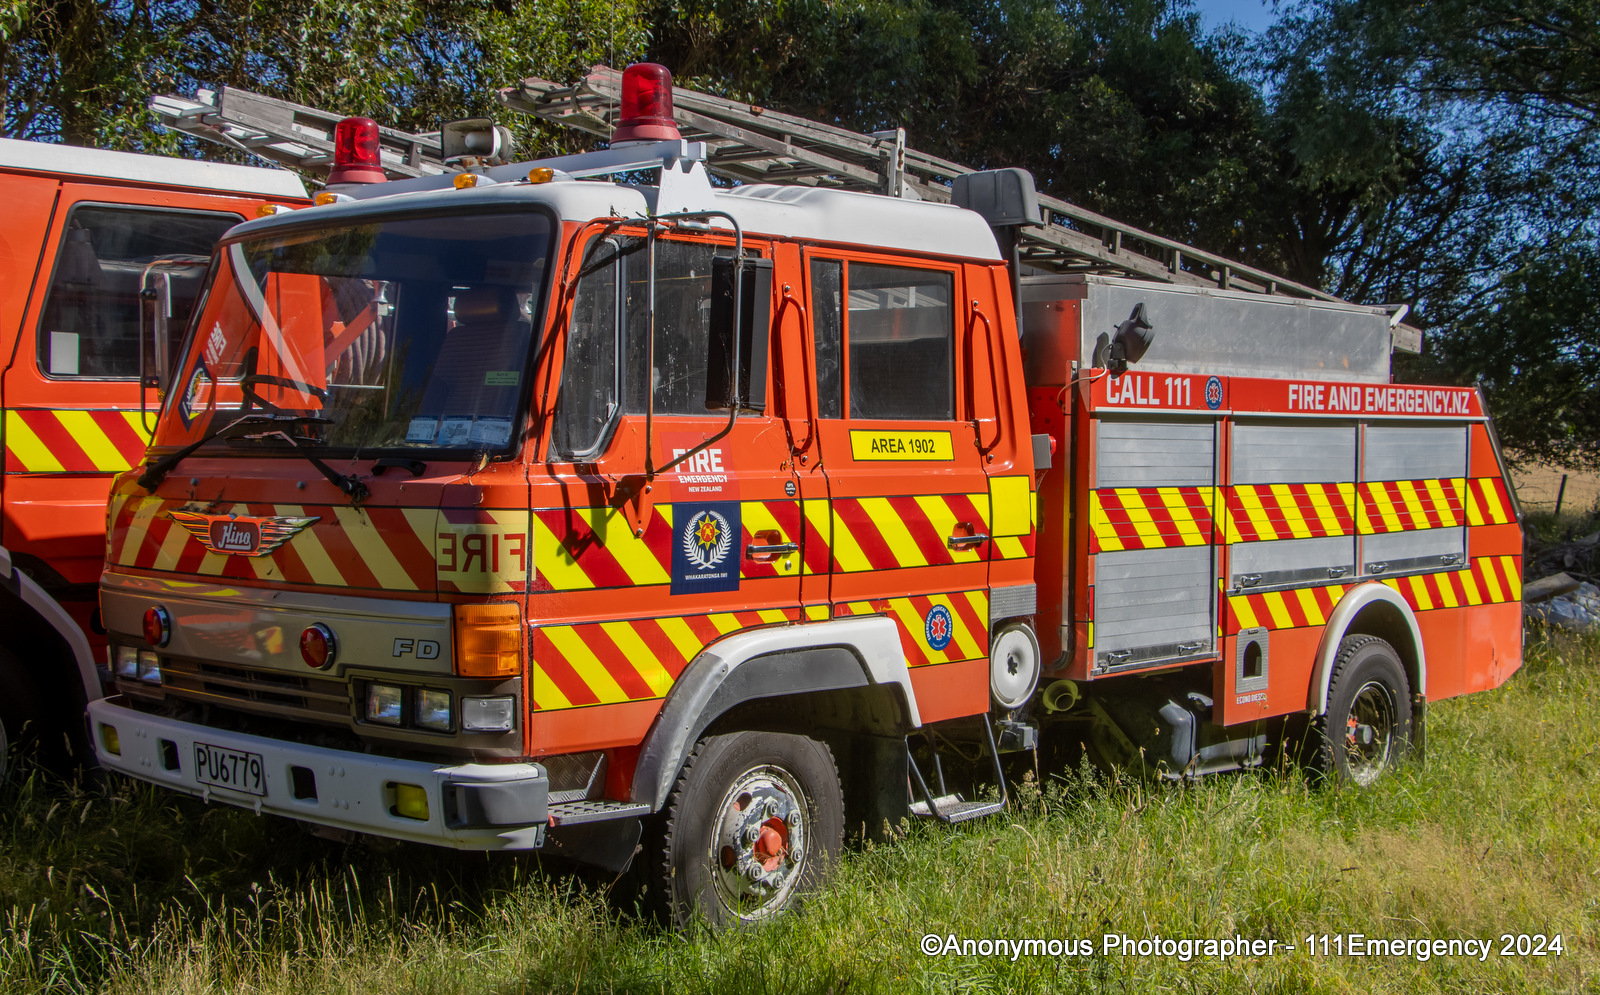
AREA 1902 Ex. Tangimoana, Halcombe, Amberley 1990 Hino FD162LA PU 6779 Photo by Ian King |
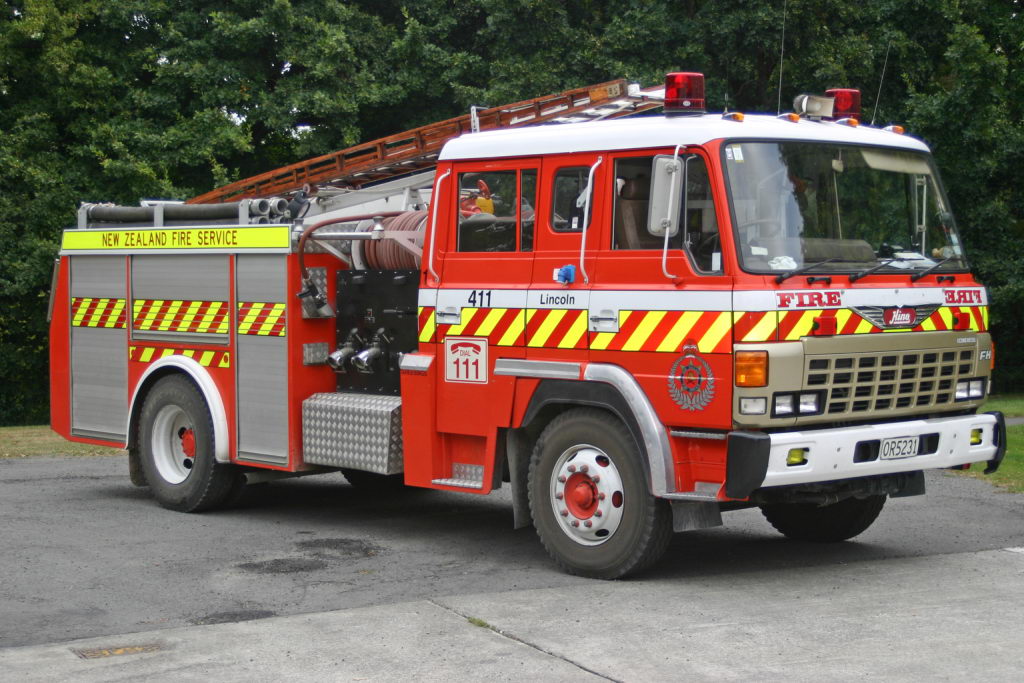
AREA 1903 Ex. Lincoln, Kaiapoi. Hanmer Springs 1989 Hino FH222 OR 5231 Photo by Kevin Greene |
|
|
|
|
|
|
|
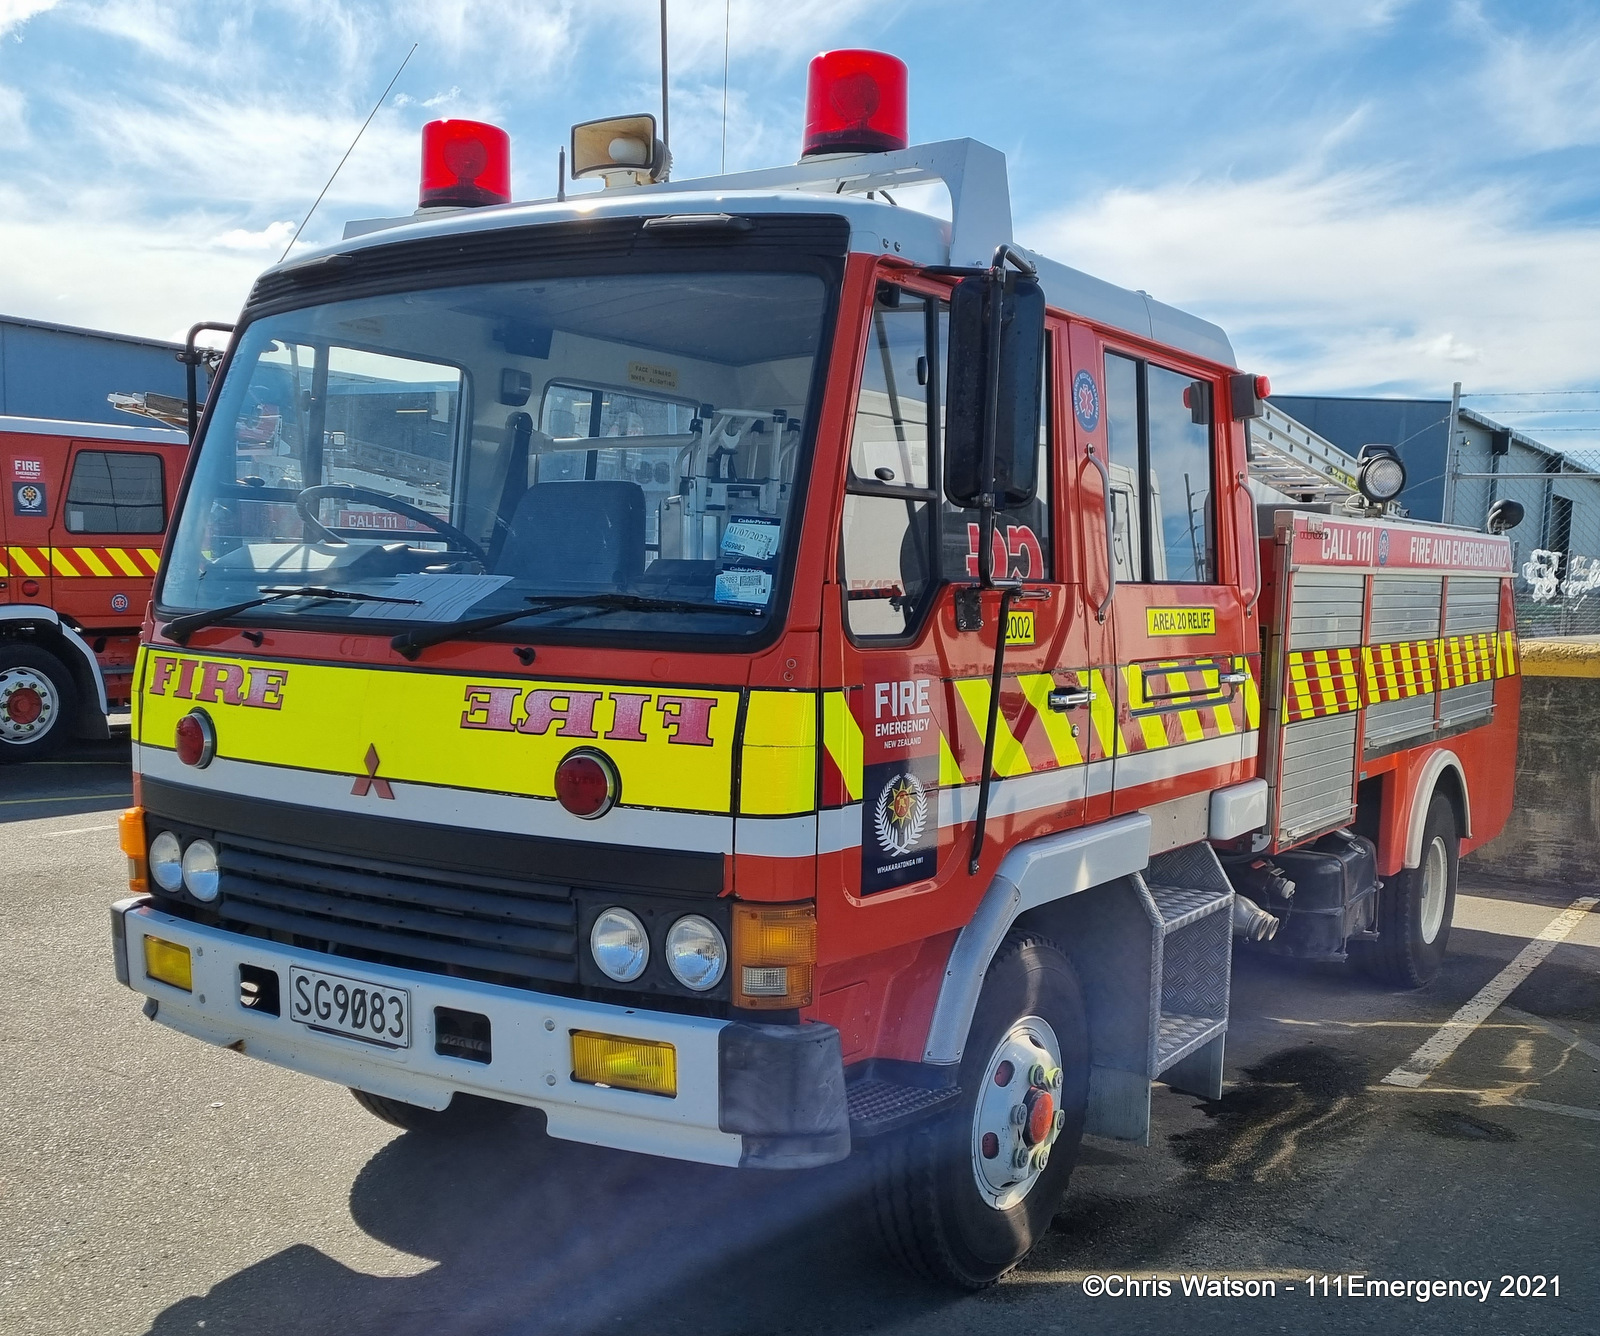
AREA 2001 Ex. Lake Tekapo 837 1993 Mitsubishi FK160F SG 9083 Photo by Chris Watson |
AREA 2002 Ex. Blenheim 247 2010 Iveco EuroCargo ML120E25 FKY 452 Photo by Kirk Gillam |
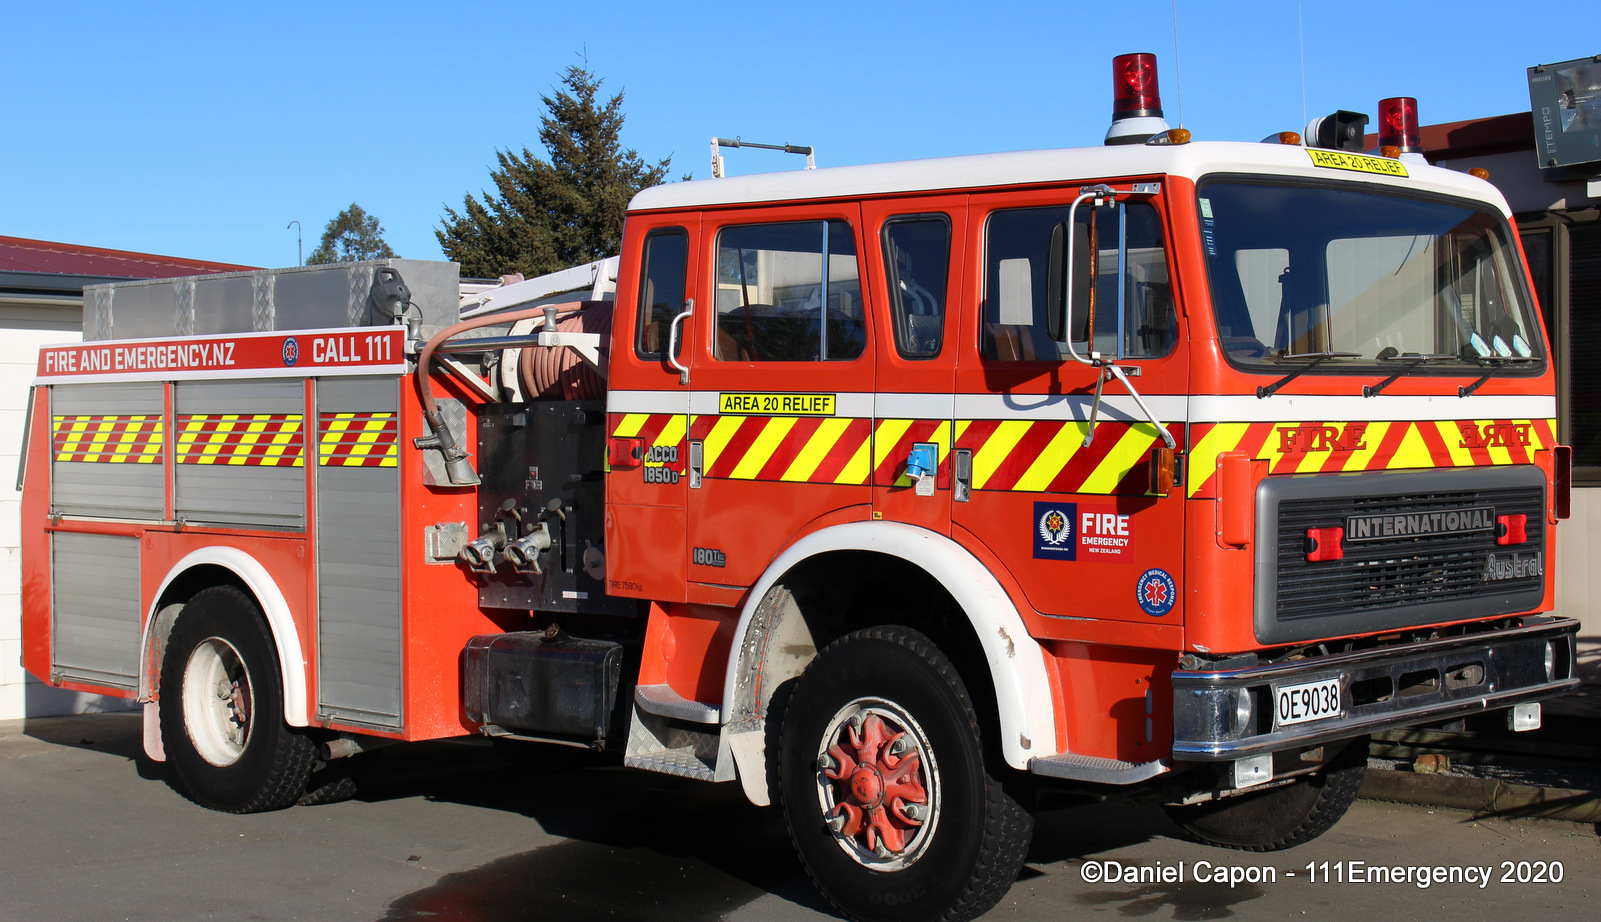
AREA 2003 Ex. Brooklands 311 1988 International 1850D OE 9038 Photo by Daniel Capon |
|
|
|
 |
 |
|
|
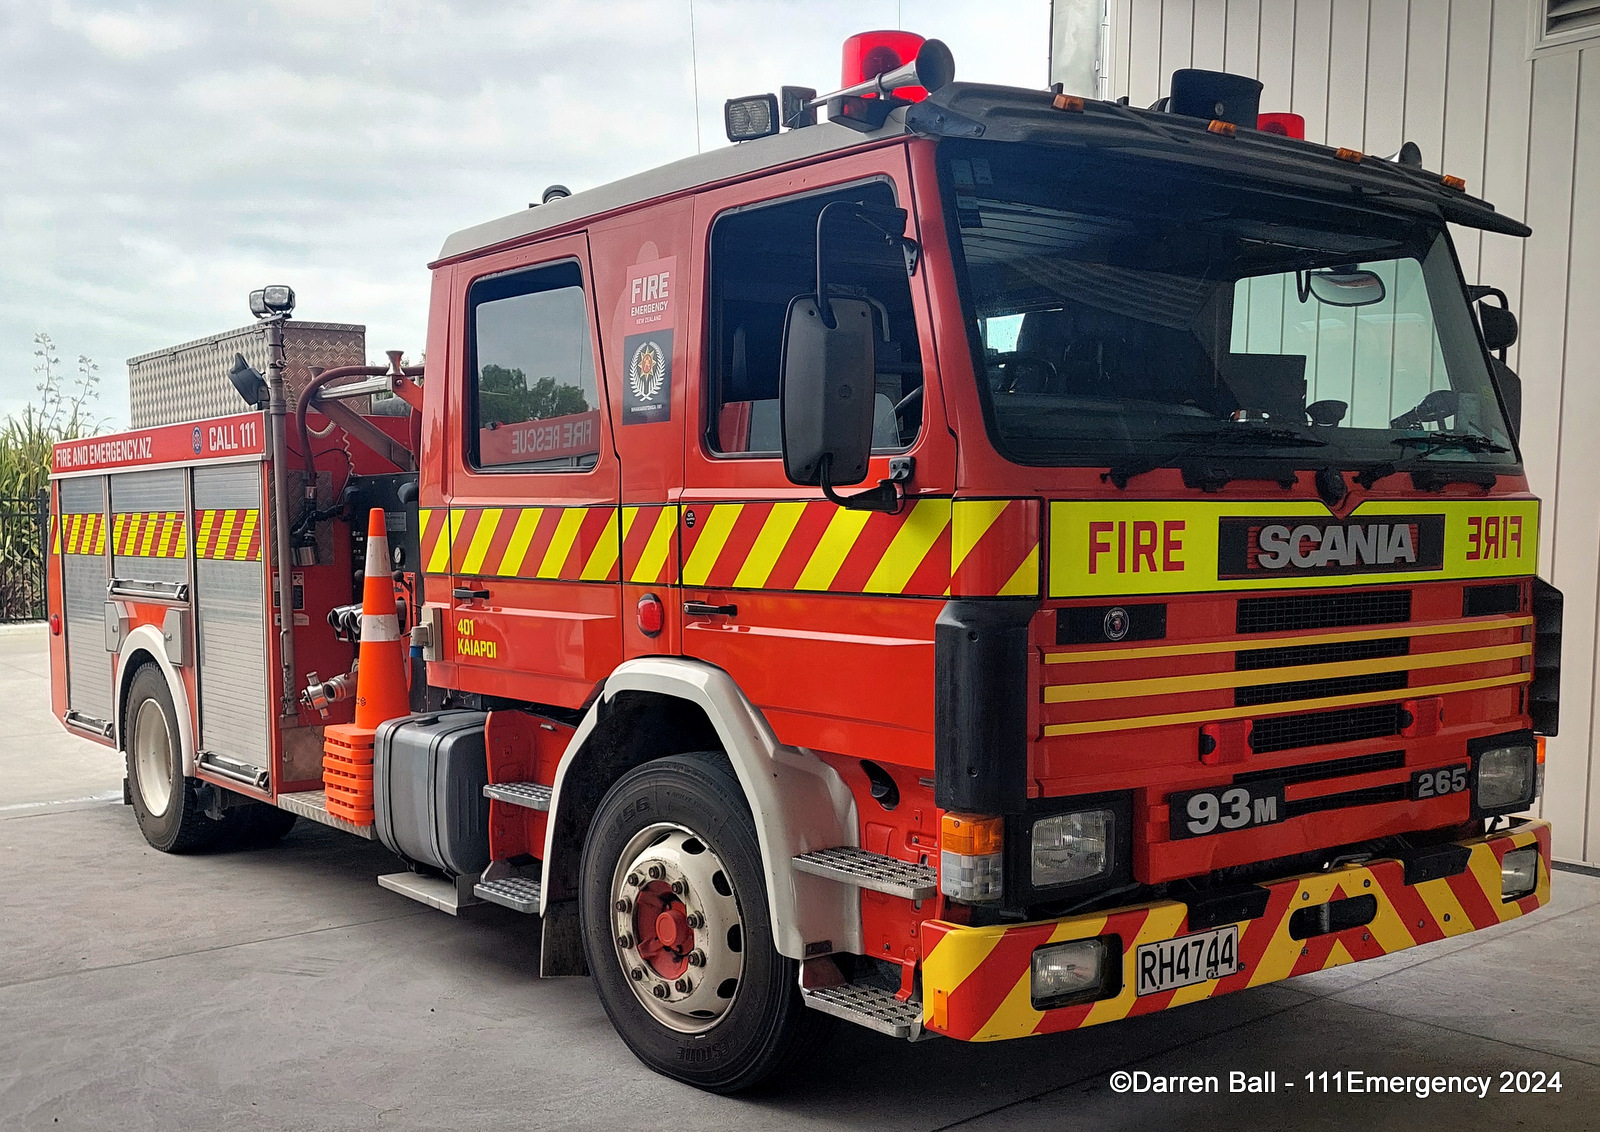
AREA 2006 Ex. Balclutha 467, Temuka 867, AREA2202 1991 Scania G93M RH 4744 Anonymous Photographer |
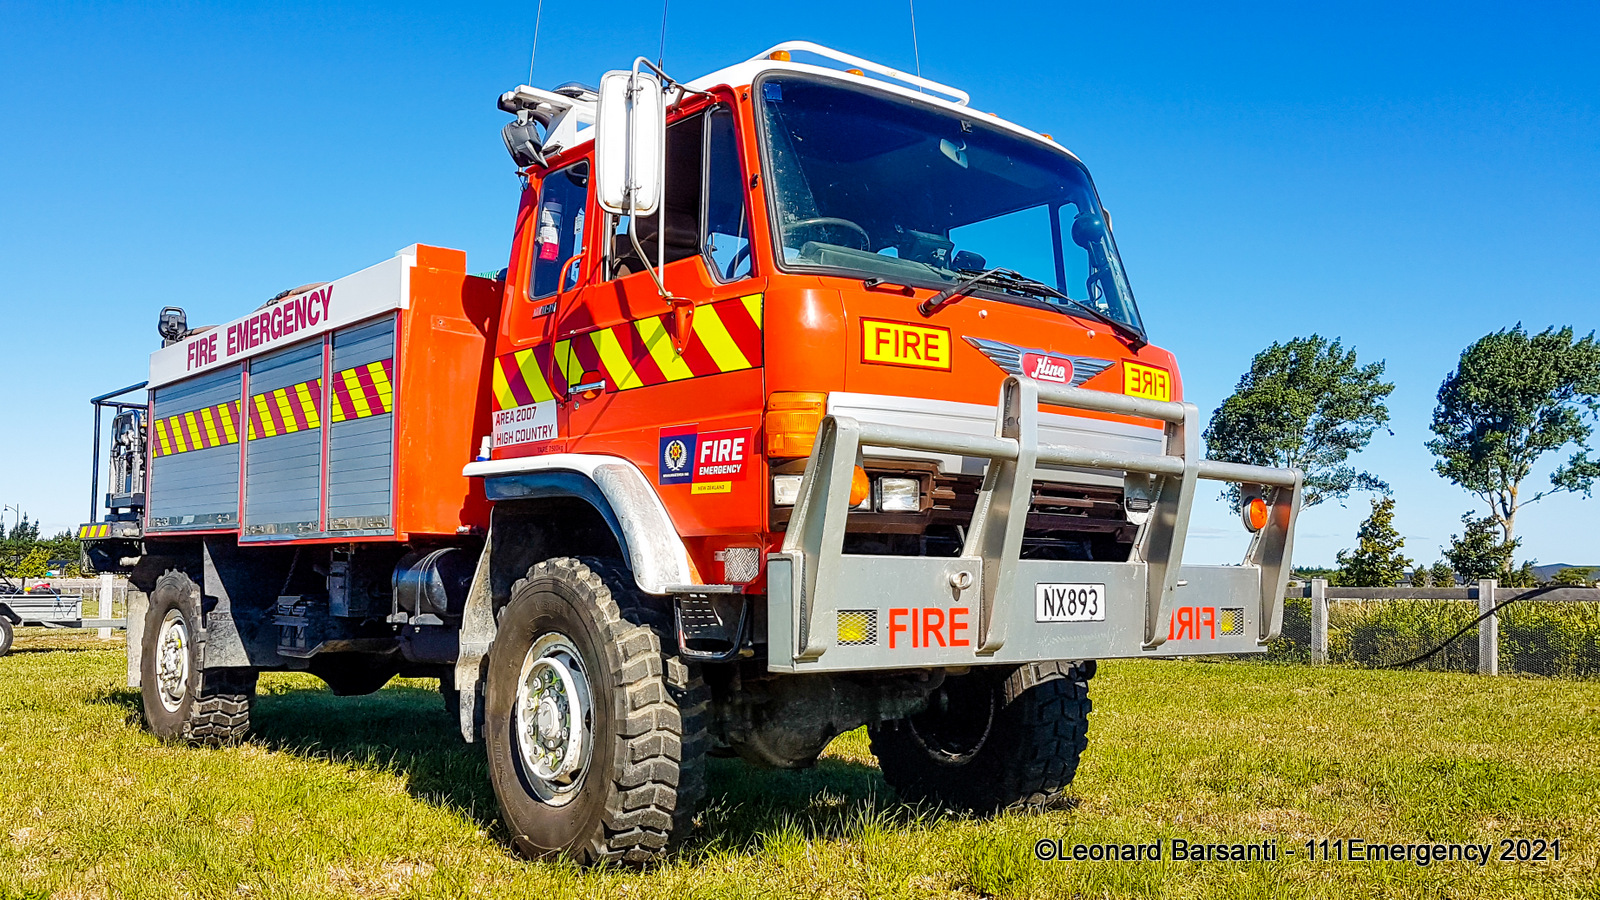
AREA 2007 (Used by Canterbury High Country Fire Team) Ex. Burnham, Victoria Park Rural Fire 1811, Little River 4711 1986 Hino GT11-18 NX 893 Photo by Leonard Barsanti |
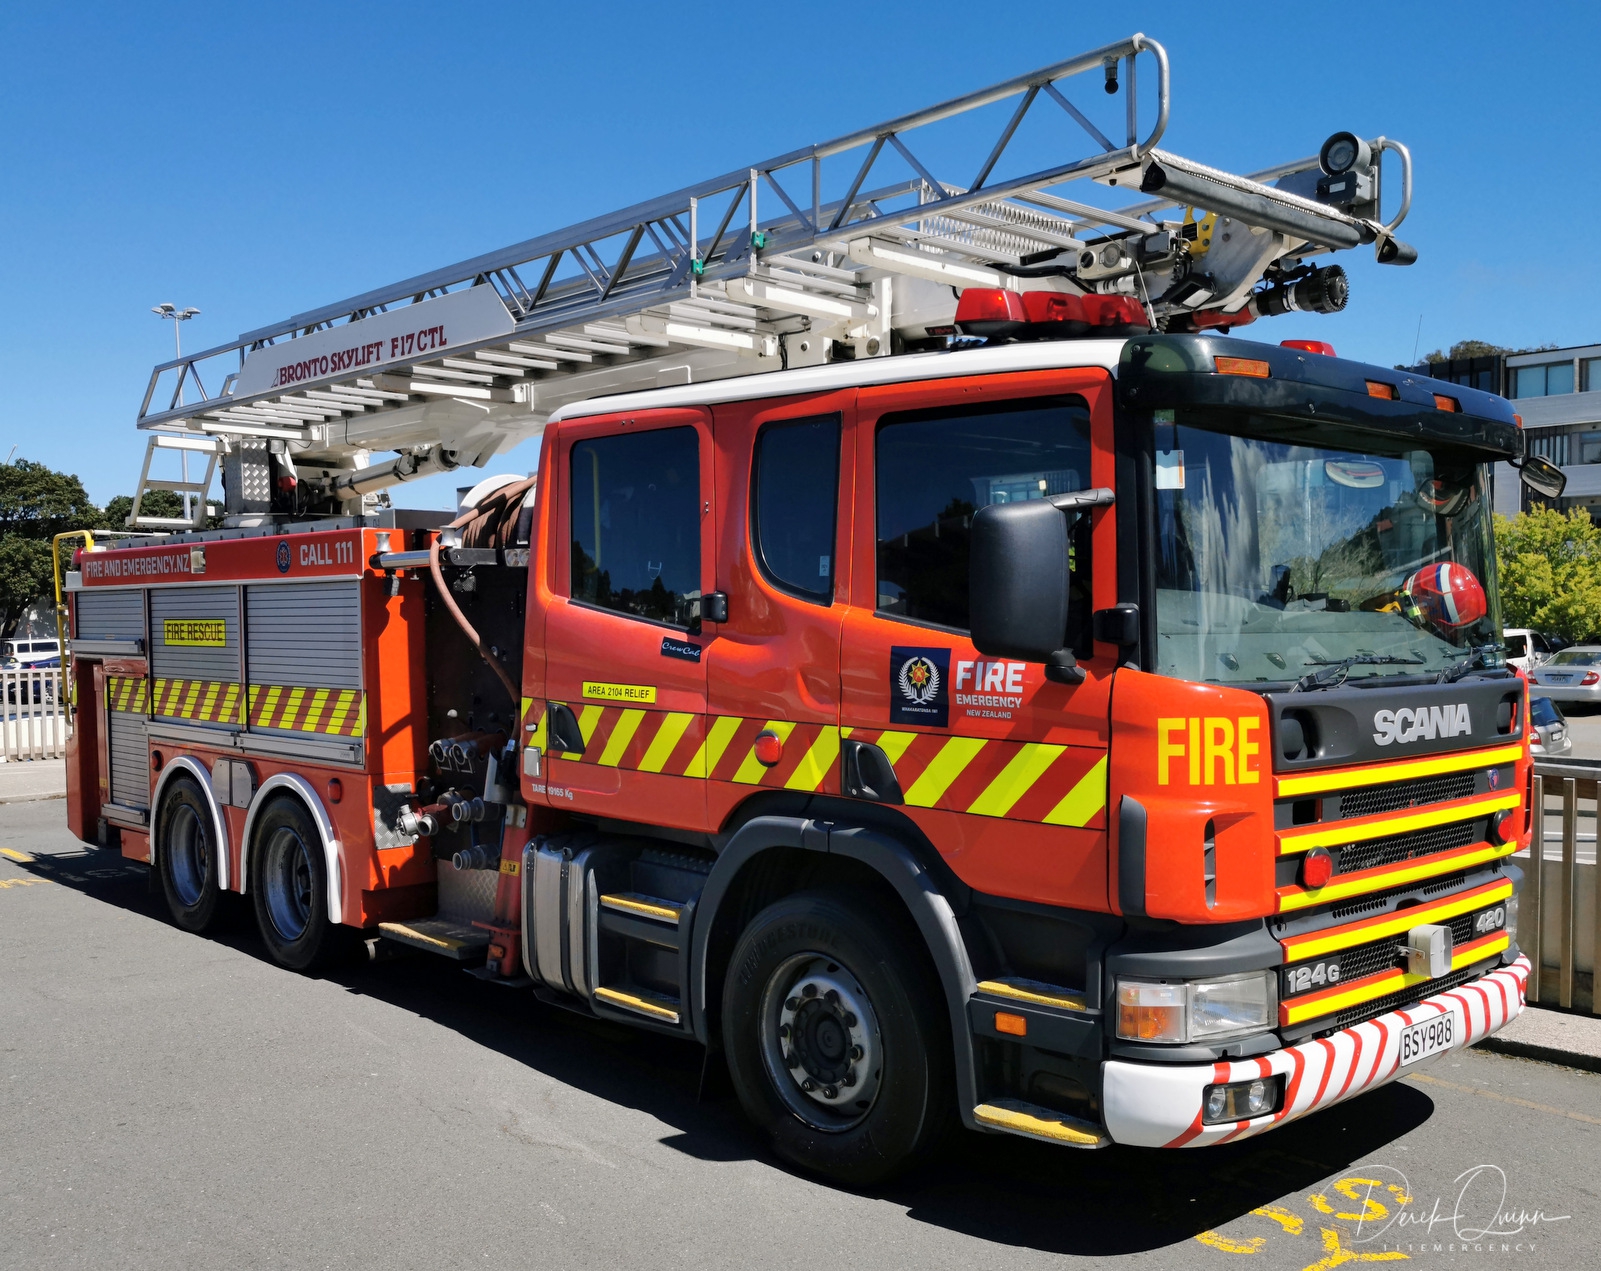
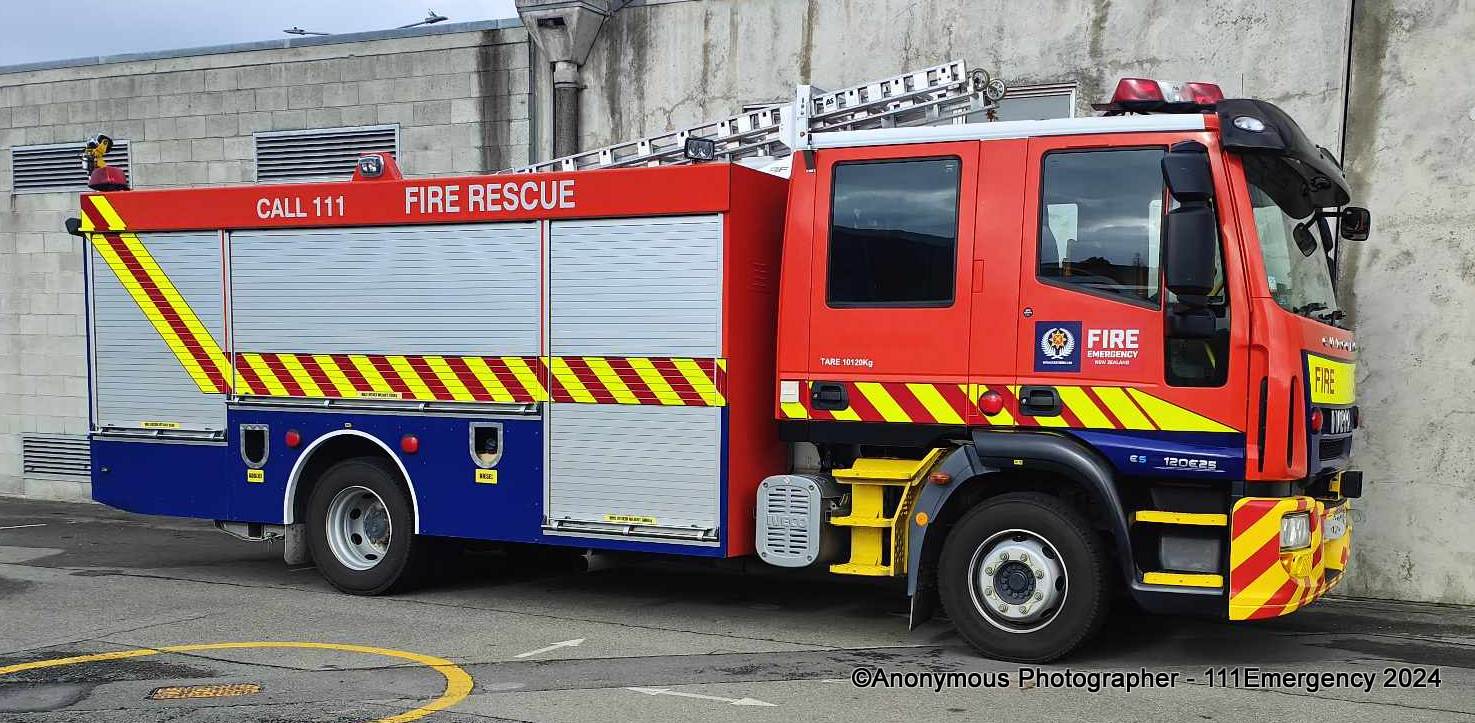
AREA 2104 Ex. Invercargill 214, TRANS444 2003 Scania 124G GB6X4NA BSY 908 Photo by Derek Quinn |
|
|
|
 |
|
|
|
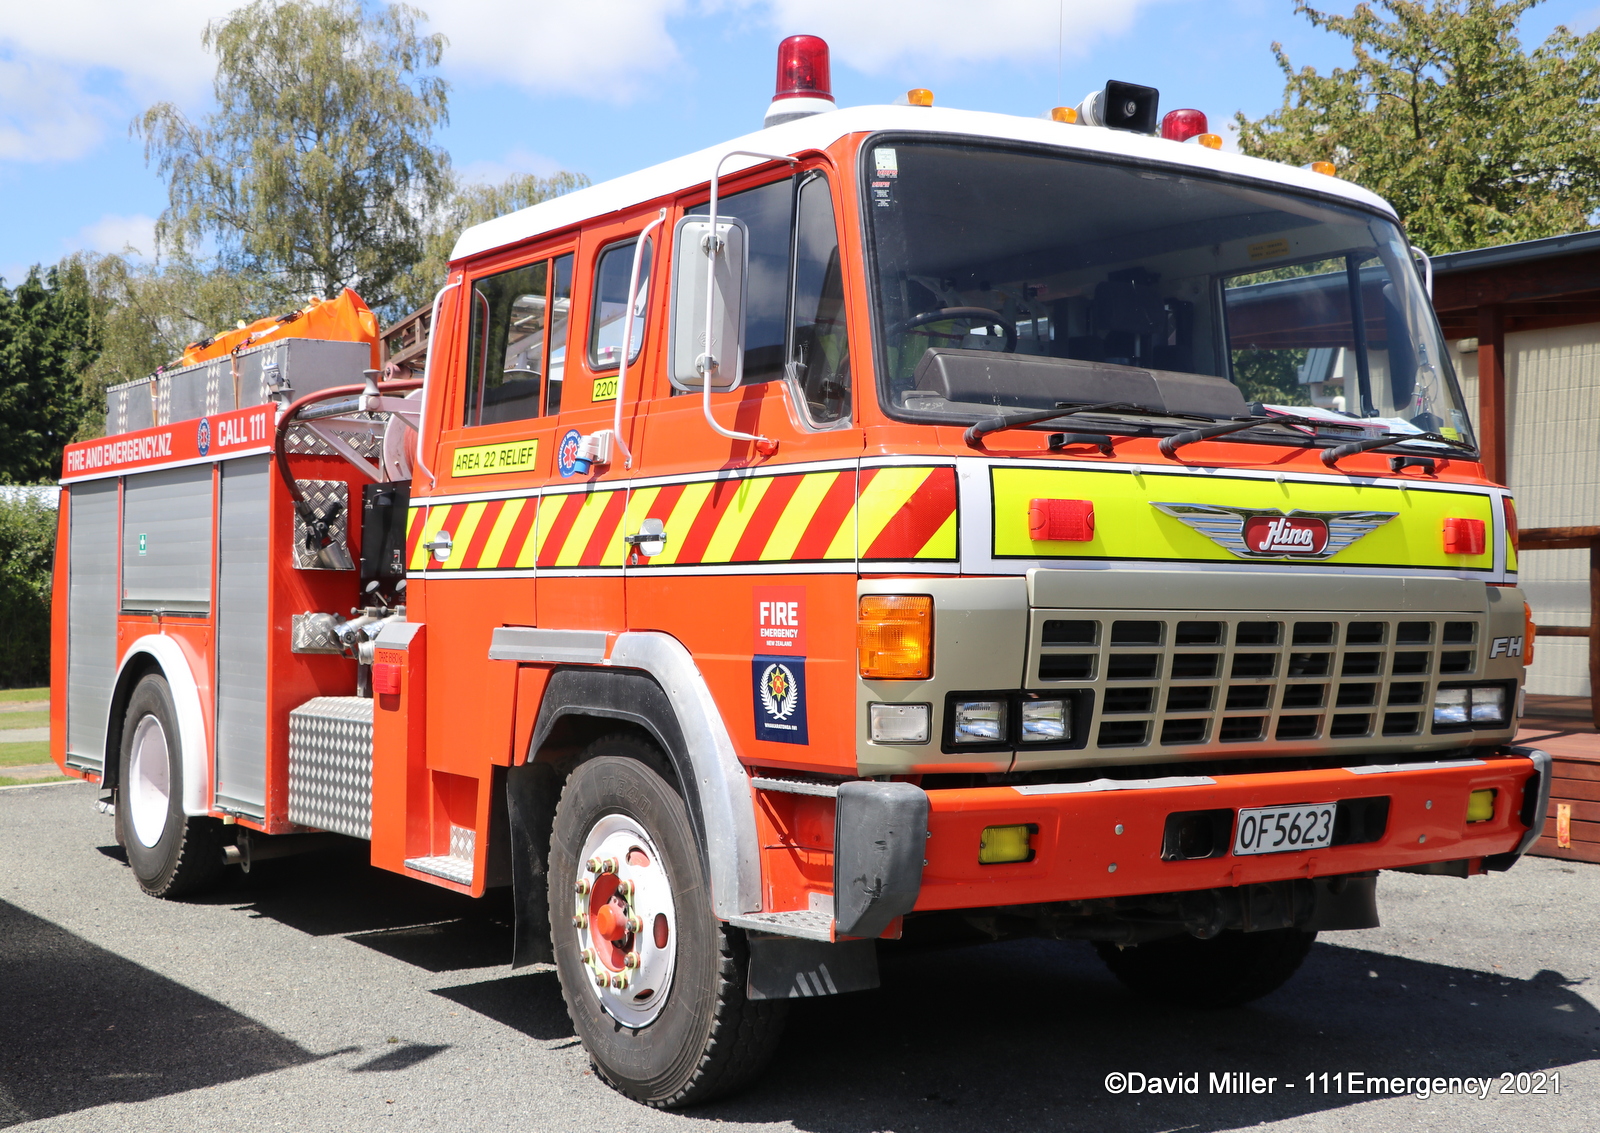
AREA 2201 Ex. Pleasant Point 851, AREA2203 1989 Hino FH222 OF 5623 Photo by David Miller |
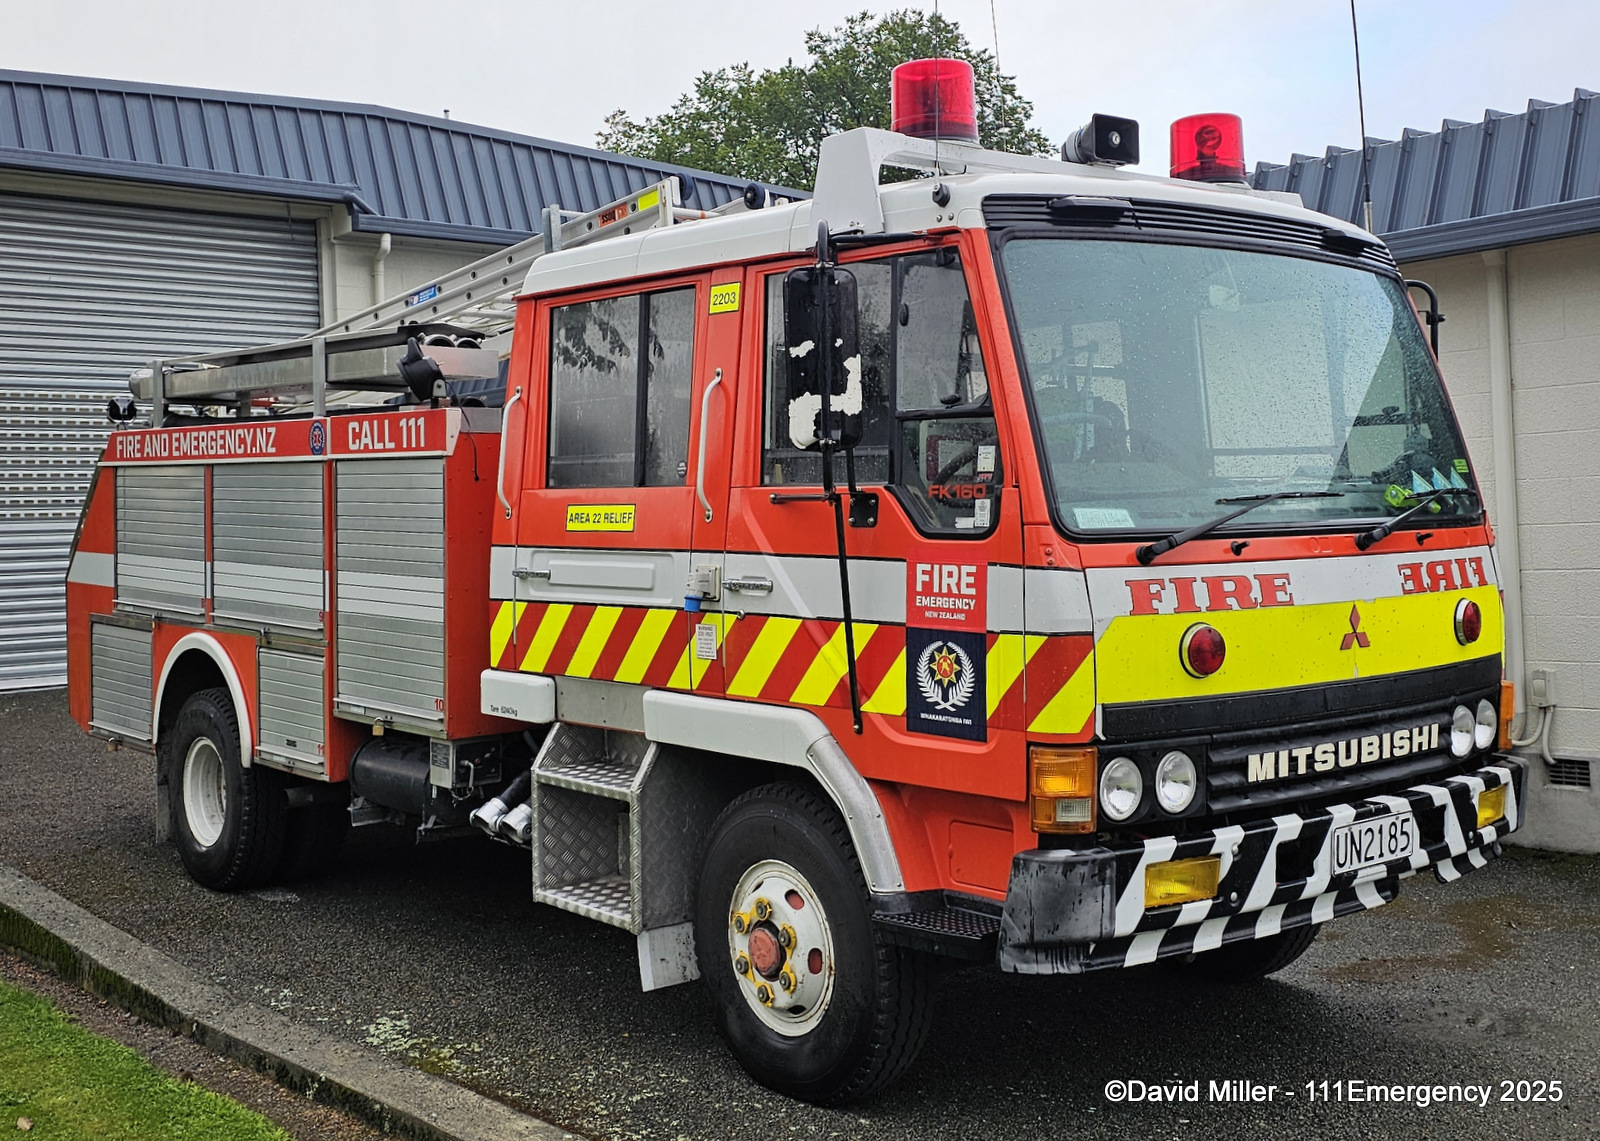
AREA 2203 Ex. FAIRLIE 821, ST ANDREWS 871 1996 Mitsubishi FK160F UN 2185 Anonymous Photographer |
AREA 2205 Ex. Culverden 667, Kaikoura 752 1992 Hino FD162LA RK 3144 Photo by David Miller |
|
 |
 |
 |
|
|
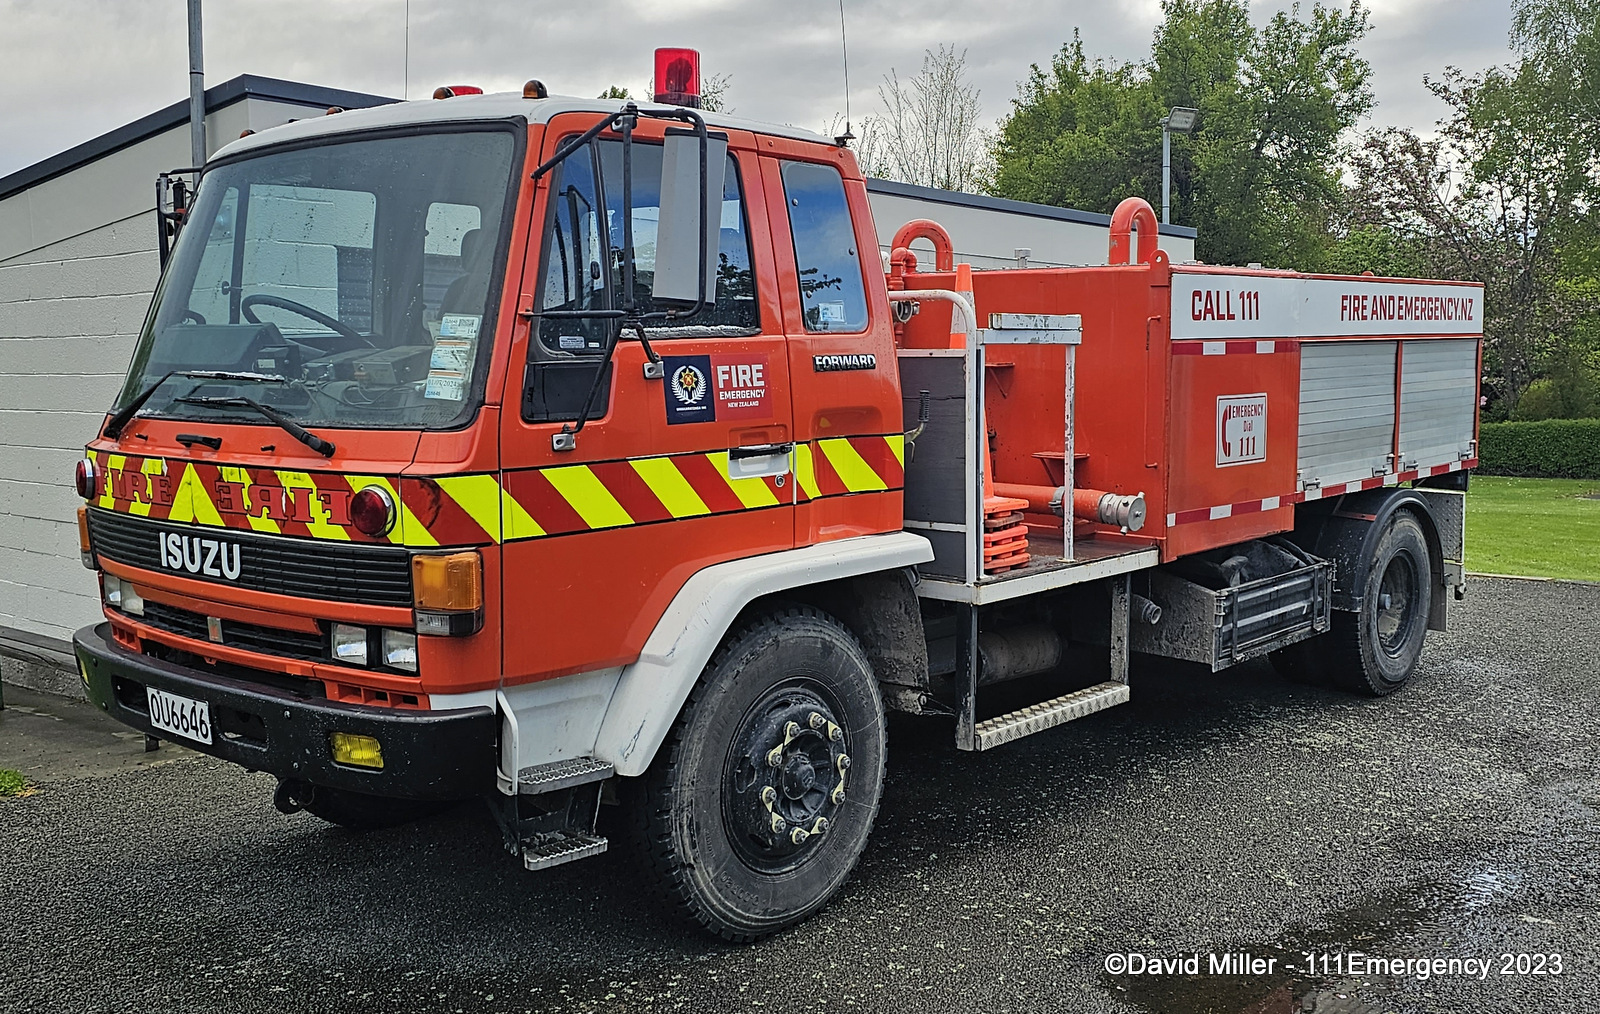
AREA 2211 Ex. St Andrews 8711, Temuka 8611, SCRFSPARE2 1989 Isuzu SBR OU 6646 Photo by David Miller |
AREA 2261 Ex. Kirwee 727, Hororata, Rarangi, Flaxbourne, SCRFSPARE1 1988 Hino FD162LA OC 7236 Anonymous Photographer |
NELSTRNG Ex. Matamata 387 2012 Iveco Eurocargo ML120E25 GRQ 320 Photo by Daniel Capon |
|
 |
 |
||
|
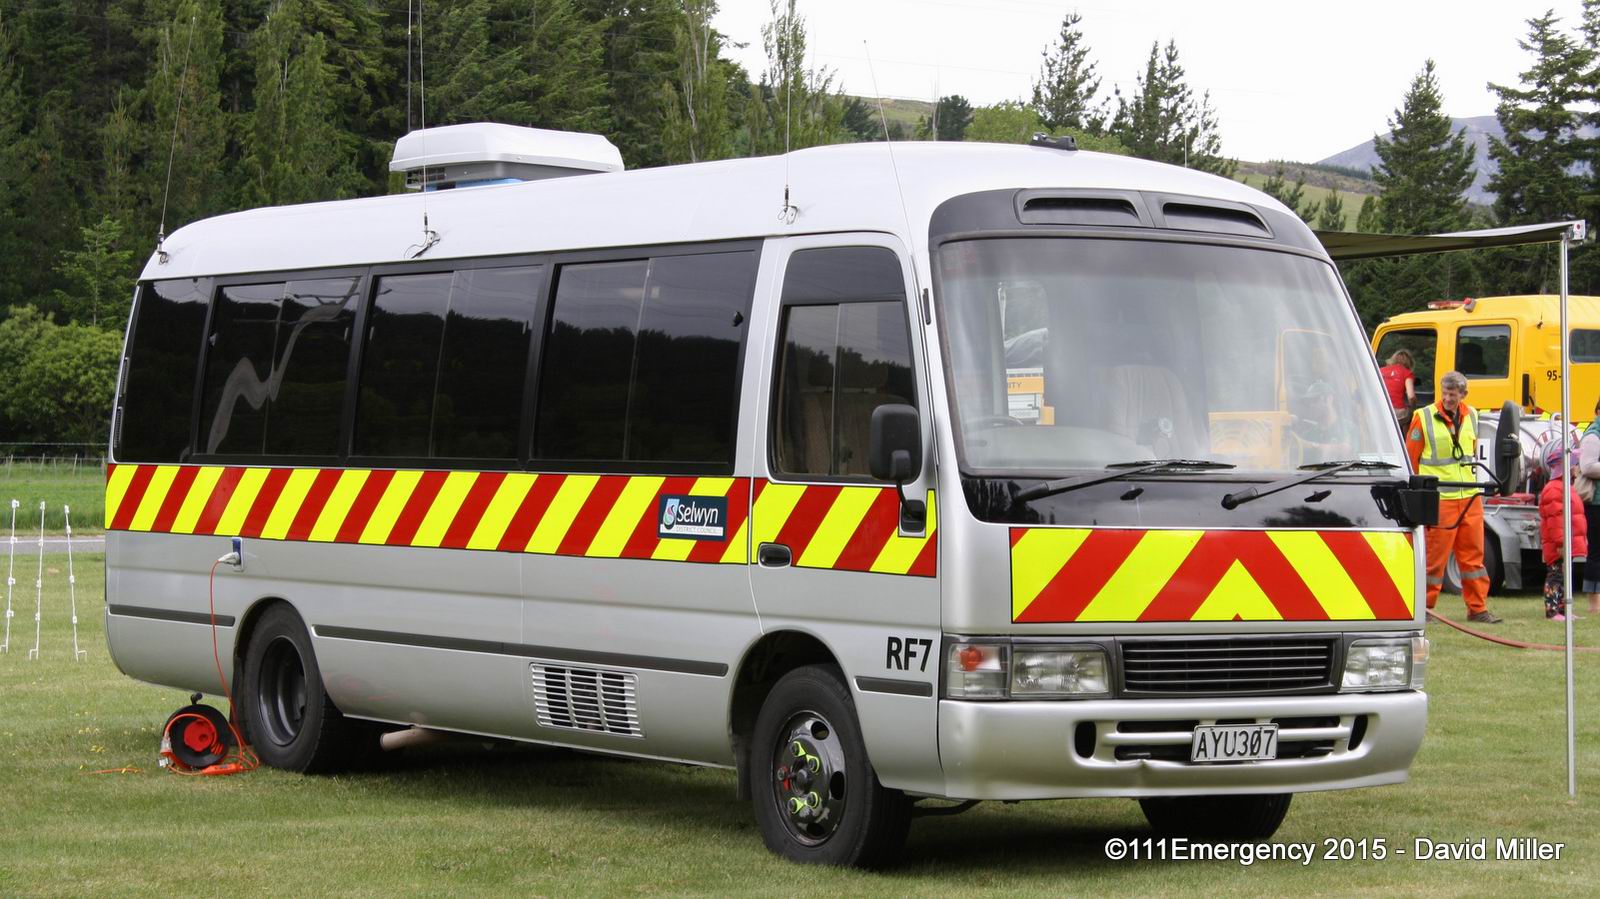
Selwyn 9580 1997 Toyota Coaster AYU 307 Photo by David Miller |
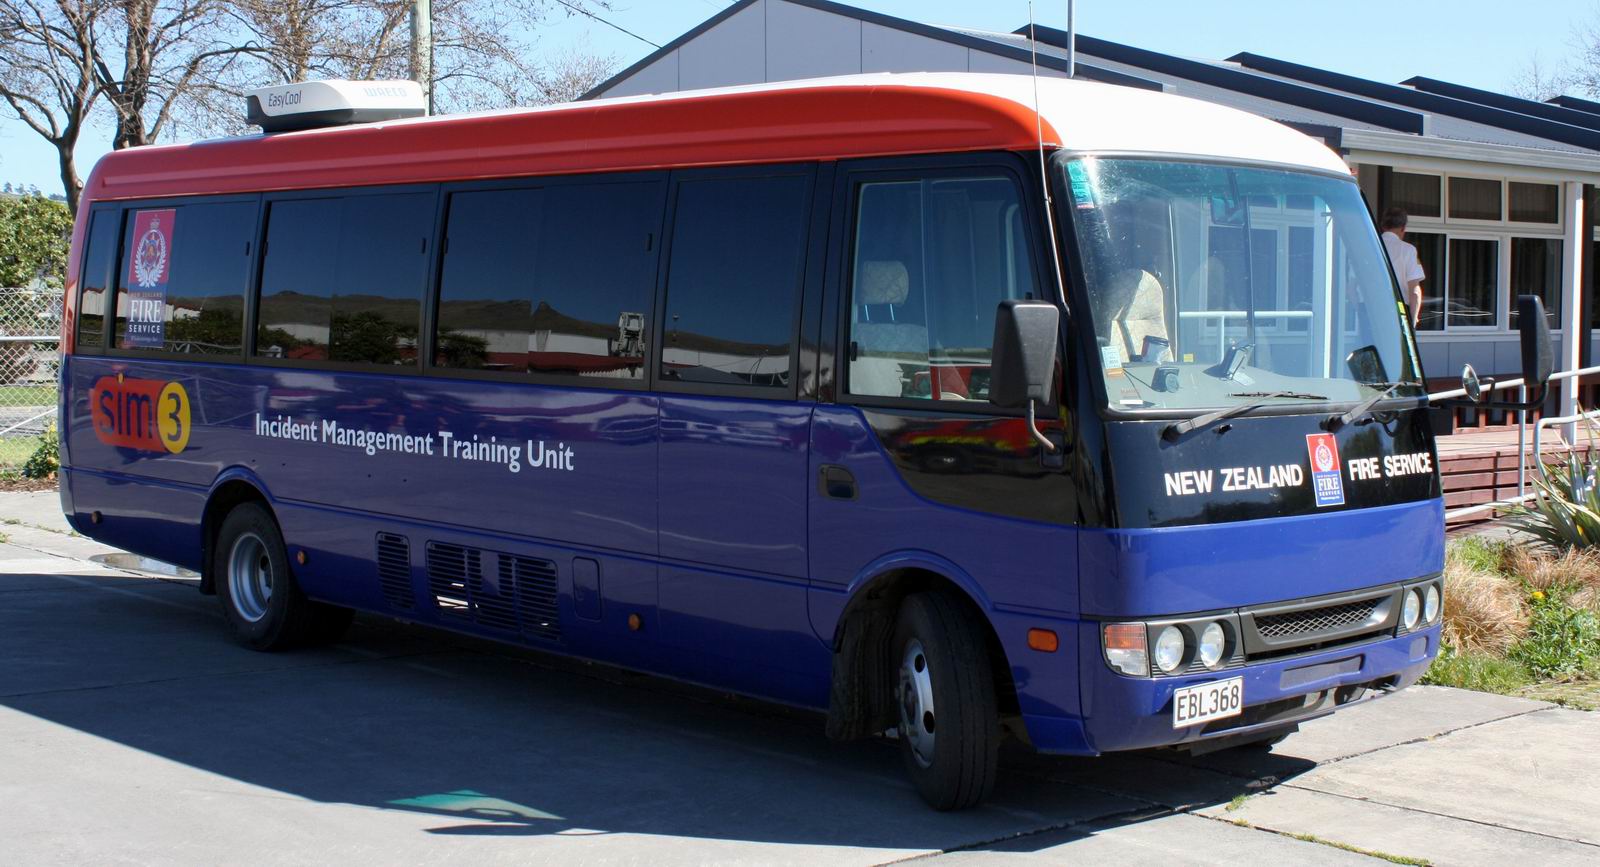
SIM 3 2007 Mitsubishi Rosa EBL 368 Photo by David Miller |


| OTHER NZFS SUPPORT VEHICLES | ||
 |
 |
 |
|
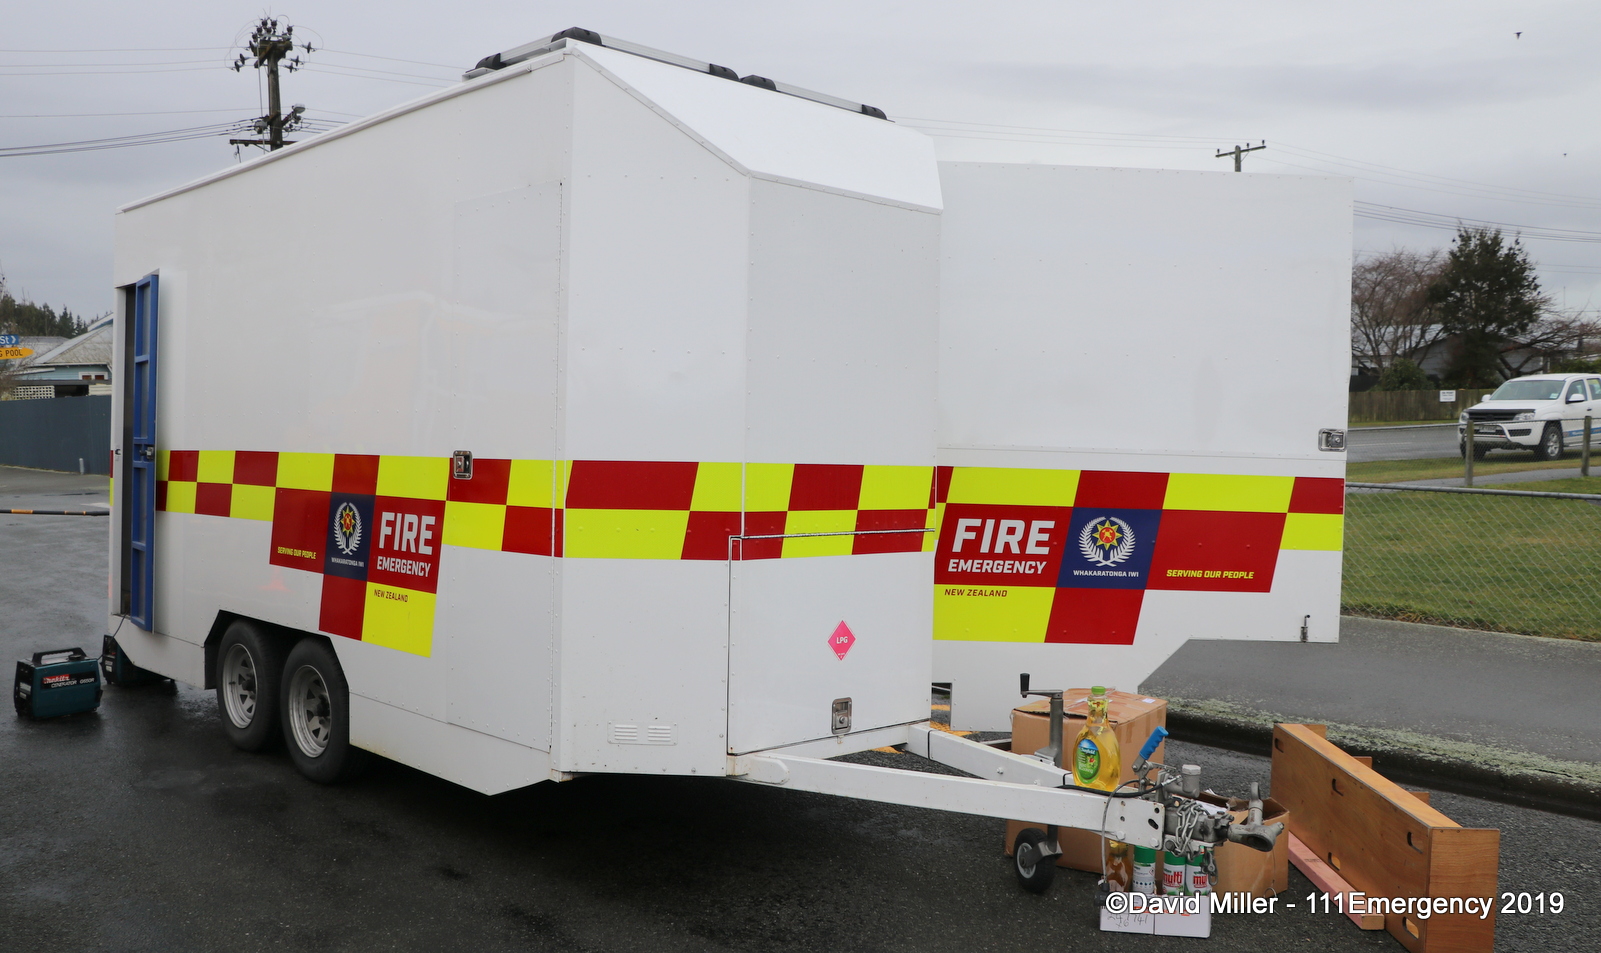
Region 4 Kitchen Fire Demonstration Trailer A791A Photo donated by David Miller |
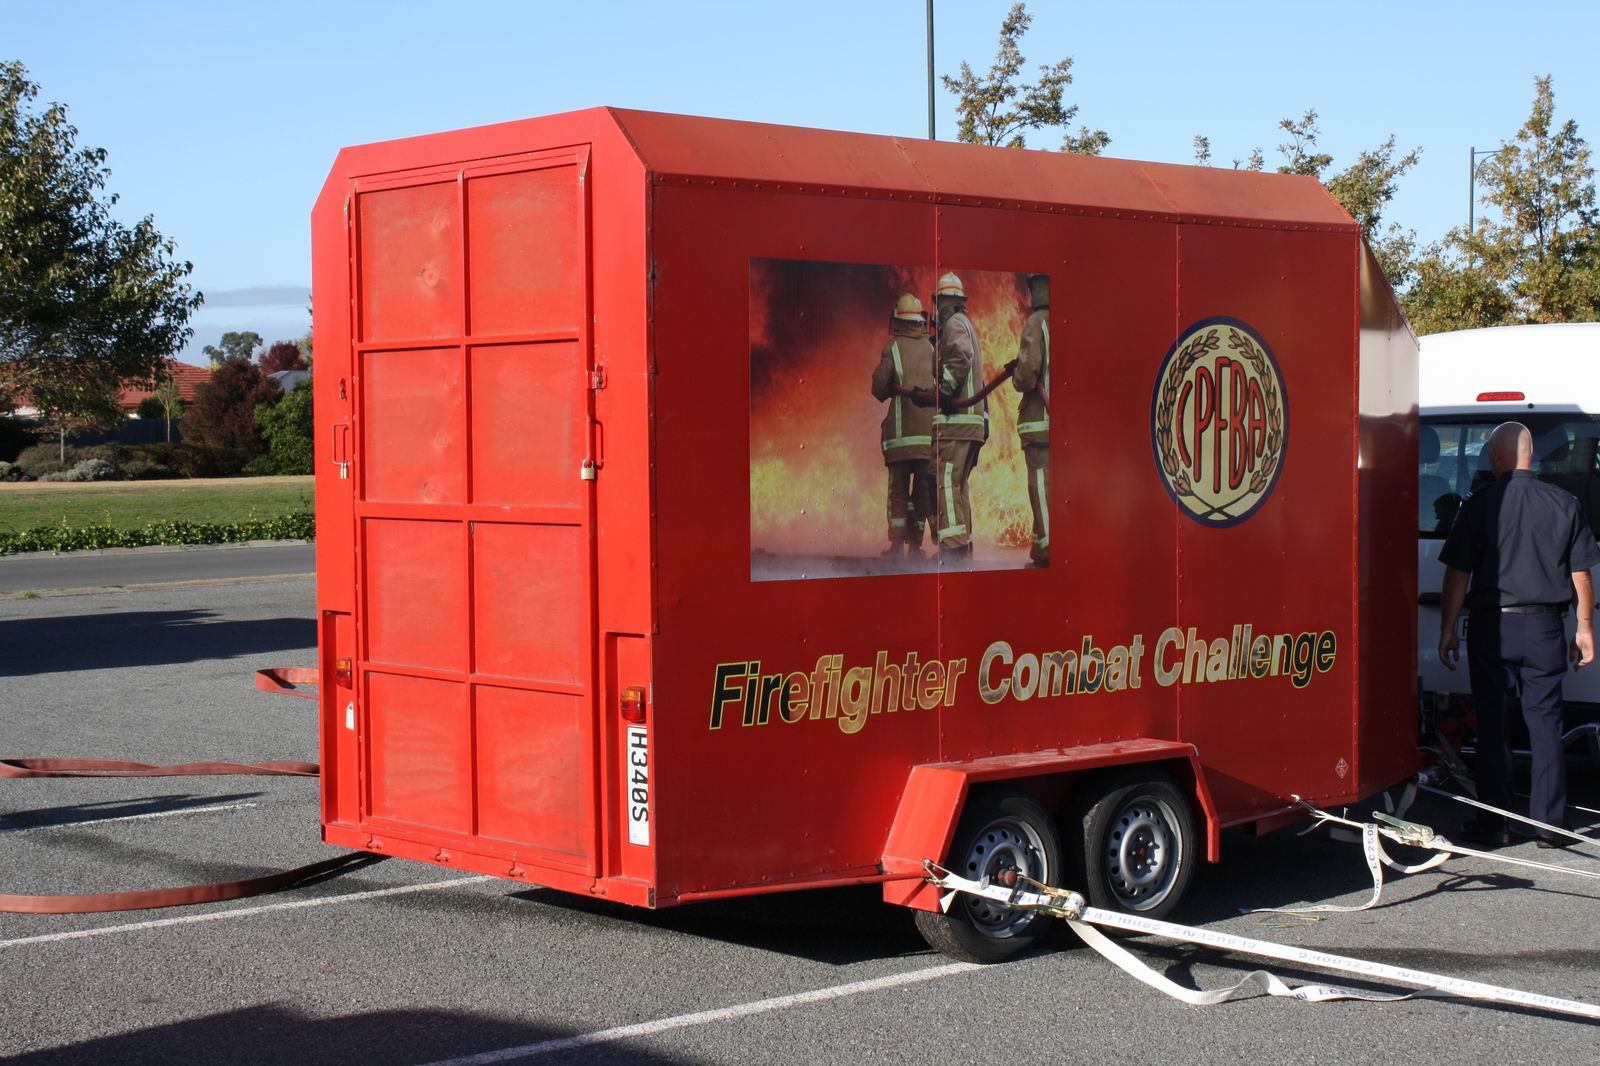
CPFBA Firefighter Combat Challenge Trailer 2006 Covered Trailer H 340 S Photo by David Miller |
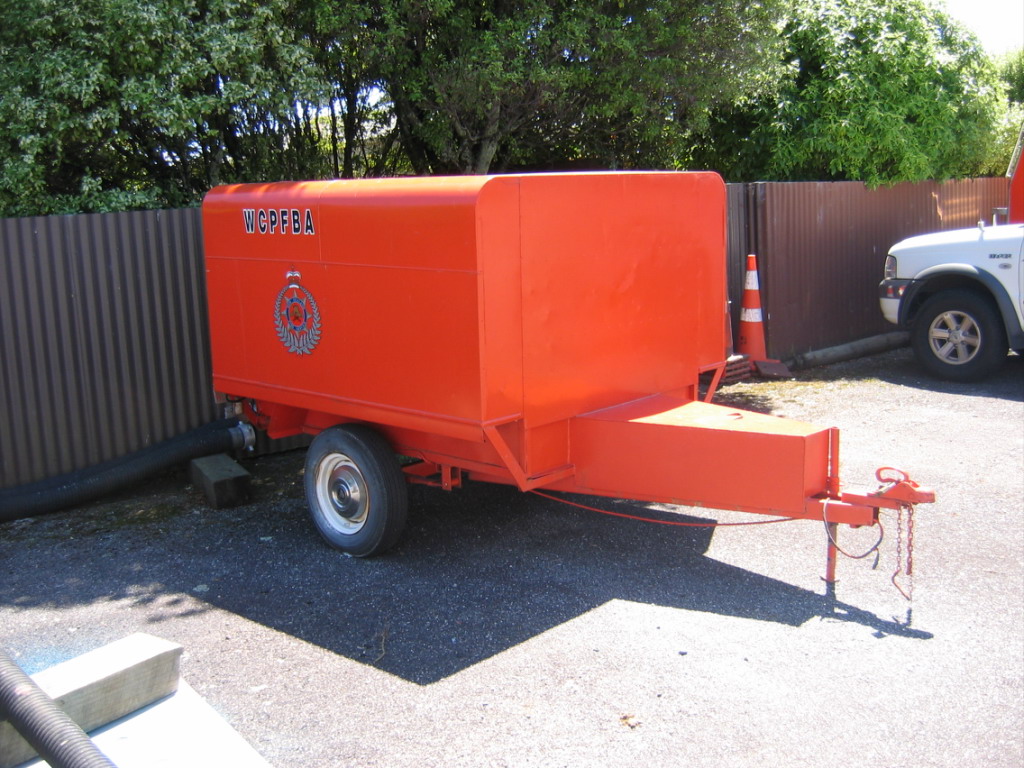
West Coast Provincial Fire Brigades Association Competition Trailer Photo by David Miller |
| Photo Required |
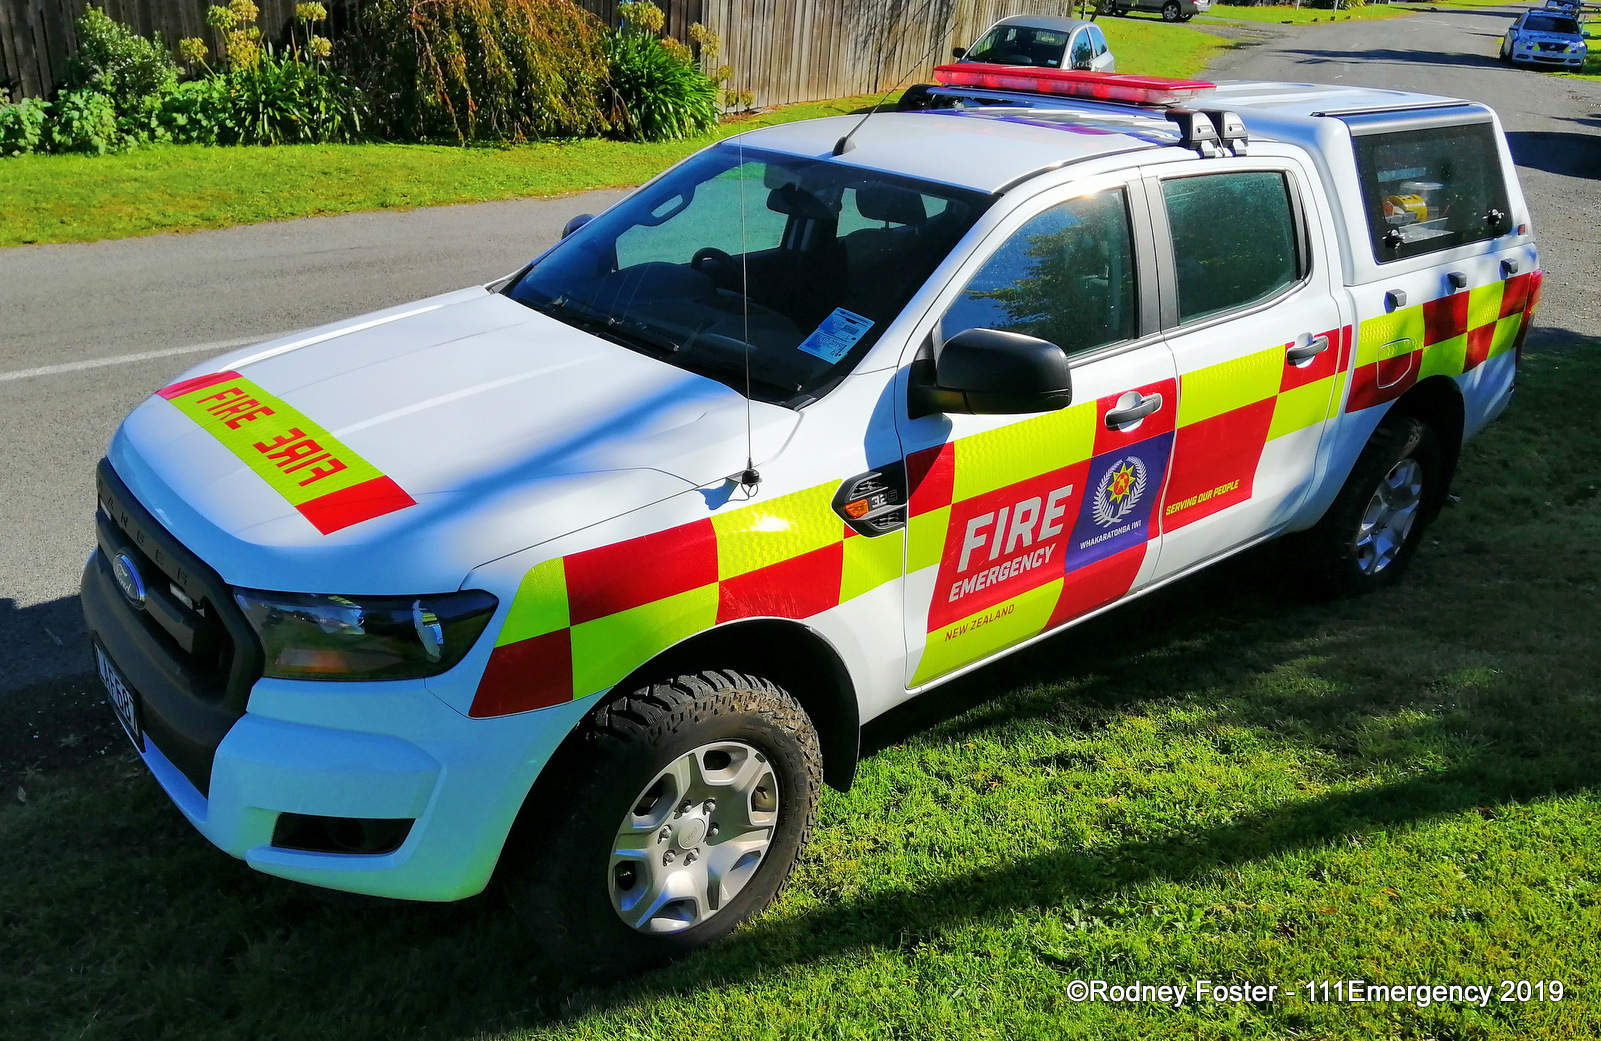 |
Photo Required |
|
FICHRI1 2019 Toyota Hilux MBP 796 |
FICHRI2 2018 Toyota Hilux LAF 687 Photo by Rodney Foster |
FICHRI3 2017 Toyota Hilux KRJ 974 |
| Photo Required |
 |
 |
|
FICHRI4 2021 Toyota Hilux NKH 478 |
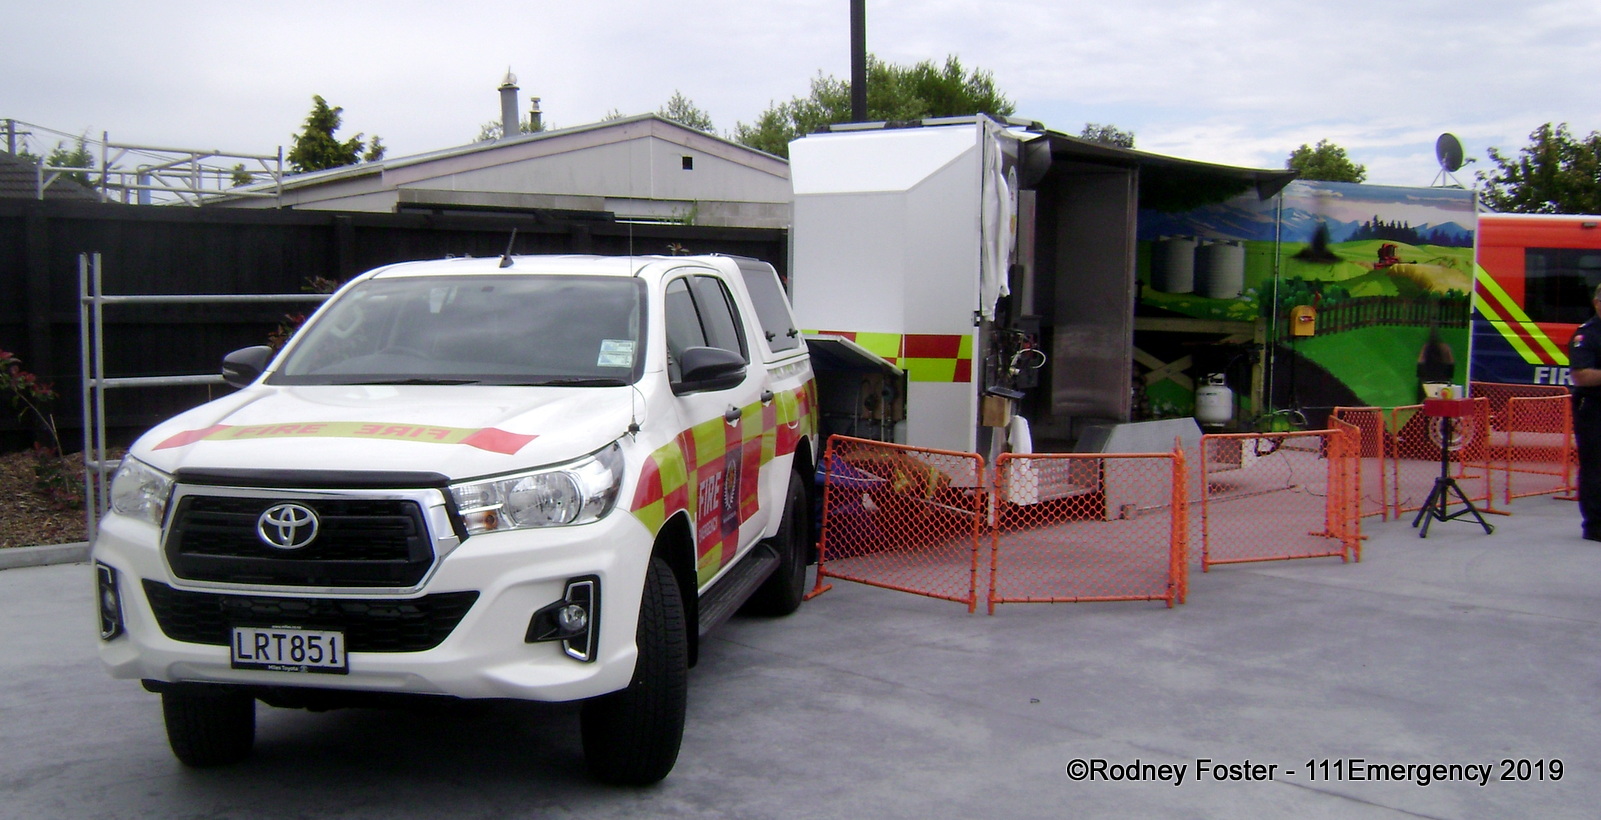
FICHRI5 Ex. FICHRI1 2019 Toyota Hilux LRT 851 Photo by Rodney Foster |
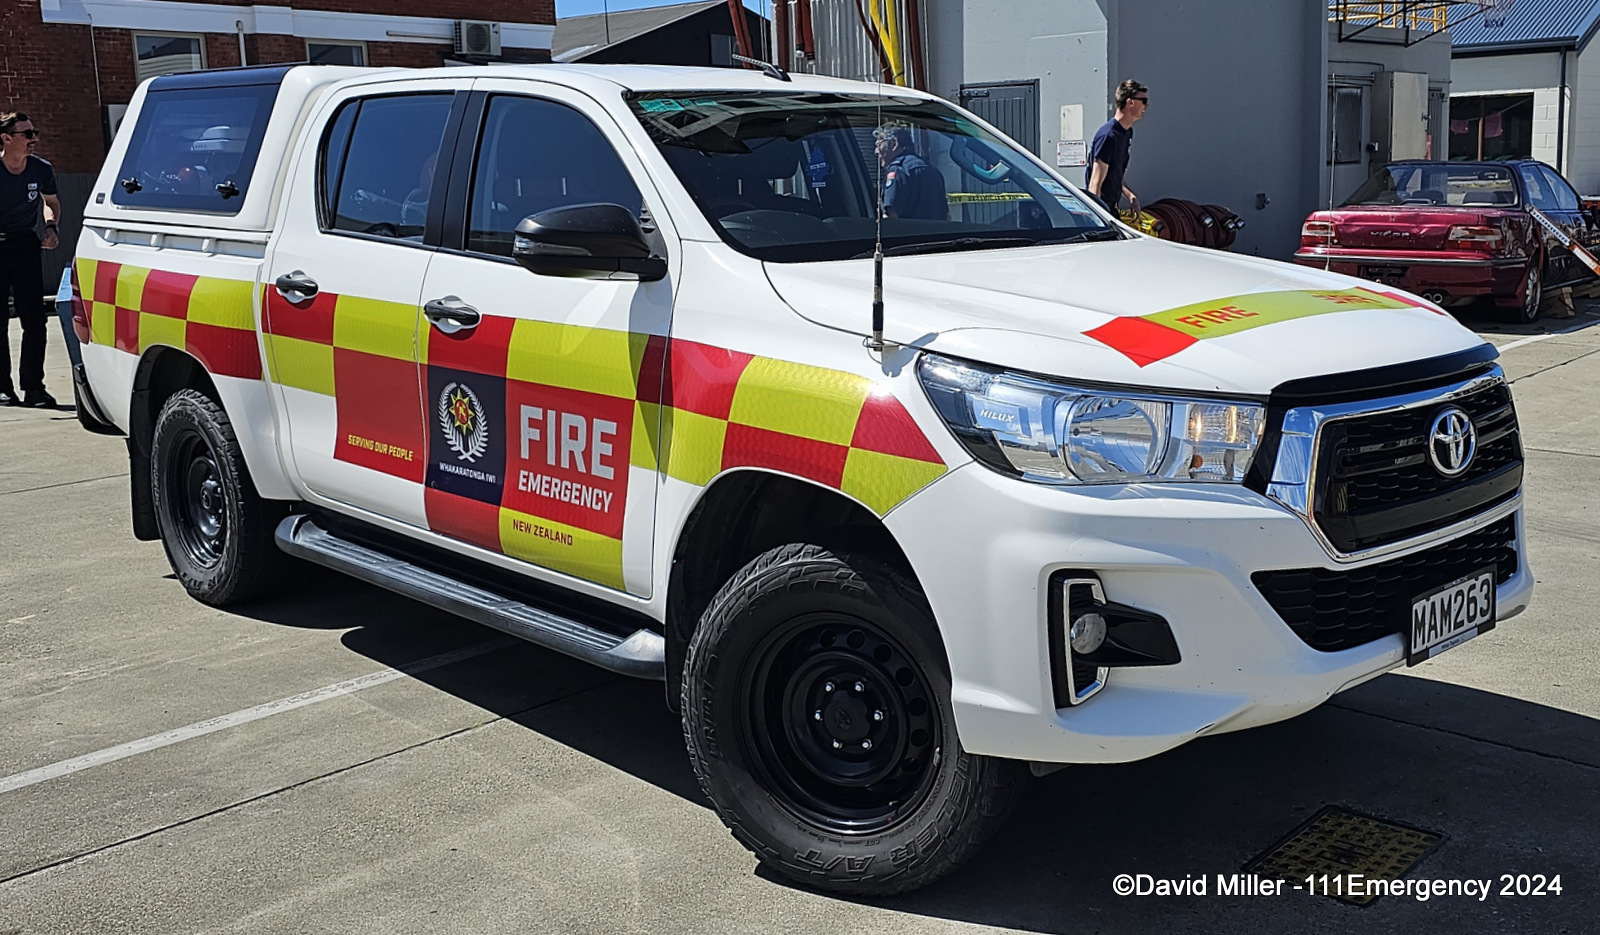
FISTHCANT1 2019 Toyota Hilux MAM 263 Photo by Ben Chambers |
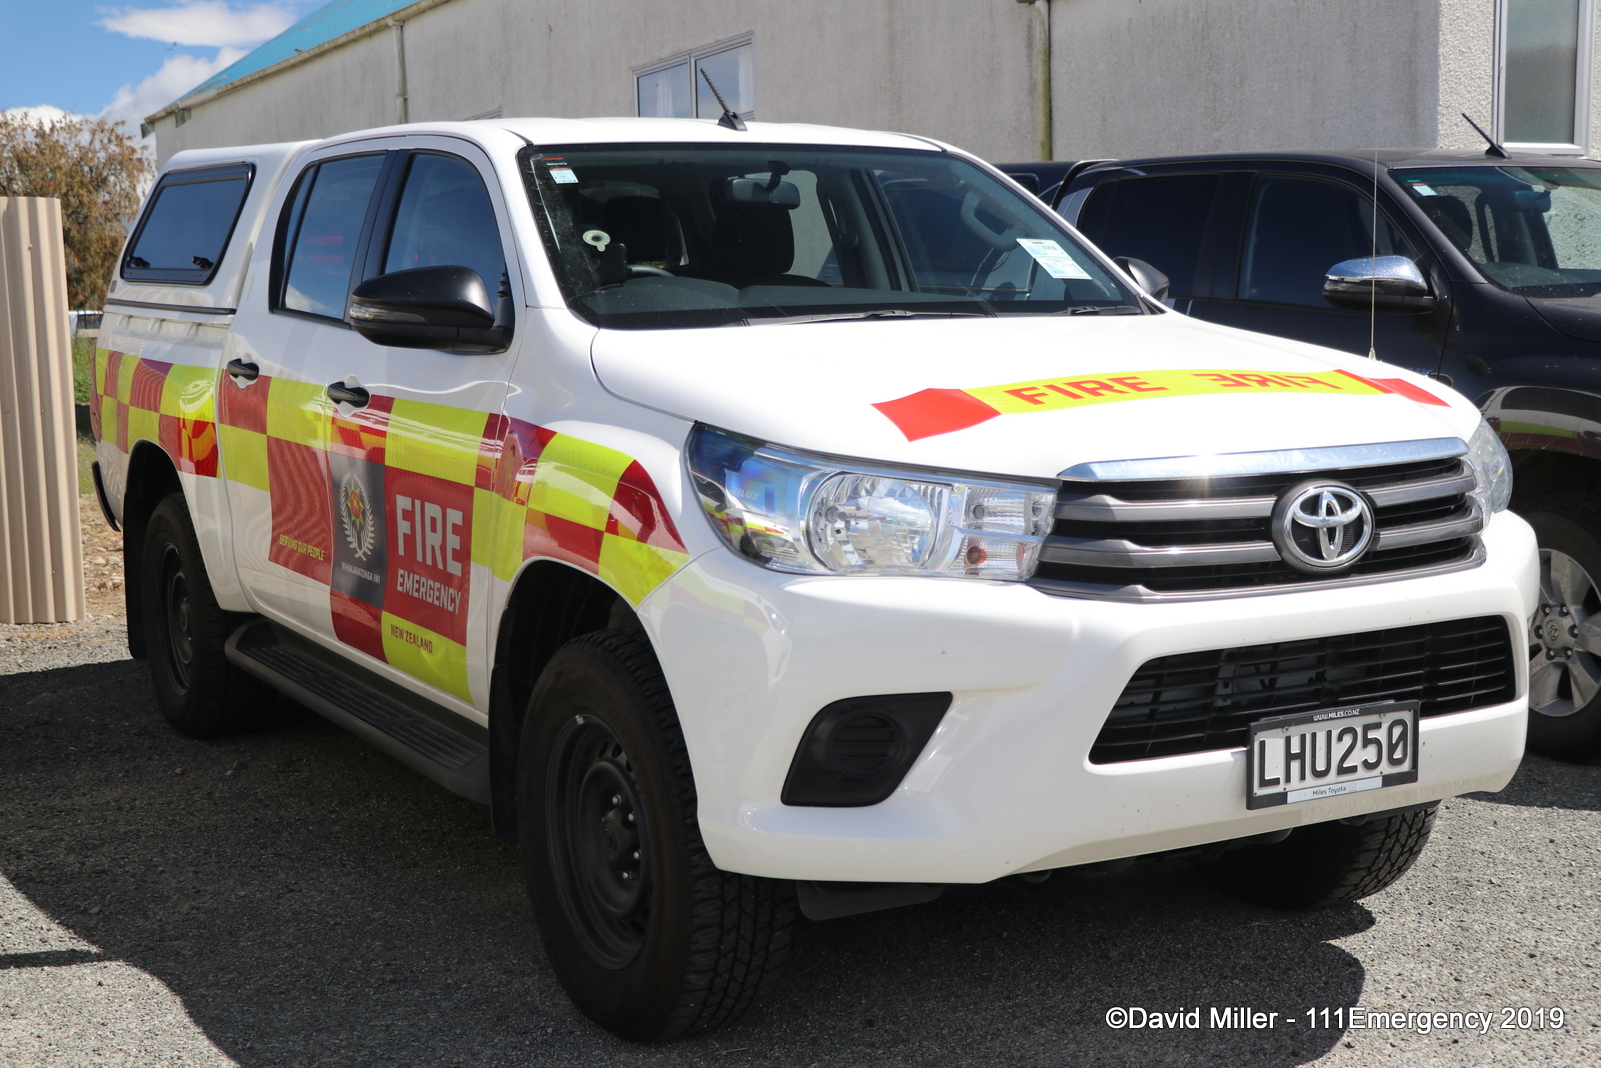 |
Photo Required |
 |
|
FISTHCANT2 2018 Toyota Hilux LHU 250 Photo by David Miller |
FITASMARL1 2019 Toyota Hilux MDF 179 |
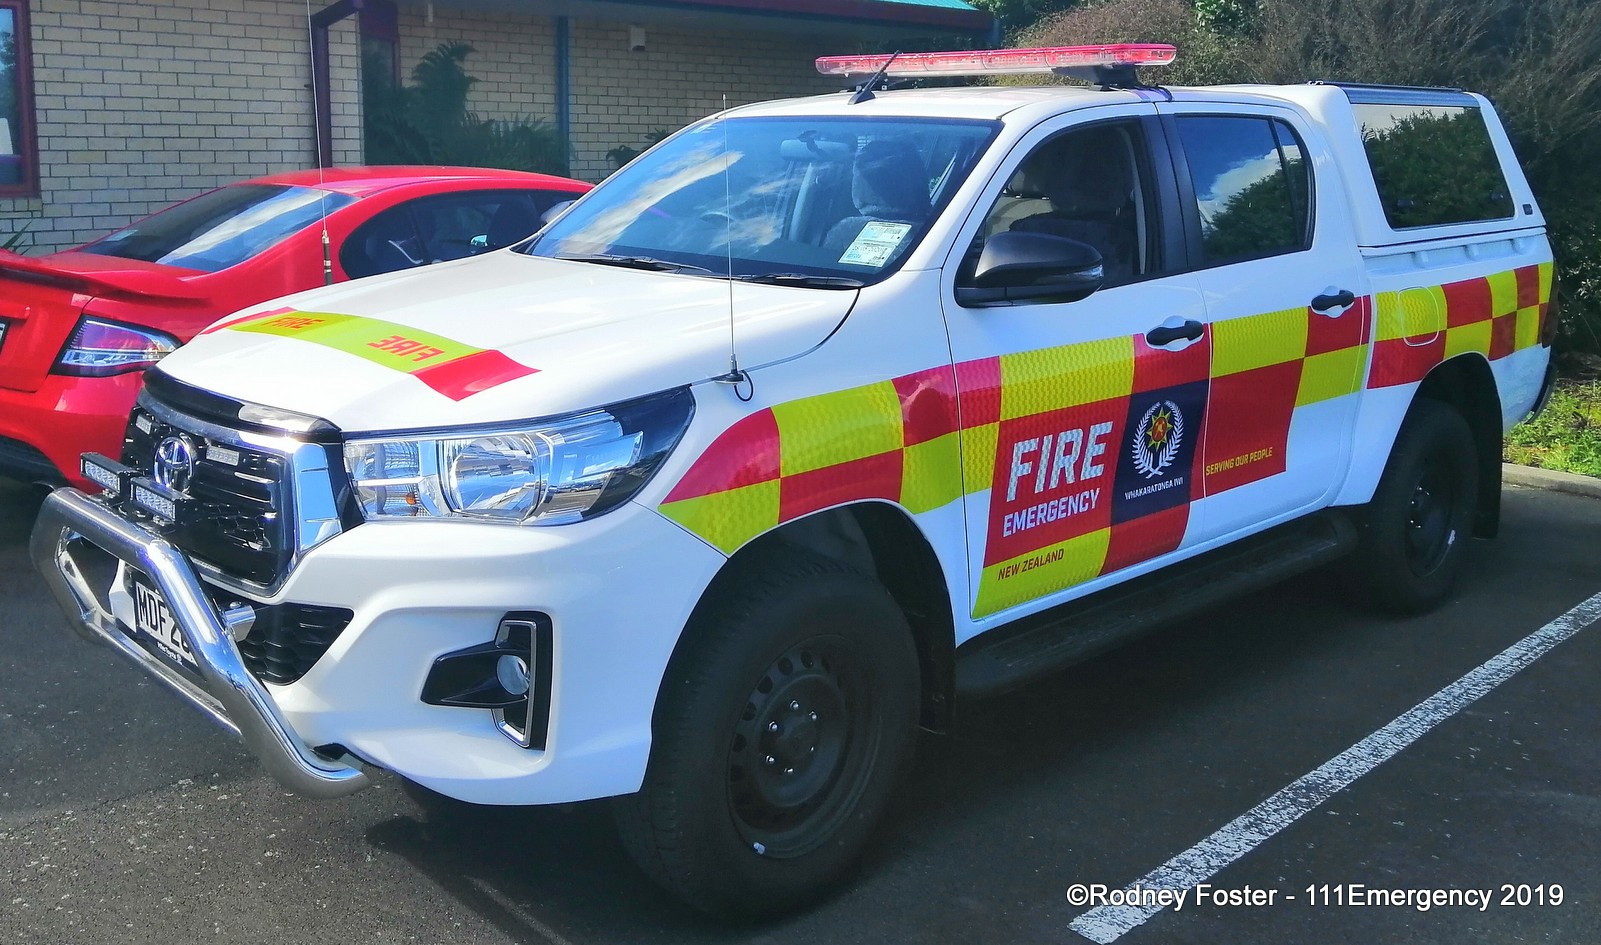
FITASMARL2 2018 Toyota Hilux LGH 245 Photo by Rodney Foster |
| Photo Required | Photo Required |
 |
|
FIWESTC1 2019 Toyota Hilux MHY 809 |
FICANT1 2019 Toyota Hilux MKB 841 |
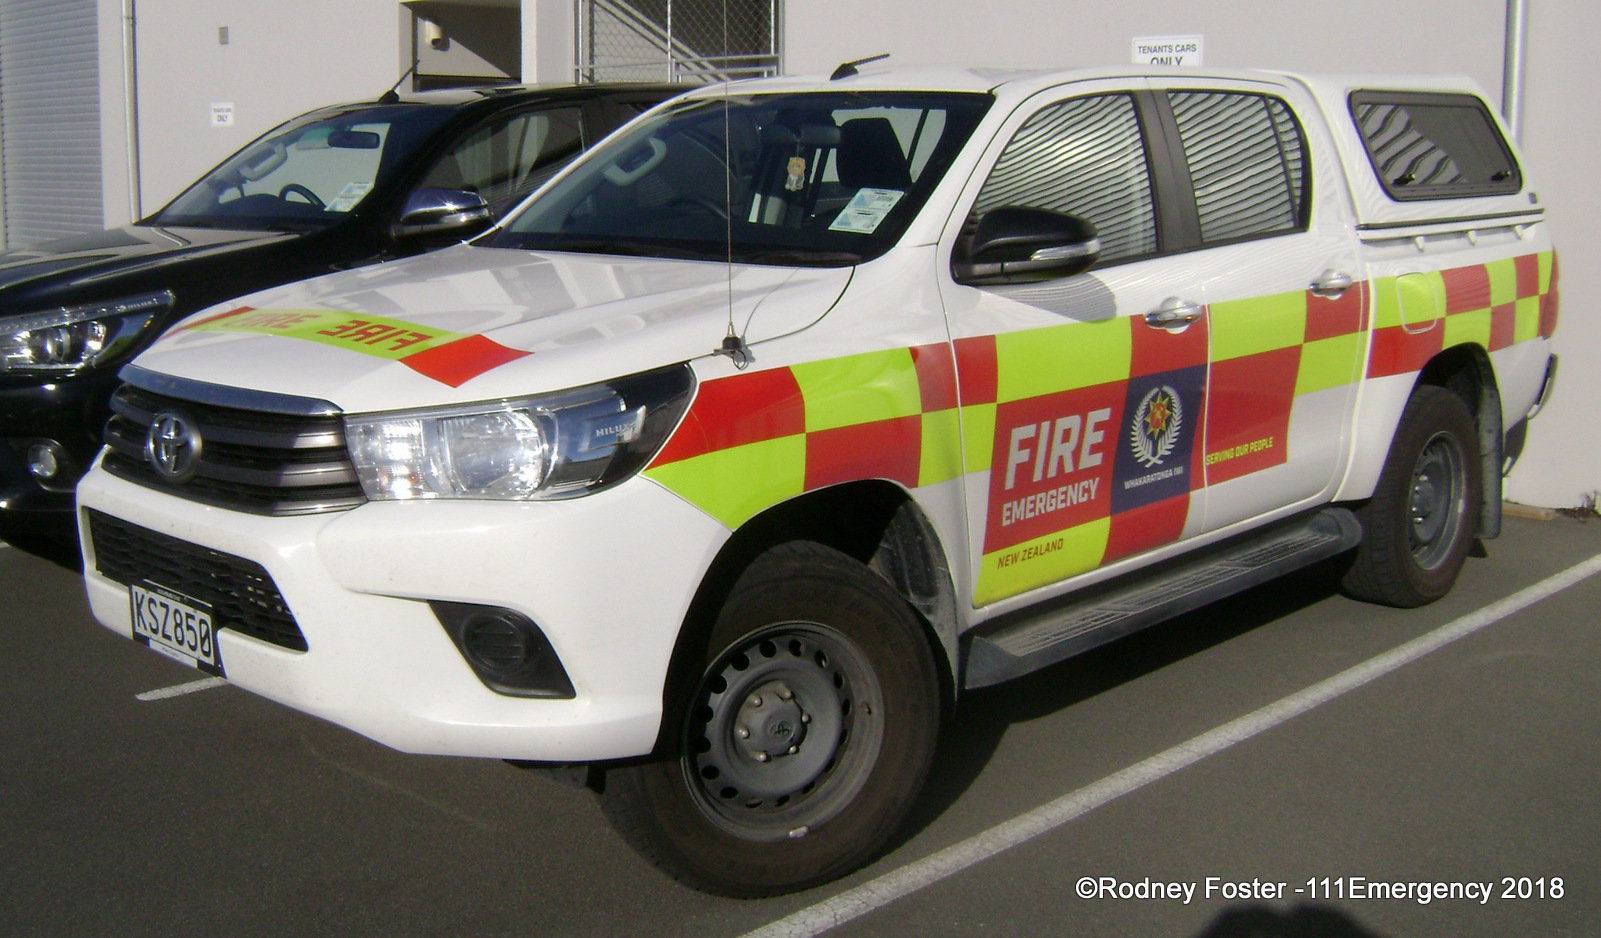
FICANT2 2017 Toyota Hilux KSZ 850 Photo by Rodney Foster |
 |
 |
 |
|
VSOCHRI1 2018 Toyota Hilux LCB 677 Photo by Rodney Foster |
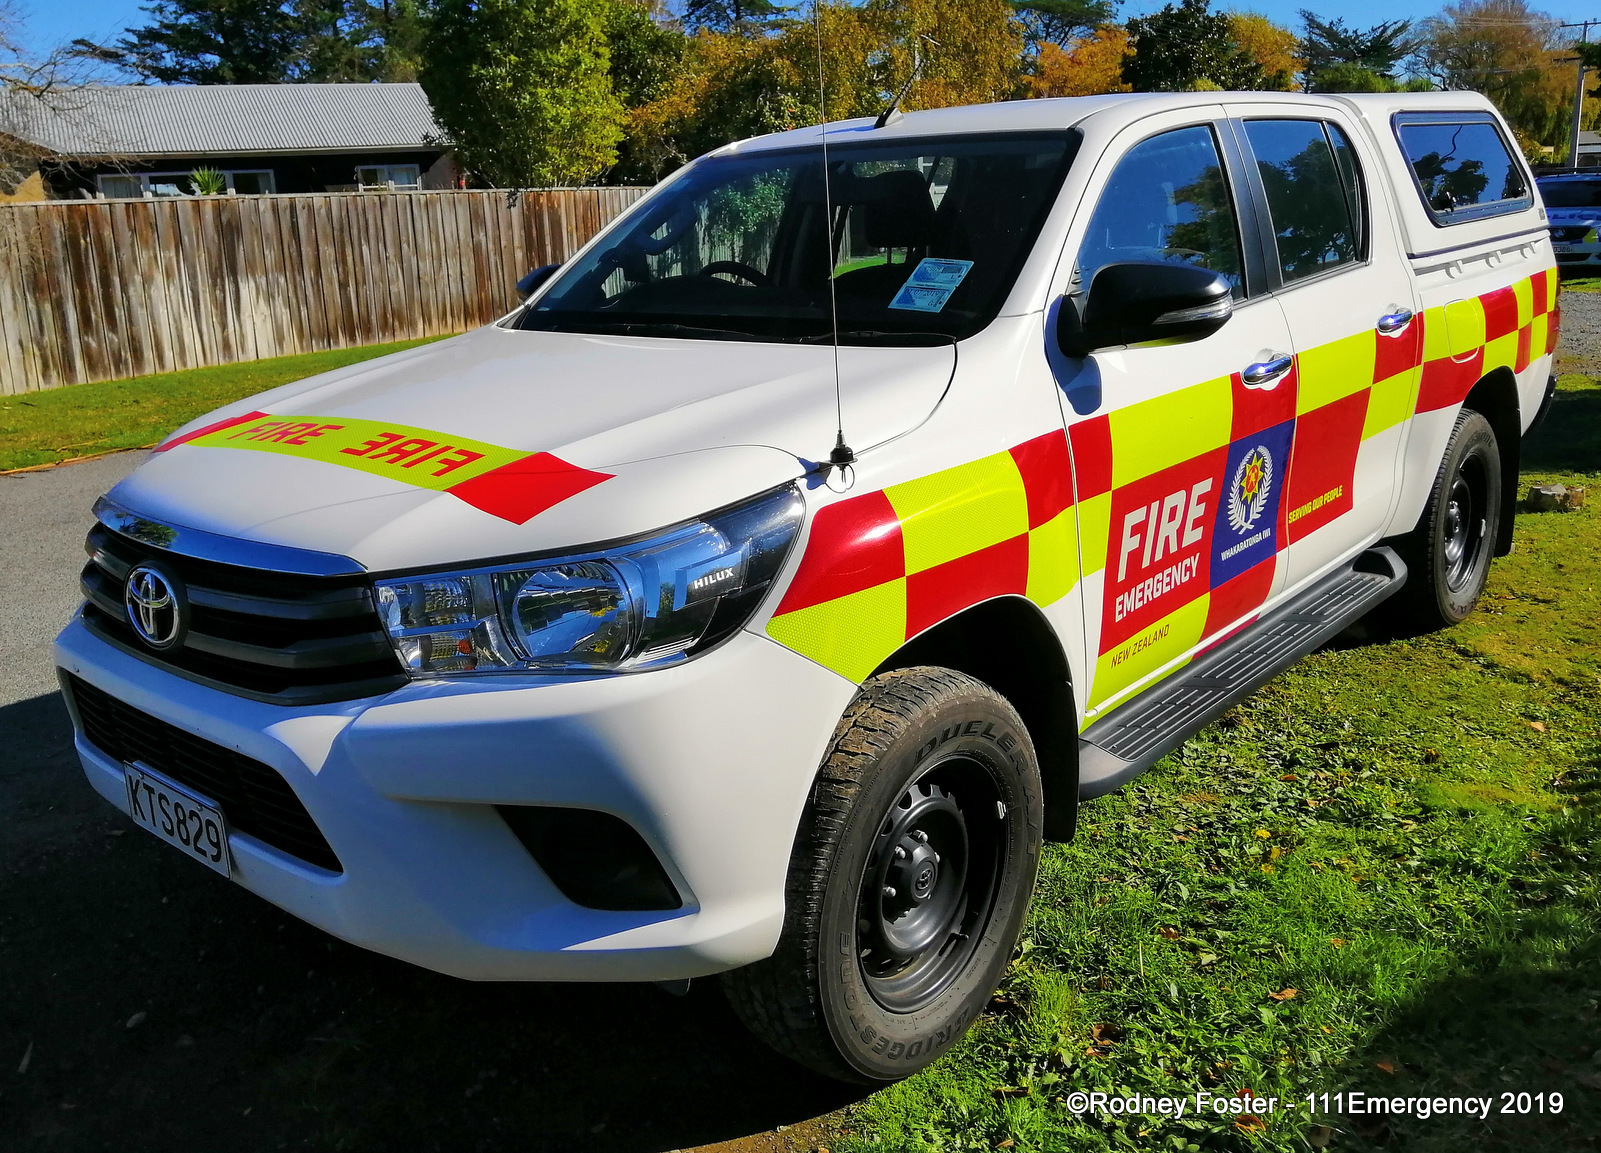
VSOCHRI2 Ex. FICHRI4 2018 Toyota Hilux KTS 829 Photo by Rodney Foster |
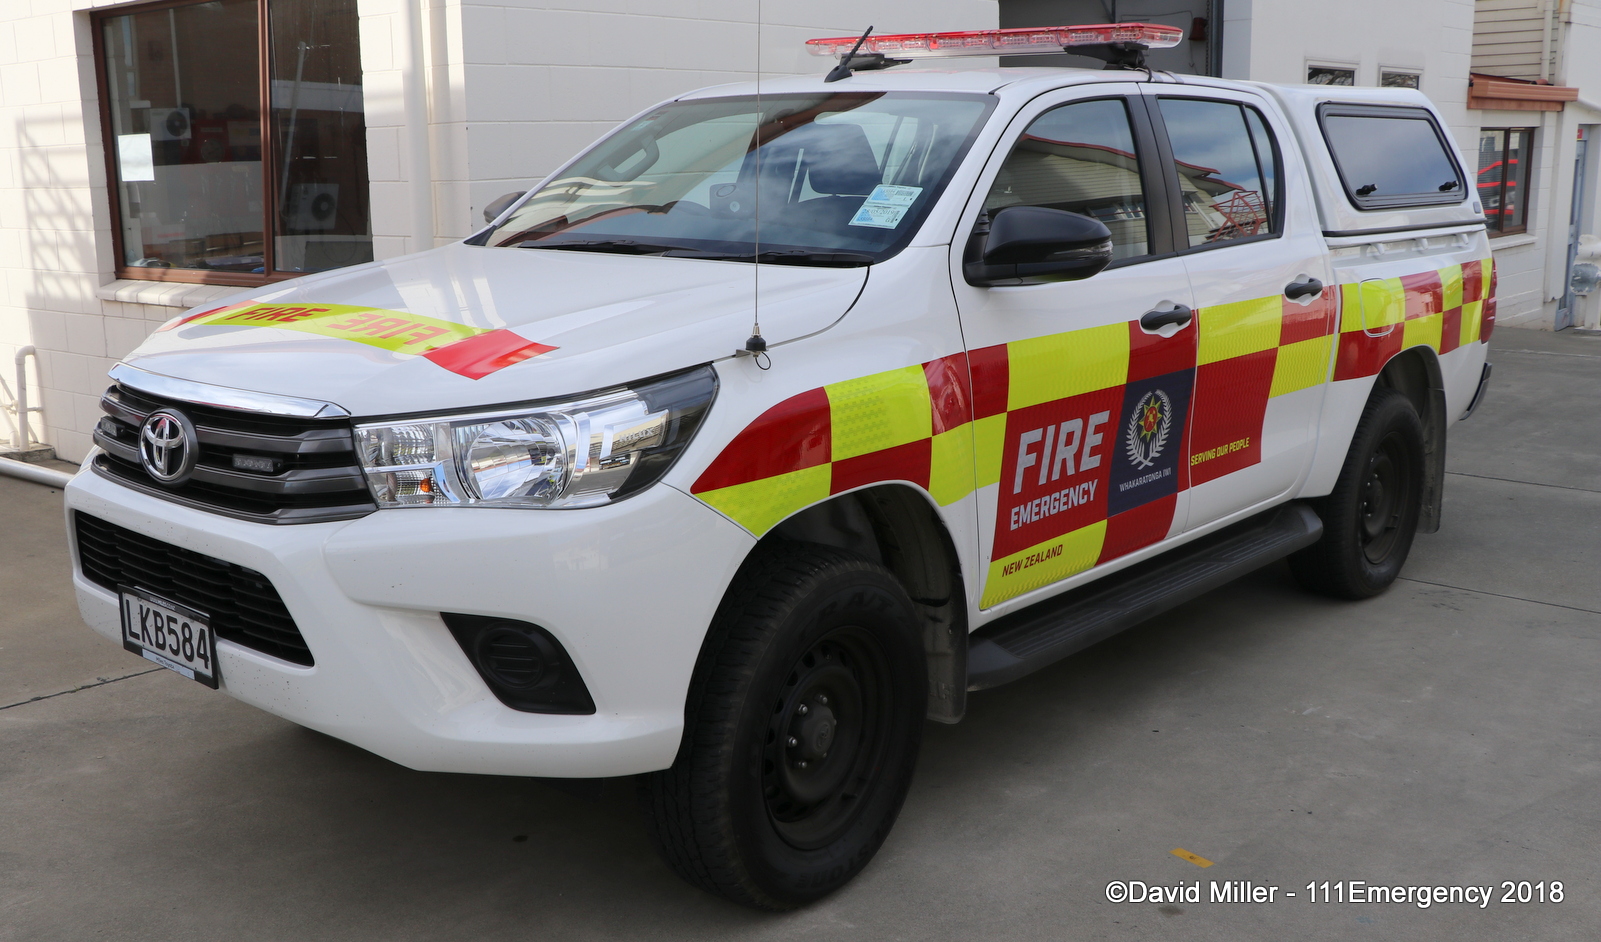
VSOSTHCAN1 2018 Toyota Hilux LKB 584 Photo by David Miller |
 |
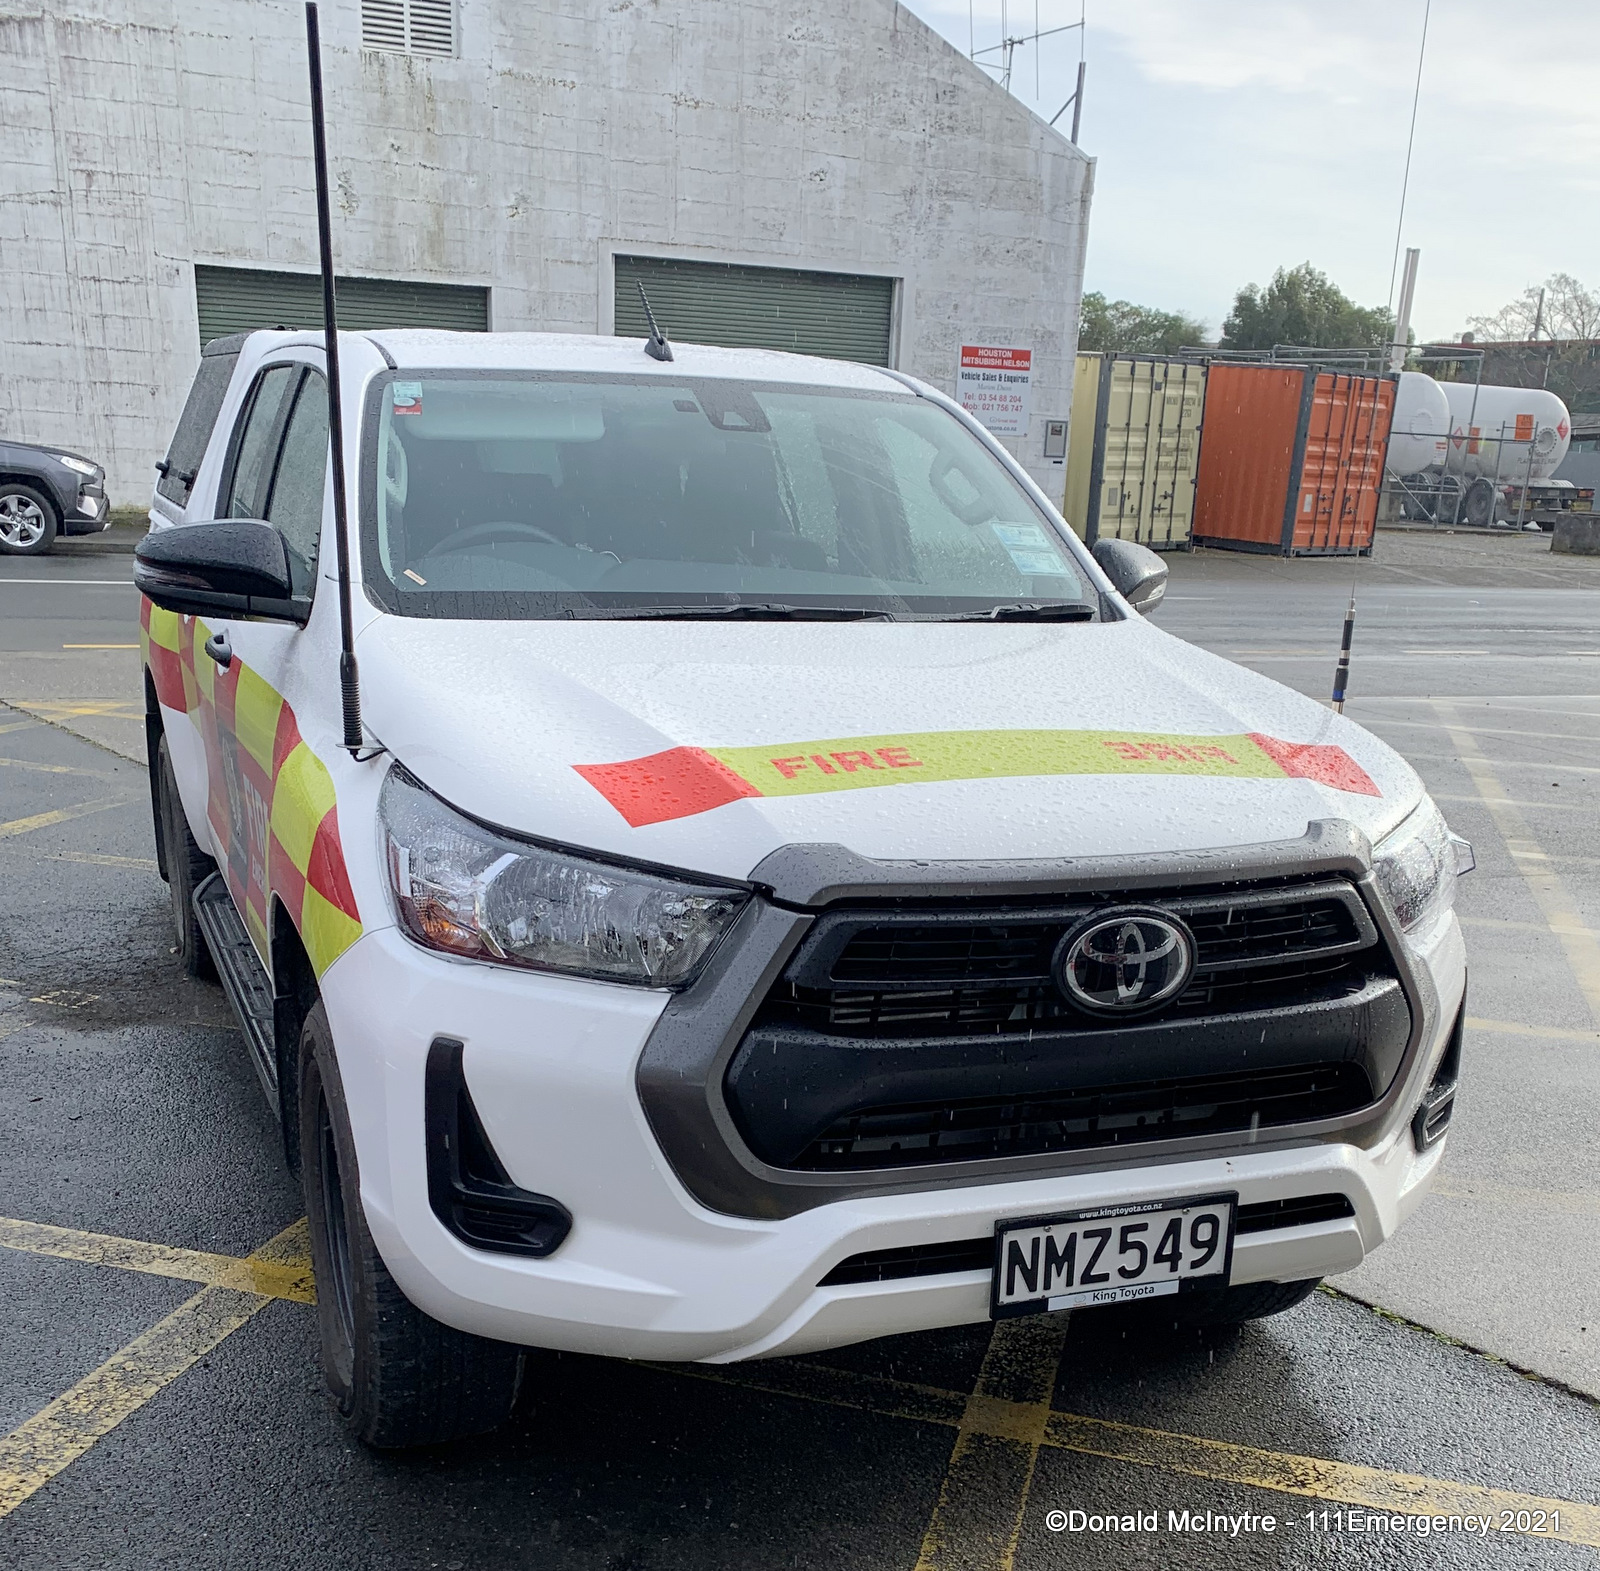 |
Photo Required |
|
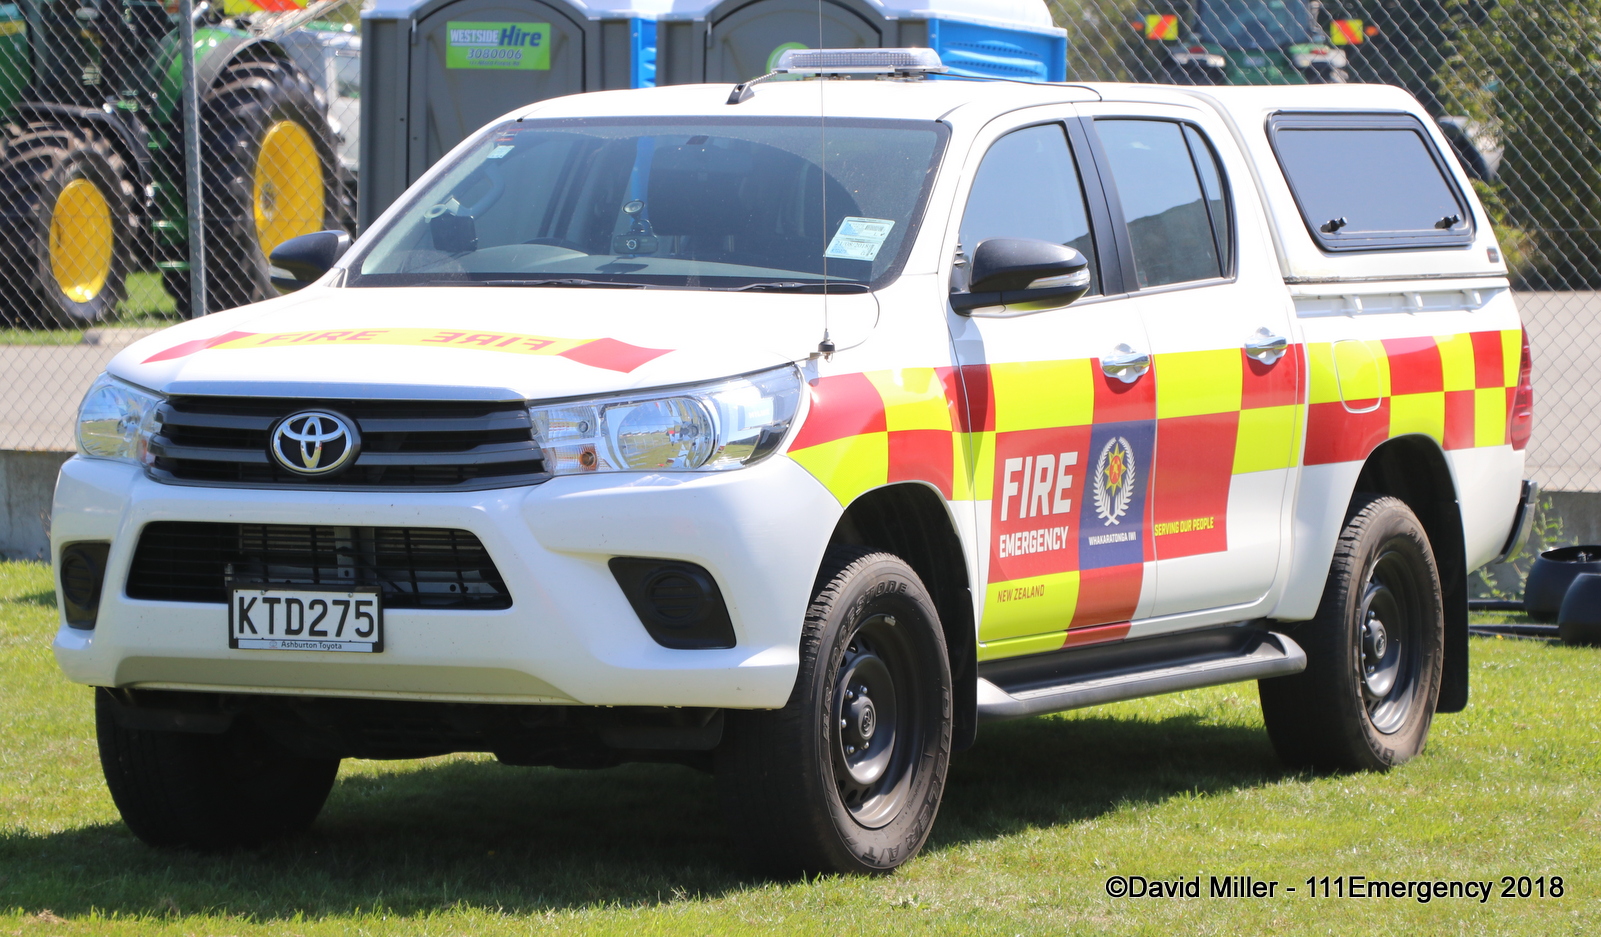
VSOSTHCAN2 2017 Toyota Hilux KTD 275 Photo by David Miller |
VSOTASMAL1 2021 Toyota Hilux NMZ 549 Photo by Donald McIntyre |
VSOTASMAL2 2017 Toyota Hilux LAY 713 |
|
|
Photo Required |
 |
|
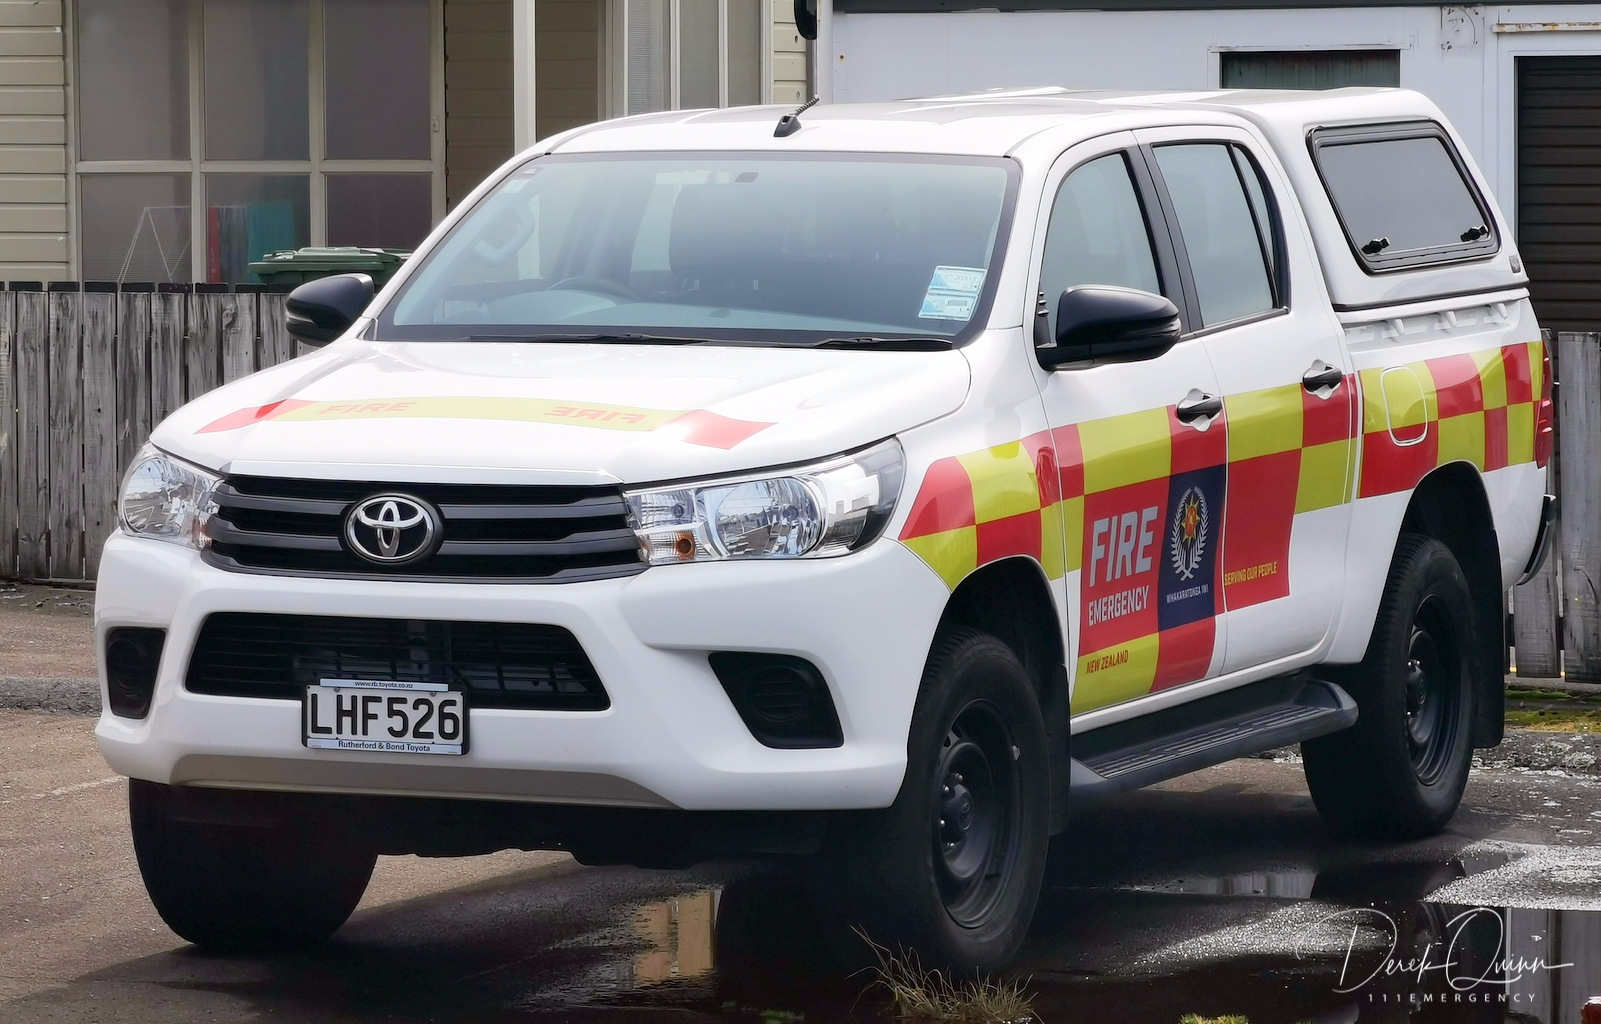
VSOTASMAL3 2018 Toyota Hilux LHF 526 Photo by Derek Quinn |
VSOWESTC1 2019 Toyota Hilux MNK 147 |
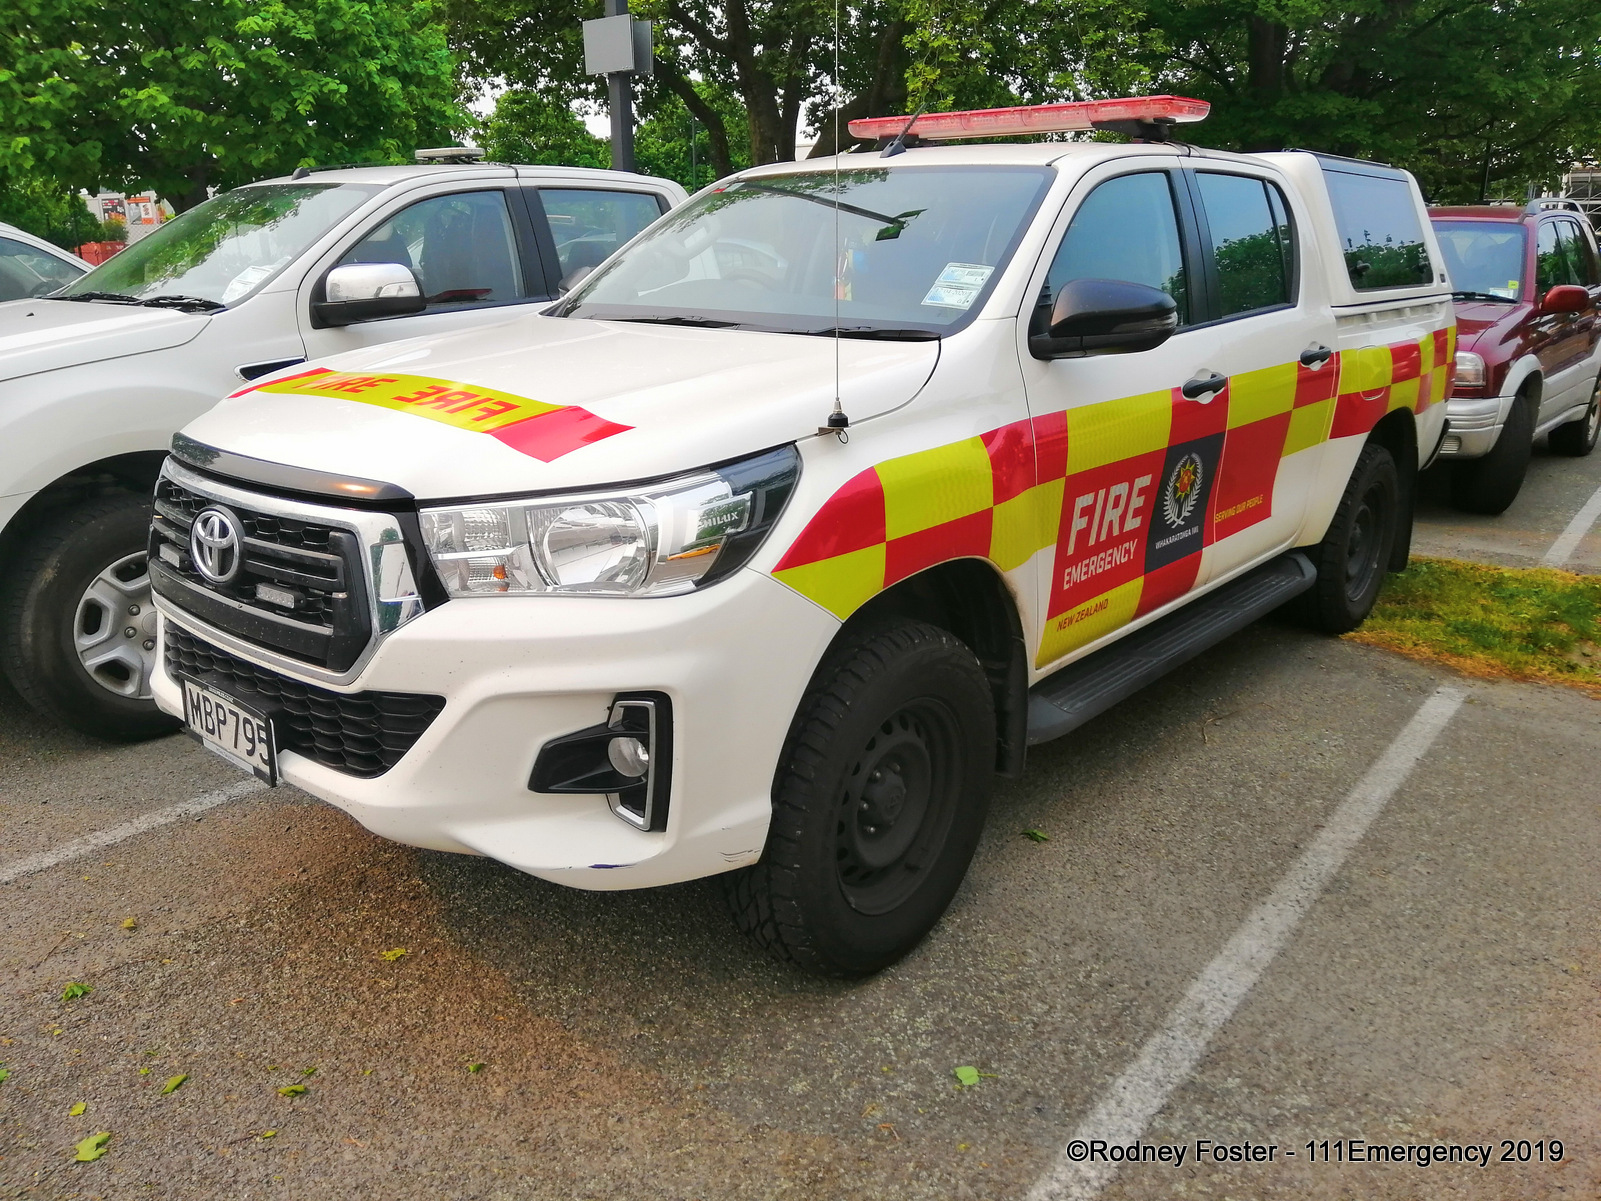
VSOWESTC2 2019 Toyota Hilux MBP 795 Photo by Rodney Foster |
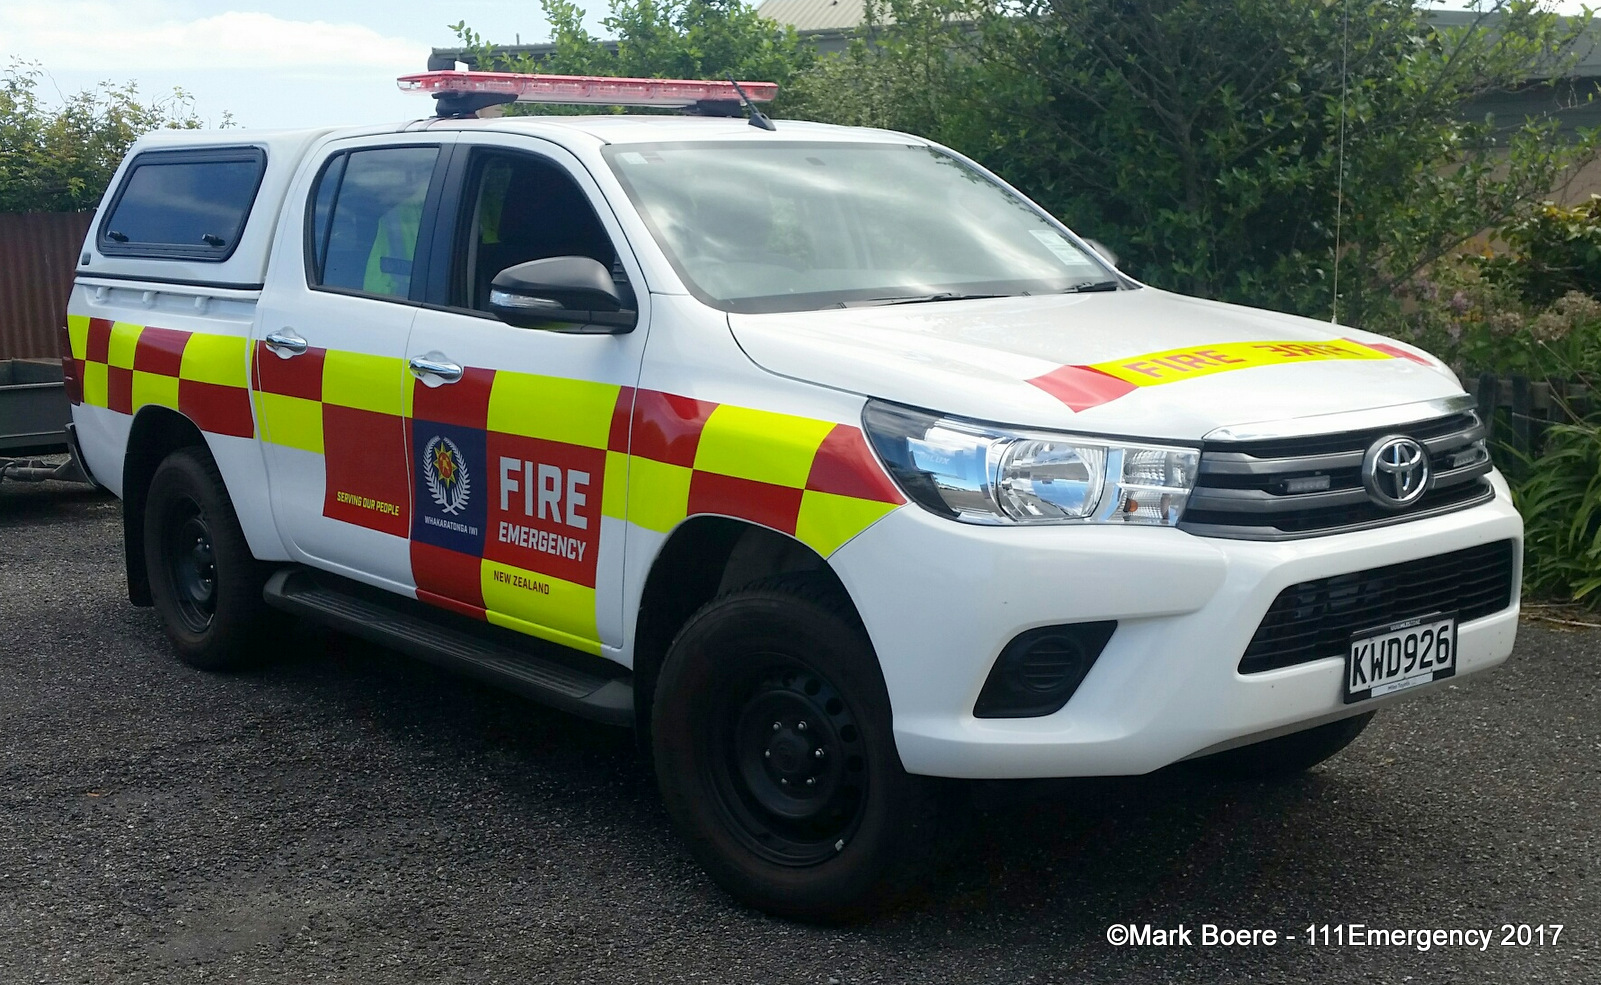 |
Photo Required |
 |
|
VSOWESTC3 2017 Toyota Hilux KWD 926 Photo by Mark Boere |
VSOCANT1 2021 Toyota Hilux NKZ 509 |
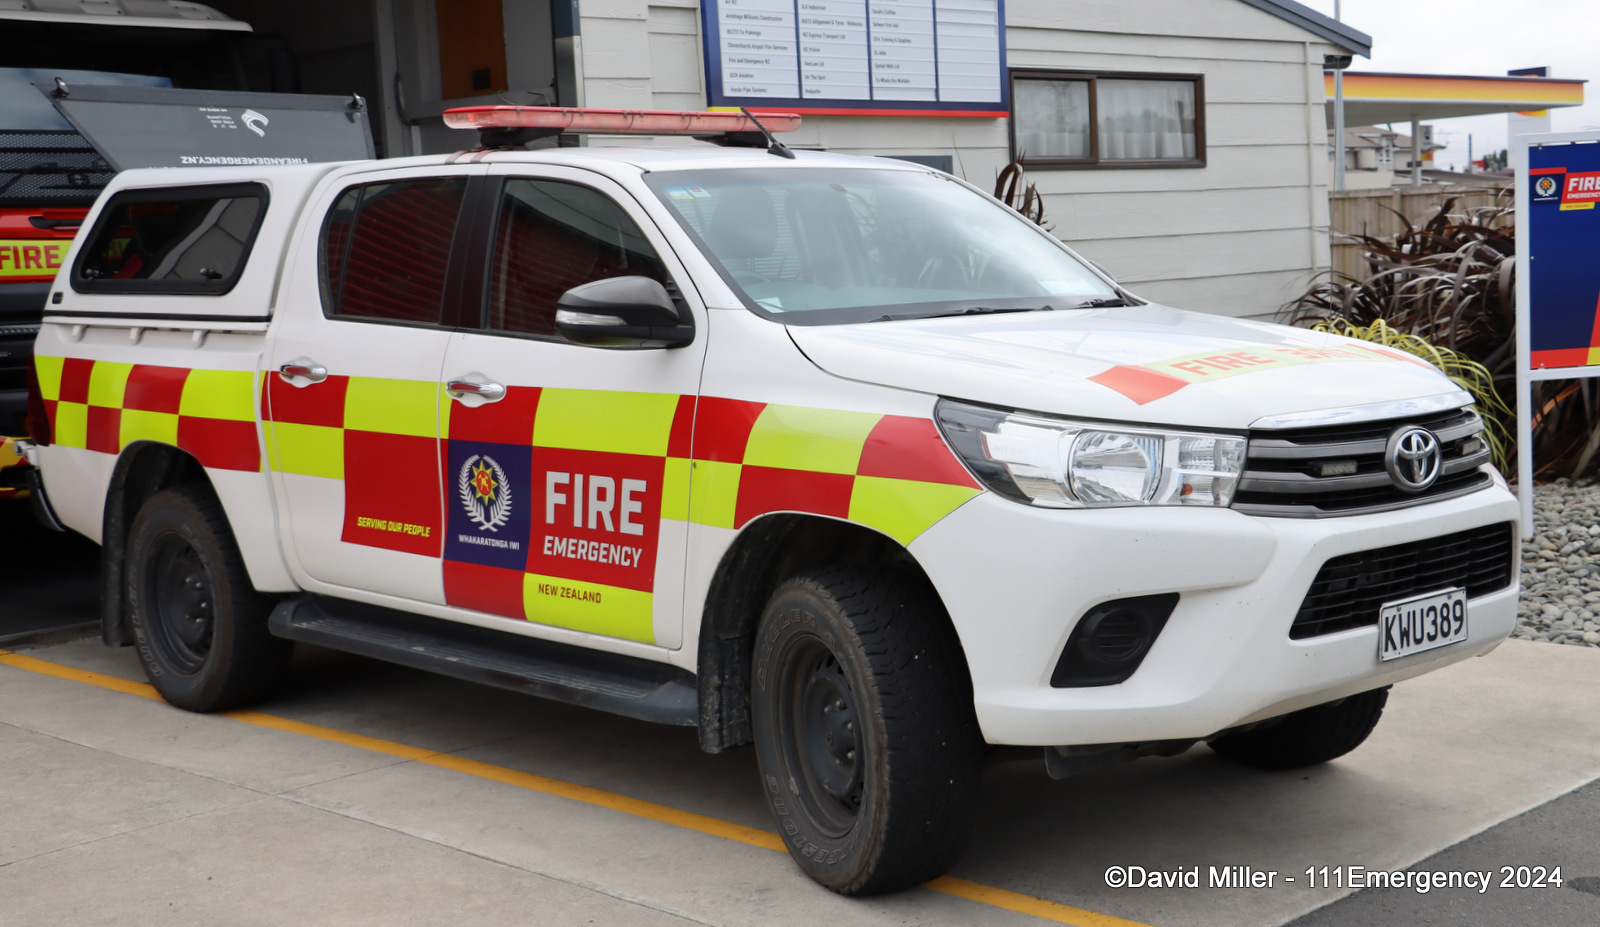
VSOCANT2 2017 Toyota Hilux KWU 389 Photo by Rodney Foster |
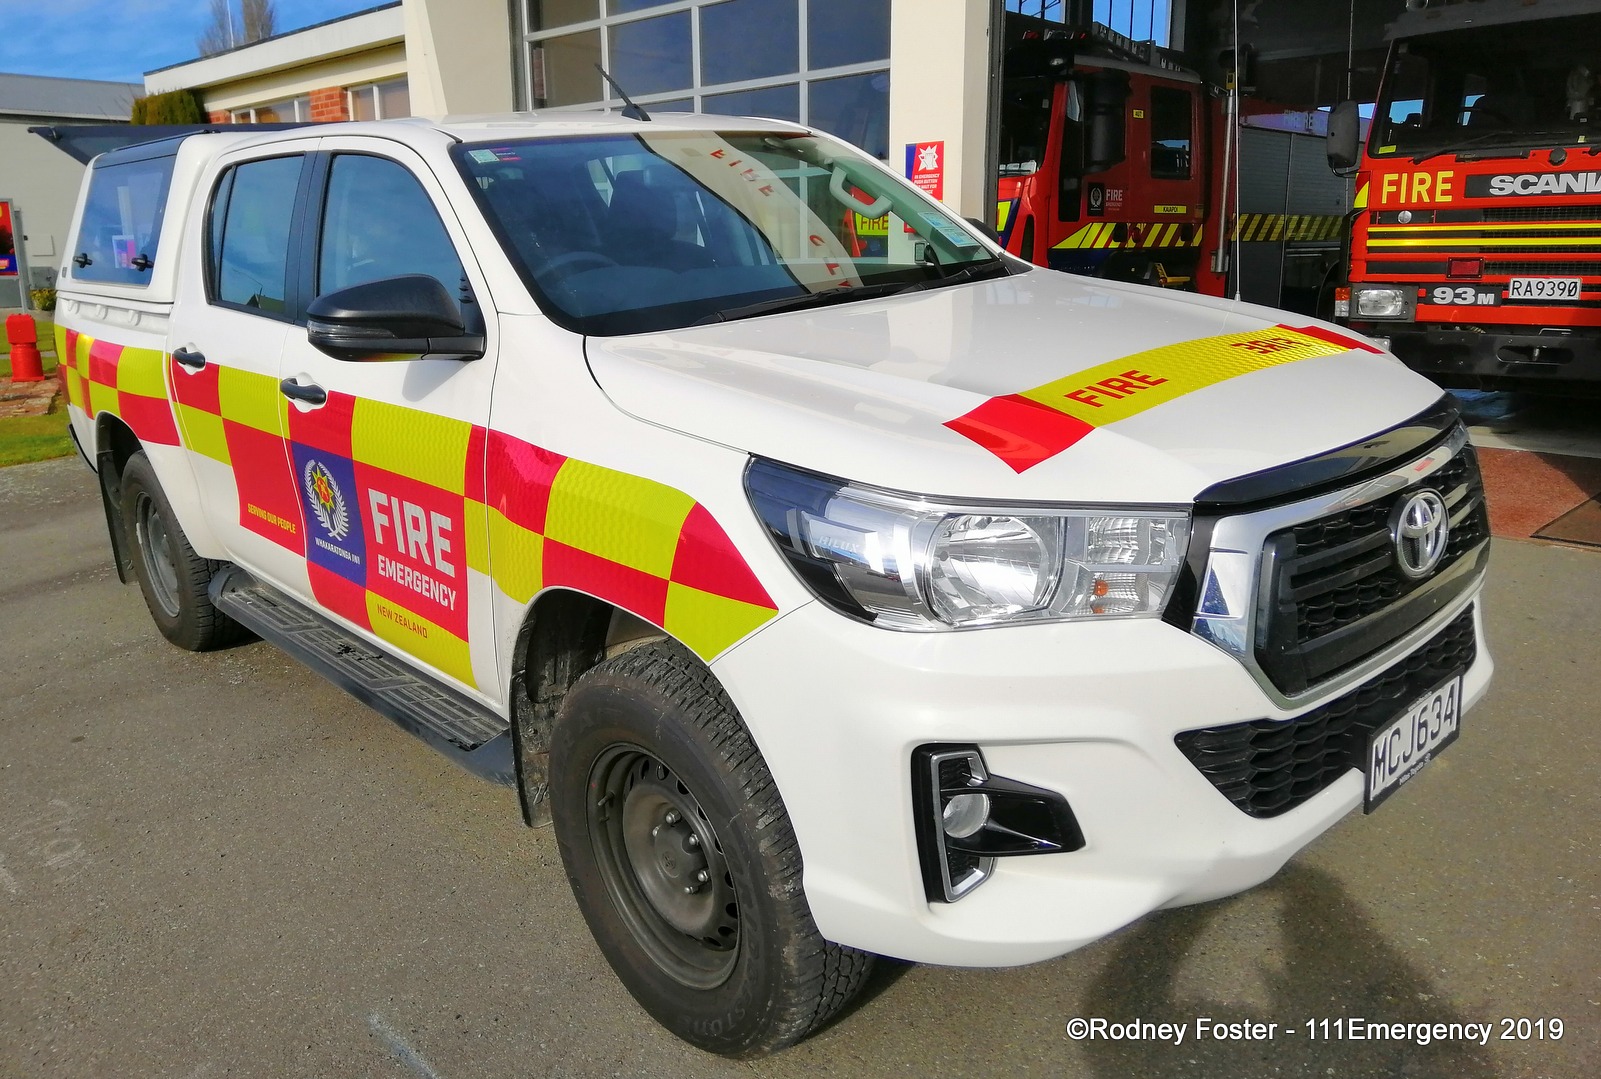 |
Photo Required | Photo Required |
|
VSOCANT3 2019 Toyota Hilux MCJ 634 Photo by Rodney Foster |
VSOCANT4 2018 Toyota Hilux LMS 935 |
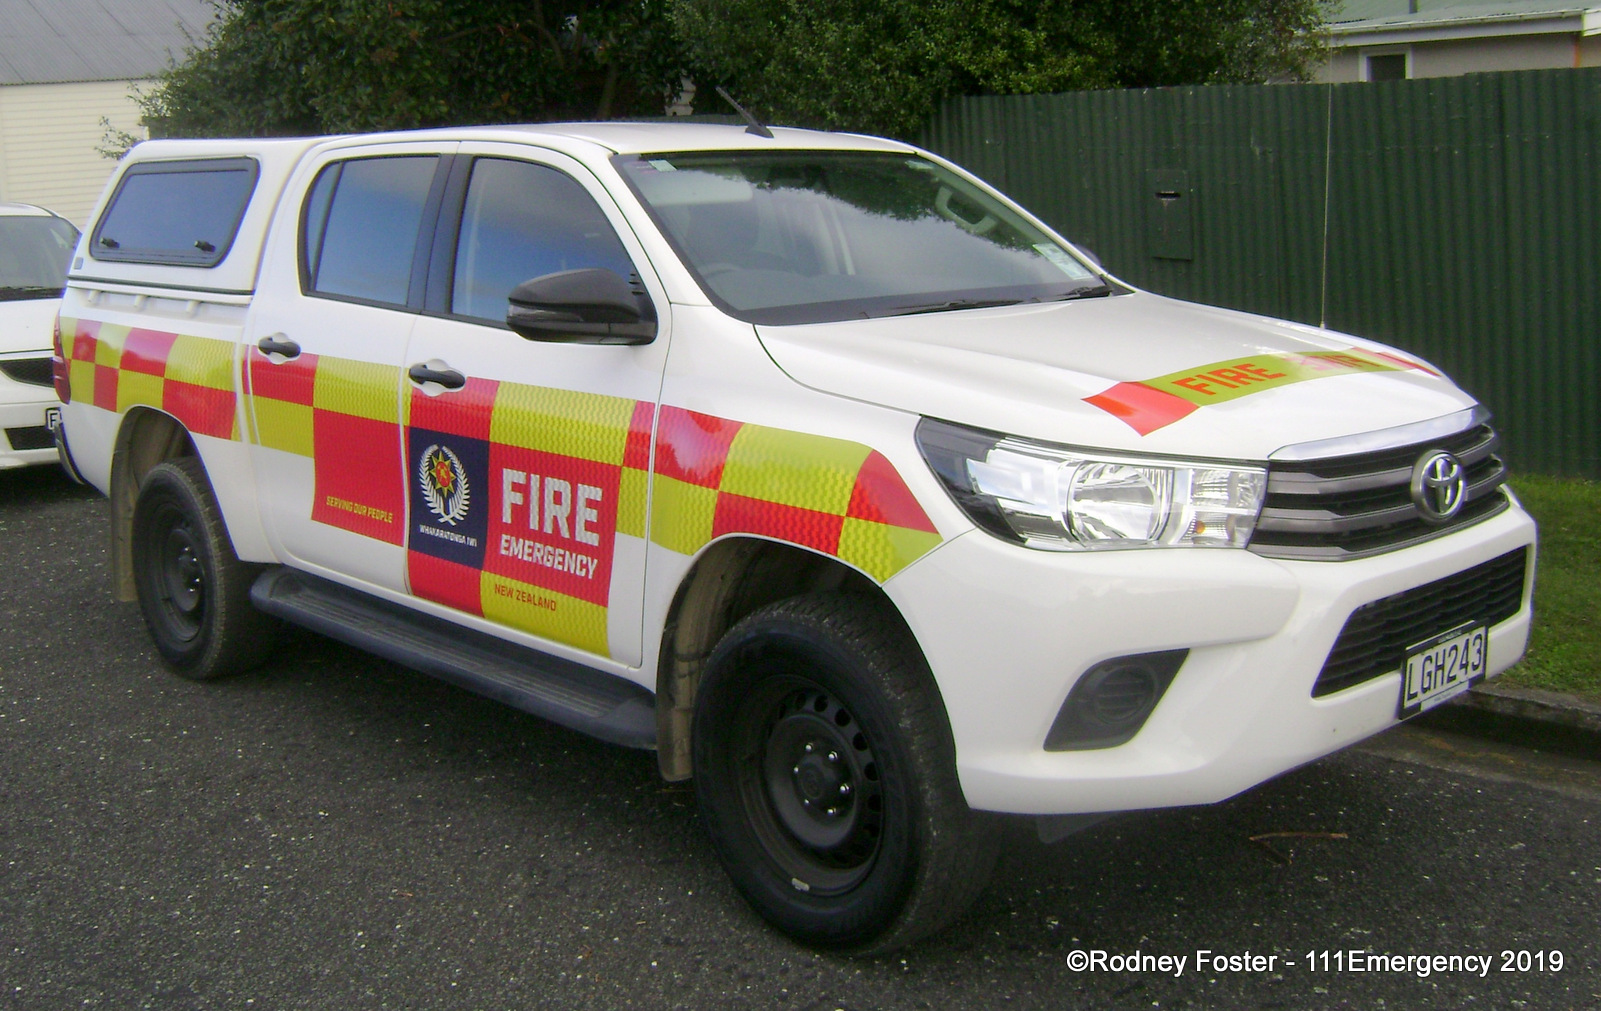
R4PRPTY1 2018 Toyota Hilux LGH 243 |
 |
 |
 |
|
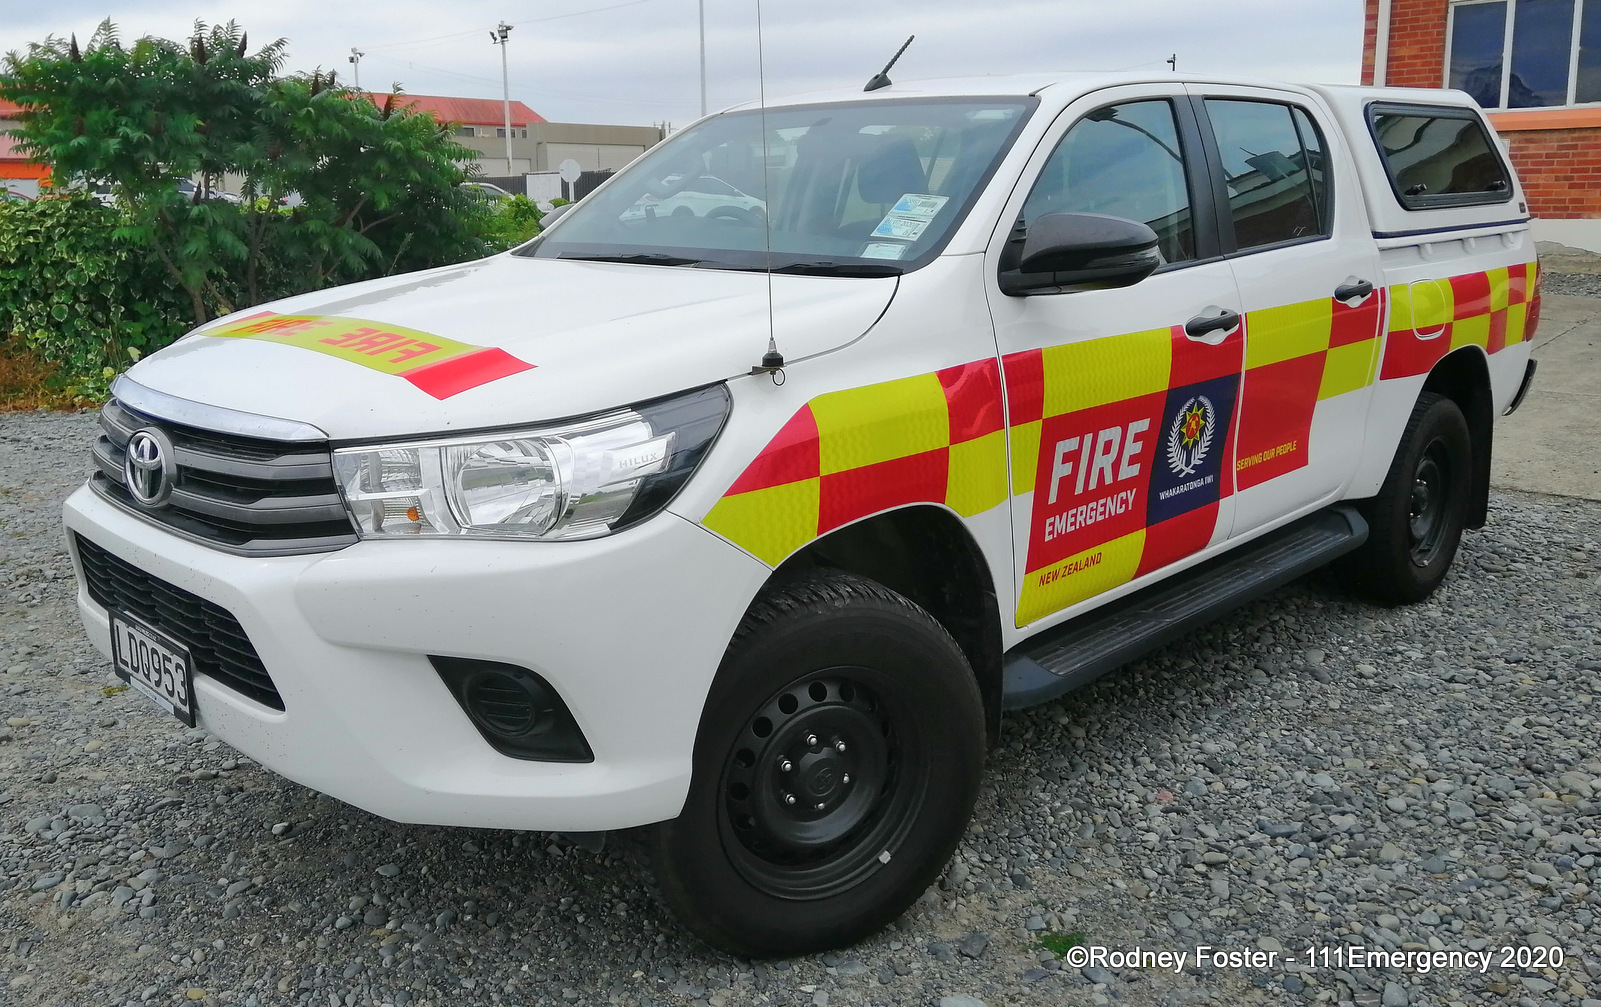
R4PRPTY2 2018 Toyota Hilux LDQ 953 Photo by Rodney Foster |
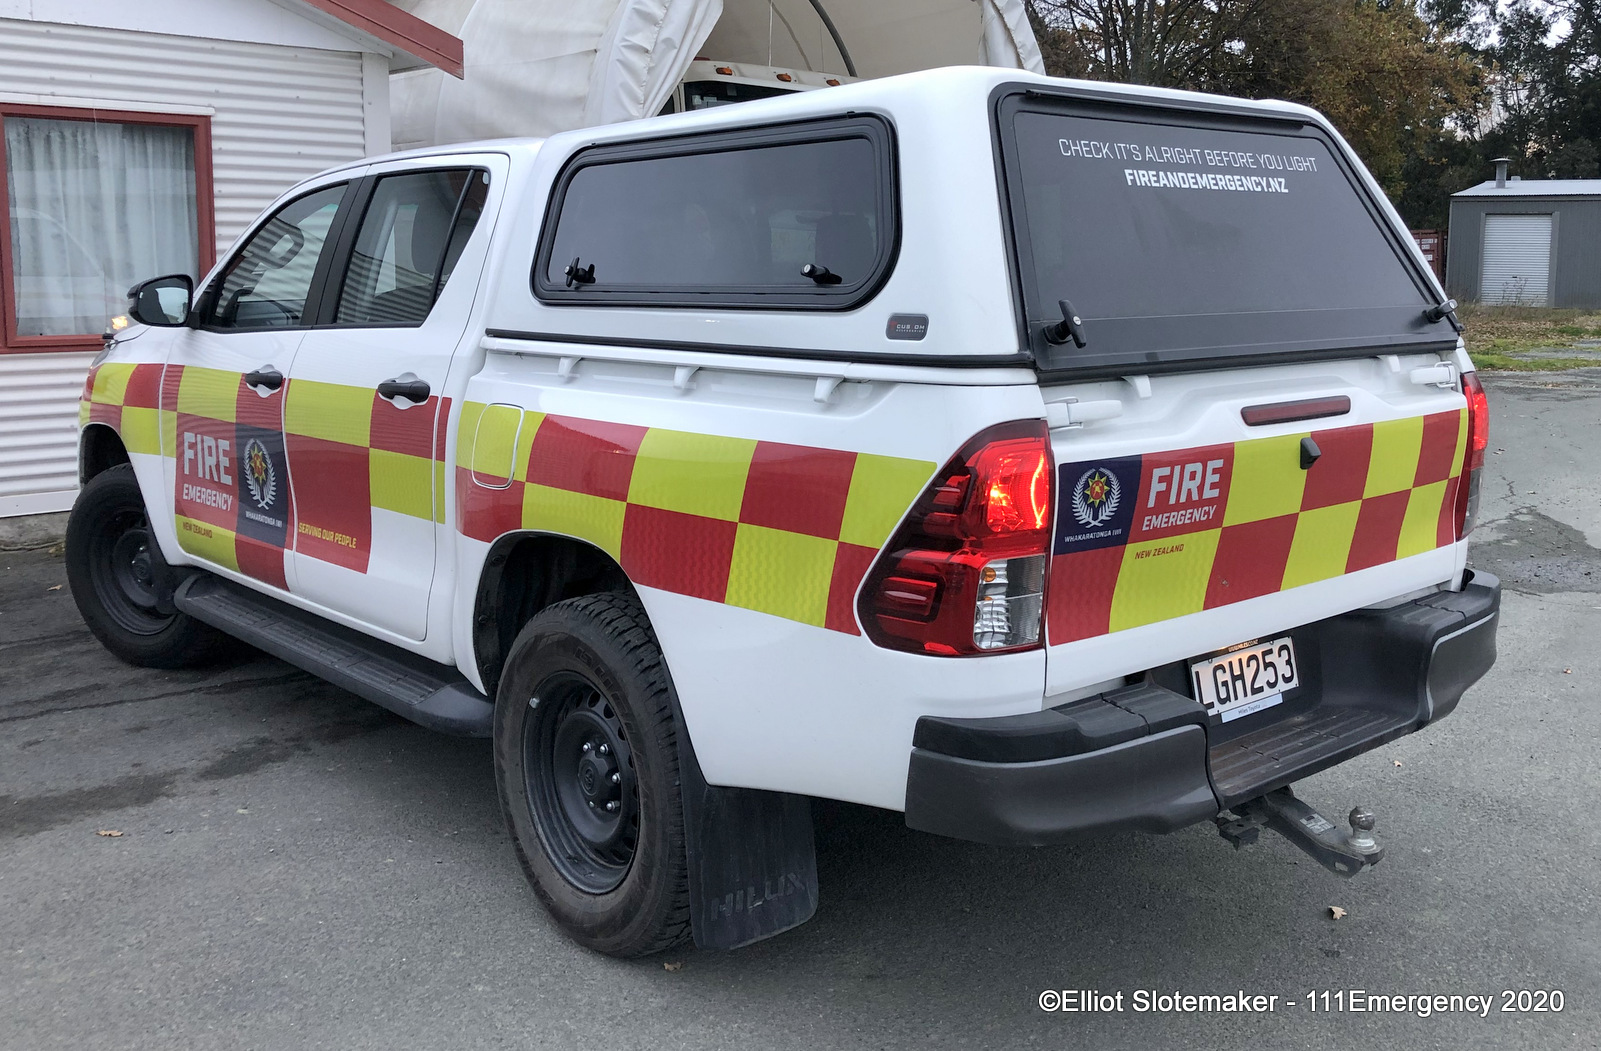
R4PRPTY3 2018 Toyota Hilux LGH 253 Photo by Eliott Slotemaker |
R4PRPTY4 2020 Toyota Hilux MWL 354 Photo by Rodney Foster |
| Photo Required | Photo Required | Photo Required |
|
R4PRPTY5 2018 Toyota Hilux LEK 774 |
R4WELFARE1 2017 Toyota Hilux KNG 452 |
R4WELFARE2 2018 Toyota Hilux LSQ 30 |
| Photo Required | Photo Required |
 |
|
R4WELFARE3 2020 Toyota Hilux MTP 30 |
R4WELFARE4 2020 Toyota Hilux MTP 36 |
REG4EQUIP1 2019 Toyota Hilux MDF 203 Photo by Rodney Foster |
|
|
Photo Required |
 |
|
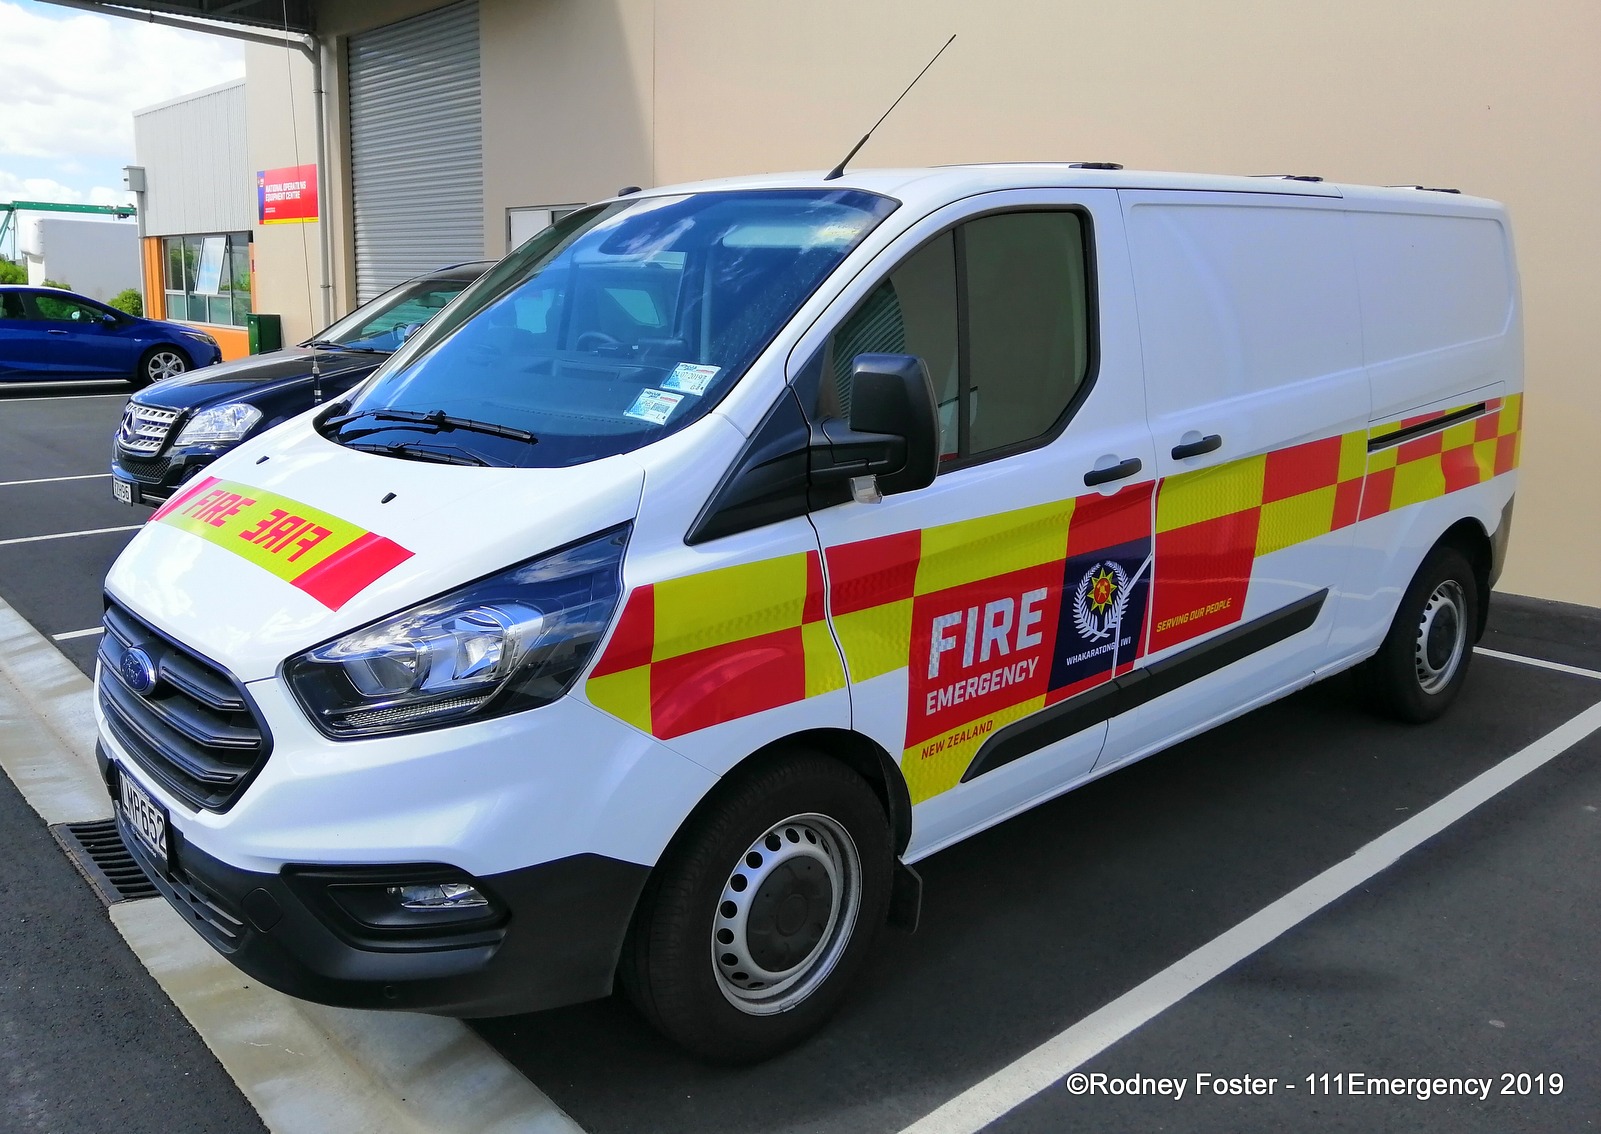
REG4EQUIP2 2018 Ford Transit LMP 652 Photo by Rodney Foster
|
REG4EQUIP3 2012 Ford Transit GKJ 581 |
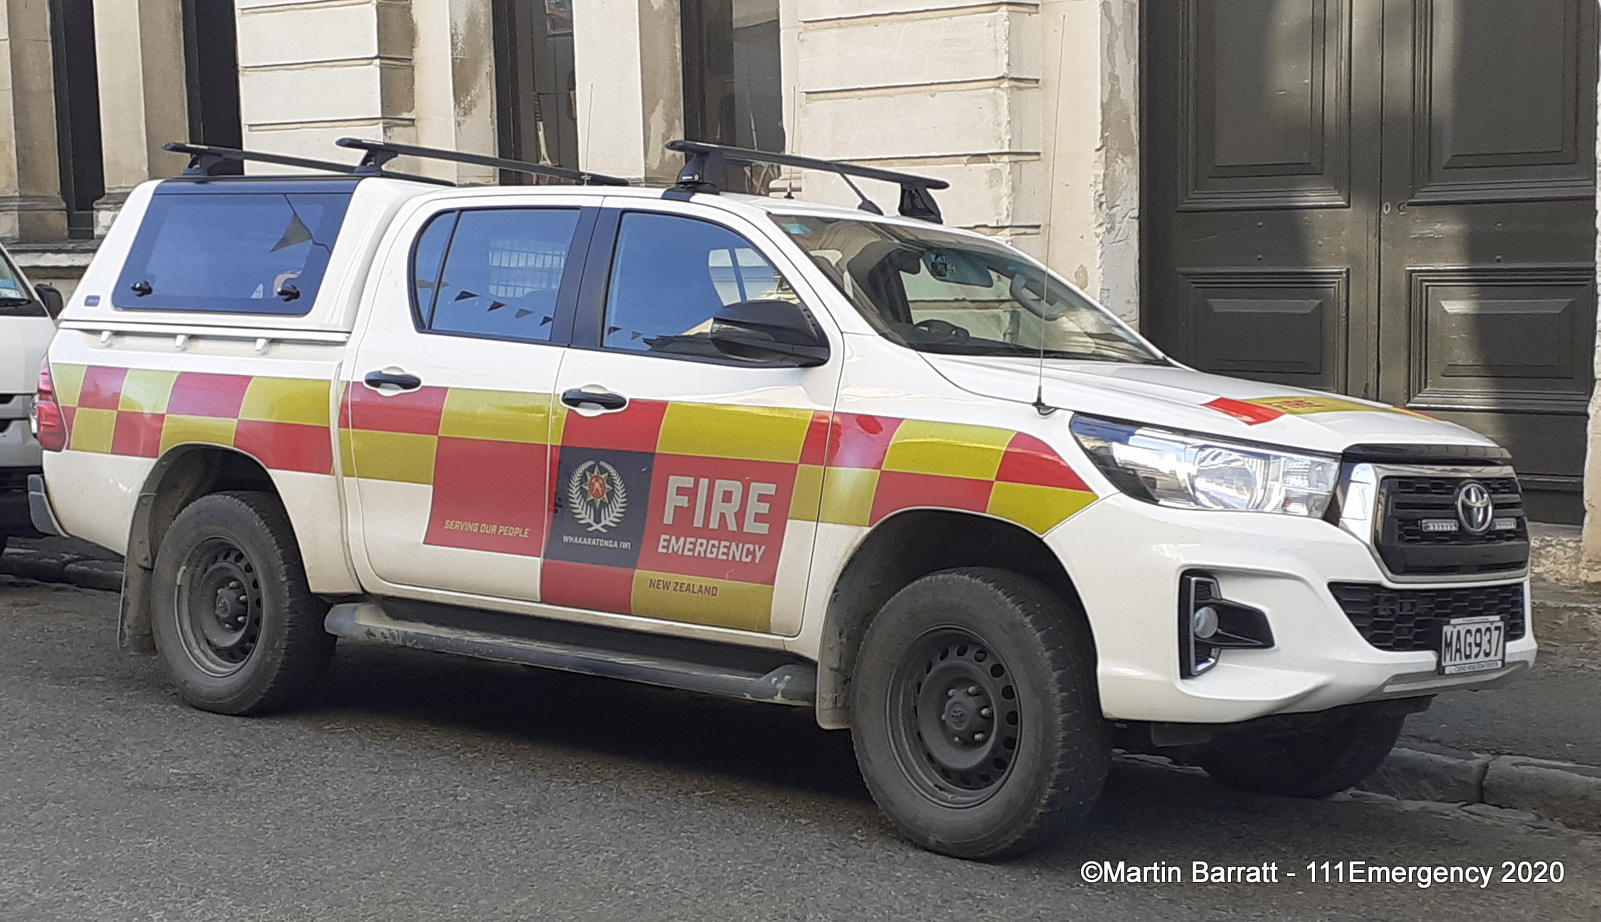
RTSRURAL 2019 Toyota Hilux MAG 937 Photo by Martin Barratt |
 |
 |
 |
|
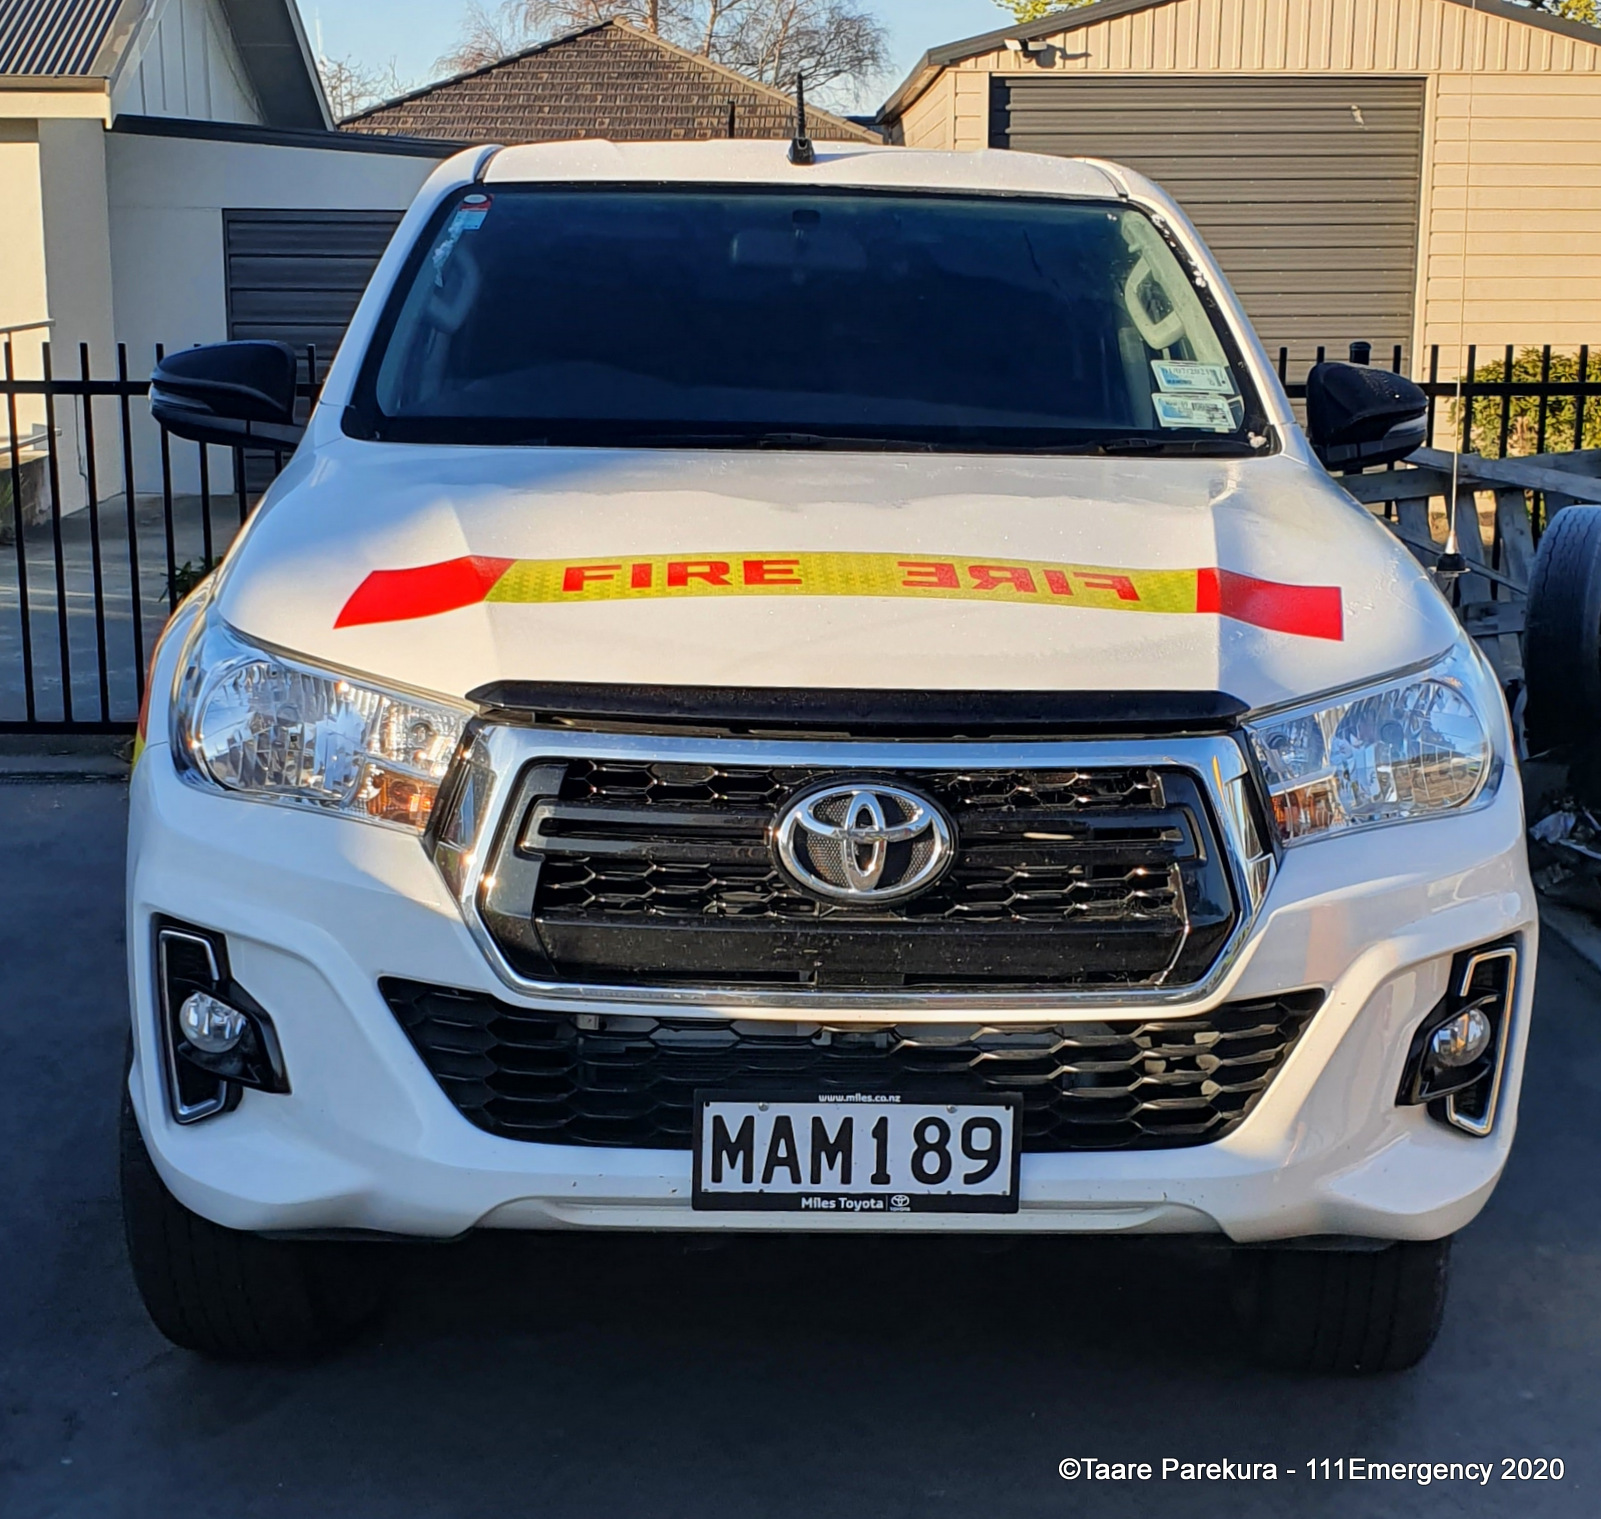
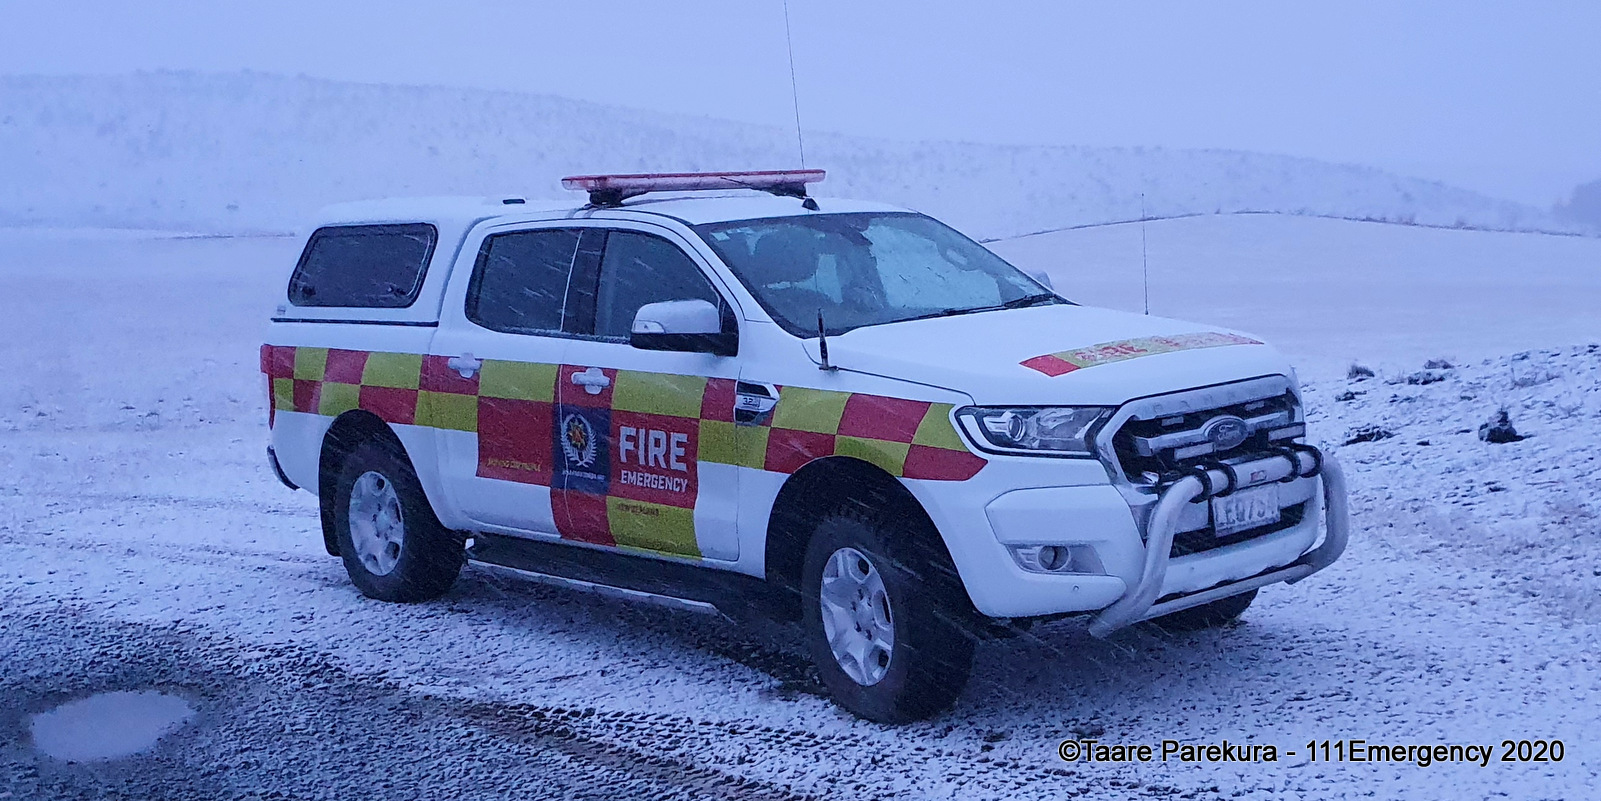
REGN4TRNG14 2019 Toyota Hilux MAM 189 Photo by Taare Parekura |
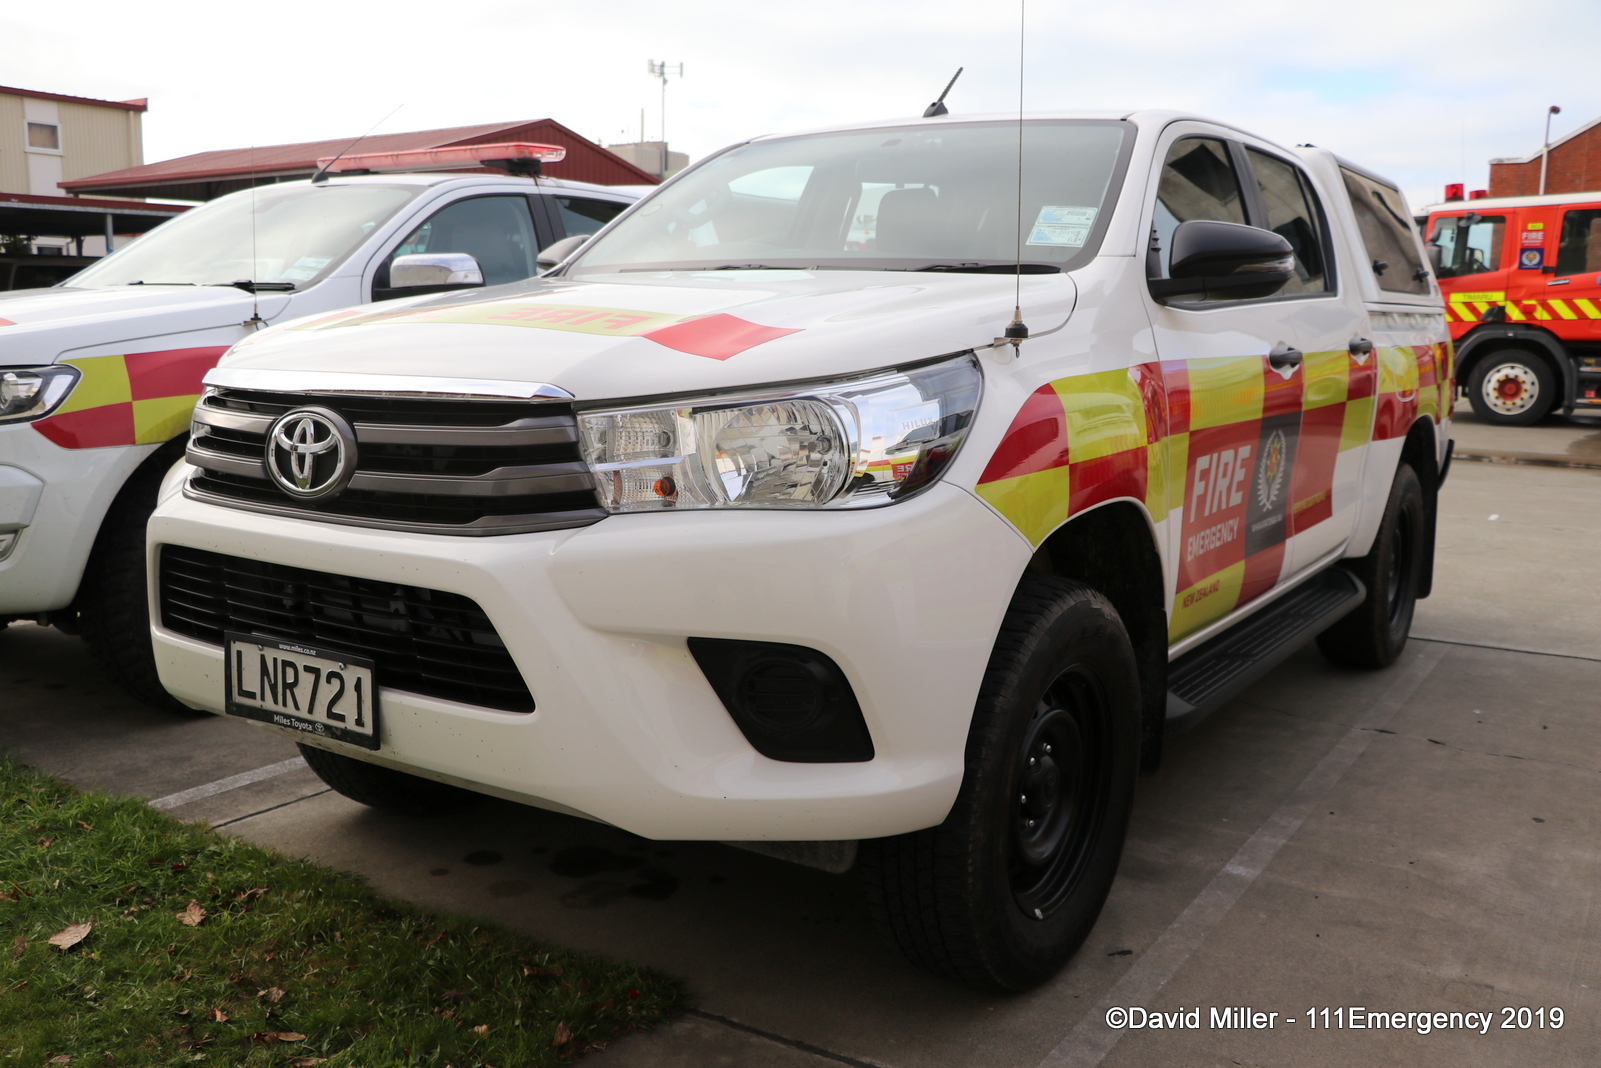
REGN4TRNG16 2018 Toyota Hilux LNR 721 Photo by David Miller |
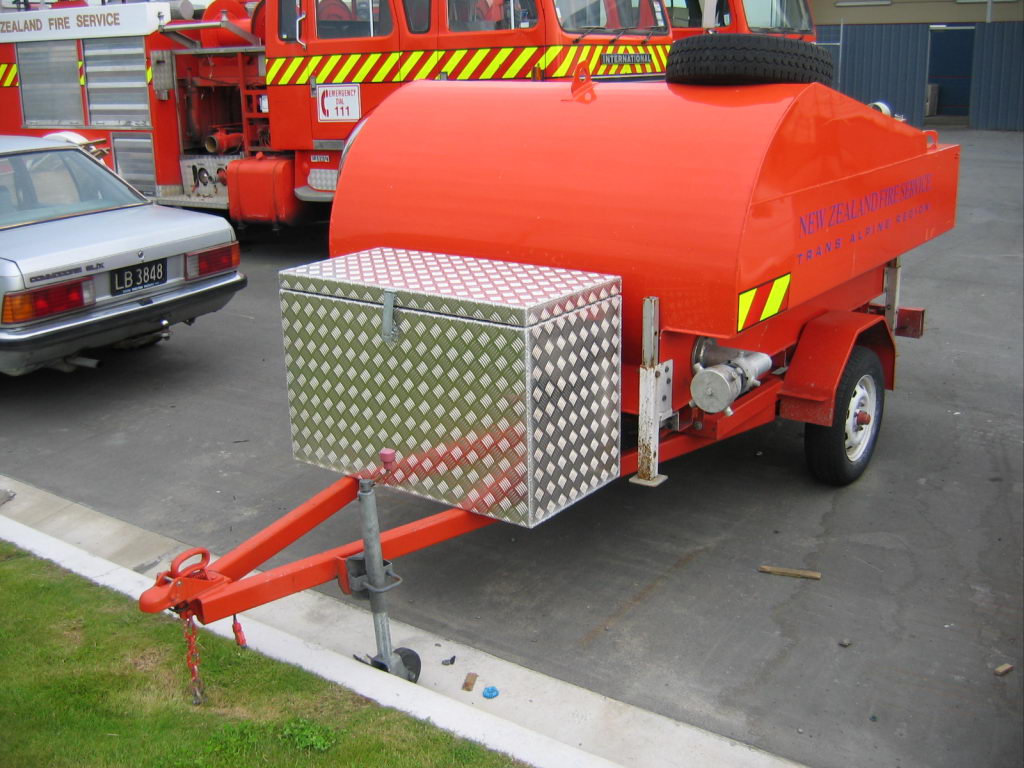
Region 4 Pump Testing Unit 41 FWN Photo donated by David Miller |
| NZFS REGION 4 EXECUTIVE VEHICLES | ||
| Photo Required | Photo Required | Photo Required |
|
CHRISTCH1 2017 Holden Captiva KNZ 431 |
CHRISTCH2 2017 Mitsubishi Outlander KQU 931 |
CHRISTCH3 2017 Mitusbishi Outlander KQU 932 |
 |
|
 |
|
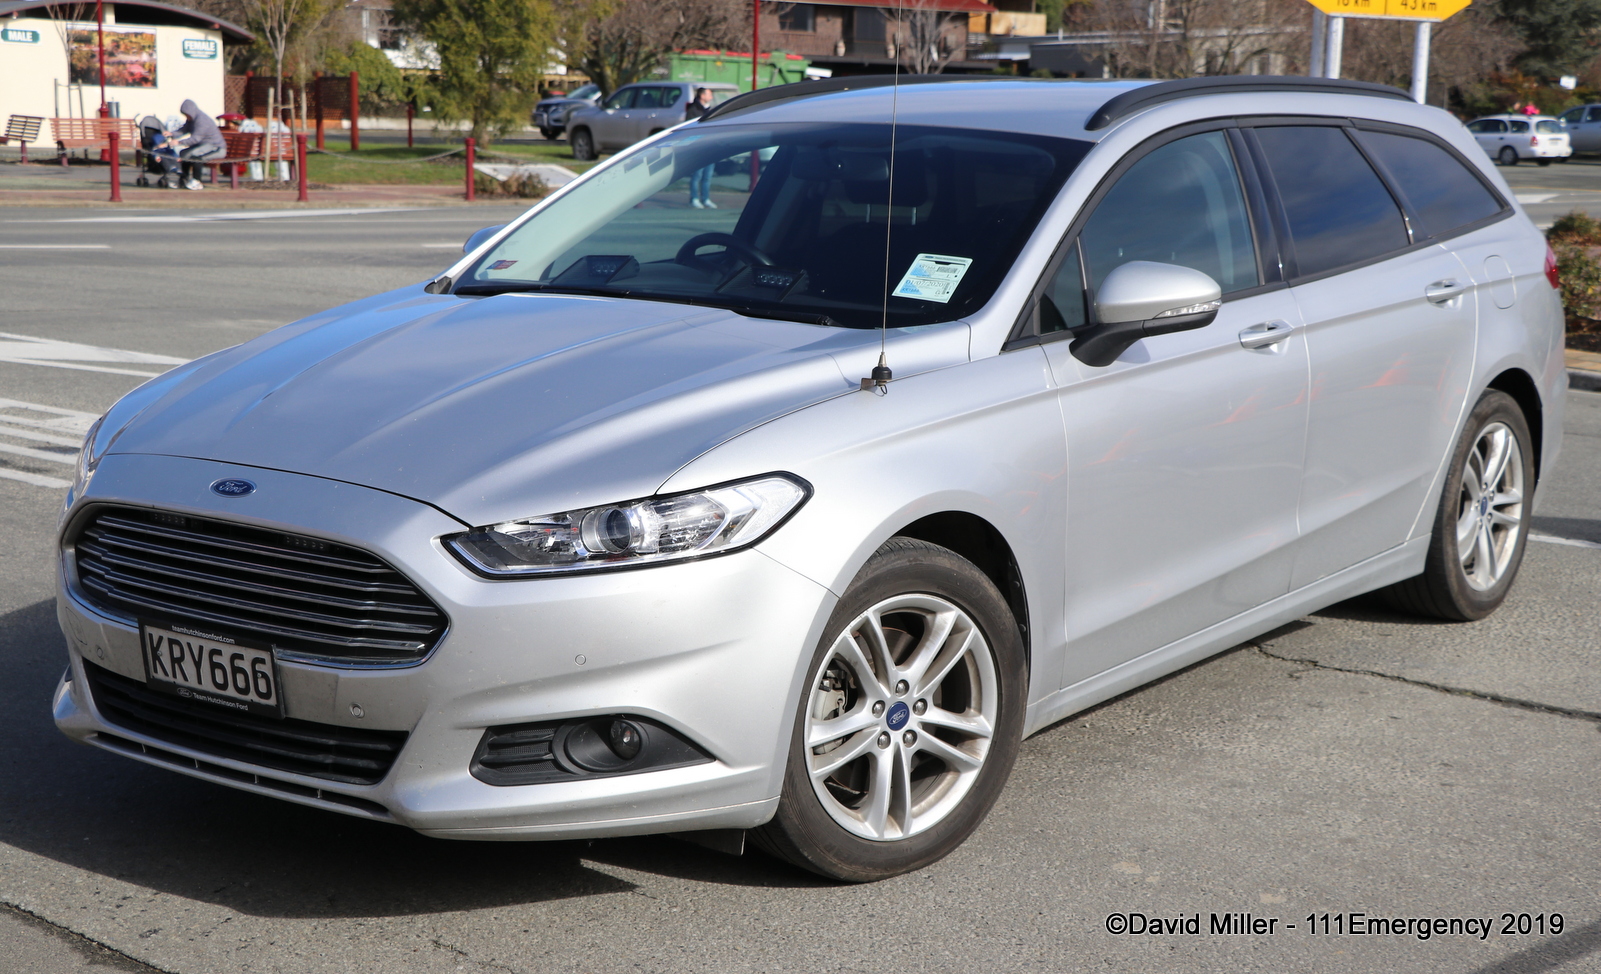
SOUTCANT1 2017 Ford Mondeo KRY 666 Photo by David Miller |
SOUTHCANT2 2017 Mitsubishi Outlander LCB 413 Photo by David Miller |
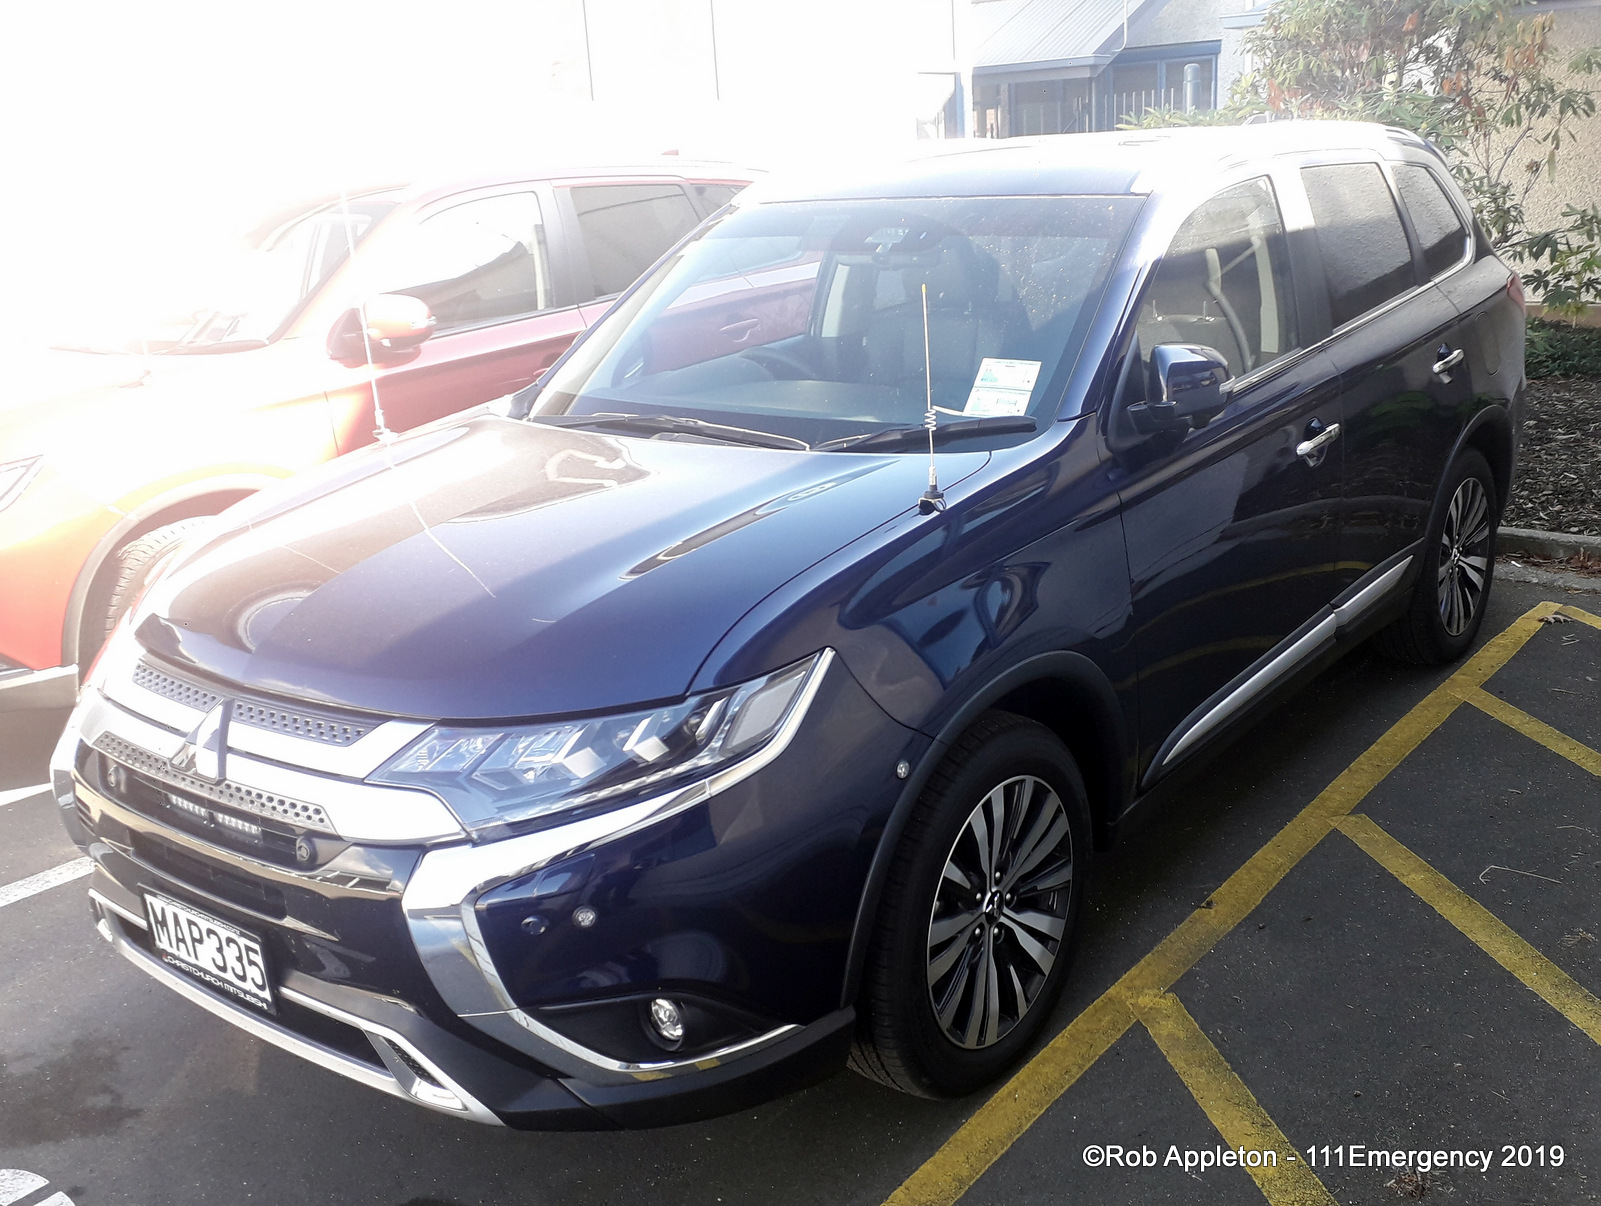
TASMARL1 2019 Mitsubishi Outlander MAP 335 Photo by Rob Appleton |
|
Photo Required |
Photo Required |
 |
|
TASMARL2 2019 Mitsubishi Outlander MMF 302 |
WESTCOAST1 2017 Holden Captiva KYR 601 |
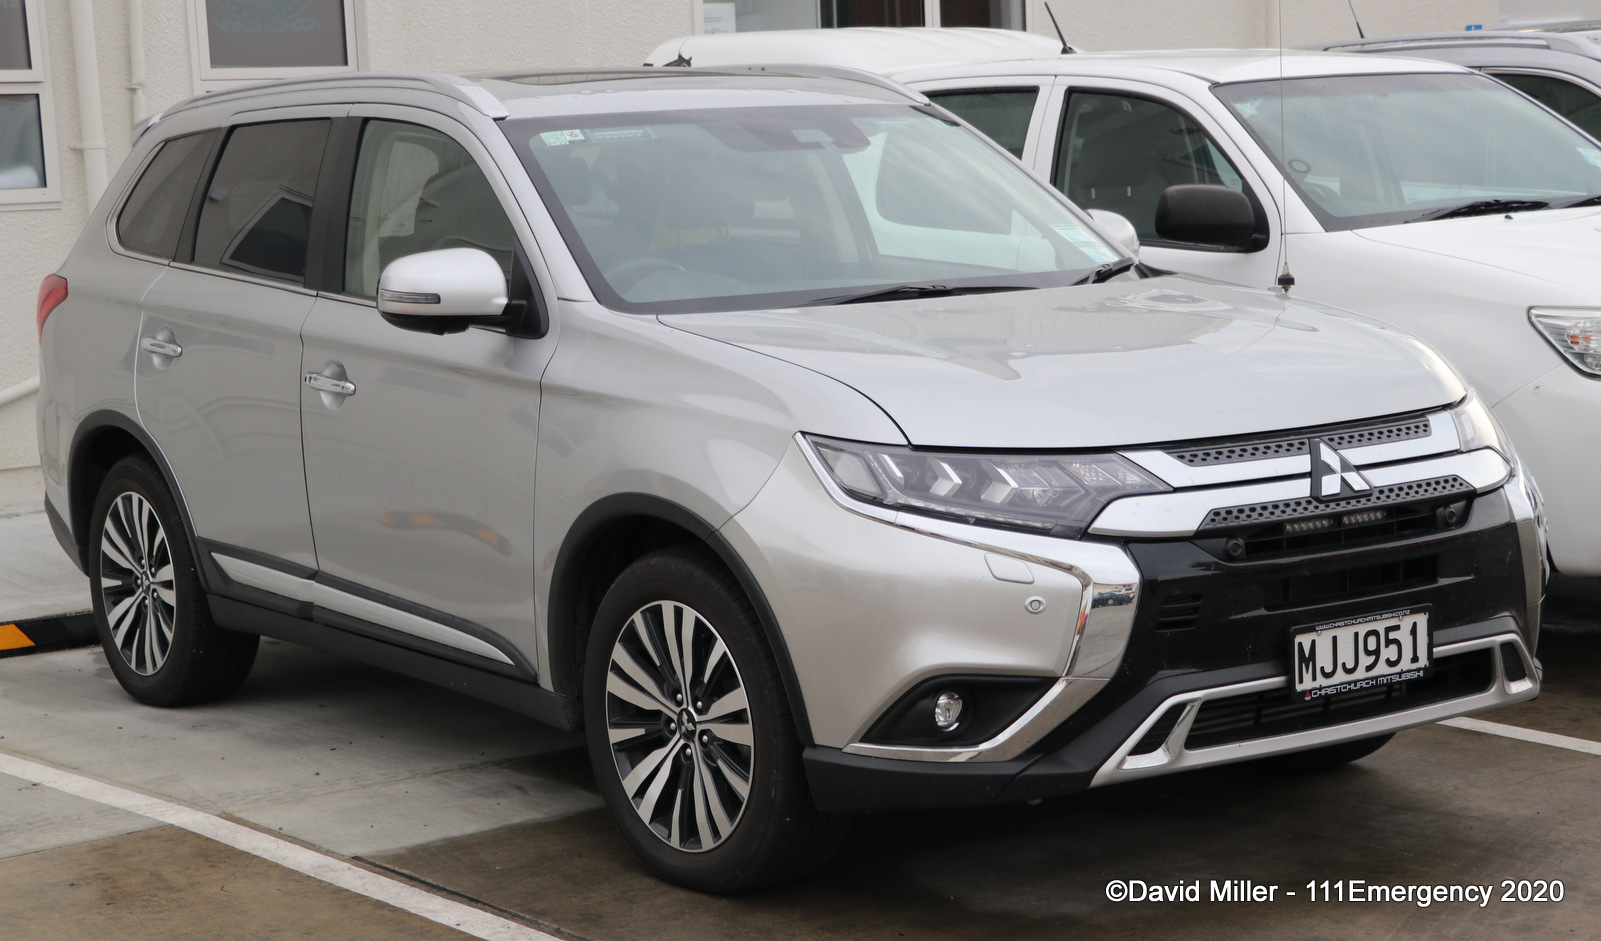
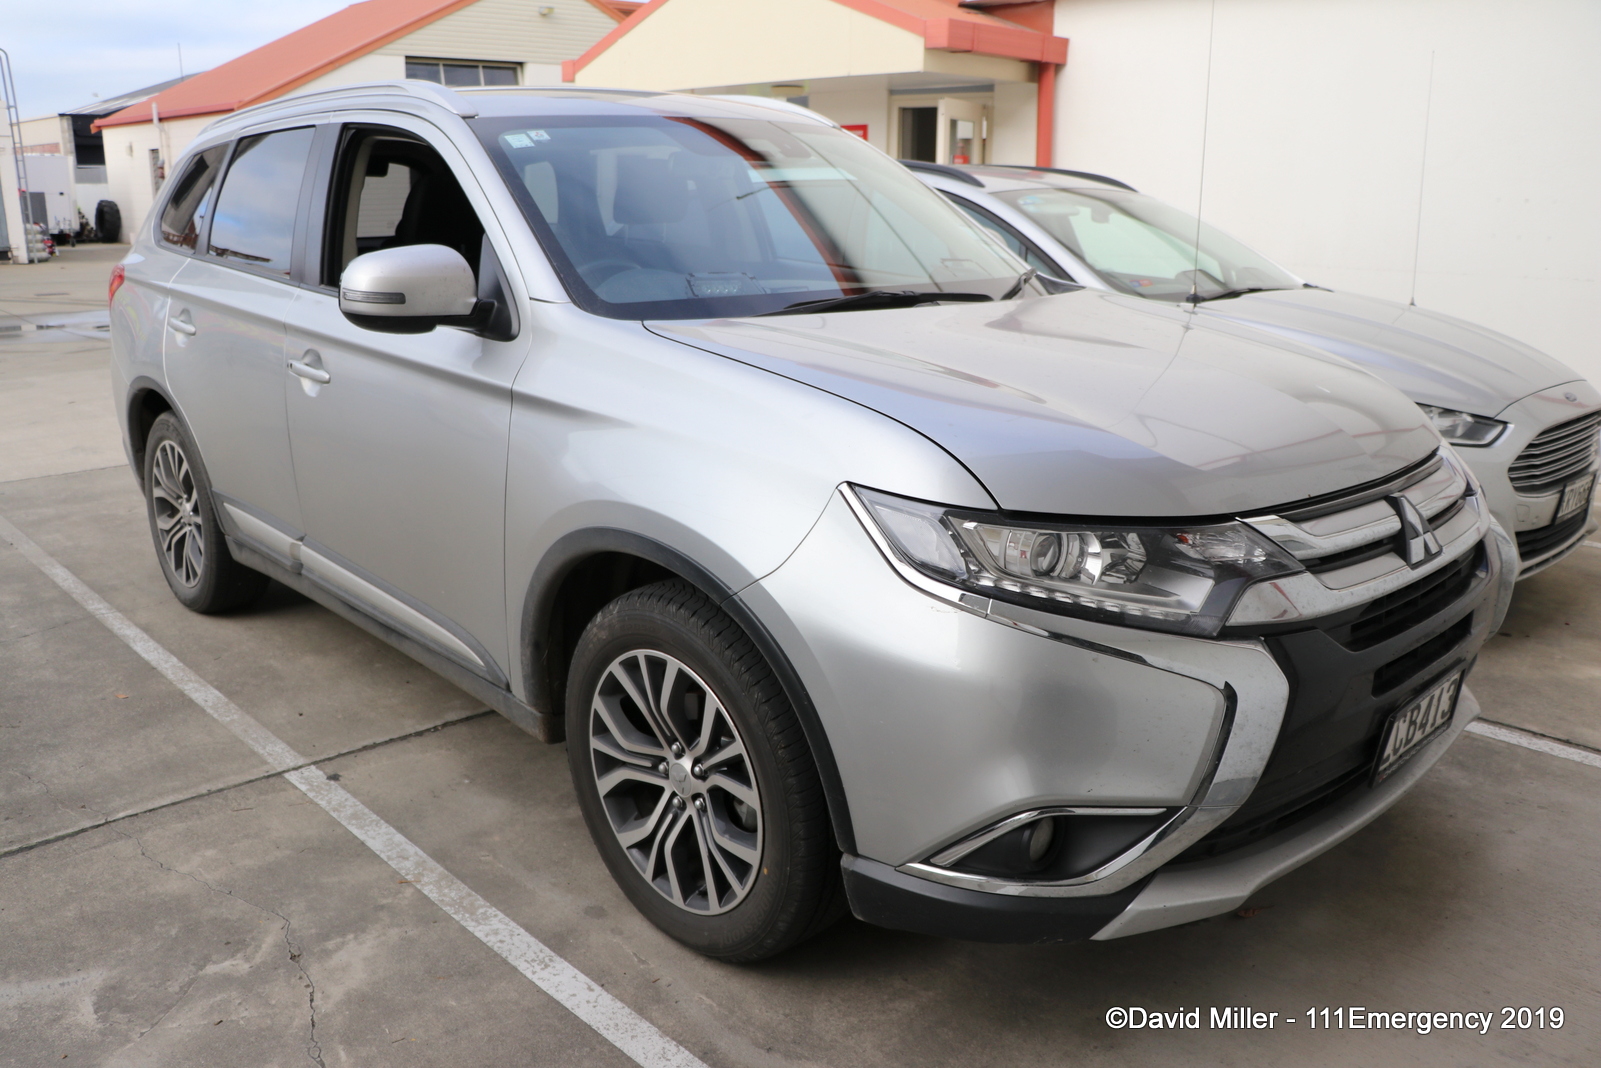
R4TEMPOFF Ex. SOUTHCANT3 2020 Mitsubishi Outlander MJJ 951 Photo by David Miller |
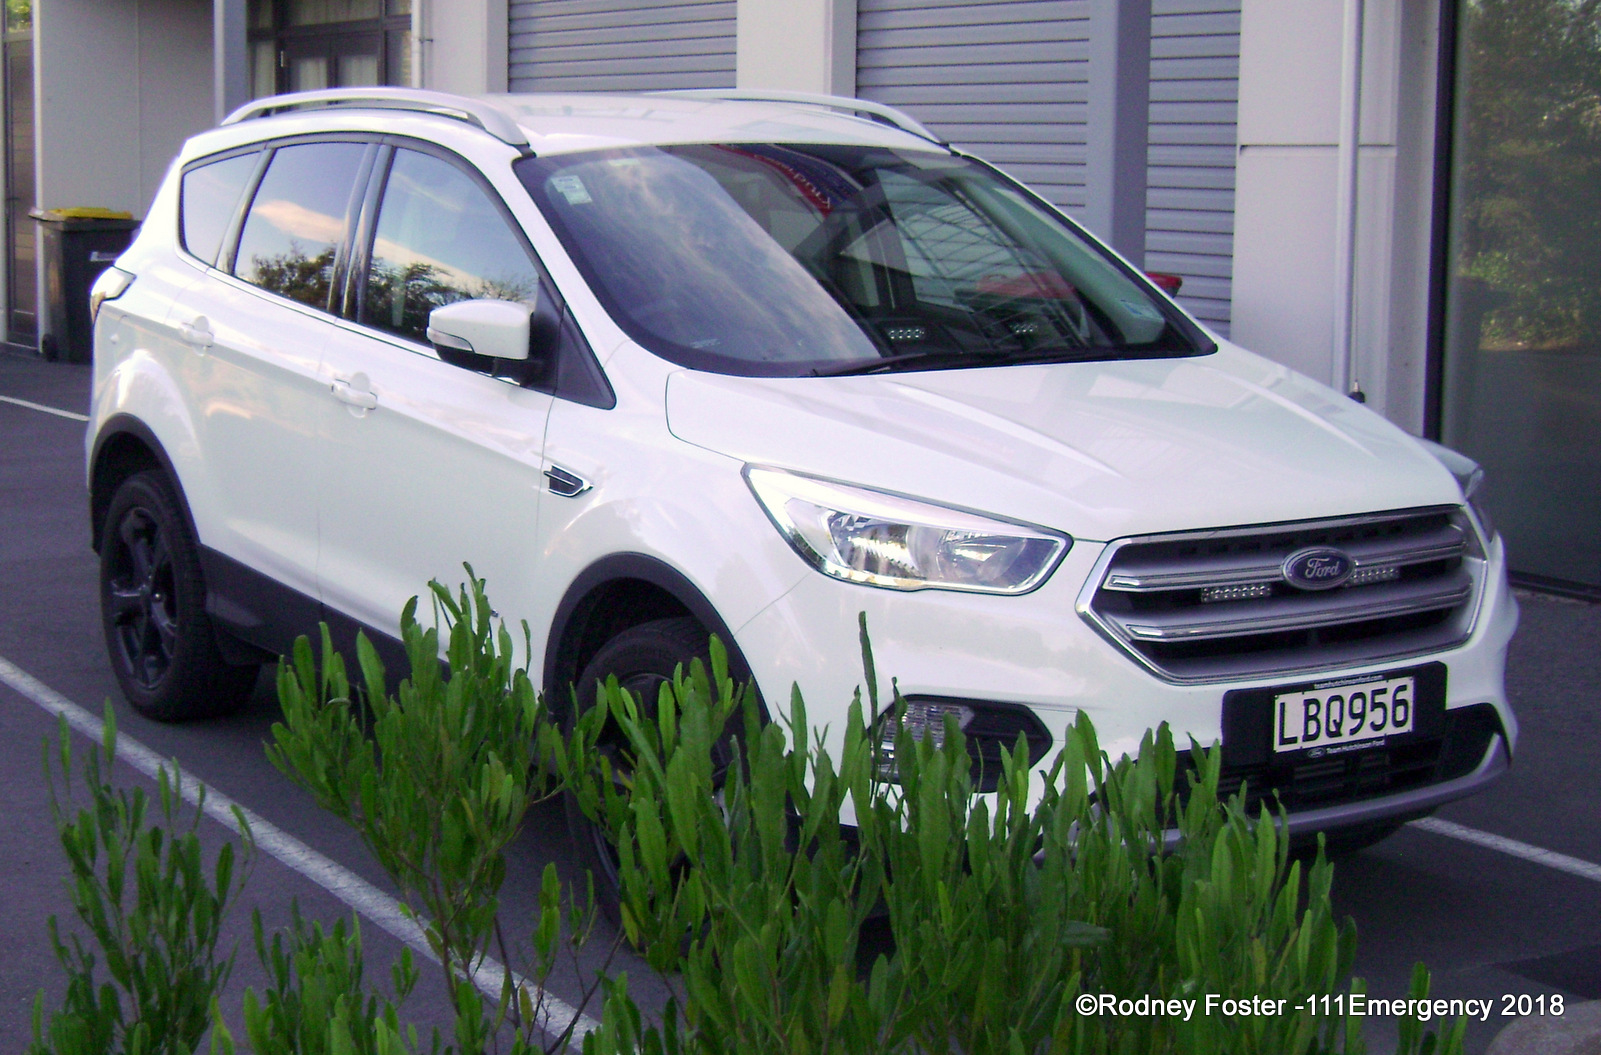 |
Photo Required | Photo Required |
|
CANTERBRY1 2017 Ford Escape LBQ 956 Photo by Rodney Foster |
CANTERBRY2 2019 Mitsubishi Outlander MAP 331 |
REGION4A 2019 Hyundai Santa Fe MJY 32 |
| Photo Required | Photo Required | Photo Required |
|
REGION4B 2018 Mitsubishi Outlander LCB 452 |
REGION4C 2018 Hyundai Tucson LHE 934 |
REGION4D 2021 Toyota Hilux NFJ 445 |
 |
||
|
REGION4E Ex. REG4RMRB 2017 Hyundai Santa Fe KTF 14 Photo by Mark Boere |
||
| RURAL FIRE OFFICERS | ||
| Photo Required | Photo Required | Photo Required |
|
RURALMARL5 2017 Ford Ranger KNW 508 |
RFONELTAS1 2015 Toyota Hilux JDW 306 |
RFONELTAS2 2013 Toyota Hilux GYW 250 |
| Photo Required | Photo Required |
 |
|
RFONELTAS3 2011 Isuzu D-Max GAR 267 |
RFONELSTAS4 2018 Mitsubishi Triton LJB 189 |
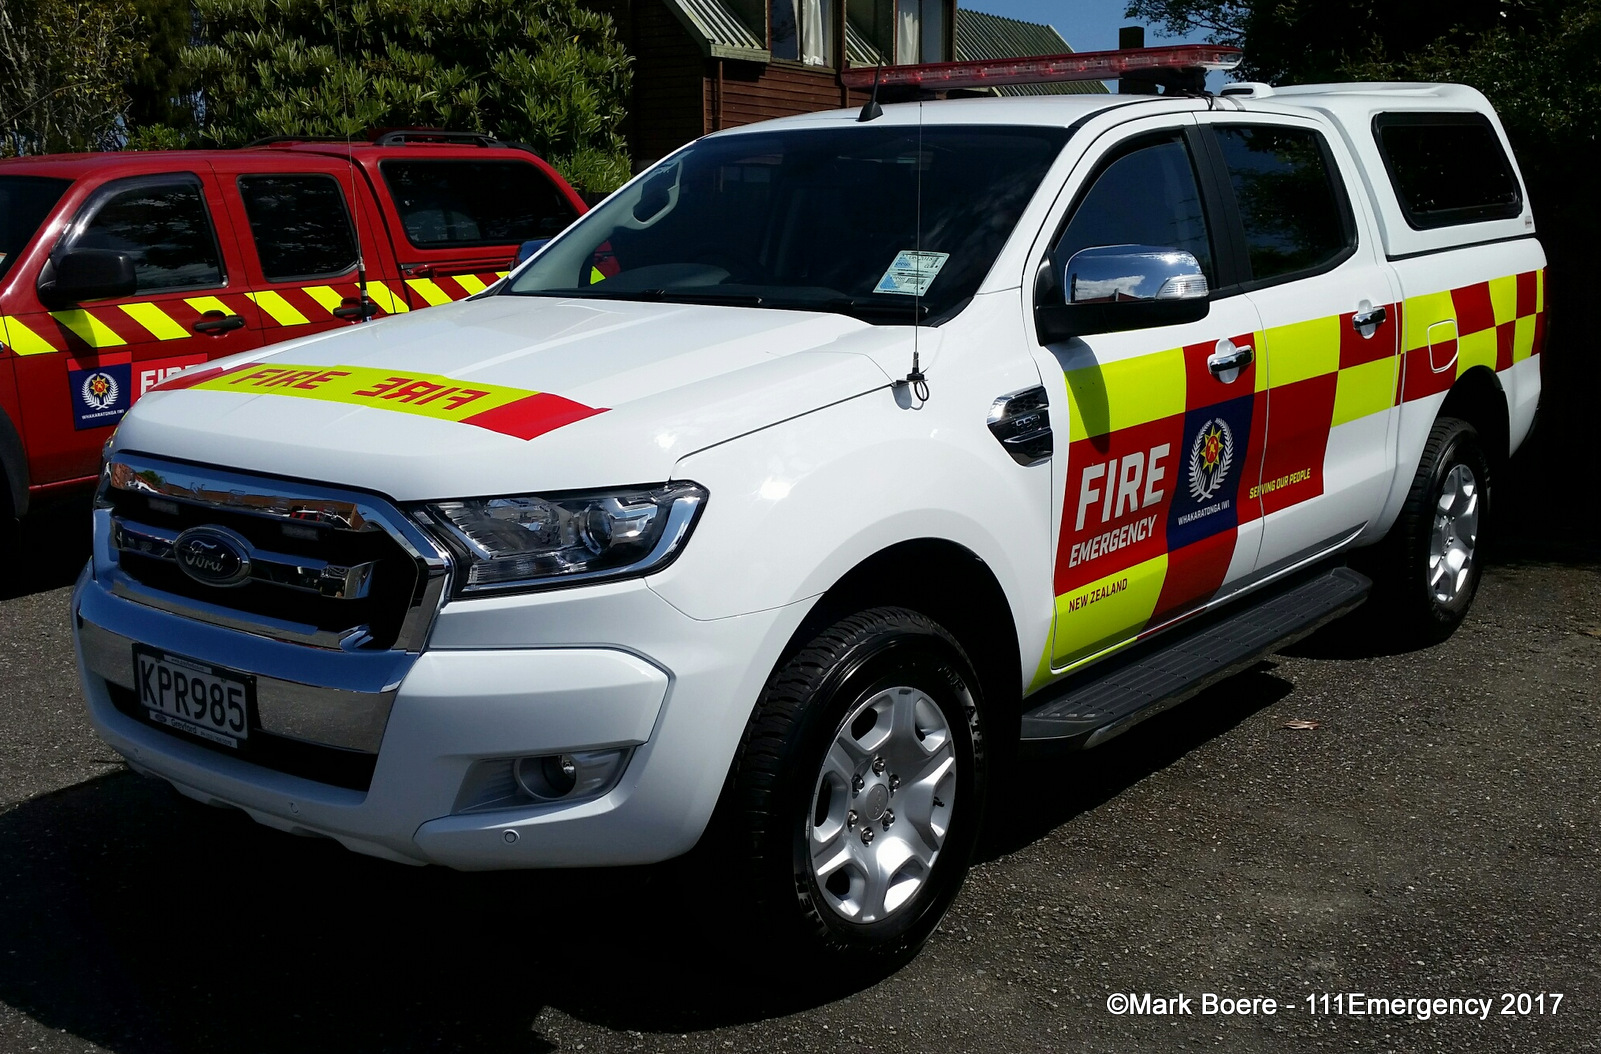
RFOWCOAST1 2017 Ford Ranger KPR 985 Photo by Mark Boere |
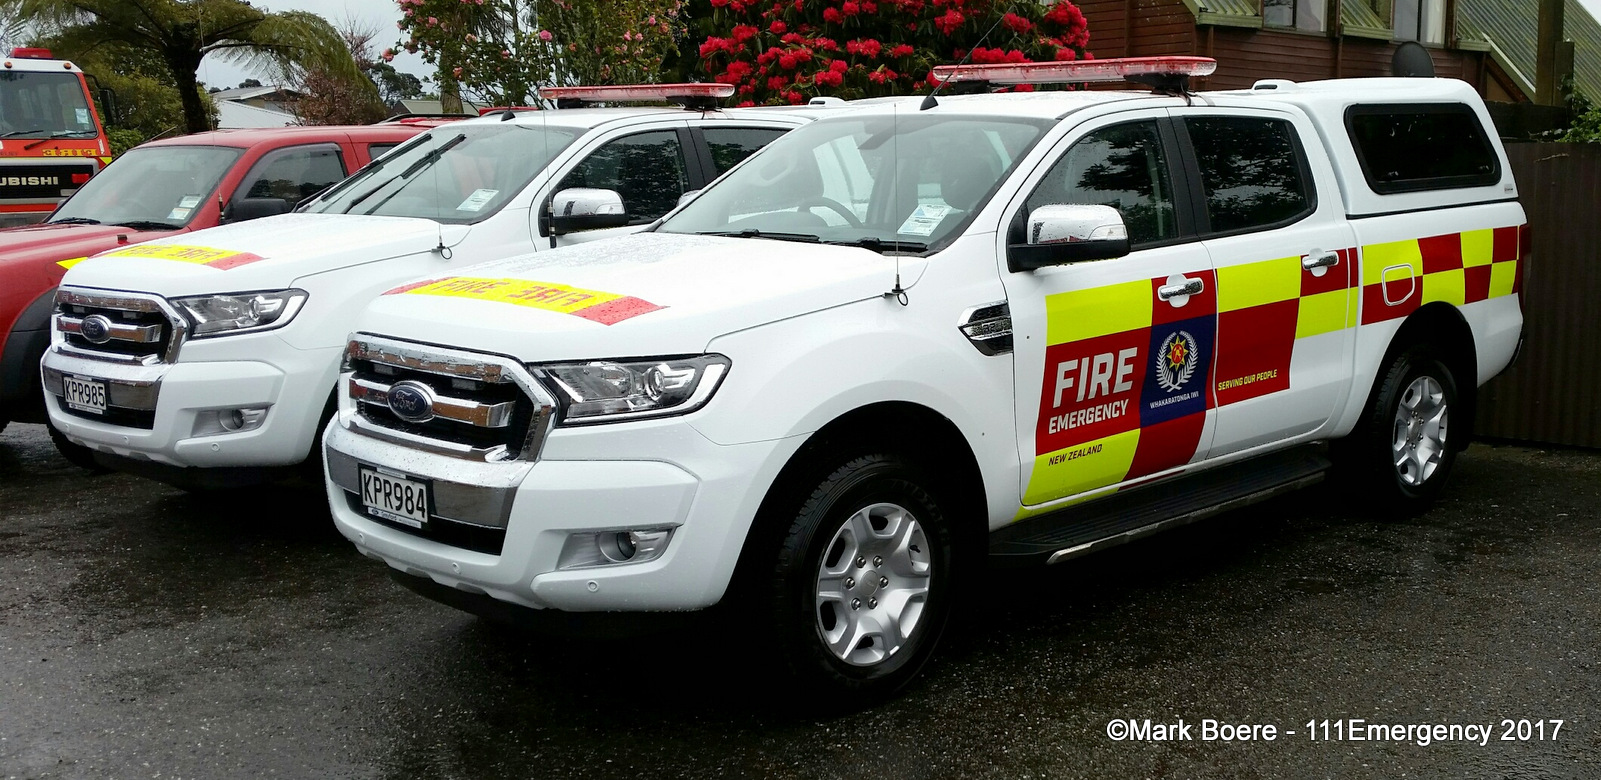 |
Photo Required |
 |
|
RFOWCOAST2 2017 Ford Ranger KPR 984 Photo by Mark Boere |
RFOWCOAST3 1991 Toyota Landcruiser TD 4331 |
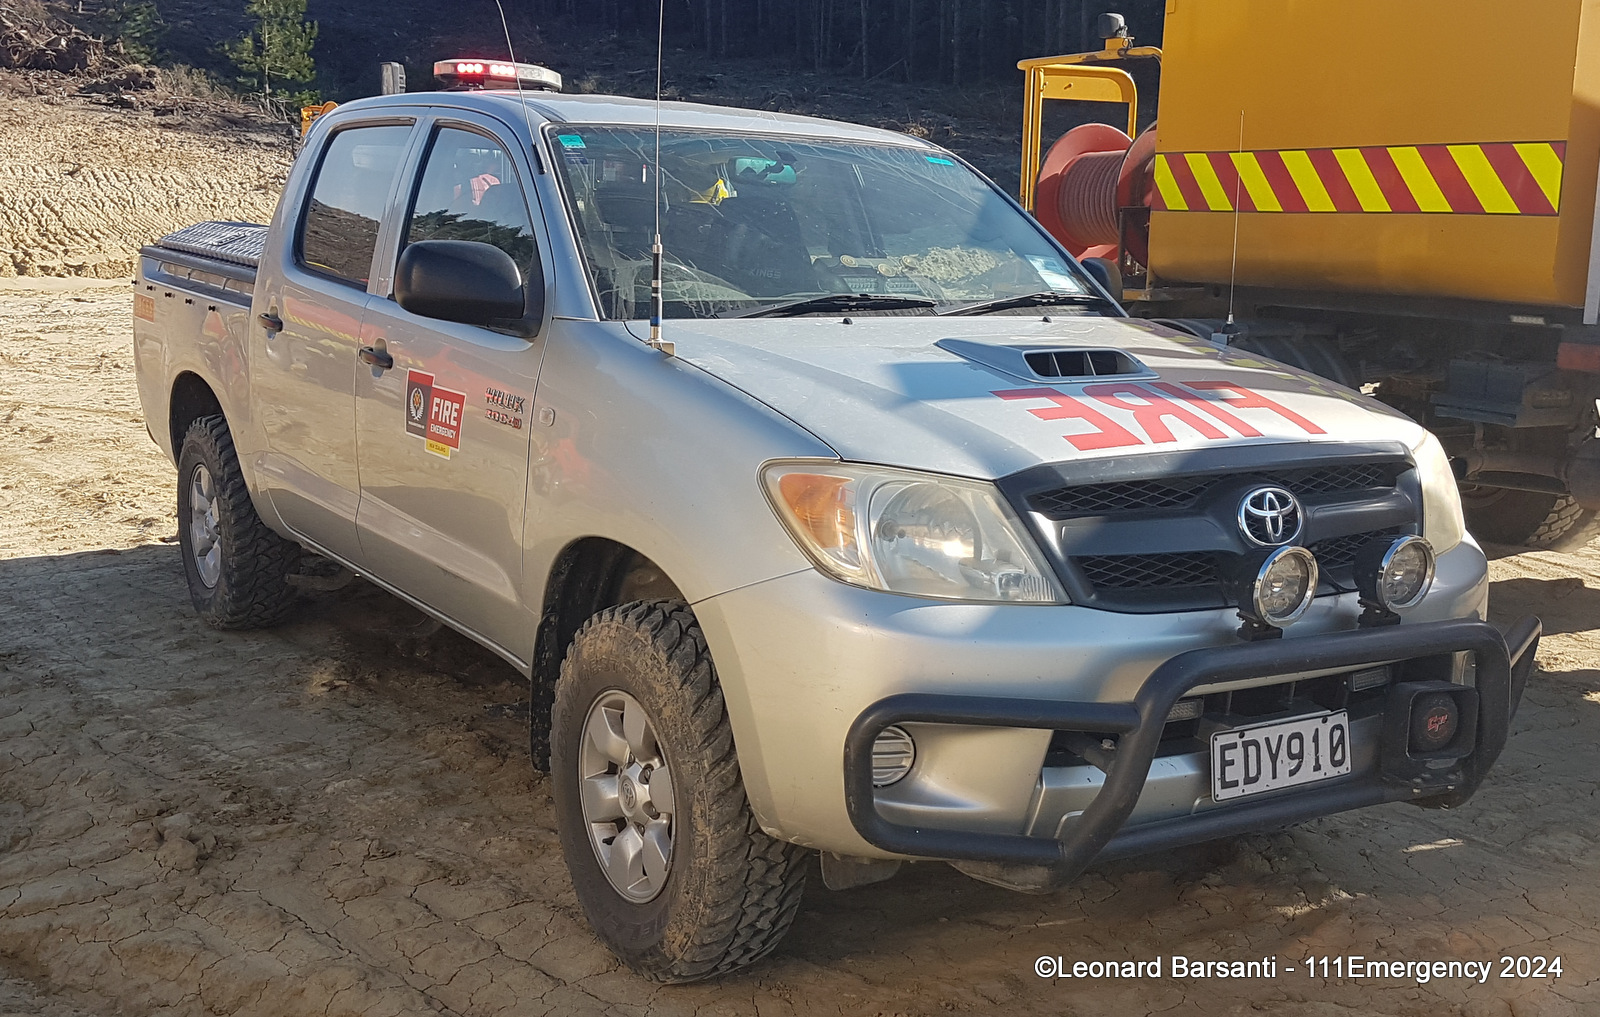
RFOCHCSEL3 Ex. Selwyn District Council RFO2 2007 Toyota Hilux EDY 910 Photo by David Miller |
| Photo Required | Photo Required |
Photo Required |
|
RURALMARL1 2021 Toyota Hilux NGH 775 |
RURALMARL2 2017 Ford Ranger KQP 705 |
RURALMARL3 2018 Ford Ranger LFS 894 |
|
|
 |
|
|
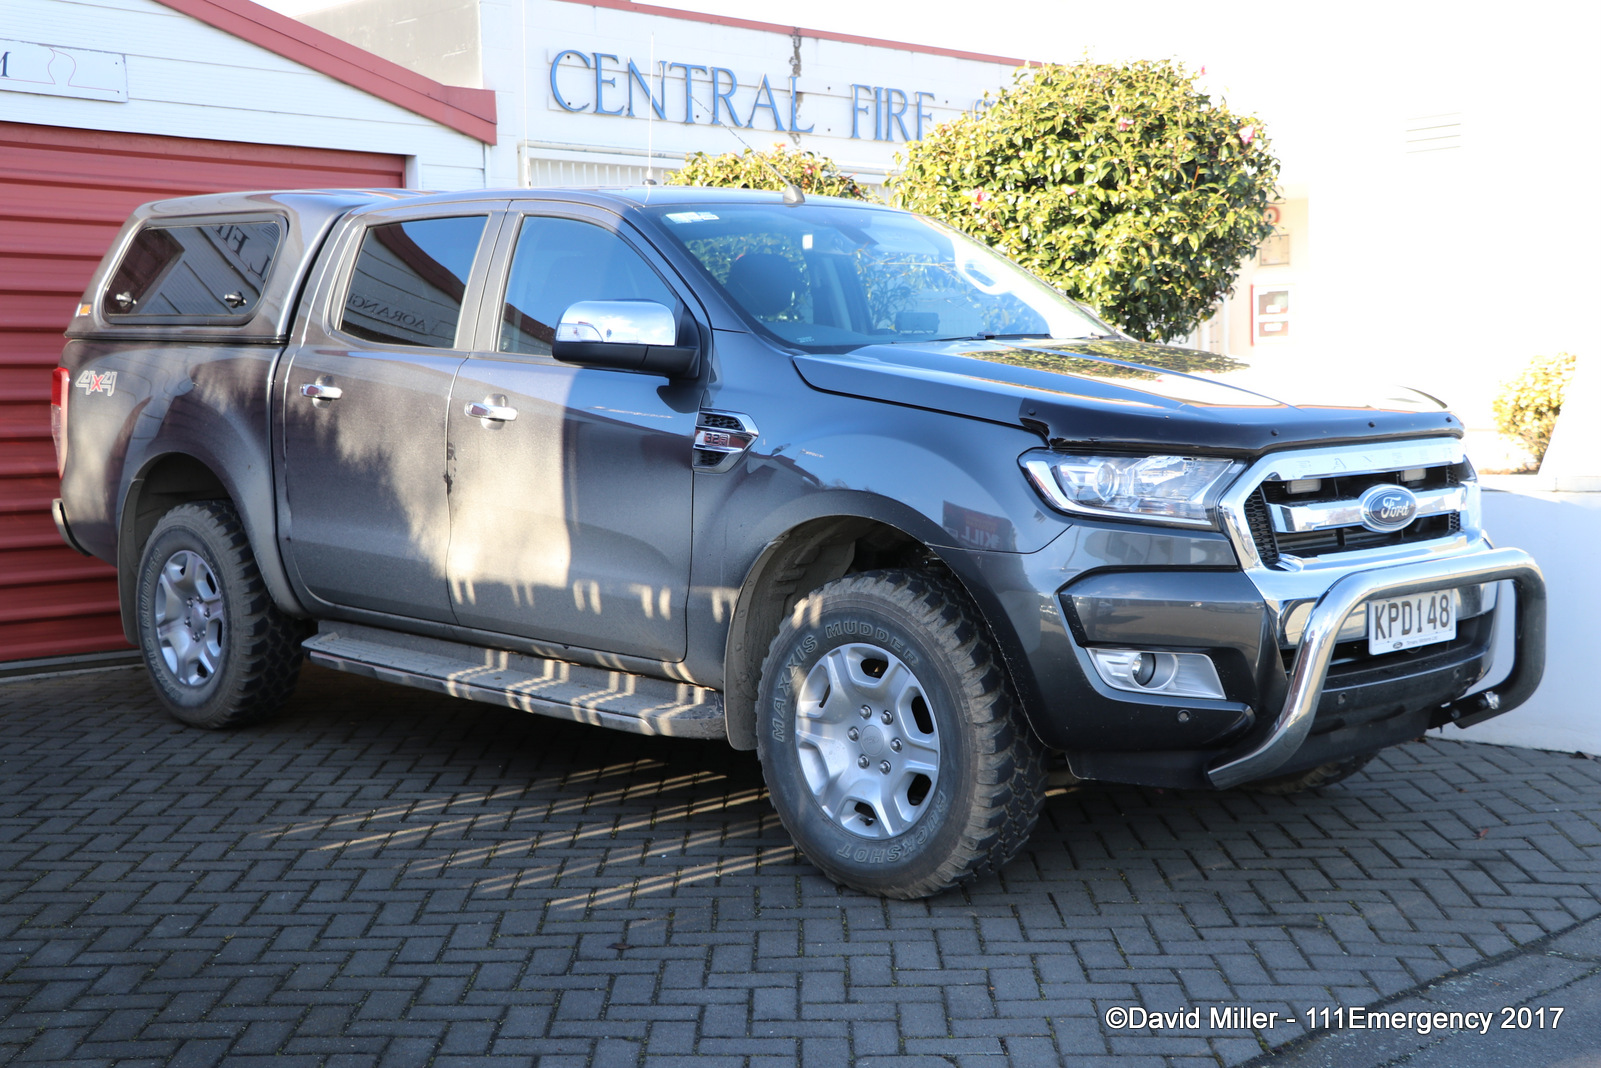
RURALMSC1 Ex. RURALSCRF8 2017 Ford Ranger KPD 148 Photo by David Miller |
RURALMSC3 2018 Ford Ranger LEQ 754 Photo by Taare Parekura |
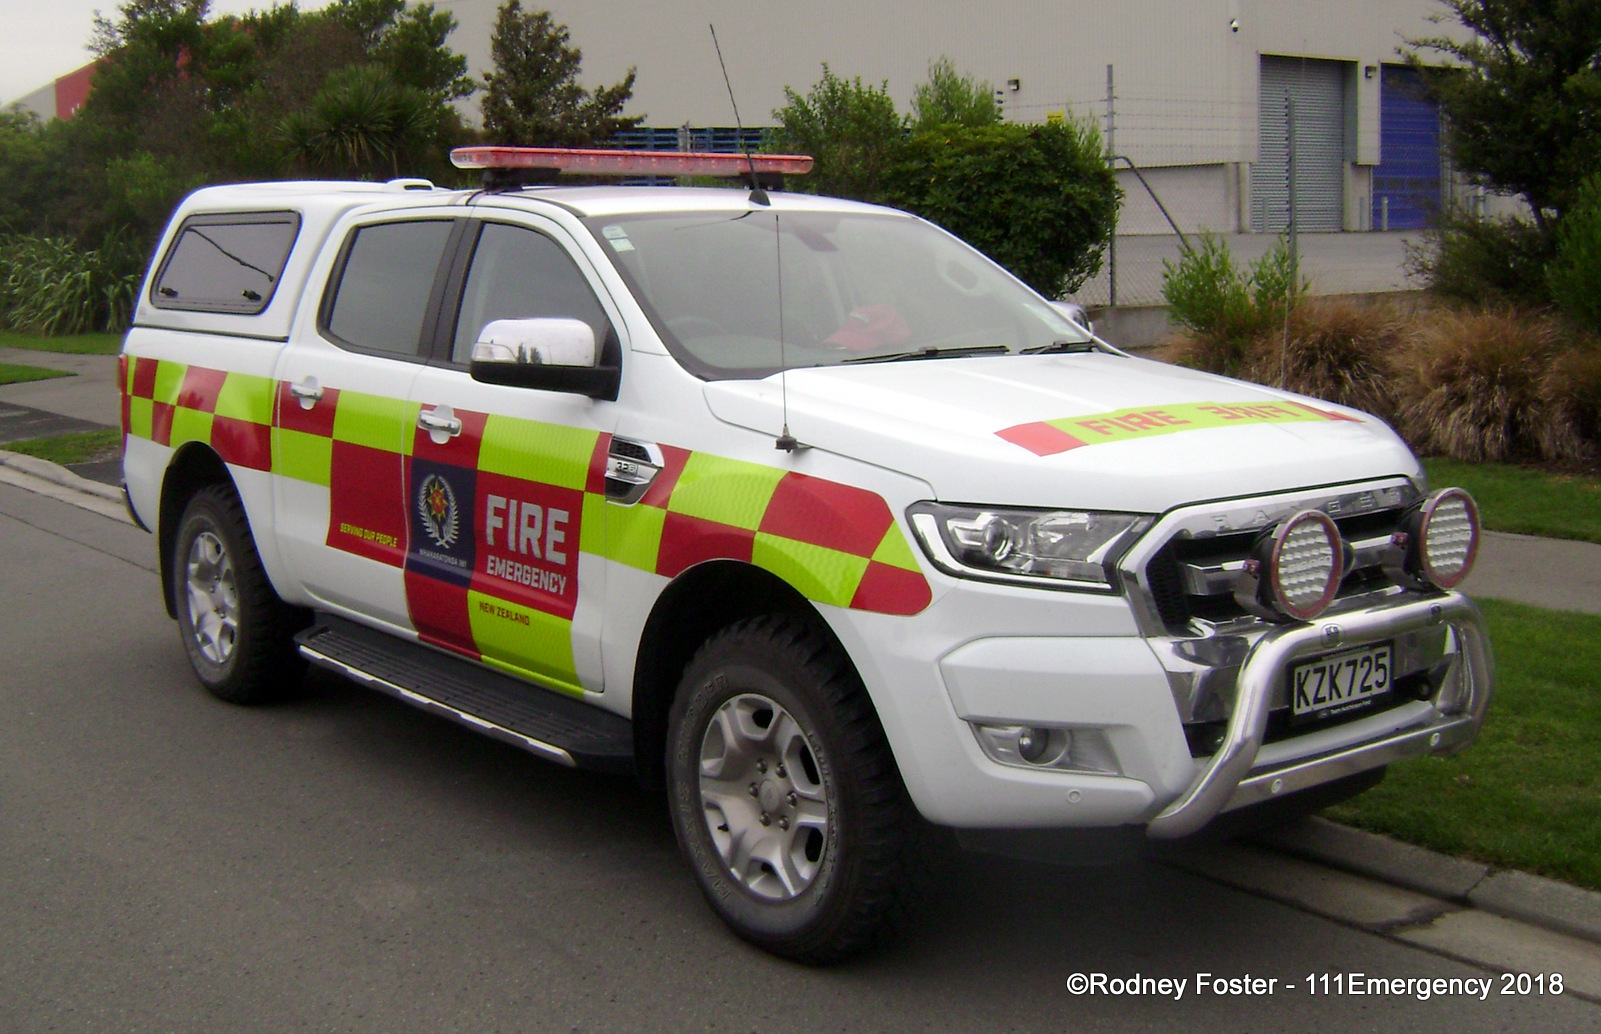
RURALMSC4 Ex. RURALSCRF4 2017 Ford Ranger KZK 725 Photo by Rodney Foster |
|
|
|
|
|
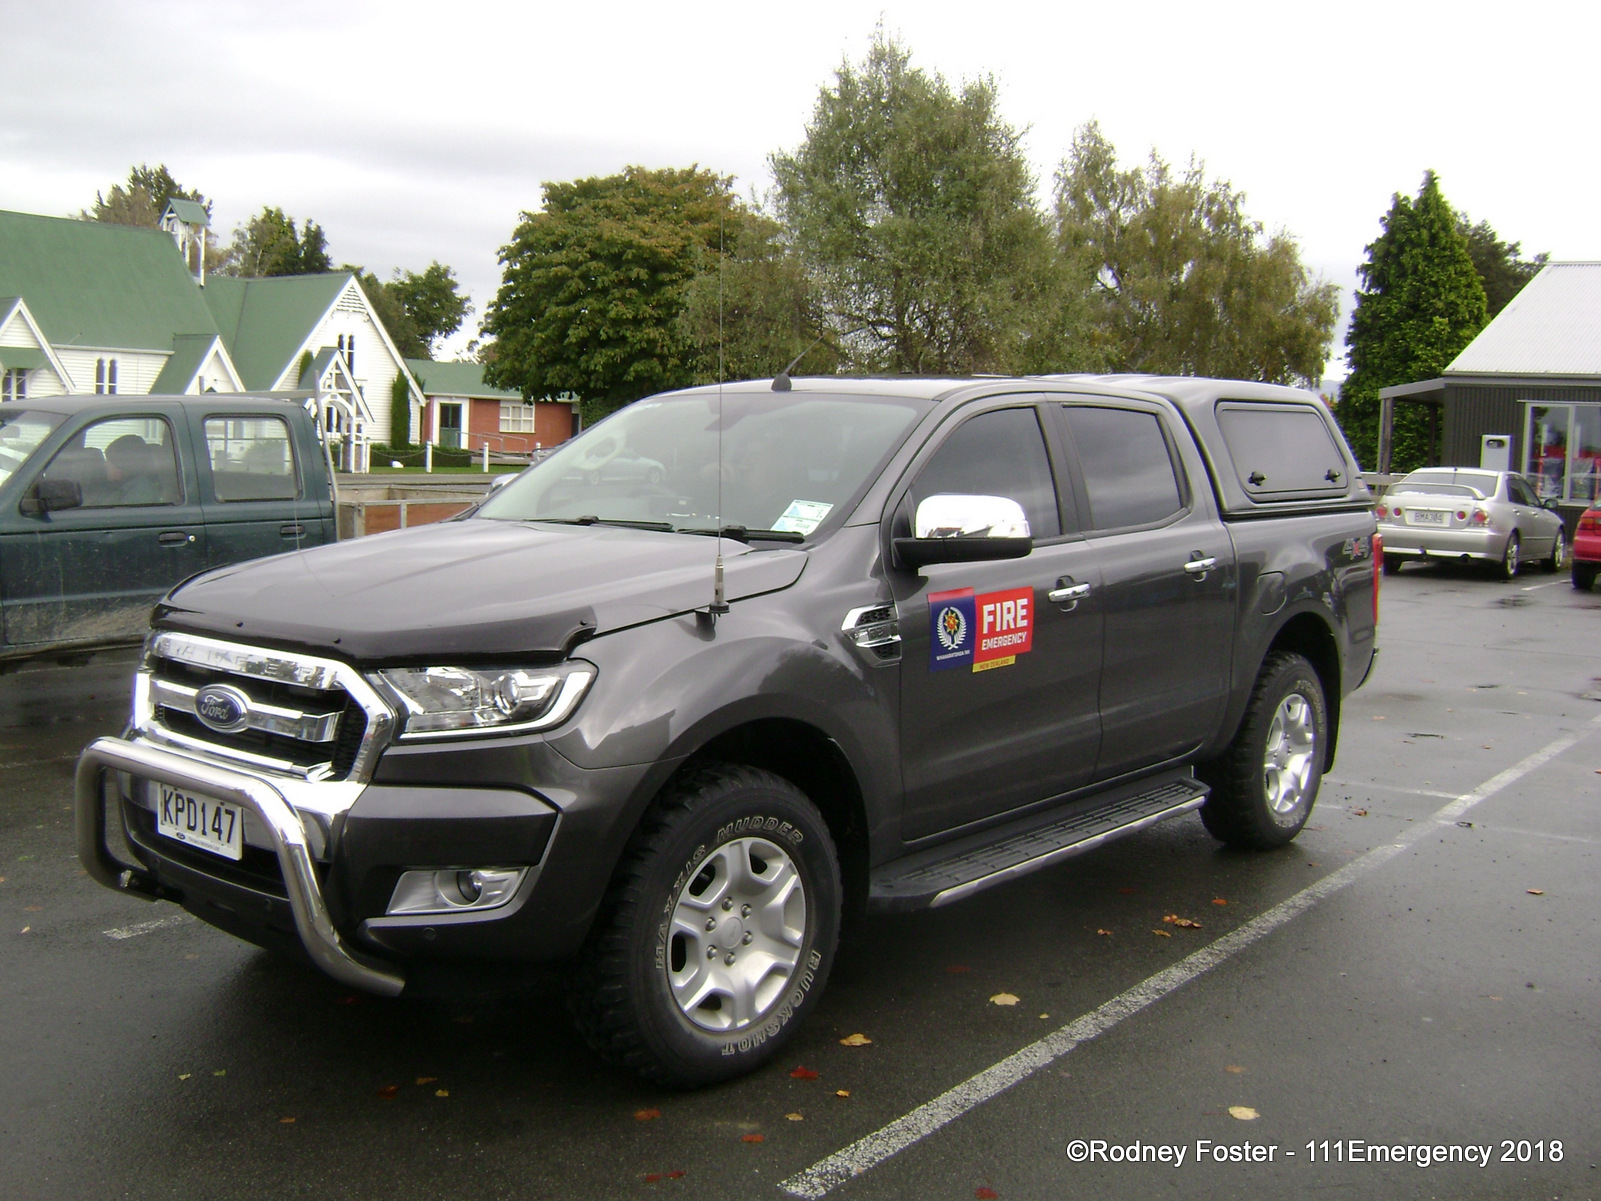
RURALMSC5 Ex. RURALSCRF5 2017 Ford Ranger KPD 147 Photo by Rodney Foster |
RURALMSC6 2019 Ford Ranger LPR 574 Photo by David Miller |
RURALMSC7 2019 Ford Ranger LPC 717 Photo by Rodney Foster |
|
|
 |
 |
|
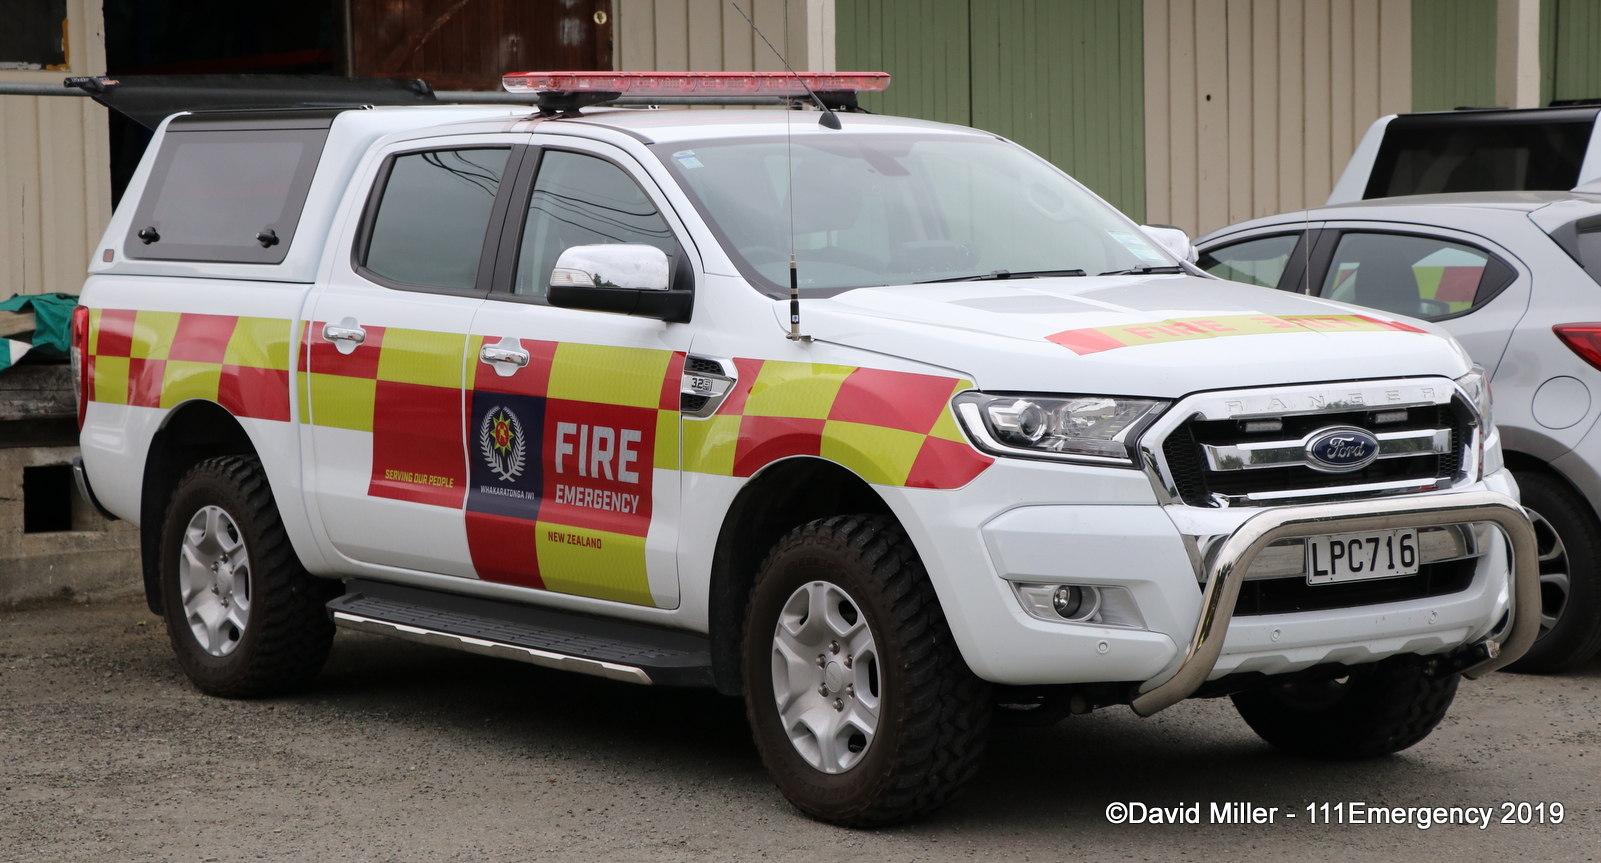
RURALMSC8 2019 Ford Ranger LPC 716 Photo by David Miller |
RFONTCANT1 2017 Ford Ranger KRF 347 Photo by Rodney Foster |
RFONTCANT2 2017 Ford Ranger KRF 346 Photo by Leonard Barsanti |
 |
 |
|
|
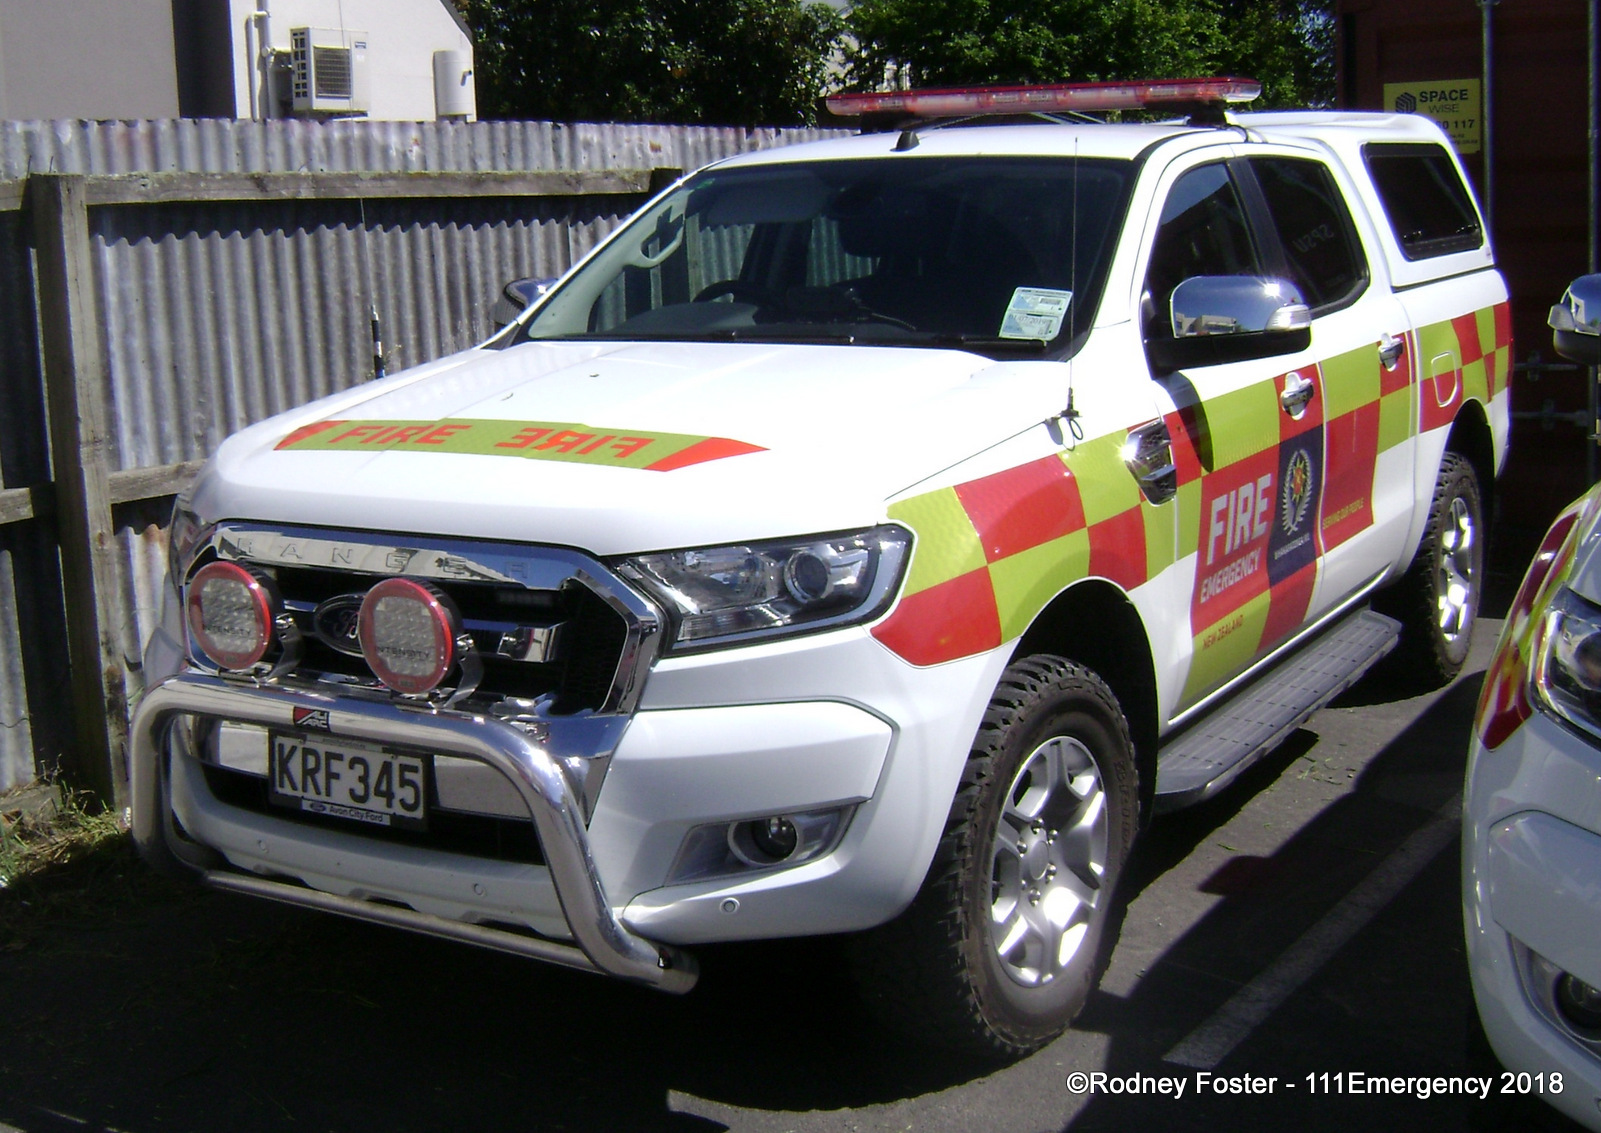
RFONTCANT3 2017 Ford Ranger KRF 345 Photo by Rodney Foster |
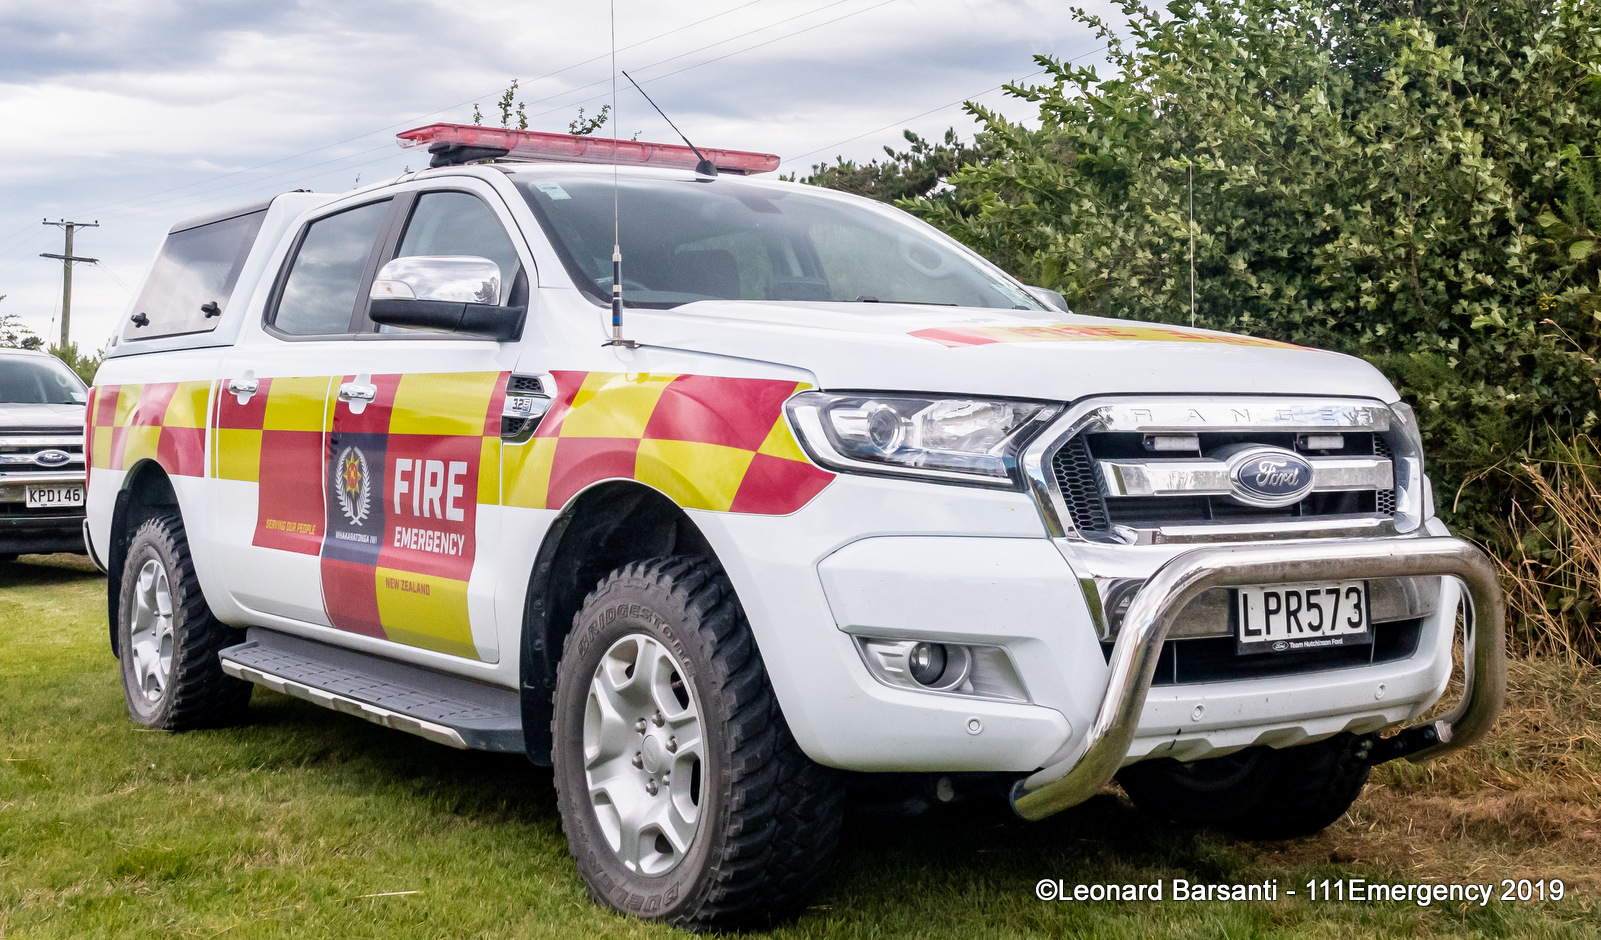
RFONTCANT4 2019 Ford Ranger LPR 573 Photo by Leonard Barsanti |
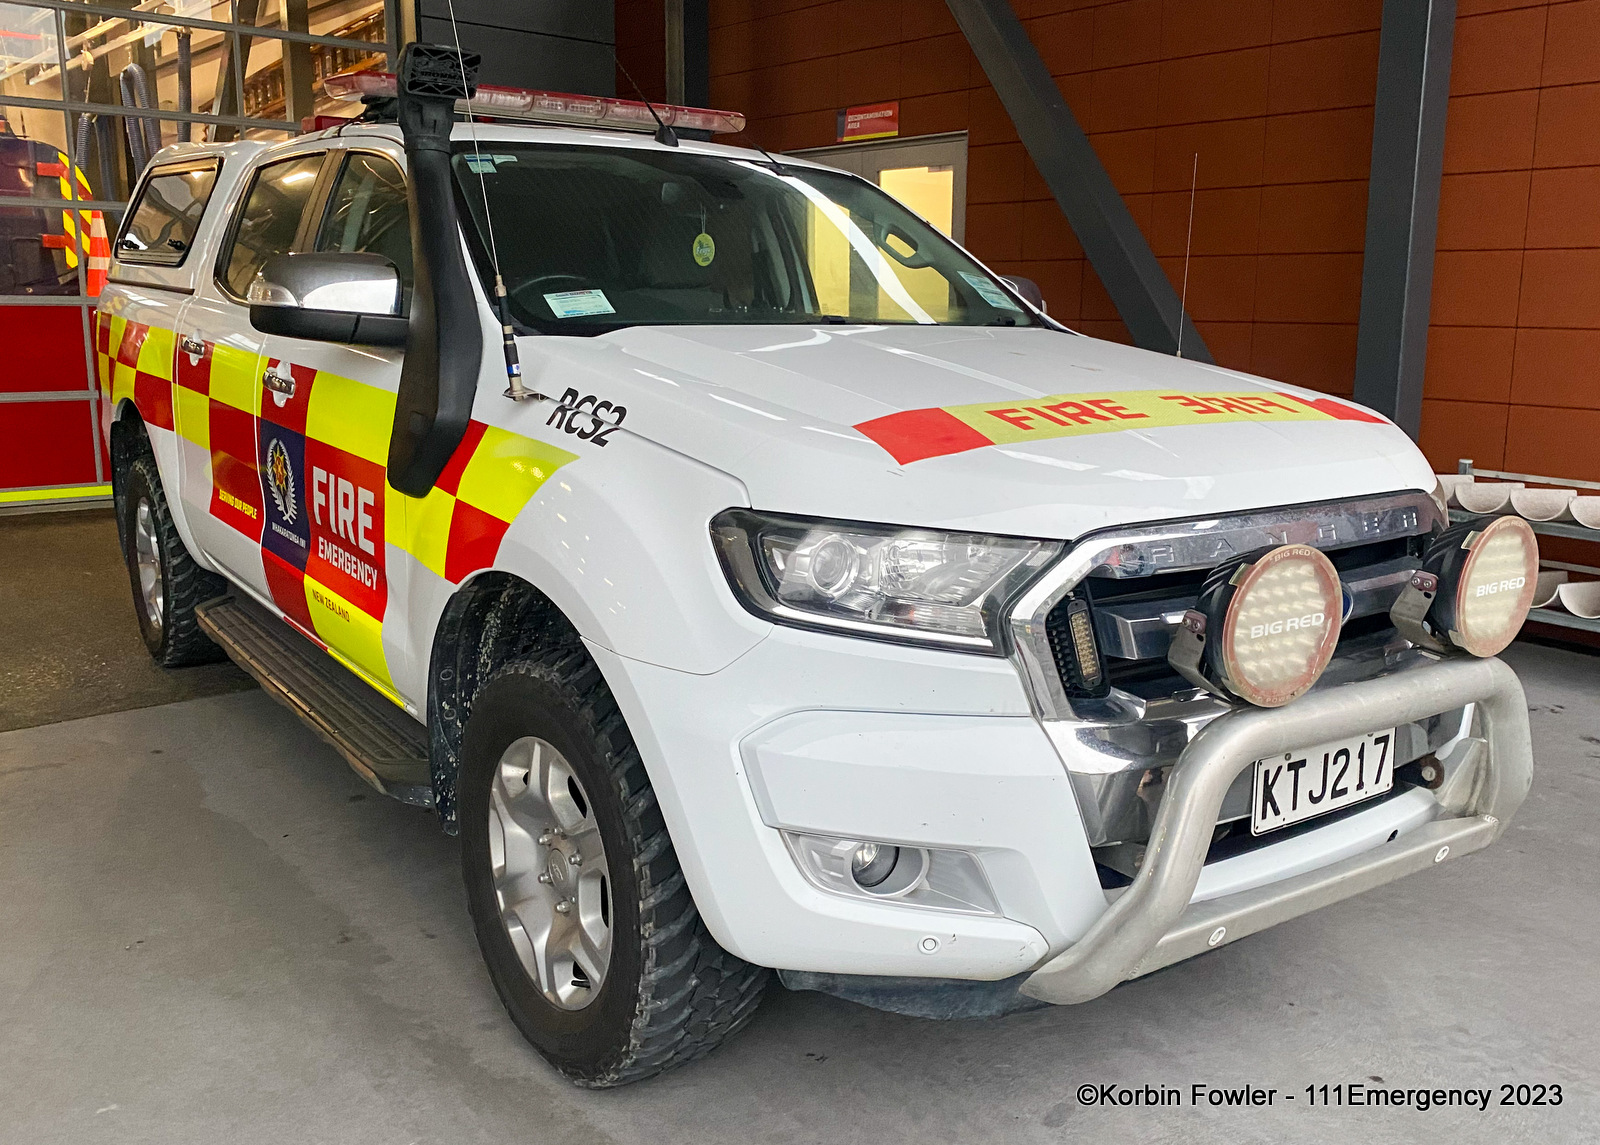
RFOCHCSEL2 Ex. RURALCHCSEL1 2017 Ford Ranger KTJ 217 Photo by Veronica Clifford |


Return to Te Ihu Fire Region page
